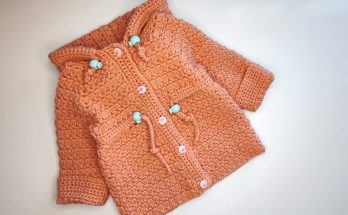
A beautifully crafted bag handle can elevate a simple pouch into a stylish accessory. While there are many ways to create a handle, a knitted spiral handle offers a unique textural element, a comfortable grip, and surprising durability. This guide will walk you through the process of knitting a spiral bag handle, perfect for adding a professional and artistic touch to your next bag project.
Understanding the Spiral Effect
The “spiral” in this handle isn’t achieved through complex cabling or shaping. Instead, it’s created by knitting in a continuous round, typically with a small number of stitches, and allowing the natural bias of the stitches to form a gentle twist. This technique is often referred to as “i-cord” knitting, and while a basic i-cord is round, adding a slight variation can enhance the spiral effect.
Materials You’ll Need
- Yarn: Choose a yarn that complements your bag’s material and desired look. For sturdy handles, a worsted-weight or Aran-weight cotton, linen, or a blend with some synthetic content will work well. For a softer feel, a merino wool could be suitable. Consider the drape and strength.
- Double-Pointed Needles (DPNs): You’ll need at least two, preferably three, DPNs in a size appropriate for your chosen yarn. A good starting point is one or two sizes smaller than what’s recommended for your yarn to create a denser, firmer fabric.
- Scissors: For cutting yarn.
- Tapestry Needle: For weaving in ends and seaming (if applicable).
- Stitch Marker (Optional but Recommended): To mark the beginning of your rounds, especially helpful for beginners.
- Measuring Tape: To ensure your handle reaches the desired length.
Choosing Your Handle Dimensions
Before you begin, decide on the desired length and thickness of your handle.

- Length: Hold a measuring tape from where you envision the handle attaching on one side of your bag, up over your shoulder (if it’s a shoulder bag), and down to the attachment point on the other side. Add a few extra inches for seaming or attachment.
- Thickness (Number of Stitches): The number of stitches you cast on will determine the handle’s thickness.
- 3 stitches: Creates a very thin, delicate cord.
- 4 stitches: A good all-around choice for a moderately thin handle with a noticeable spiral.
- 5-6 stitches: A thicker, more substantial handle. This can be great for larger bags.
Important Note: The larger the number of stitches, the less pronounced the spiral may appear, as the fabric will be wider. For a truly distinct spiral, 4 or 5 stitches are often ideal.
The Knitting Process: Step-by-Step
This method focuses on a basic i-cord technique that naturally spirals.
Step 1: Cast On
- Using one of your DPNs, cast on your desired number of stitches (e.g., 4 stitches) using the long-tail cast-on or another stretchy cast-on method.
Step 2: Prepare for Round Knitting
- Slide your cast-on stitches to the right end of the DPN, as if you were about to knit them.
- Do not turn your work. Instead, slide the stitches to the opposite end of the needle, so the working yarn is coming from the last stitch you cast on.
- Bring the working yarn tightly across the back of your stitches to the first stitch on the left-hand needle. This is where the spiral will begin to form.
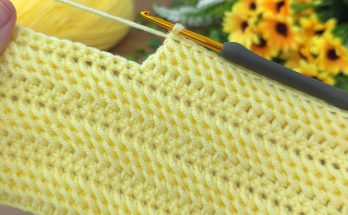
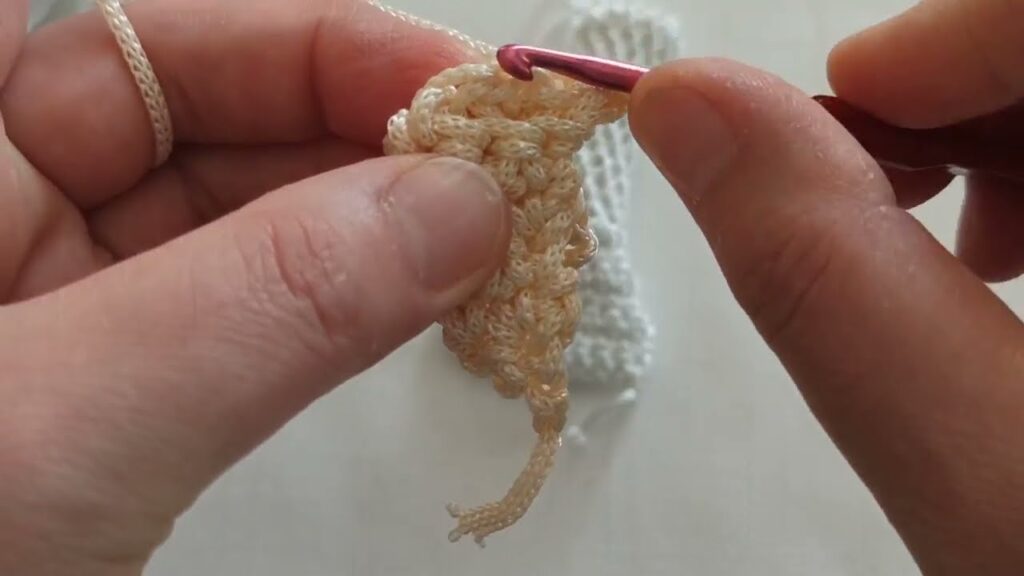
Step 3: Begin Knitting the Spiral (i-Cord)
- Row 1: Knit all stitches. You are essentially knitting across the stitches while the working yarn is pulling from the last stitch, creating a loop in the back.
- Tip: The first stitch can be a bit loose. Tug the working yarn firmly after knitting it to tighten it up.
- Continue: Do not turn your work. Slide the stitches to the other end of the needle again. Bring the working yarn tightly across the back of the stitches to the first stitch. Knit all stitches.
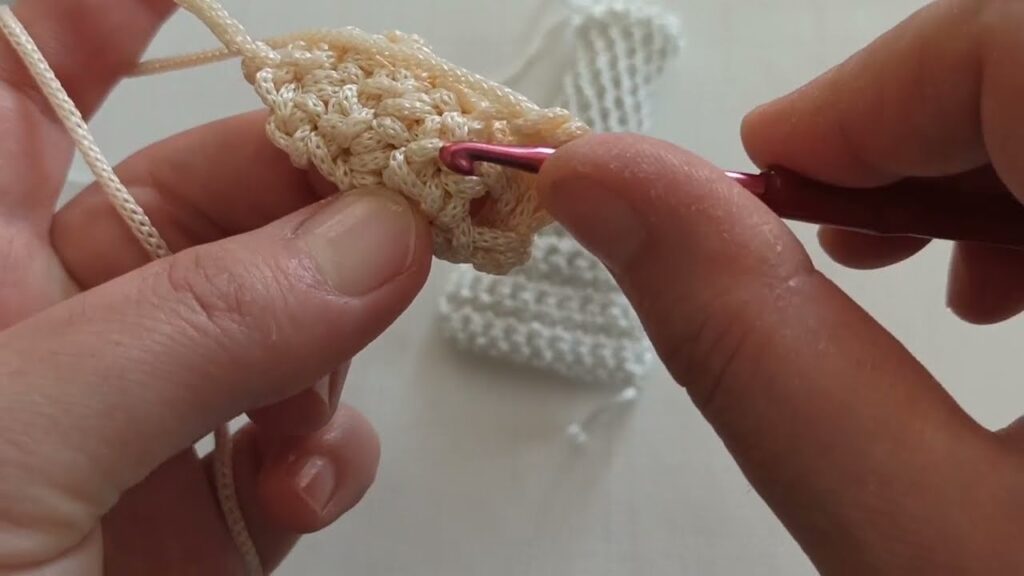
Step 4: Repeating for Length
Continue repeating Step 3 (slide stitches, bring yarn across, knit all stitches) until your handle reaches the desired length.
- Observation: As you knit, you’ll notice the fabric beginning to curl inward, forming a tube. The continuous sliding of stitches and pulling the yarn across the back creates the tension that encourages the spiral effect.
- Maintaining Consistency: Try to maintain consistent tension throughout to ensure an even and attractive spiral.
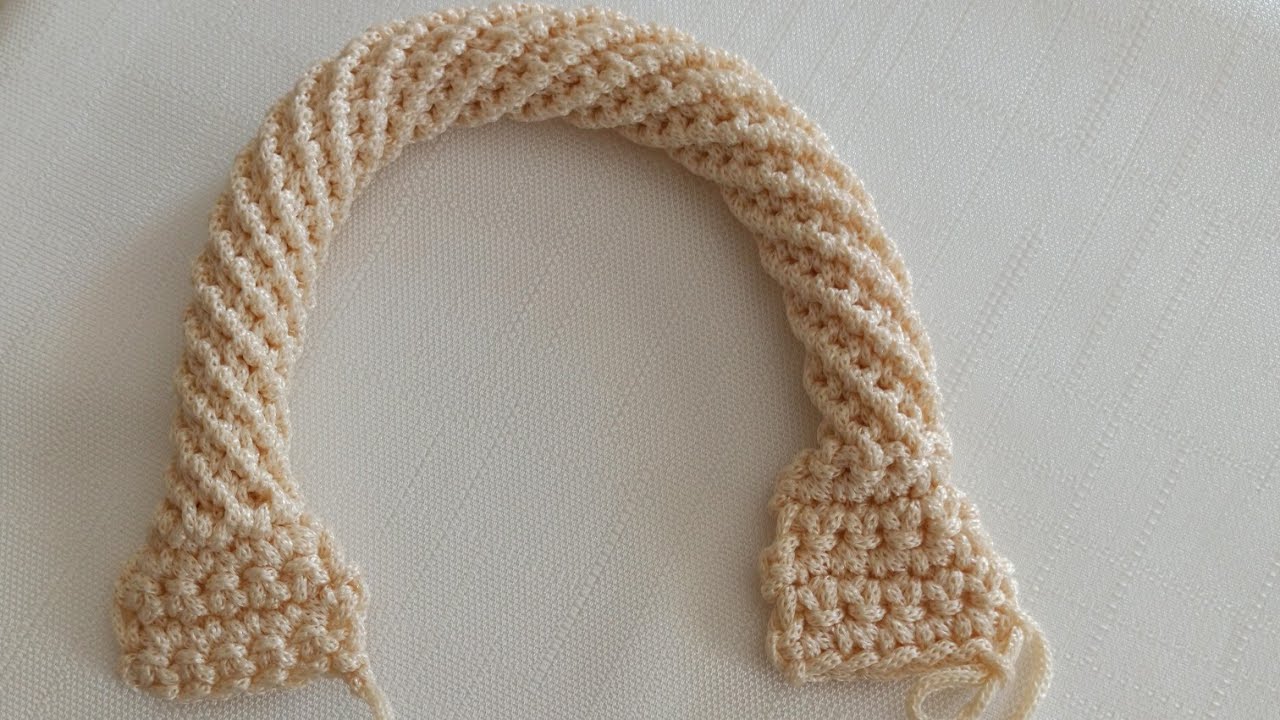
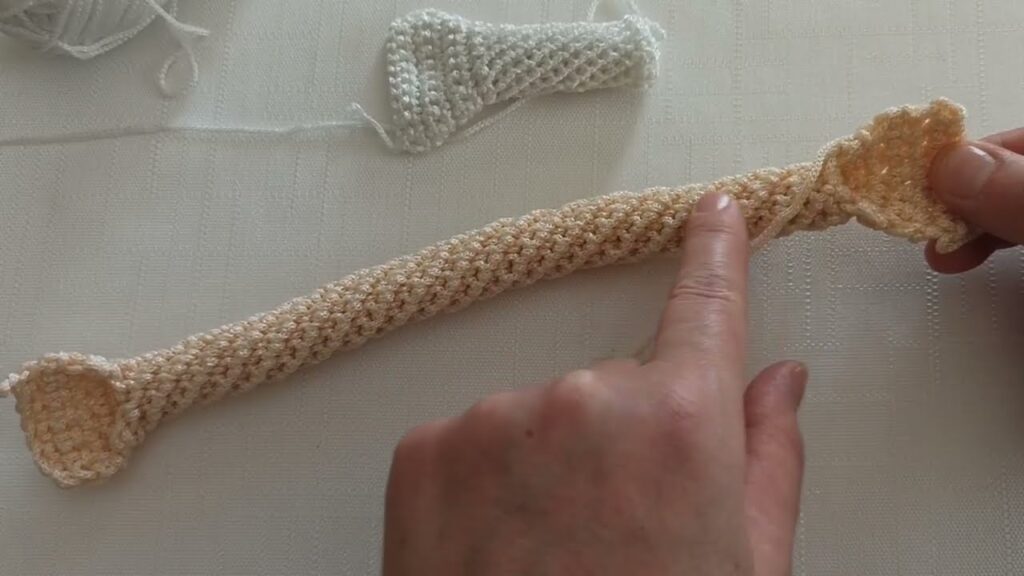
Step 5: Checking the Spiral
Periodically, hold up your work and gently stretch it to observe the spiral. It should be a gentle twist along the length of the cord. If it’s not spiraling as much as you’d like, ensure you are consistently pulling the working yarn tightly across the back when you start a new “row.”
Step 6: Binding Off
Once your handle reaches the desired length, it’s time to bind off. You can use a standard bind-off method.
- Knit the first stitch.
- Knit the second stitch.
- Pass the first stitch over the second stitch and off the needle.
- Knit the next stitch.
- Pass the previous bound-off stitch over the newly knitted stitch and off the needle.
- Repeat until all stitches are bound off.
- Cut your yarn, leaving a tail of at least 6-8 inches for seaming, and pull it through the last loop to secure.
Attaching Your Spiral Handle to Your Bag
There are several ways to attach your beautiful new handle:
- Sewing onto the Bag:
- Using your tapestry needle and the long yarn tails from binding off and casting on, carefully whip stitch or mattress stitch the ends of the handle securely to the sides of your bag. Ensure they are evenly placed and firmly attached.
- For extra durability, you can stitch through a lining or reinforce the attachment point on the bag.
- Knitting into the Bag (for knitted bags):
- If you’re knitting the bag itself, you can integrate the handle directly. When you reach the point where the handle should attach, you can pick up stitches from the handle’s end and continue knitting them into the bag’s fabric. This creates a seamless finish.
- Attaching with Hardware:
- If your bag has D-rings or other hardware, you can loop the handle through them and secure the ends by sewing them back onto the handle itself, or by creating a small “tab” from the handle and sewing that tab to the bag.
Tips for Success
- Practice Swatch: If you’re new to i-cord knitting, knit a small swatch first to get a feel for the tension and to see how many stitches create your desired thickness and spiral effect.
- Consistent Tension: This is key for an even and attractive handle. Avoid knitting too loosely, as it can make the handle floppy.
- Yarn Choice Matters: A yarn with good stitch definition will showcase the spiral more effectively than a very fuzzy or textured yarn.
- Blocking (Optional): Once attached, you can gently steam block your handle to help it relax and further define the spiral, especially if using a natural fiber yarn. Be cautious not to overstretch it.
- Length Considerations: Remember that the handle will stretch slightly with use, especially if it’s carrying weight. Factor this into your initial length measurement.
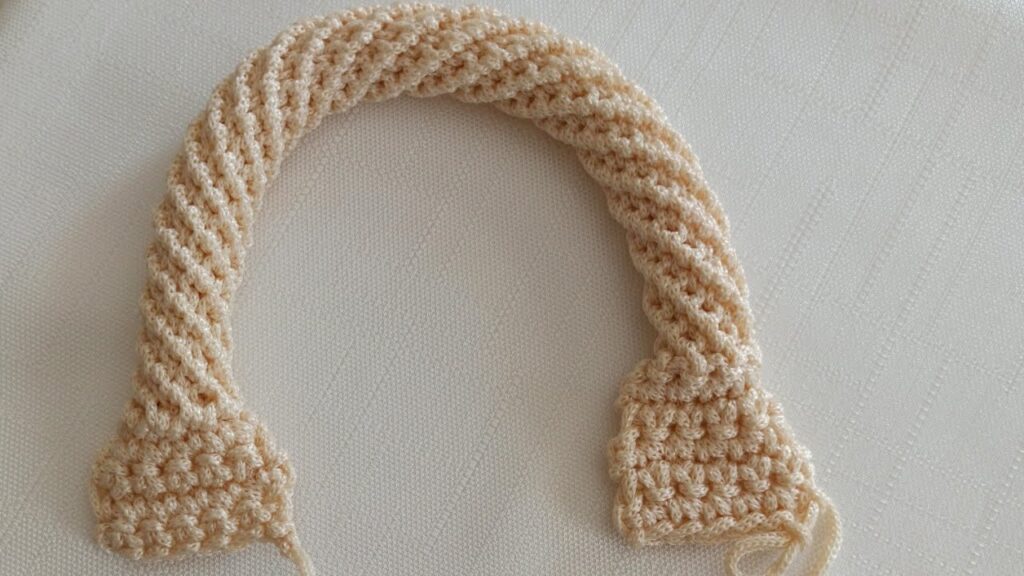
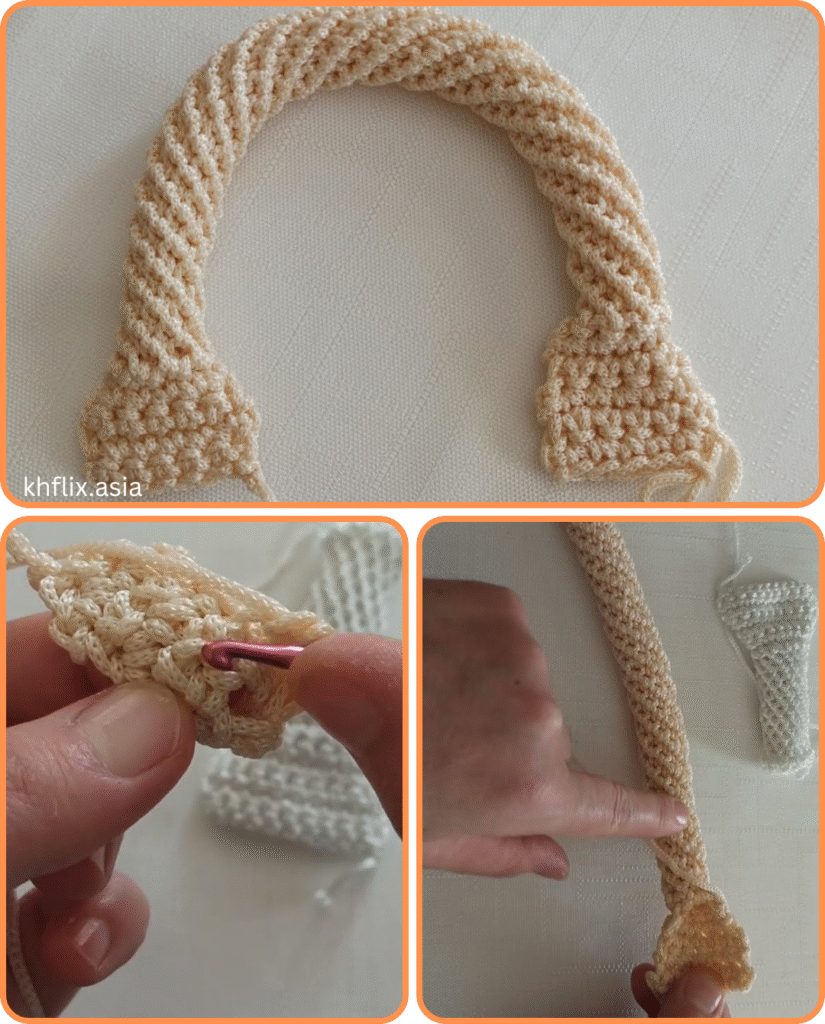
Conclusion
Knitting a spiral bag handle is a rewarding technique that adds a professional and handcrafted touch to any bag. With a little practice and attention to detail, you’ll be able to create durable, beautiful, and uniquely textured handles that elevate your knitting projects to the next level. Enjoy the process, and happy knitting!
Video tutorial: