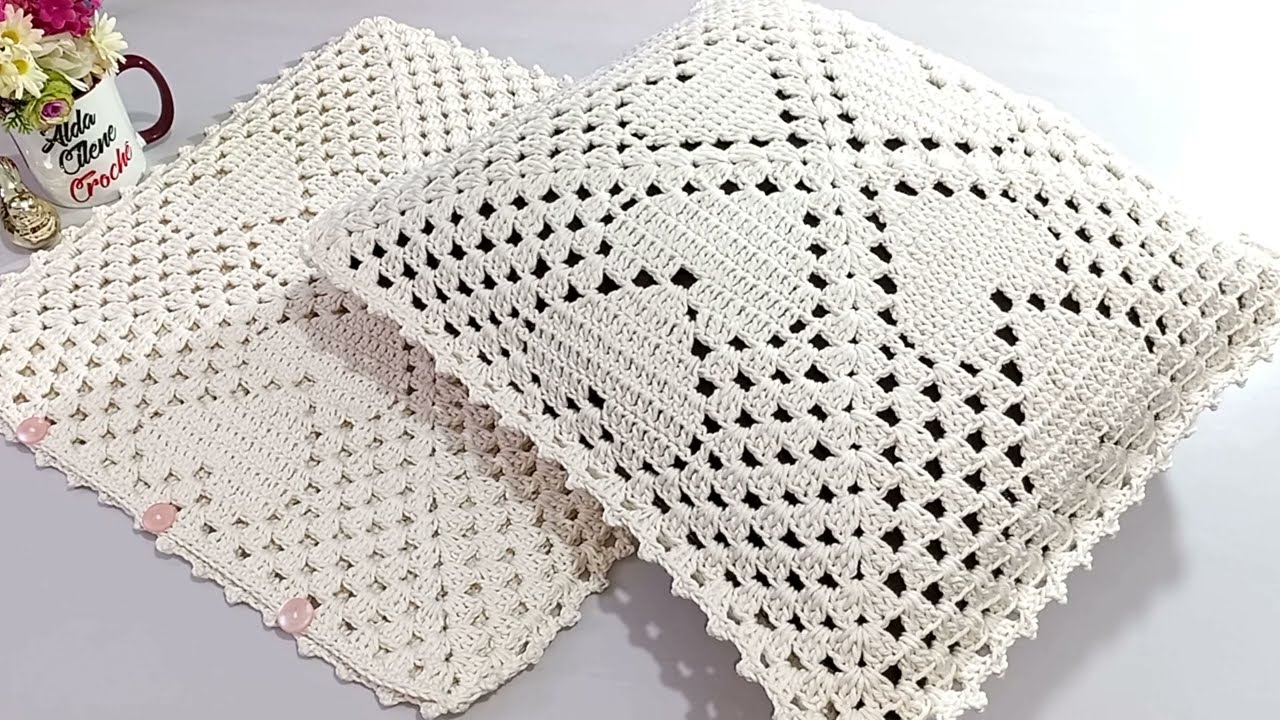
Add Comfort and Style to Your Home with Handmade Crochet Pillow Covers
Crochet cushion covers are one of the most rewarding home décor projects. They’re quick to make, endlessly customizable, and offer a wonderful way to add texture, color, and handmade charm to your living space. Whether you’re a beginner or a seasoned crocheter, a crochet cushion cover can be both functional and decorative, perfect for sprucing up sofas, chairs, and beds.
In this guide, you’ll learn everything you need to know about how to crochet a beautiful and practical cushion cover—from material choices to stitch patterns and assembly.

📏 What Size Is a Crochet Cushion Cover?
Cushion covers are typically made to fit standard insert sizes. Common measurements include:
| Cushion Insert Size | Crochet Cover Size |
|---|---|
| 16″ x 16″ (40 cm) | 16″ x 16″ |
| 18″ x 18″ (45 cm) | 18″ x 18″ |
| 20″ x 20″ (50 cm) | 20″ x 20″ |
🧵 Materials You’ll Need
- Yarn: Worsted weight (#4) or bulky (#5) yarn works best. Cotton or cotton-blends are durable and washable.
- Hook: 4.5mm–5.5mm, depending on your yarn.
- Tapestry Needle: For sewing sides and weaving in ends.
- Scissors
- Buttons or Zipper (optional): For closure.
- Cushion Insert: Any standard square or rectangular pillow insert.
🪡 Basic Crochet Stitches Used
You can keep it simple or go fancy! Here are a few popular stitch options:
🔹 Basic Options (Beginner-Friendly)
- Single Crochet (SC)
- Half Double Crochet (HDC)
- Double Crochet (DC)
🔸 Textured Options
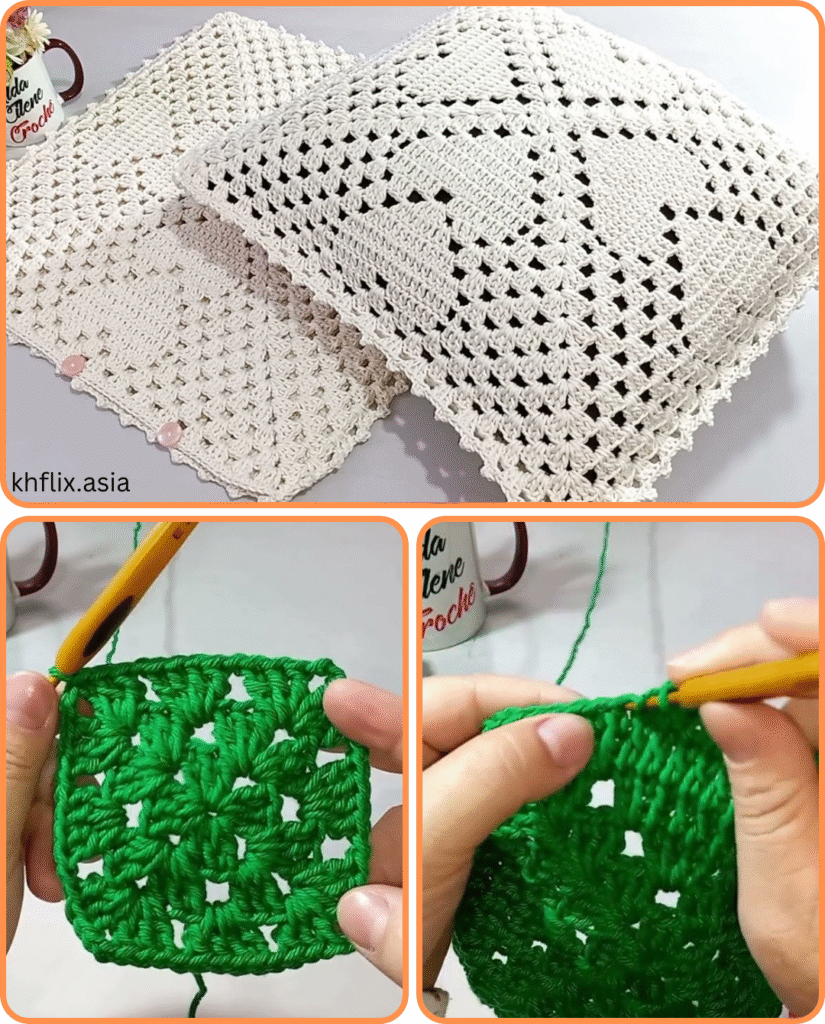
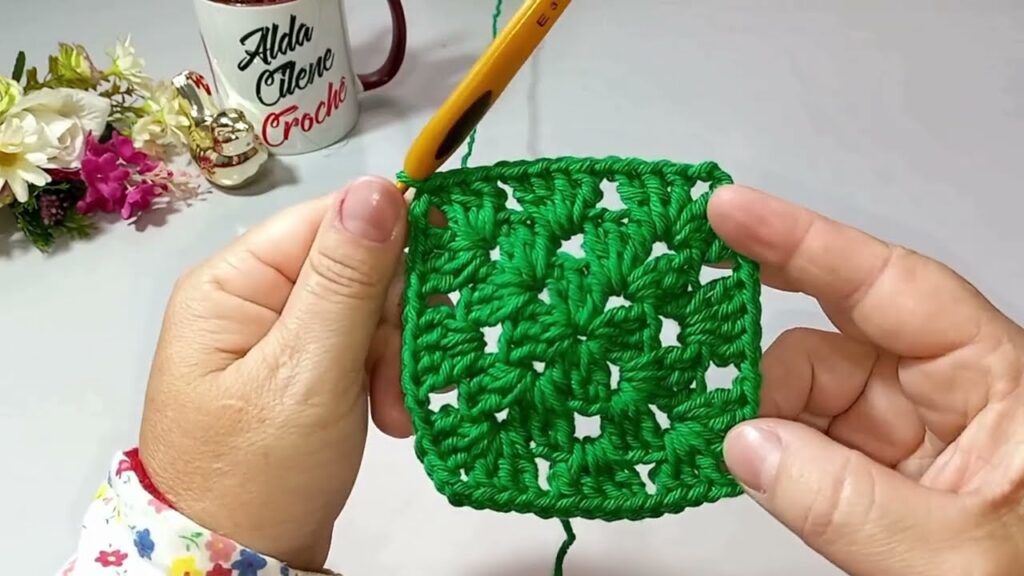
- Granny Squares
- Moss Stitch (SC, CH 1 repeat)
- Waffle Stitch
- Bobble or Puff Stitch
🧶 How to Crochet a Basic Cushion Cover – Step-by-Step
We’ll walk through how to make a simple two-panel cushion cover using the half double crochet stitch. Adjust stitch types as you wish!
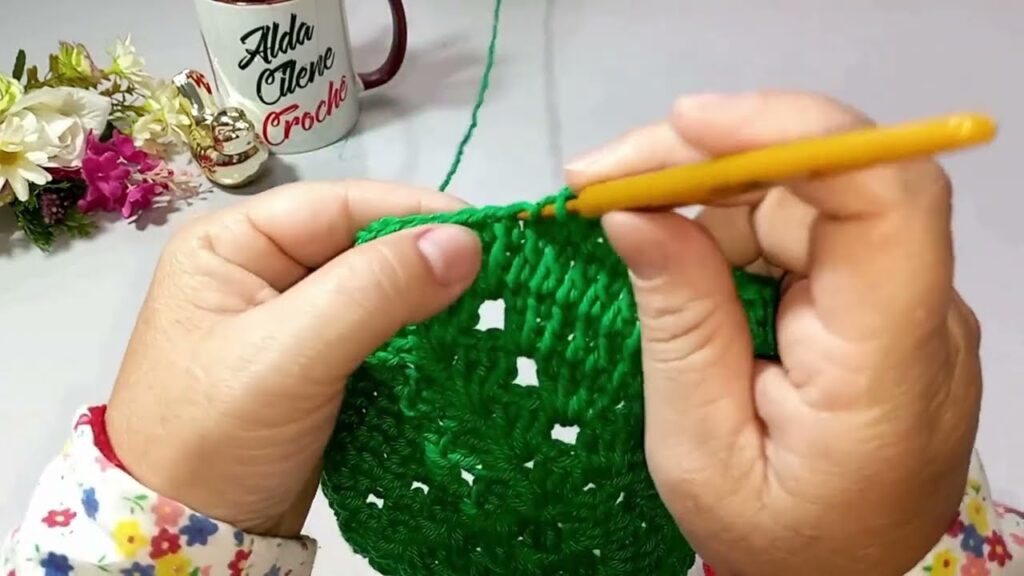
✅ Step 1: Crochet the Front Panel
- Make a Foundation Chain
- Chain enough stitches to match the width of your cushion (e.g., CH 41 for 16” wide with worsted yarn).
- Row 1:
- HDC in the 2nd chain from hook and across. Turn.
- Repeat Rows
- Continue working HDC rows until your square matches the height of your pillow (e.g., ~16 rows for 16”).
- Fasten off and weave in ends.
✅ Step 2: Crochet the Back Panel (Two Options)
Option A: Solid Back
- Make a second identical square as the front panel.
Option B: Envelope Closure
- Make two rectangles, each covering 2/3 of the pillow height.
- These will overlap to allow insert removal and washing.
✅ Step 3: Assemble the Cover
- Layer the Panels
- Place the back pieces over the front (right sides facing in if textured).
- Overlap back panels if making an envelope style.
- Join the Edges
- SC or SL ST around all four sides, inserting the hook through both layers.
- Add 3 SC in each corner for neat turns.
- Turn Right Side Out
- Flip the cover so the right side is facing out.
- Insert the Cushion
- Slip in the pillow insert through the envelope back or buttoned side.
🎨 Design Ideas and Variations
- 🌼 Granny Square Style: Join several small squares together for a retro vibe.
- 🎨 Color Blocking: Use contrasting colors for bold, modern looks.
- 🌿 Boho Chic: Add fringe, tassels, or macrame trim to the edges.
- 🧵 Tunisian Crochet: Try a Tunisian stitch for a knit-like finish.
🧼 Care Instructions
- Use machine-washable yarn (cotton or acrylic) for easy cleaning.
- Always follow yarn label washing guidelines.
- For zippers or buttons, close them before washing to avoid snags.
🎁 Great for Gifts and Markets
Crochet cushion covers make amazing handmade gifts for:
- Housewarmings
- Weddings
- Holidays
- Craft fairs or Etsy shops
Pair one with a matching throw blanket for a complete home décor set.
🌟 Final Thoughts
Crochet cushion covers are an ideal project for adding beauty and comfort to your home. Whether you choose a simple textured pattern or an intricate design, the end result is a functional piece of handmade art. It’s a project that offers creative freedom, instant gratification, and cozy results.
Video tutorial:


