
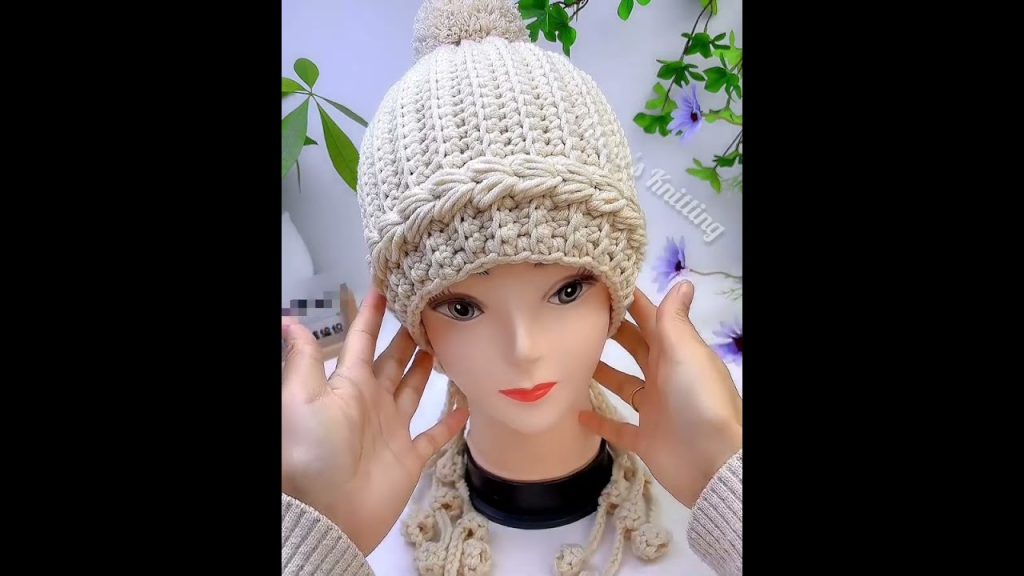
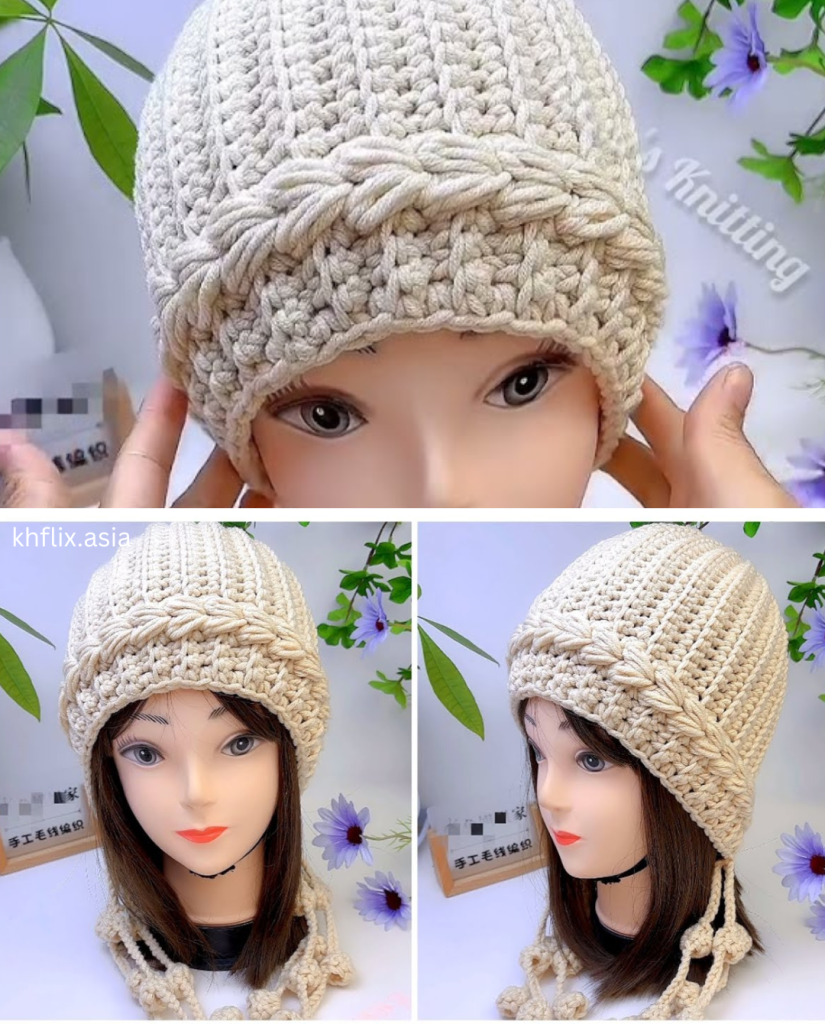
Introduction: Cozy Style, Simplified Stitching
Hello, crochet friends! Get ready to hook your way to the coziest winter accessory you’ll ever make. Inspired by the beautiful texture of nature’s harvest, we’re diving into a Super Easy Wheat Cluster Beanie Hat that is perfect for absolute beginners looking to add a touch of unique elegance to their wardrobe.
This beanie features a captivating texture that we’re calling the Wheat Cluster Spike Stitch (WCSS). It creates a subtle, repeating “V” pattern, reminiscent of wheat ears swaying in the wind, giving the hat incredible dimension and warmth. Despite its professional look, this project is straightforward, primarily using basic stitches and top-down construction.

Grab your favorite yarn—this pattern works beautifully with any solid color to truly show off the texture—and let’s get started on a quick, gratifying project that’s perfect for gifting or keeping all for yourself!
Section 1: Materials & Tools
The key to a successful beanie is using the right combination of yarn and hook to achieve the perfect drape and structure.
| Material | Description/Recommendation |
| Yarn | Approximately 180 – 220 yards of Worsted Weight (Category 4) or Aran weight yarn. Acrylic or wool blends work well for warmth and texture definition. |
| Crochet Hook | Size H/8 (5.0 mm) is a great starting point for standard worsted weight. Always check your gauge. |
| Tassel Materials | Cardboard or a small book (approx. 4-5 inches wide) for wrapping the yarn. |
| Notions | Stitch marker (essential for working in the round), yarn needle (tapestry needle) for weaving ends, and scissors. |
💡 Sizing Tip: This pattern is designed for an average Adult (21-23 inch head circumference). To make a larger or smaller hat, adjust the number of increase rounds in the crown until the diameter (measured flat) matches the appropriate size chart (e.g., 6 inches for Toddler, 7.5 inches for Teen, 8.5 inches for Adult Large).
Section 2: The Stitches You Need to Know
While this is a beginner-friendly pattern, we will be using a few fundamental stitches and introducing our unique texture stitch.
| Abbreviation | Stitch Name | Description |
| CH | Chain | Basic foundation loop. |
| SL ST | Slip Stitch | Joins stitches or moves yarn without adding height. |
| SC | Single Crochet | A short, tight basic stitch. |
| DC | Double Crochet | A tall basic stitch. |
| WCSC | Wheat Cluster Spike Stitch | The signature stitch! It is worked like a single crochet but instead of inserting the hook into the current row, you insert it one row below to create a long, vertical stitch that pulls the yarn up and creates the “wheat ear” texture. |
Section 3: The Beanie Pattern (Working Top-Down)
We will construct the hat starting at the very top (the crown) and working our way down to the brim. The entire hat is worked in a continuous spiral, so use your stitch marker and DO NOT SLIP STITCH TO JOIN until you reach the final brim section.
Part A: The Crown (Increasing for Flat Circle)
- Goal: Create a flat circle large enough to cover the top of the head.
Foundation: Start with a Magic Ring (or CH 4, SL ST to join).
Round 1: SC 6 into the magic ring. [6 stitches]
Round 2: 2 SC in every stitch around. [12 stitches]
Round 3: *(1 SC in the next stitch, 2 SC in the next stitch)* repeat around. [18 stitches]
Round 4: *(1 SC in the next 2 stitches, 2 SC in the next stitch)* repeat around. [24 stitches]
Continue Increasing: Follow the standard circle increase pattern (the number of single crochet stitches between the increases grows by one each round) until the flat diameter reaches approximately 6.5 inches to 7 inches (for a standard adult hat).
Part B: The Hat Body (The Wheat Cluster Texture)
- Goal: Work straight rounds without increasing to establish the depth of the hat.
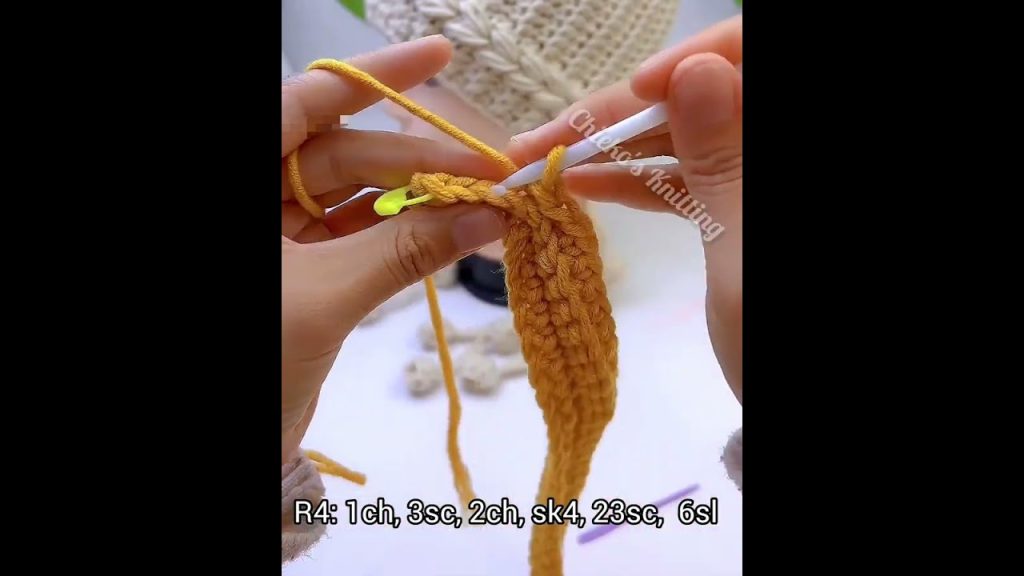
Once the crown is complete, we transition to the Wheat Cluster Spike Stitch (WCSC). This texture is simple: you alternate a regular SC with a WCSC.
Round 1 (Setup): SC in every stitch around. (This helps transition the circle for the texture.)
Round 2 (Texture Start):
- *(1 SC in the next stitch, 1 WCSC into the stitch one row below)* repeat around.
Round 3:
- You will now be working a SC over the WCSC from the row below, and a WCSC into the stitch below the SC from the row below. This staggers the stitch and creates the “V” or “wheat ear” effect.
- *(1 WCSC into the stitch one row below, 1 SC in the next stitch)* repeat around.
Continue Texture: Repeat Round 2 and Round 3, alternating between the two rows, until the hat reaches a total length of approximately 8.5 to 9 inches (or desired depth, excluding the final brim).
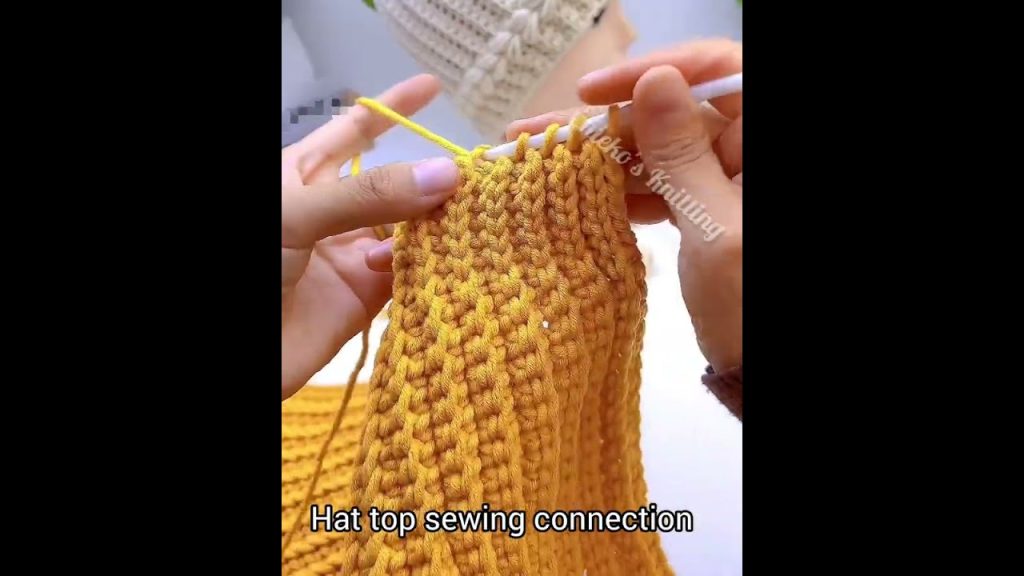
Part C: The Ribbed Brim (Joining the Round)
- Goal: Create a clean, elastic edge for the brim.
Transition Round: SC in every stitch around. SL ST to join the end of this round to the beginning of the round. (This stops the spiral and begins working in joined rounds.)
Brim Round 1: CH 2 (counts as a DC). DC in every stitch around. SL ST to join to the top of the beginning CH 2.
Brim Round 2 (Ribbing): CH 2 (counts as a DC). Alternate a Front Post Double Crochet (FPDC) and a Back Post Double Crochet (BPDC) in the stitches from the previous round. SL ST to join.
Brim Rounds 3 & 4: Repeat Brim Round 2 for a thick, clean ribbing.
Finishing: Fasten off your yarn, leaving a long tail for weaving.
Section 4: The Tassel or Pom-Pom Finish
A tassel adds a playful, charming finish that complements the rustic look of the wheat stitch.
How to Make a Full Tassel:
- Prepare the Former: Take a piece of cardboard or a small book approximately 4-5 inches wide (the height of your desired tassel).
- Wrap the Yarn: Wrap your yarn around the cardboard about 80 to 100 times. The more wraps, the fuller the tassel.
- Tie the Top: Thread a 12-inch piece of yarn under the wrapped strands at the top edge of the cardboard. Pull it tight and knot it securely. This loop is used for attachment.
- Cut the Bottom: Carefully slide the yarn off the cardboard. Cut through the loops at the bottom edge.
- Secure the Neck: Take another 12-inch piece of yarn. Wrap it tightly around the entire bundle, about an inch from the top, to form the “neck” of the tassel. Knot this securely and weave the ends into the body.
- Trim and Attach: Trim the ends of the tassel so they are even. Use the long yarn loop from Step 3 to attach the tassel securely to the top center of your finished beanie.
Conclusion: A Handmade Treasure
You did it! You’ve created an incredibly stylish and cozy accessory using a beautiful, textured stitch. The Wheat Cluster Beanie is proof that you don’t need complicated cables or fancy techniques to achieve a sophisticated look.
Wear your beanie with pride, knowing you handcrafted every single stitch. Don’t forget to take a picture and share your finished creation! Let us know what color you chose and who you plan to gift this to!
Happy Crocheting, and enjoy your cozy harvest hat!
Video tutorial:


