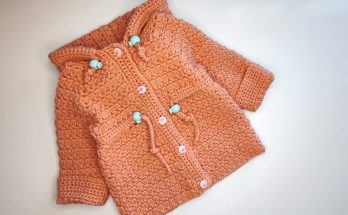
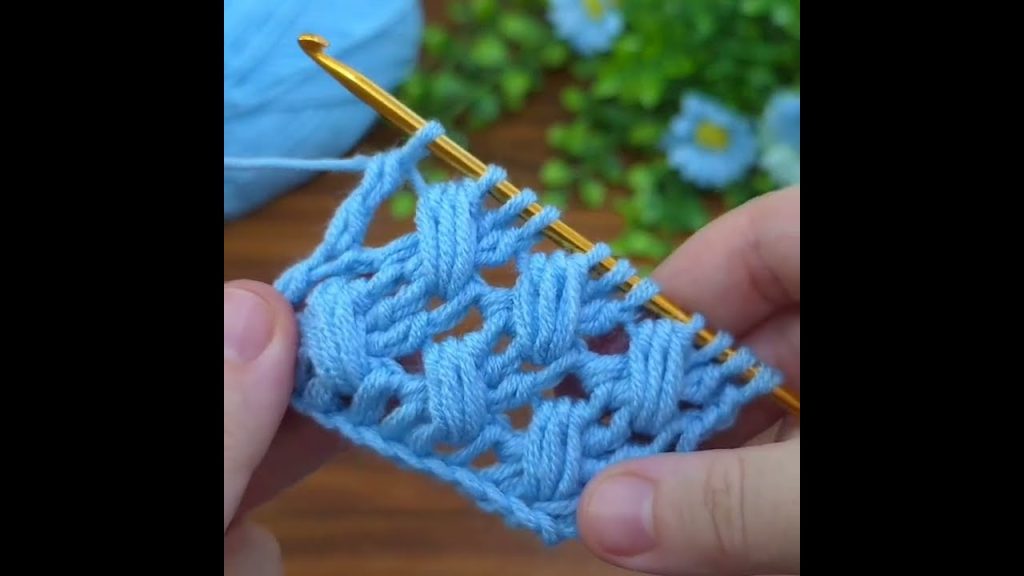
Inspired by the beautiful blue tones and simple elegance showcased in the latest Tunisian crochet tutorials, we’ve created a detailed and versatile pattern for the Serenity Cardigan. This design uses the stunning reversible Tunisian Honeycomb Stitch, which provides a dense, warm, and beautifully textured fabric perfect for a cardigan, vest, or baby blanket.
The construction is simple, relying on working three rectangular panels (one back, two fronts) that are seamed together, making it an excellent project for any crocheter comfortable with basic Tunisian techniques.
Project Overview
- Design: The Serenity Cardigan (or Vest/Blanket)
- Skill Level: Intermediate (Must be familiar with Tunisian Simple Stitch and Tunisian Purl Stitch)
- Stitch Used: Tunisian Honeycomb Stitch
- Gauge: 16 stitches x 14 rows = 4 inches (10 cm) in Tunisian Honeycomb Stitch, blocked. Gauge is crucial for sizing!
- Finished Measurements (Small/Medium – customizable):
- Back Panel Width: 19 inches (48 cm)
- Back Panel Length: 28 inches (71 cm)
Materials List
| Item | Details |
| Yarn | Worsted weight (Size 4) yarn. Approximately 1,200 – 1,500 yards for a long cardigan. Choose a solid color to highlight the texture! |
| Hook | 8.0 mm Tunisian Crochet Hook with a cable (or size needed to obtain gauge). The hook should be at least two sizes larger than recommended for your yarn to prevent curling. |
| Notions | Scissors, tapestry needle for weaving in ends, locking stitch markers. |
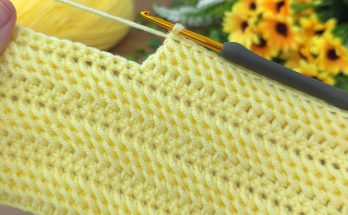
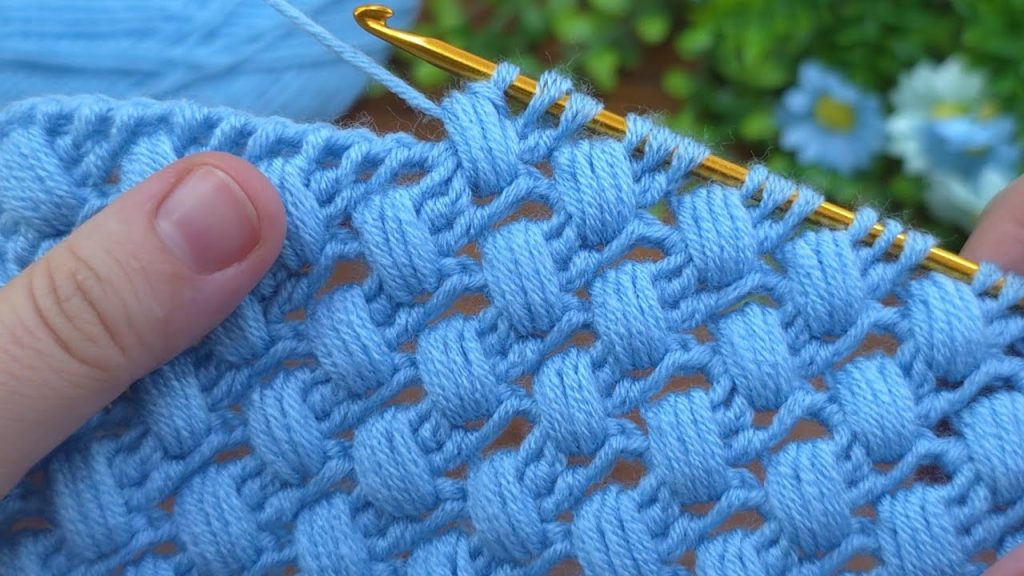
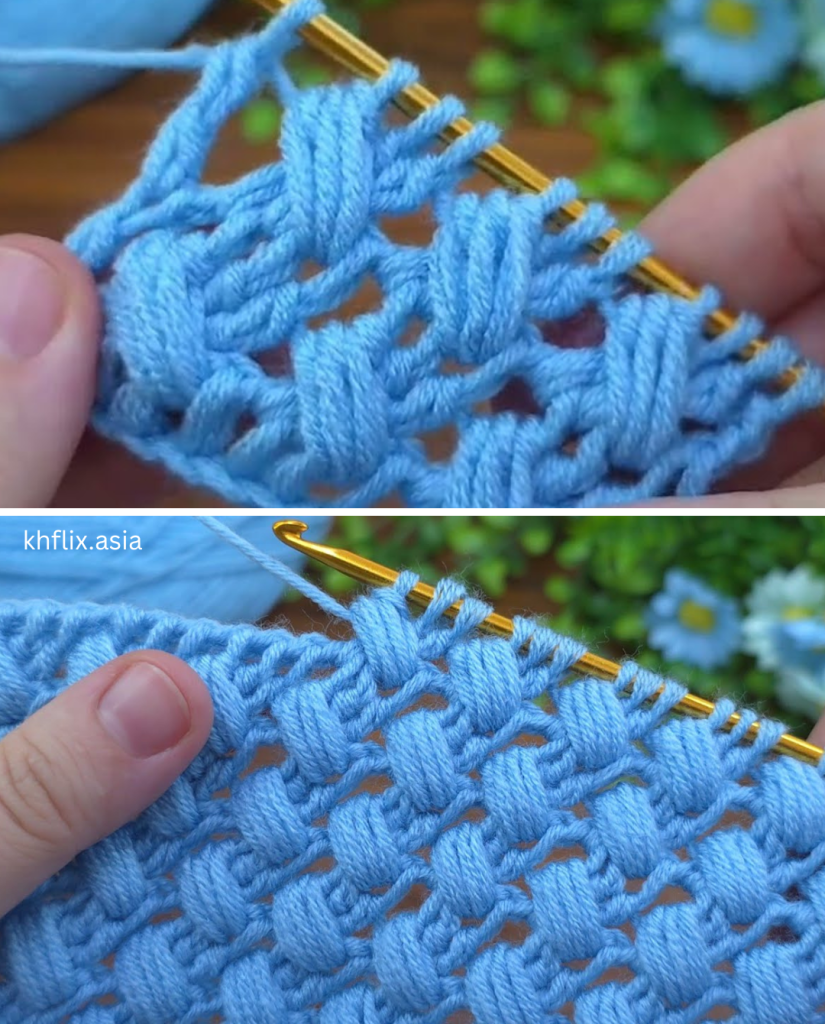
The Tunisian Honeycomb Stitch (THS)
The Tunisian Honeycomb Stitch is a two-row repeat that alternates between a Tunisian Simple Stitch (TSS) and a Tunisian Purl Stitch (TPS). This alternation is what creates the beautiful honeycomb texture and prevents the fabric from curling.
Stitch Abbreviations:
- Ch: Chain
- Tss: Tunisian Simple Stitch
- Tps: Tunisian Purl Stitch
- RetP: Return Pass
- EoS: End of Row (Last stitch is worked under both vertical loops of the last stitch)
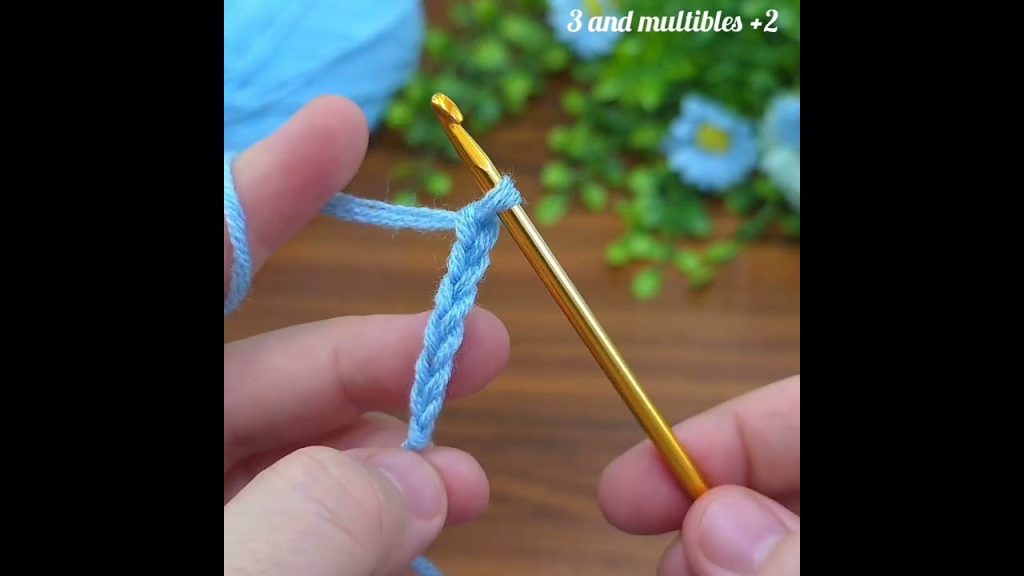
Setup Row (Foundation):
- Ch the required number of stitches for your panel width (a multiple of 2).
- Forward Pass (FP): Insert hook into the back bump of the 2nd chain from the hook, yarn over, pull up a loop. Repeat across the row. (Do not turn.)
- RetP: Ch 1, *Yarn over, pull through 2 loops on hook*. Repeat from * until only 1 loop remains on the hook.
Row 1: Alternating Pass
- FP: *Tps in the next vertical bar, Tss in the following vertical bar*. Repeat from * across the row. Work the last stitch as an EoS.
- RetP: Ch 1, *Yarn over, pull through 2 loops on hook*. Repeat from * until only 1 loop remains on the hook.
Row 2: Alternating Pass (Shifted)
- FP: *Tss in the next vertical bar, Tps in the following vertical bar*. Repeat from * across the row. Work the last stitch as an EoS.
- RetP: Ch 1, *Yarn over, pull through 2 loops on hook*. Repeat from * until only 1 loop remains on the hook.
Repeat Rows 1 and 2 for the remainder of the pattern. You will always work a Tss into the Tps from the row below, and a Tps into the Tss from the row below, shifting the pattern every row.

Construction: Rectangular Panels
The entire garment is worked flat in three simple rectangular pieces.
1. Back Panel (Make 1)
- Sizing: Chain a length that measures your desired hip-to-hip width. Ensure the number of chains is a multiple of 2.
- Foundation: Work the Setup Row.
- Body: Continue working the Tunisian Honeycomb Stitch (alternating Rows 1 and 2) until the piece measures your desired length from the lower back to the shoulder (approximately 28 inches).
- Bind Off: Work one final Slip Stitch Bind Off row: *Tps in next st, slip stitch. Tss in next st, slip stitch.* Repeat across. This creates a neat, non-stretchy edge. Fasten off and leave a long tail for seaming.
2. Front Panels (Make 2 – Identical)
- Sizing: Chain a length that measures half the width of your back panel, plus 2-4 inches for the overlap/front opening. Ensure the number of chains is a multiple of 2. (Example: If the back is 38 inches wide, the front panels should be 21-23 inches wide).
- Foundation: Work the Setup Row.
- Body: Continue working the Tunisian Honeycomb Stitch (alternating Rows 1 and 2) until the piece measures the same length as your Back Panel.
- Bind Off: Work a final Slip Stitch Bind Off row. Fasten off and leave a long tail for seaming.
3. Sleeves (Optional for Vest – Make 2 for Cardigan)
- Sizing: Chain a length that measures the circumference of your upper arm, with 2-4 inches of positive ease. Ensure the number of chains is a multiple of 2.
- Foundation: Work the Setup Row.
- Shaping (Optional): To create a tapered sleeve, decrease 1 stitch at the beginning and end of the Forward Pass every 5th or 6th row.
- Length: Continue until the sleeve measures your desired length from the shoulder seam to the wrist (or cuff).
- Bind Off: Work a final Slip Stitch Bind Off row. Fasten off and leave a long tail for seaming.
Assembly and Finishing
The simple rectangular construction makes assembly straightforward.
- Shoulder Seams: Lay the Back Panel flat. Place the two Front Panels on top, aligning the edges. Using a tapestry needle and the long tails, seam the top edges of the shoulders together using the mattress stitch for a clean, invisible join. Leave a gap in the center for the neckline.
- Side Seams: Align the side edges of the back and front panels. Measure down your desired armhole opening (typically 8-10 inches from the shoulder seam) and place a locking stitch marker. Seam the sides together from the marker down to the bottom edge.
- Sleeve Seams (if applicable): Fold each sleeve rectangle in half lengthwise and seam the long edges together. Insert the sleeve into the armhole, matching the center seam to the shoulder seam, and seam the sleeve opening to the armhole.
- Edging (Optional): For a polished finish, work a row of single crochet or simple slip stitches around the entire edge of the cardigan, including the neckline and bottom hem.

Block your finished cardigan gently according to your yarn’s specifications. Enjoy your beautiful, textured Serenity Cardigan!
Video tutorial: