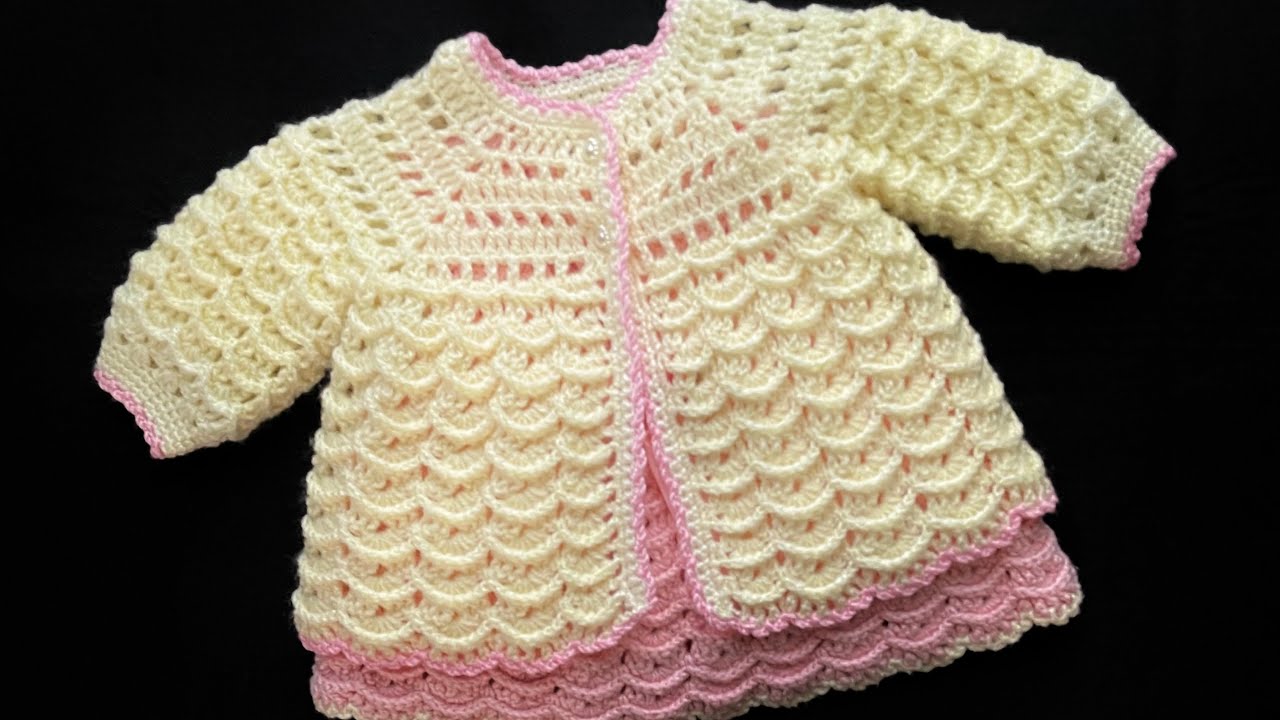
Hooked on Cozy: Your Guide to Crocheting an Easy Cardigan Sweater
There’s something uniquely satisfying about wrapping yourself in a garment you’ve made with your own hands. And when it comes to cozy comfort, a crochet cardigan sweater is hard to beat. Far from being a daunting project, creating a beautiful and wearable cardigan can be surprisingly simple, even for those with beginner to intermediate crochet skills.
This guide will walk you through the process of making an easy crochet cardigan, focusing on straightforward stitches and construction methods that yield impressive results. Get ready to transform yarn into your new favorite layering piece!
Why an “Easy” Cardigan?
Many cardigan patterns involve complex shaping, intricate stitch patterns, or multiple pieces to sew together. For this easy version, we’ll focus on:
- Simple Rectangular Construction: We’ll mostly be crocheting flat rectangles for the back, front panels, and sleeves, minimizing shaping.
- Basic Stitches: Relying primarily on beginner-friendly stitches like single crochet (SC), half double crochet (HDC), or double crochet (DC).
- Minimal Seaming: Reducing the amount of sewing needed to assemble your cardigan.

Before You Begin: Gathering Your Supplies
Having the right tools is half the battle. Here’s what you’ll need:
- Yarn: This is the heart of your project!
- Fiber Content: Choose a yarn that feels good against your skin and is suitable for a garment. Acrylic, wool, wool blends, or cotton blends are popular choices.
- Weight: For an easy cardigan, a worsted weight (4) or chunky/bulky weight (5) yarn is recommended. Thicker yarn works up faster, making the project feel quicker.
- Yardage: This will depend on the size you’re making and your chosen yarn weight. As a general guide, for an adult size medium, you might need anywhere from 1000-1500 yards of worsted weight yarn, or 700-1000 yards of bulky weight. Always err on the side of buying more than you think you’ll need!
- Crochet Hook: The size of your hook will depend on your yarn weight. Check the yarn label for a recommended hook size, then adjust if needed to achieve the correct gauge (more on that below).
- Tapestry Needle (Yarn Needle): Essential for weaving in ends and seaming.
- Scissors: For cutting yarn.
- Stitch Markers (Optional but Recommended): Helpful for marking rows, beginnings of rounds, or specific stitches.
- Measuring Tape: Crucial for checking your gauge and ensuring your cardigan is the right size.
Understanding Gauge: Your Project’s Blueprint
Gauge refers to the number of stitches and rows per inch (or centimeter) achieved with a specific yarn and hook combination. This is the most critical step for ensuring your cardigan fits correctly.
- Make a Swatch: Using your chosen yarn and hook, crochet a small square (at least 4×4 inches or 10×10 cm) using the main stitch you’ll be using for the cardigan (e.g., HDC).
- Measure: After crocheting, lay your swatch flat and measure how many stitches you have across 4 inches and how many rows you have in 4 inches.
- Adjust:
- If you have more stitches/rows than the pattern suggests (or than you desire for your size), your stitches are too small. Go up a hook size.
- If you have fewer stitches/rows, your stitches are too large. Go down a hook size.
- Repeat until your gauge matches the desired measurement.
Choosing Your Size
Since this is an “easy” cardigan, we’ll rely on common body measurements. You’ll want to decide if you prefer a more fitted or relaxed fit.
General Sizing Guide (measure around the fullest part of your bust):
- Small: 32-34 inches
- Medium: 36-38 inches
- Large: 40-42 inches
- XL: 44-46 inches
- 2XL: 48-50 inches
- 3XL: 52-54 inches
You’ll also need to consider the desired length of your cardigan and sleeve length.
The Main Stitch: Keeping it Simple
For an easy cardigan, a single crochet (SC), half double crochet (HDC), or double crochet (DC) stitch creates a lovely fabric.
- Single Crochet (SC): Creates a dense, sturdy fabric. Can be a bit slow to work up.
- Half Double Crochet (HDC): A good balance of speed and drape. Often recommended for cardigans.
- Double Crochet (DC): Works up quickly and creates a looser, more drapey fabric.
For the purpose of this guide, we’ll primarily refer to Half Double Crochet (HDC) as the main stitch.
Easy Cardigan Construction: Piece by Piece
Our easy cardigan will be constructed from five main rectangular pieces:
- Back Panel: One large rectangle.
- Front Panels (2): Two smaller rectangles.
- Sleeves (2): Two rectangles.
General Instructions for Each Piece (using HDC):
- Chain (ch) a starting chain: The length of your chain will determine the width of your panel.
- Row 1: HDC in the 2nd chain from the hook and in each chain across. Ch 1, turn.
- Subsequent Rows: HDC in each stitch across. Ch 1, turn.
- Repeat until your panel reaches the desired length.
Step 1: The Back Panel
The back panel will determine the overall width and length of your cardigan.
- Determine Width: Measure the widest part of your back from armpit to armpit, and add a few inches for ease (e.g., 2-4 inches). This will be the width of your back panel.
- Chain: Chain enough stitches to achieve this width based on your gauge.
- Crochet Rows: Work in HDC rows until your panel reaches the desired length from the top of your shoulder to where you want the bottom hem of your cardigan to be.
- Fasten Off: Cut your yarn, leaving a tail about 6 inches long, and pull it through the loop on your hook to secure.
Step 2: The Front Panels (Make 2)
Each front panel will be approximately half the width of your back panel (minus any overlap you might want).
- Determine Width: Take the width of your back panel and divide it by two. You might want to subtract an inch or two if you prefer less overlap, or add an inch or two if you want more coverage.
- Chain: Chain enough stitches to achieve this width based on your gauge.
- Crochet Rows: Work in HDC rows until your panel reaches the same length as your back panel.
- Fasten Off: For both panels.
Step 3: The Sleeves (Make 2)
The sleeves are also simple rectangles. You’ll want to determine the desired circumference of your upper arm and the length from your shoulder to your wrist.
- Determine Width (Arm Circumference): Measure around the fullest part of your upper arm, then add 2-4 inches for ease. This will be the width of your sleeve panel.
- Chain: Chain enough stitches to achieve this width based on your gauge.
- Crochet Rows: Work in HDC rows until your panel reaches the desired length from your shoulder to your wrist.
- Fasten Off: For both sleeves.
Assembly: Bringing it All Together
Now for the magic part – turning your rectangles into a wearable cardigan! We’ll use a tapestry needle and yarn for seaming.
- Lay Flat: Lay your Back Panel flat.
- Attach Front Panels: Place one Front Panel on top of the Back Panel, lining up the side edges and the top edge (shoulder). You’ll be seaming the shoulder first.
- Shoulder Seams: Using your tapestry needle and a length of yarn, whip stitch or mattress stitch across the top edge where the front panel meets the back panel. Repeat for the other shoulder.
- Side Seams: Once the shoulders are seamed, fold your Front Panels over so the cardigan is “inside out.”
- Line up the side edges of the Front Panels with the side edges of the Back Panel.
- Starting from the bottom hem, seam up the side until you reach your desired armhole opening. Leave enough space for your arm to comfortably fit (usually 8-10 inches, depending on size). Repeat for the other side seam.
- Attach Sleeves:
- Fold each sleeve panel in half lengthwise and seam the long raw edges together to form a tube.
- With the cardigan still inside out, insert a sleeve tube into an armhole opening. Match the seam of the sleeve with the bottom of the armhole opening.
- Evenly distribute the rest of the sleeve opening around the armhole.
- Using your tapestry needle, seam the sleeve opening to the armhole of the cardigan. Repeat for the second sleeve.

Finishing Touches: Adding Polish
These steps will give your easy cardigan a polished, professional look.
- Weave in Ends: This is often the least favorite part, but it’s crucial! Use your tapestry needle to carefully weave in all loose yarn tails. Go in different directions to ensure they are secure and won’t unravel.
- Add a Border (Optional but Recommended): A simple border around the entire opening of the cardigan (including the bottom hem and front edges) can elevate the look.
- Attach yarn to a corner of the bottom hem.
- Work a row or two of single crochet (SC) evenly around the entire opening. When working into the side of rows, aim for 1 SC per row or 2 SC for every 3 rows, adjusting to keep the edge flat and prevent puckering or rippling.
- Fasten off and weave in ends.
- Blocking (Optional but Highly Recommended): Blocking is the process of wetting or steaming your finished crochet item and shaping it to its final dimensions. It helps even out stitches, improve drape, and give your cardigan a professional finish. Refer to your yarn label for specific blocking instructions.
Tips for Success
- Don’t Be Afraid to Undo: Crochet is forgiving! If you make a mistake, don’t hesitate to “frog” (unravel) your work and try again.
- Count Your Stitches: Especially in the beginning of rows, regularly count your stitches to ensure your panels maintain consistent width.
- Take Breaks: Crochet is a marathon, not a sprint. Taking breaks will prevent hand strain and keep you motivated.
- Watch Tutorials: If you’re new to a stitch or technique, there are countless free video tutorials online (YouTube is a great resource!).
- Embrace Imperfection: Your first few projects might not be perfect, and that’s okay! Each stitch is a learning experience.
Your Cozy Creation Awaits!
With a little patience and these straightforward steps, you’ll soon be sporting a handmade crochet cardigan that’s not only stylish but also a testament to your growing crochet skills. Enjoy the process of creating, and revel in the warmth and satisfaction of your very own cozy masterpiece!
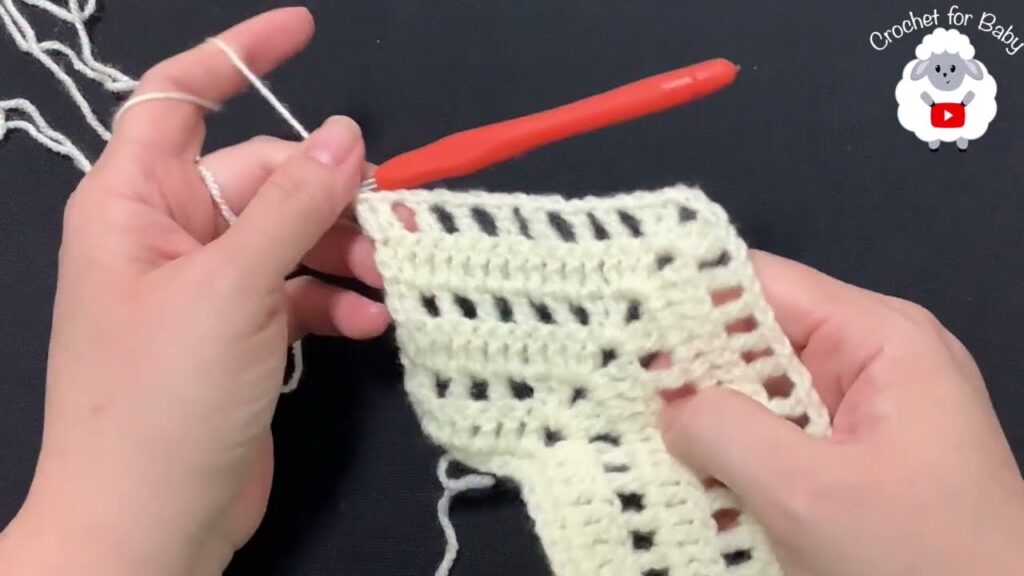
Video tutorial:


