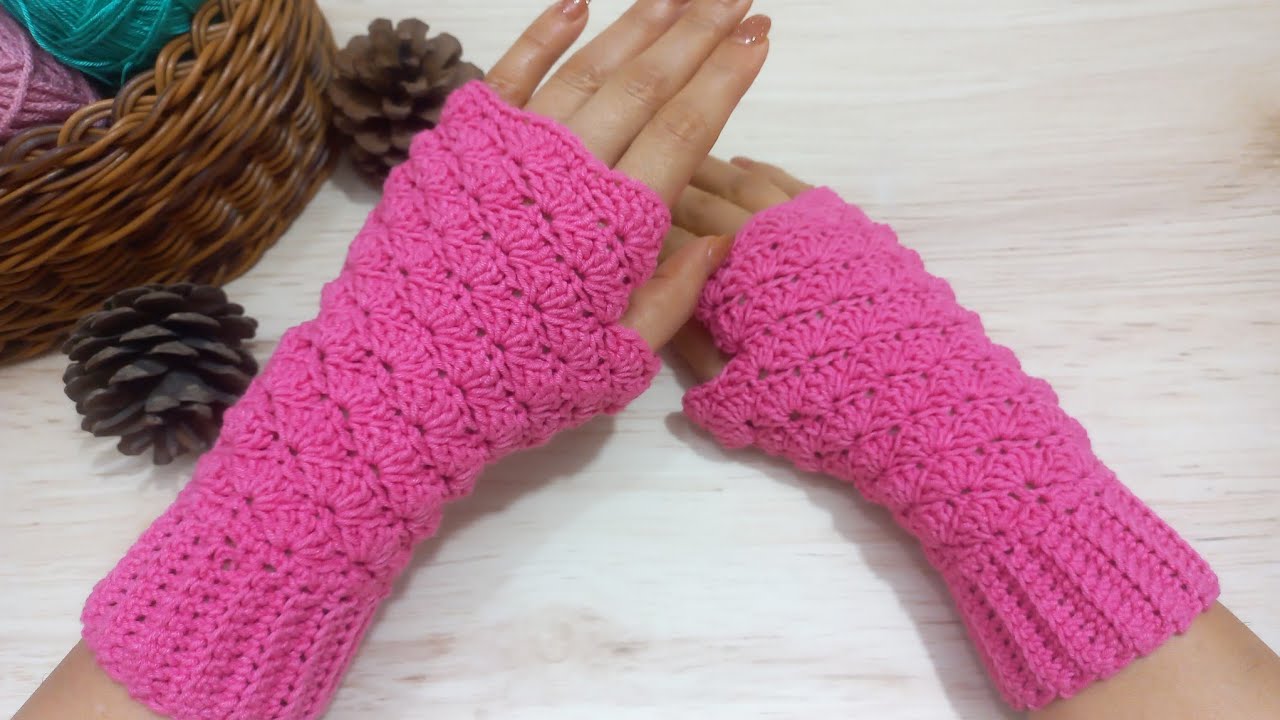
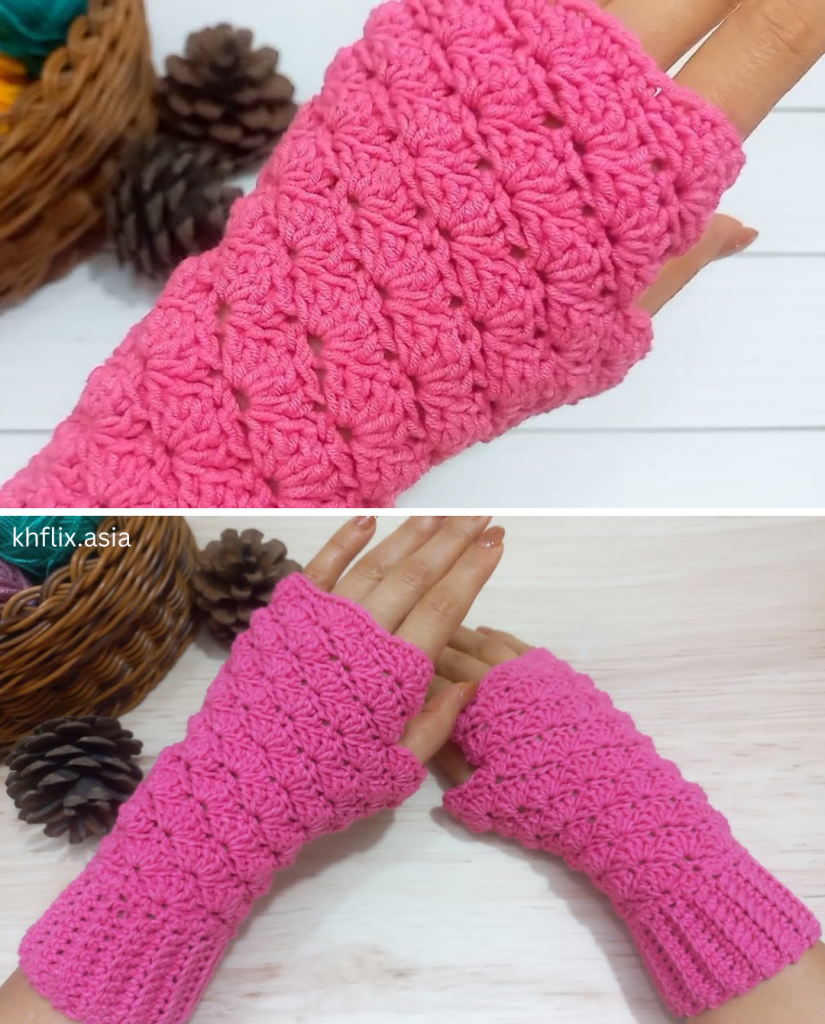
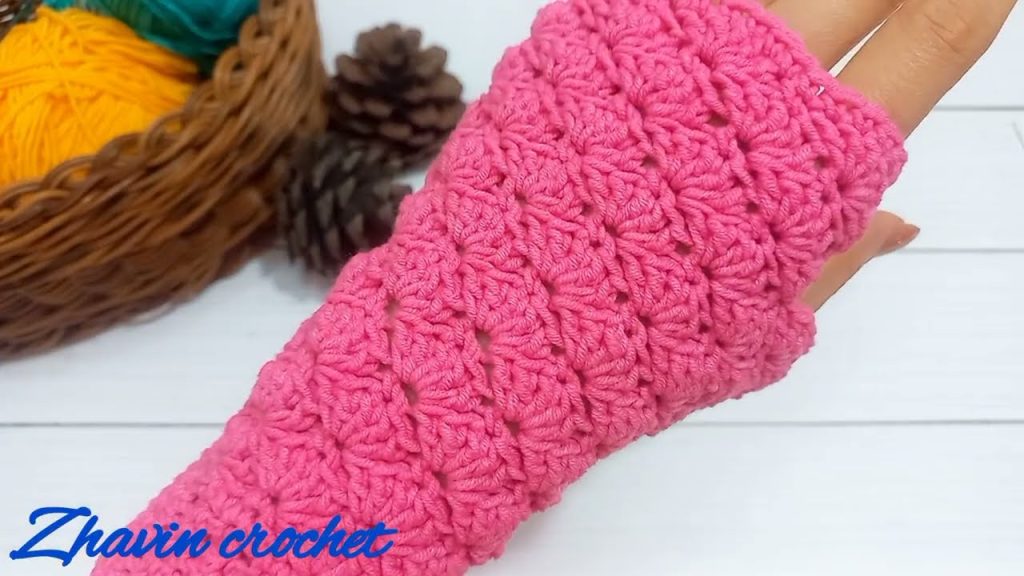
Hello, crocheters! Are you dreaming of a cozy, elegant accessory that looks as beautiful as a mermaid’s tail? I am delighted to share the pattern for the Mermaid Scales Mitts—a pair of sophisticated fingerless gloves featuring a snug ribbed cuff and a beautiful, dense shell stitch pattern that mimics the look of overlapping scales.
Inspired by simple, yet gorgeous, crochet glove designs, this pattern is perfect for crocheters comfortable with basic shaping and working in the round. The shells are offset in each row, creating a continuous wave of texture that is both fun to make and stunning to wear.
Grab your favorite soft, durable yarn, and let’s create some wrist warmth and oceanic style!

Why You’ll Love Crocheting These Mitts:
- Custom Fit Cuff: The cuff uses a vertical ribbing technique (Back Loop Only SC) for maximum stretch and a snug fit.
- Dense Texture: The 5-DC shell stitch provides warmth and a gorgeous, scale-like texture.
- Beginner-Friendly Shaping: Shaping for the thumb is done through simple increases over a few rounds, creating a defined gusset.
- Quick Project: A satisfying project that works up quickly, ideal for gifting or using up small skeins of yarn.
Materials & Notions
- Yarn: Approximately 150-180 yards of DK Weight (#3) or Sport Weight (#2) yarn. A smooth acrylic or wool blend is recommended for stitch definition.
- Hook: Size E/4 (3.5 mm) crochet hook, or size needed to obtain gauge.
- Notions: Tapestry Needle, Scissors, Stitch Markers (essential).
- Sizing: Pattern is written for an average adult wrist (7–8 inches circumference).
Essential Crochet Abbreviations
| Abbreviation | Description |
| ch | chain |
| st(s) | stitch(es) |
| sl st | slip stitch |
| sc | single crochet |
| dc | double crochet |
| BLO | back loop only |
| Shell | 5 dc into the same stitch |
| Sk | skip |
Gauge
- Cuff: 8 rows of BLO SC should measure approximately 1.5 inches wide.
- Body (Rounds 2 & 3): Shell repeat (Shell + SC) should measure 1.75 inches wide.
The Pattern: Mermaid Scales Mitts (Make Two)
Part 1: The Ribbed Cuff
The cuff is worked flat in rows, then joined into a loop.
- Foundation: Ch 11.
- Row 1: Sc in the 2nd ch from hook and in each ch across. (10 sc)
- Row 2: Ch 1 (does not count as st), turn. Sc in the first st (under both loops). Sc in the BLO of the next 8 sts. Sc in the last st (under both loops). (10 sc)
- Rows 3 – 30 (or until desired wrist circumference): Repeat Row 2. The number of rows must be a multiple of 6 (e.g., 30 rows for average size).
Joining the Cuff:
- Fold the ribbed band in half, aligning Row 1 with Row 30.
- Sl st the stitches of Row 30 to the foundation chain (Row 1) to create a neat seam. Do not fasten off.
- Turn the work right-side out (the slip stitch seam should be inside).
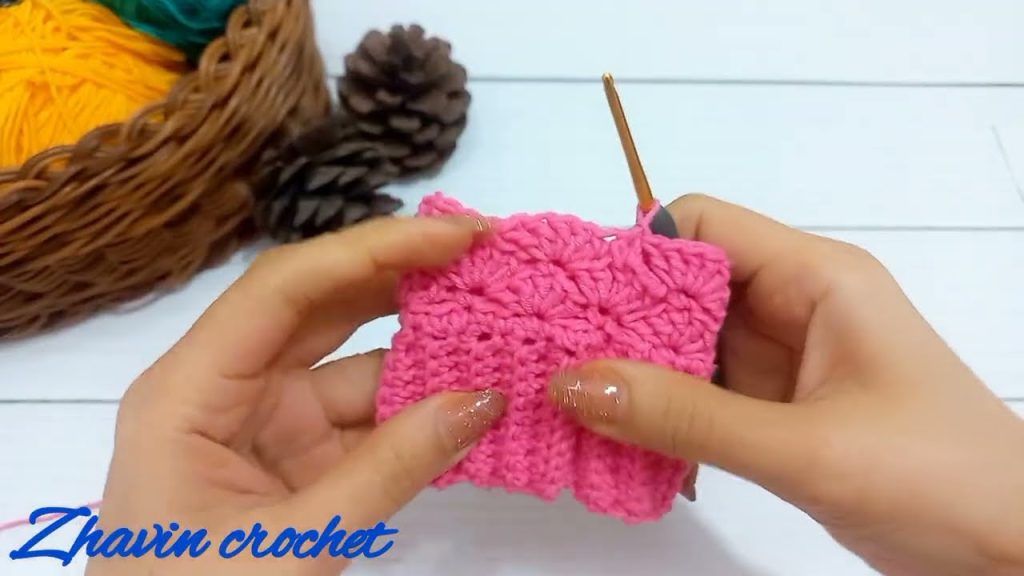
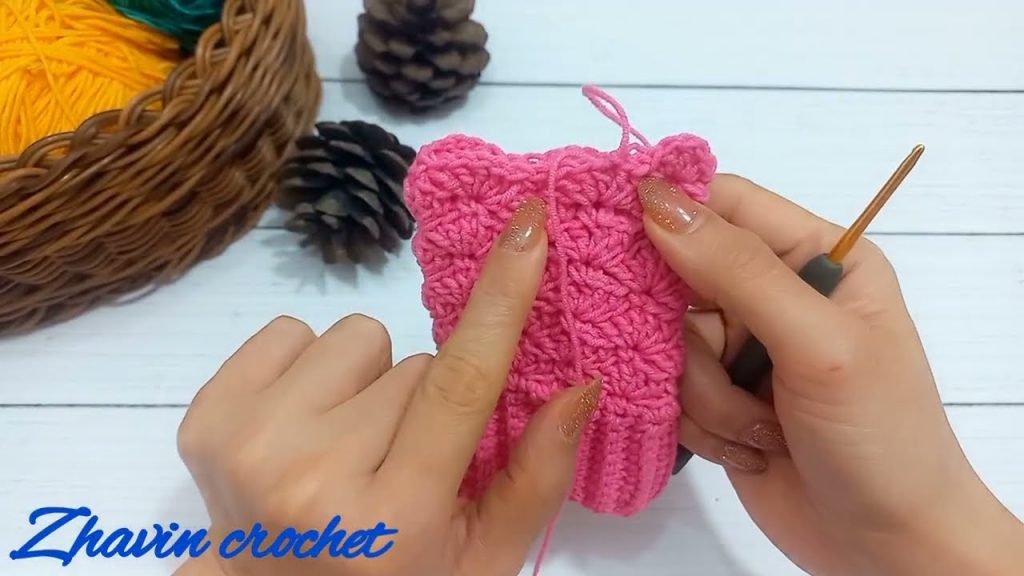
Part 2: Body Setup & Shell Pattern
The body is now worked in joined rounds along the long edge of the cuff.
Round 1 (Foundation):
- Ch 1. Work 1 sc evenly around the top edge of the cuff, placing 1 sc at the end of each ribbed row.
- Sizing Check: You should have a total of 30 sc (if you did 30 ribbed rows). Sl st to the first sc to join. (30 sc)
Round 2 (Shells):
- Ch 1, sc in the same st (this is your first SC anchor).
- *Sk 2 sts, work a Shell (5 dc) into the next st. Sk 2 sts, sc into the next st.*
- Repeat from * to * 4 more times. You should have 5 full shell repeats. Sl st to the first sc to join. (5 Shells, 5 SC anchors)
Round 3 (Offset Shells):
- Sl st into the next dc, sl st into the next dc, and sl st into the next dc (the 3rd, or center, dc of the shell).
- Ch 3 (counts as 1 dc). Work 2 dc into the same center dc. (This starts the round with half a shell).
- *Sc into the next SC anchor. Work a Shell (5 dc) into the 3rd dc of the next shell.*
- Repeat from * to * 4 more times.
- End by working 2 dc into the same starting 3rd dc (completing the first shell). Sl st to the top of the starting ch-3 to join. (5 Shells, 5 SC anchors)
Round 4 (Shells over Shells):
- Ch 1, sc into the 3rd dc of the starting shell.
- *Work a Shell (5 dc) into the next SC anchor. Sc into the 3rd dc of the next shell.*
- Repeat from * to * around. Sl st to the first sc to join. (5 Shells, 5 SC anchors)
Rounds 5 – 8: Repeat Rounds 3 and 4 two more times. (Total of 8 rounds of Shell pattern).
Try On Check: The work should reach the base of your thumb. You will now begin the thumb gusset increases.
Part 3: The Thumb Gusset
You will be increasing on the designated thumb side (opposite the cuff seam) to make room for the thumb.
| Hand | Increase Location (Looking at your hand) |
| Right Hand | Near the End of the round. |
| Left Hand | Near the Beginning of the round. |
Round 9 (Increase Round 1):
- RIGHT HAND: Work pattern as normal (like Round 3) until you reach the last SC anchor before joining. In this last SC anchor, work:
(sc 1, 3 dc, sc 1). Sl st to join. (5 full shells + 1 tiny shell) - LEFT HAND: Sl st to the center of the first shell (as in R3), Ch 3, 2 dc in same st. In the first SC anchor, work:
(sc 1, 3 dc, sc 1). Continue pattern as normal to the end. Sl st to join. (5 full shells + 1 tiny shell)
Round 10 (Increase Round 2):
- RIGHT HAND: Work pattern as normal (like Round 4) until you reach the tiny shell (the last one). Sc into the 3rd dc of the shell before the tiny shell. In the middle (3-dc) of the tiny shell, work:
(Shell). Sc into the 3rd dc of the next (last) shell. Sl st to join. (7 Shells total now) - LEFT HAND: Ch 1, sc into the 3rd dc of the starting shell. Work a Shell (5 dc) in the next SC anchor. Work a Shell in the next (3-dc) tiny shell. Continue pattern as normal to the end. Sl st to join. (7 Shells total now)
Round 11 (Work Even):
- Continue the established pattern (Shells over SCs, SCs over Shells) with the new total of 7 Shells around. This round adds height and stabilizes the gusset.
Part 4: Creating the Thumb Hole
Round 12 (Thumb Hole):
This round will skip two shells, creating the thumb opening.
- RIGHT HAND: Work pattern as normal (like R4) for the first 3 shells. Sc into the 3rd dc of the 4th shell. Chain 3. Skip the next 2 shells (5th and 6th shell) and the SC anchor between them. Sc into the 3rd dc of the last shell. Continue pattern to the end. Sl st to join. (5 Shells remain, with a Ch-3 loop)
- LEFT HAND: Work pattern as normal (like R4). Sc into the 3rd dc of the 4th shell. Chain 3. Skip the next 2 shells (5th and 6th shell) and the SC anchor between them. Sc into the 3rd dc of the 7th shell. Continue pattern to the end. Sl st to join. (5 Shells remain, with a Ch-3 loop)
Round 13 (Stabilize Hole):
- Work pattern as normal (like R3 or R4, depending on the current round number in your repeat sequence) over the 5 existing shells. When you reach the Ch-3 loop, simply skip the chain and work the next SC/Shell into the next appropriate stitch. The goal is to return to the original 5-shell count.
Part 5: Final Edging
Work 1-2 more rounds of the shell pattern if you want more length on the hand, then finish with a decorative trim.
Round 14 (Optional Length): Work one more Shell/SC repeat round. (5 Shells)
Final Round (Reverse SC Edging):
- Ch 1, do not turn.
- Working from left to right, sc into the stitch to the right of your hook (reverse sc).
- Continue reverse sc evenly around the top opening of the glove.
- Sl st to the starting ch-1 to join.

Finishing:
- Fasten off and weave in all ends securely using a tapestry needle.
- (Optional but Recommended) Block the gloves gently to set the shell pattern and even out the thumb opening.
Your Mermaid Scales Mitts are complete—enjoy the beautiful, scale-like texture and the cozy warmth they provide!
Video tutorial:


