Hello, home organization aficionados and speedy crocheters! Are you looking for a stylish, modern storage solution that you can whip up in an afternoon? I am excited to share the pattern for the Urban Weave Structured Stash Box—a sturdy, rectangular basket designed with thick yarn for a clean, upright shape and bold color blocking for a contemporary look.
Inspired by simple yet chic storage tutorials, this pattern is perfect for t-shirt yarn (or similar bulky cords), which provides instant structure without the need for stiffeners or plastic inserts. The key is the base shaping and the simple Back Loop Only (BLO) transition row that creates a crisp, professional corner.

Grab your favorite chunky yarn, a big hook, and let’s conquer clutter with style!
Why You’ll Love Crocheting This Box:
- Stands Upright: The combination of sturdy yarn and the special “Lift” row ensures the sides stay vertical and structured.
- Quick Project: Using bulky yarn and simple SC stitches means you can finish the base and sides in a few hours.
- Customizable: Easily change the height, length, or color sequence to fit any shelf or room decor.
- Perfect for Storage: Ideal for organizing craft supplies, toiletries, toys, or magazines.
Materials & Notions
- Yarn (Color A, B, C): Approximately 500-700 yards total of Jumbo/Super Bulky (#7) weight yarn. T-shirt yarn, macrame cord, or triple-stranded chunky yarn is recommended for rigidity.
- Hook: Size P/16 (11.5 mm) or Q (15.0 mm) crochet hook, or size needed to obtain gauge. Use a hook size slightly smaller than usual for this yarn to ensure a tight, stiff fabric.
- Notions: Tapestry Needle (extra-large eye for bulky yarn), Scissors, Stitch Markers (2-4 required for the base).
Essential Crochet Abbreviations
| Abbreviation | Description |
| ch | chain |
| st(s) | stitch(es) |
| sl st | slip stitch |
| sc | single crochet |
| inc | increase (2 sc in the same st) |
| BLO | back loop only |
| PM | Place Marker |
Sizing and Gauge
- Size: Small Box (Approx. 10″ L x 6″ W x 6″ H)
- Gauge (approximate for T-shirt yarn): 5 SC and 5 Rows = 4 inches (10 cm).
The Pattern: Small Urban Weave Stash Box
Part 1: The Sturdy Rectangular Base
The base is worked in continuous rounds, increasing at the four corners to maintain a flat rectangle.
Starting Chain: Using Color A, Ch 26.
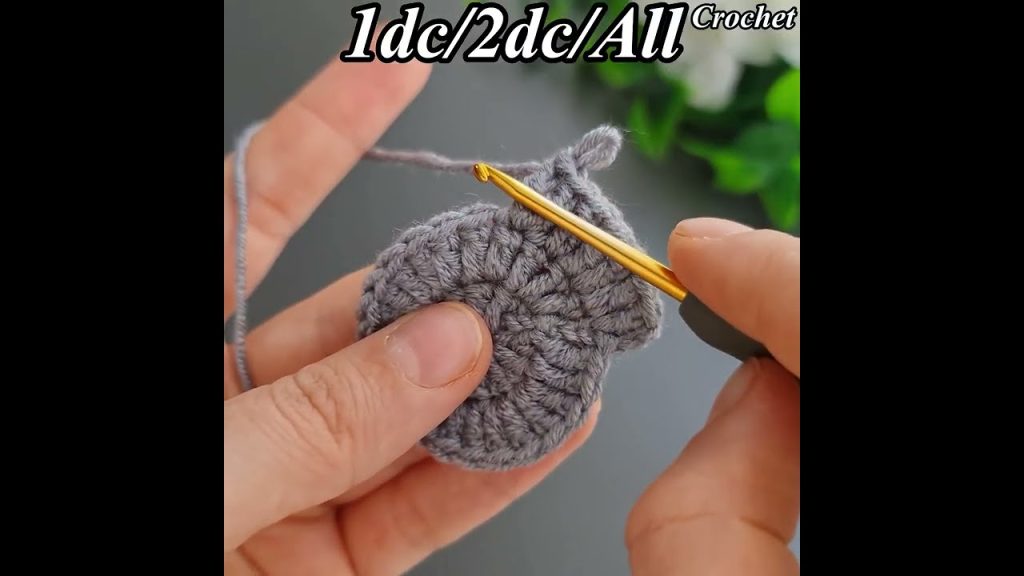
R1 (Initial SC):
- Sc in the 2nd ch from the hook. Sc in the next 23 chains.
- Work 3 sc in the last chain (Corner 1). PM in the center sc of this 3-sc group.
- Turn to work along the opposite side of the chain. Sc in the next 24 stitches (you will be crocheting over the tails of the starting chain).
- Work 2 sc in the first stitch (where you placed the first sc in this round) (Corner 2). PM in the second sc of this 2-sc group. Sl st to the first sc to join. (54 sts total)
R2 (Increase):
- Ch 1 (does not count as st). Sc in the first st (where you sl st). Inc in the next st (Corner 2, where you marked). PM in the second sc of the inc.
- Sc in the next 24 sts (the long side).
- Inc in the next st, sc in the next st (the marked st), Inc in the next st (Corner 1). PM in the center sc of the 3-st group, and mark the 1st and 3rd st of this group as well (3 markers total for this corner).
- Sc in the next 24 sts (the other long side).
- Inc in the next st (Corner 2, where you marked). PM in the second sc of the inc. Sl st to the first sc of the round to join. (58 sts total)
R3 (Increase):
- Ch 1. Sc in the first 2 sts. Inc in the next st (Corner 2, marked st). PM in the second sc of the inc.
- Sc along the long side until you reach the next marked corner (3 marked sts).
- Work
Inc, sc 1, Incinto the marked 3-st group, marking the center st. (This is the increase pattern for all four corners). - Continue SC along the long side, repeating the
Inc, sc 1, Incpattern at the remaining two corners. - Sl st to the first sc to join. (66 sts total)
R4 (Final Increase Round):
- Ch 1. Sc in the first 3 sts. Inc in the next st (Corner). PM in the second sc of the inc.
- Continue SC along the long side, working the corner increase pattern (
Inc, sc 1, Inc) at the four corners. - Sl st to the first sc to join. (74 sts total)
Base Check: Your base should now be flat and measure approximately 10″ x 6″.
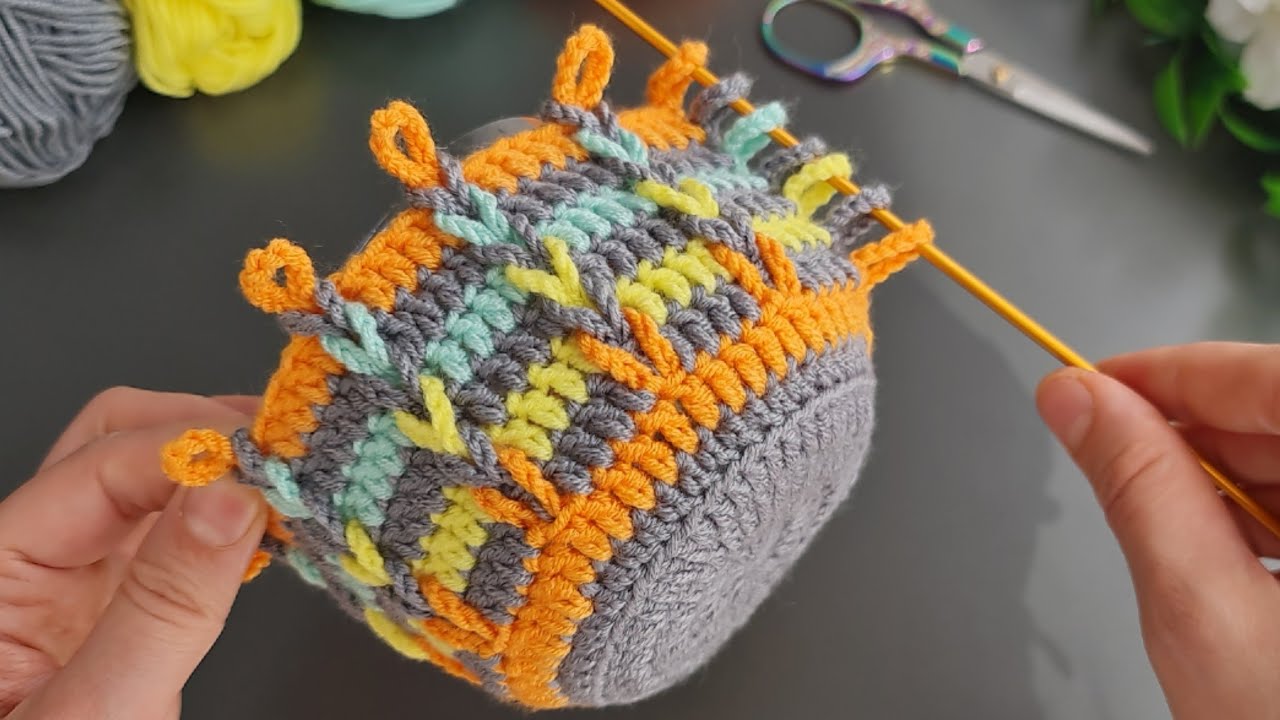
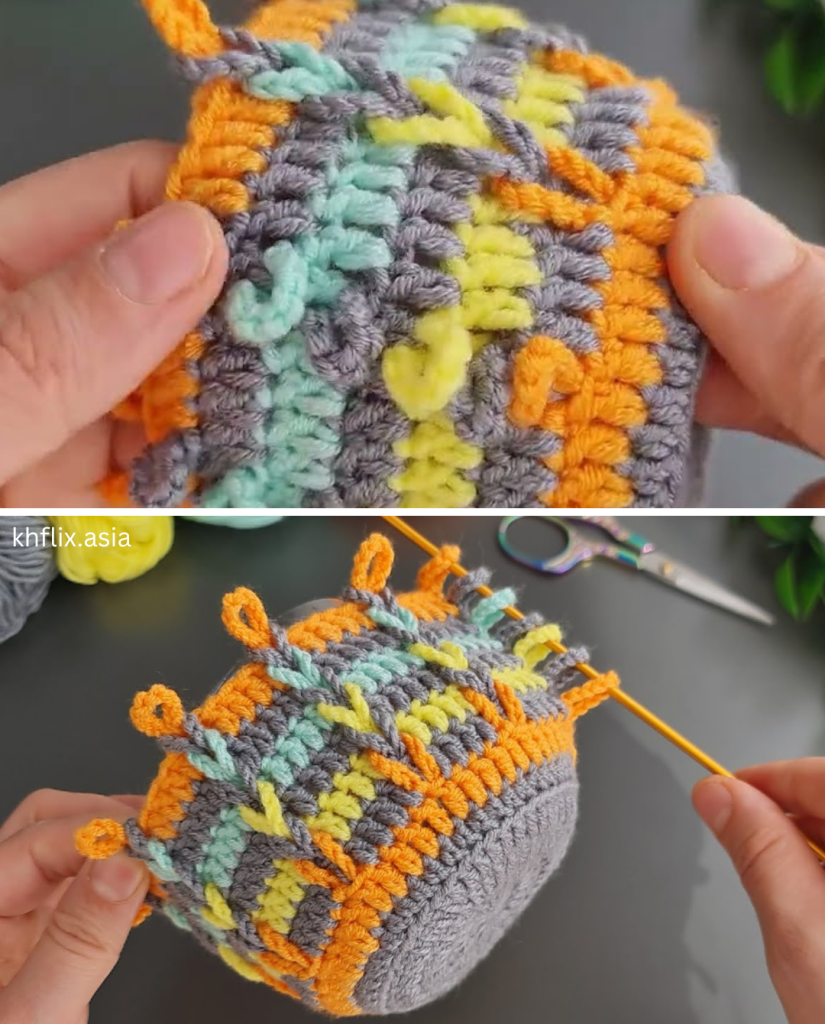
Part 2: The Vertical Lift (The “Urban Weave” Edge)
This single row is crucial for creating the sharp, structured transition from the base to the vertical sides.
R5 (The Lift Row):
- Ch 1. Work 1 sc into the Back Loop Only (BLO) of every stitch around.
- Do NOT increase at the corners. Work only 1 BLO SC into each corner stitch.
- Sl st to the first sc to join. (74 sts total)
- Tip: When you complete this round, the box will immediately begin to stand up.
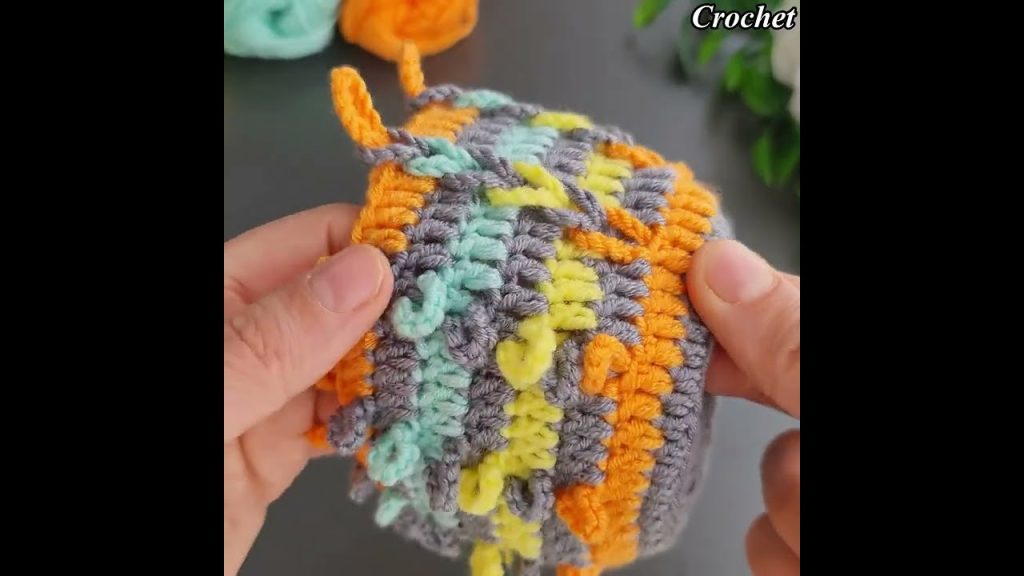
Part 3: The Body and Color Blocking
The remainder of the body is worked in continuous SC rounds, without joining or increasing, to maintain height.
R6 (First Vertical Round):
- Ch 1 (does not count as st). Sc in the first st and in every st around, working through both loops now.
- Do not sl st to join. Continue working in a spiral. PM in the first st of the round to mark the start/end of the round. (74 sts)
R7 – R8 (Body in Color A):
- Continue working SC in a spiral for 2 more rounds.
R9 (Color Change to B):
- When you reach the last st of R8, pull up the loop for the final SC, drop Color A, and pull through the final loop with Color B.
- Continue working SC in a spiral with Color B.
- Carry Color A along the inside of the work if you plan to switch back soon, or simply trim the yarn.
R10 – R12 (Body in Color B):
- Continue working SC in a spiral for 3 more rounds with Color B.
R13 (Color Change to C):
- Change to Color C on the last SC of R12.
- Continue working SC in a spiral with Color C.
R14 – R15 (Body in Color C):
- Continue working SC in a spiral for 2 more rounds with Color C.
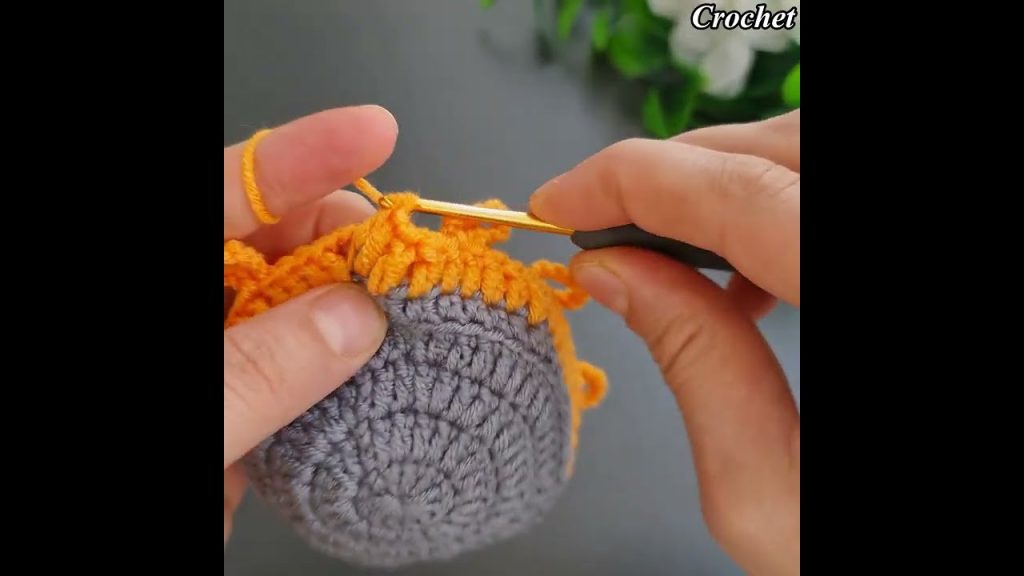
Part 4: The Handle and Rim Finish
R16 (Handle Round):
- Continue SC until you reach the desired center point of the first short side (approximately 9 stitches from the corner).
- Handle Opening 1: Sc in the next 3 sts. Ch 10, sk 10 sts, sc in the next 3 sts.
- Continue SC across the long side.
- Handle Opening 2: Repeat the handle instructions (Sc 3, Ch 10, Sk 10, Sc 3) on the second short side.
- Finish the round with SC up to the starting marker.
R17 (Final Stability Round):
- Sl st into every stitch around (including the chain stitches of the handle opening). This creates a tight, non-stretchy rim for maximum stability.
- When you reach the starting point, cut the yarn, pull the tail through, and use the tapestry needle to invisibly join the final stitch to the first sl st.

Finishing Your Stash Box
- Weave Ends: Use your large tapestry needle to securely weave in all yarn tails from the starting chain and the color changes.
- Shape: Mold the basket by hand, pressing the base flat and ensuring the corners are sharply defined. The stiff t-shirt yarn should hold its shape immediately.
Your Urban Weave Structured Stash Box is complete—a stylish, sturdy organizer that makes clutter disappear! Enjoy the beautiful texture and clean lines!
Video tutorial:


