The crisp air, the changing leaves, the smell of cinnamon and pumpkin—there’s nothing quite like the feeling of fall. As we prepare for the season of gathering and gratitude, there’s no better time to infuse your home with a handmade touch.
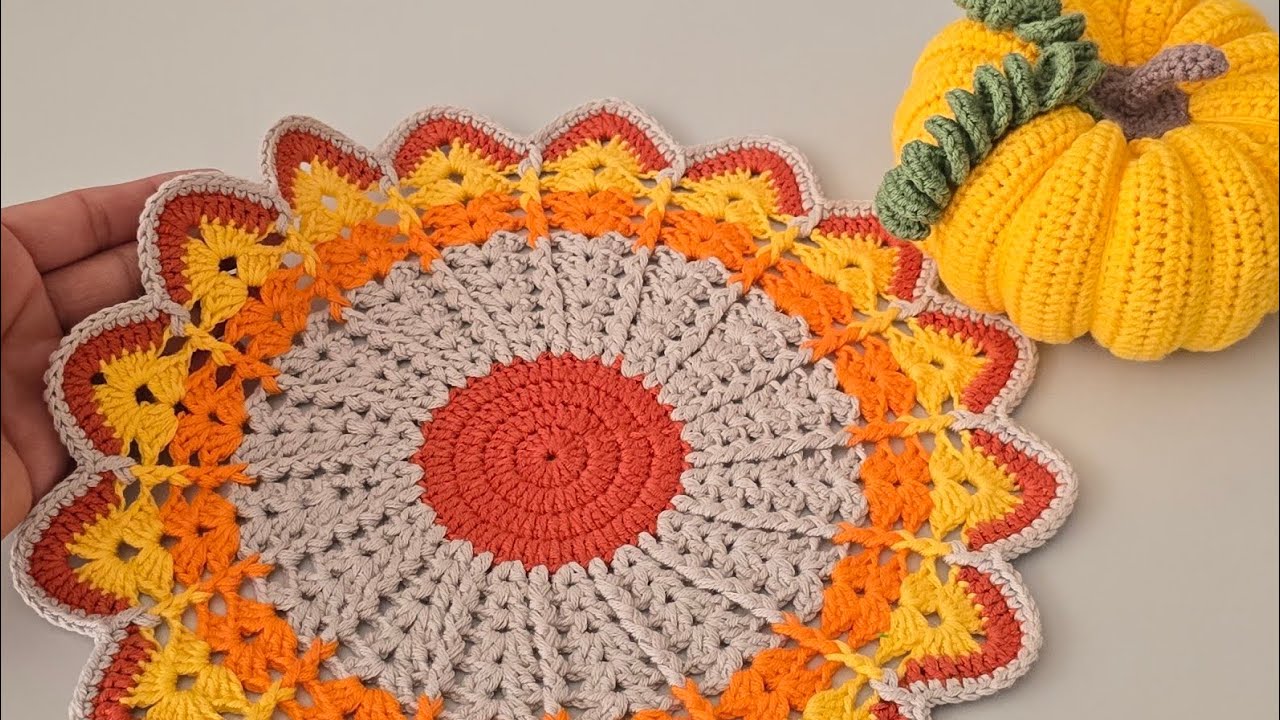
This tutorial is for my “Harvest Texture” Placemat, a quick and easy project that instantly elevates your dining table. Using a simple combination of basic stitches, we’ll create a rich, durable fabric that looks complex but is incredibly beginner-friendly. Forget plain rectangle placemats; this design adds a sophisticated, tactile element that will have your guests asking, “Where did you buy these?”

Let’s dive in and stitch up some holiday magic!
🍂 Why Choose the Harvest Texture Placemat?
- Fast & Satisfying: This pattern uses a one-row repeat that is easy to memorize, making it the perfect project for crafting while watching your favorite movie. You can easily complete a placemat in an afternoon.
- Durable and Washable: We’ll use cotton yarn, which is tough enough to withstand spills, washes beautifully, and lays flat on your table (no curling edges!).
- Maximum Texture: The featured stitch—a variation of the classic moss stitch—creates a dense, woven-like fabric that beautifully showcases fall colors.
🧶 Materials & Tools
| Item | Details | Notes |
|---|---|---|
| Yarn | Worsted Weight (Category 4) 100% Cotton Yarn | Lily Sugar ‘n Cream or similar. Cotton is essential for absorbency and heat resistance. |
| Hook | 5.0 mm (H-8) Crochet Hook | This size works best for creating a firm, dense fabric that lies flat. |
| Colors | Two contrasting colors (A & B) | Color A (Main Body): Pumpkin Spice, Burnt Orange, or Deep Cranberry. Color B (Border): Cream, Latte, or Gold. |
| Tools | Tapestry Needle, Scissors, Stitch Markers |
Finished Size (Approximate): 12 inches x 18 inches (30 cm x 45 cm).
🧵 Special Stitches & Terminology (US Terms)
- Ch: Chain
- St(s): Stitch(es)
- SC: Single Crochet
- HDC: Half Double Crochet
- SL ST: Slip Stitch
- Even Moss Stitch (or Granite Stitch): A simple, dense stitch created by alternating a single crochet and a slip stitch.
🌟 The Pattern: “The Harvest Texture”
Skill Level: Advanced Beginner
Part 1: The Main Placemat Body (The Even Moss Stitch)
This pattern is worked in rows. The starting chain is your placemat’s long edge (length).
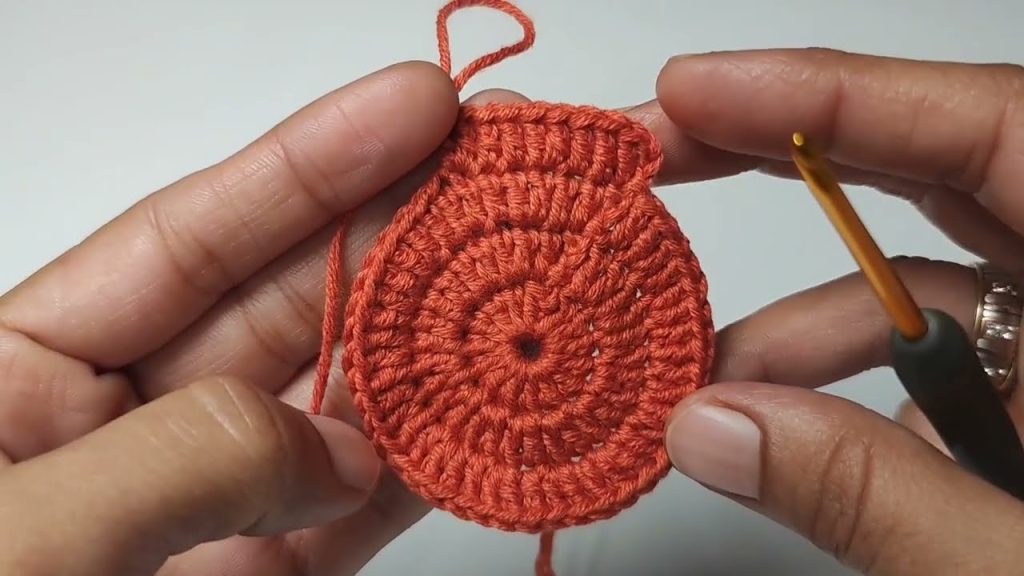
- Starting Chain (Color A): Chain 57. (This chain determines the length; adjust by adding or subtracting an even number of chains).
- Row 1: SC in the 2nd Ch from hook. SL ST in the next Ch. SC in the next Ch. Repeat from * to * across the row. You should end with a SC. (56 stitches total). Ch 1, turn.
- Row 2: SC in the very first st (which is the last SC from the previous row). SL ST in the next St (which is the SL ST from the previous row). SC in the next St (which is the SC from the previous row). Repeat from * to * across the row. You should end with a SC. Ch 1, turn.
- Pattern Note: The goal of the Even Moss Stitch is to always place a SC on top of a SL ST from the previous row, and a SL ST on top of a SC. This creates the incredible woven texture.
- Rows 3 – 50 (or to desired width): Repeat Row 2 until the piece measures approximately 11.5 inches tall (or your desired width).
- Fasten Off: On the last stitch of your final row, cut your yarn, pull through the loop, and secure.

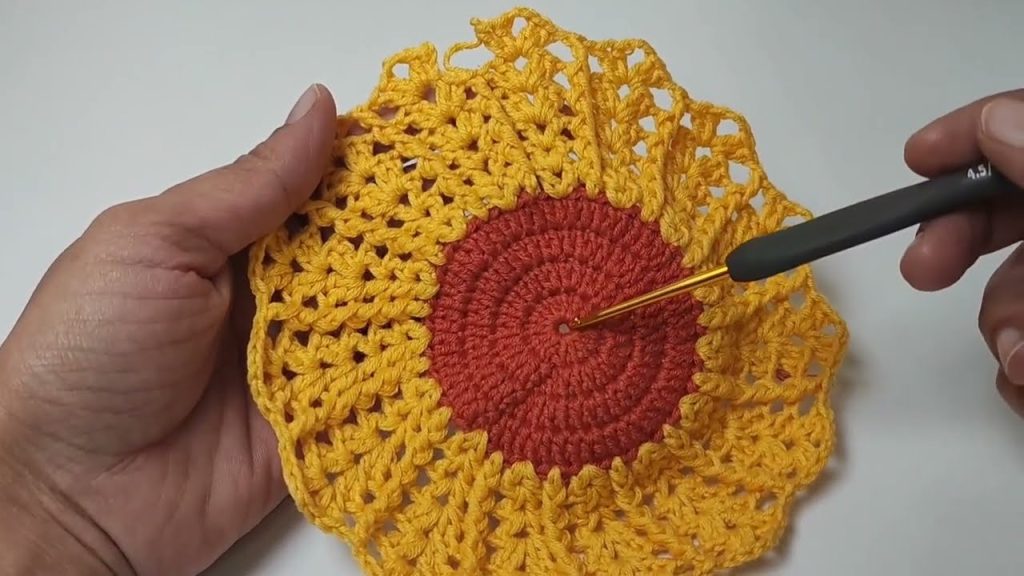
Part 2: The Framed Edge Border (Color B)
The border gives your placemat a clean, polished finish and helps ensure the edges lie perfectly flat.
- Join Yarn (Color B): Join Color B with a SL ST in any corner of the placemat. Ch 1.
- Round 1 (SC Border): Work SC stitches evenly around the entire perimeter of the placemat.
- Along the Top/Bottom Edges: Work 1 SC in each stitch across.
- Along the Side Edges: Work 1 SC for every row. (If you did 50 rows, work 50 SCs down the side).
- Corners: In each of the four corners, work 3 SC stitches into the same corner space. This allows the border to turn smoothly.
- Joining: SL ST to the first SC to join the round. Ch 1.
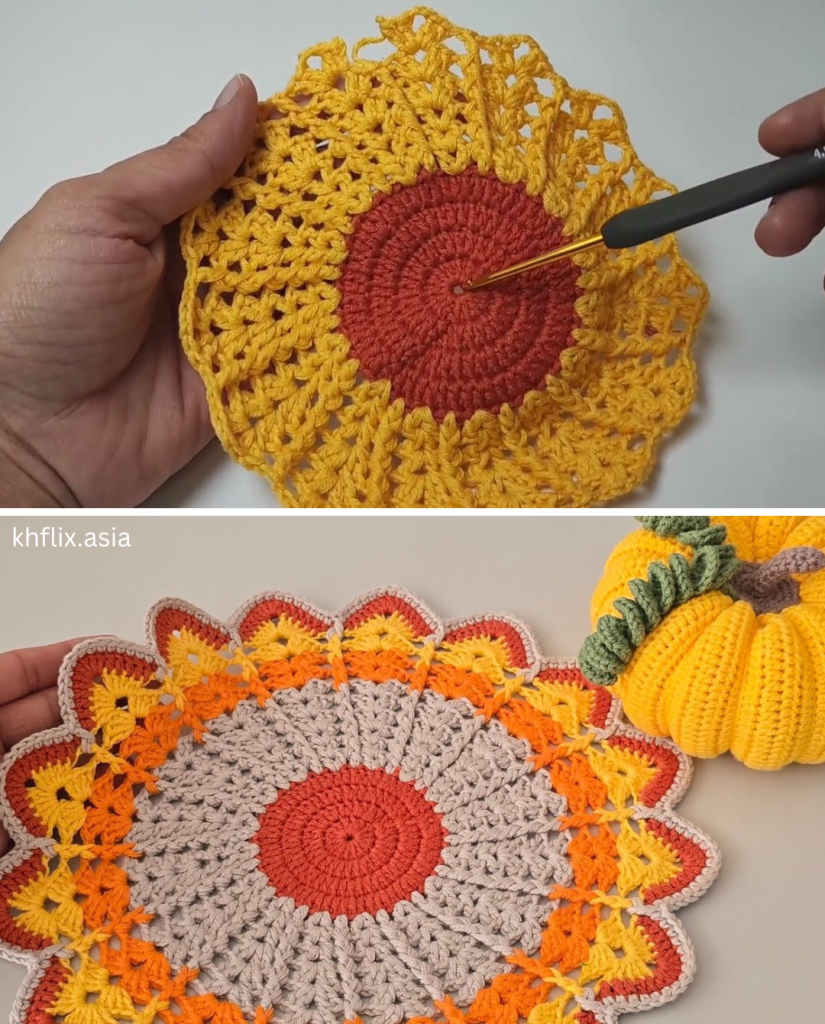
- Round 2 (HDC Border): Work HDC stitches evenly around the entire perimeter.
- Body: Work 1 HDC in every stitch around.
- Corners: In the middle stitch of the 3-SC corner group from the previous round, work (HDC, Ch 2, HDC). This creates a sharp, tailored corner.
- Final Join & Weaving: SL ST to the first HDC to join the round. Fasten off and use your tapestry needle to carefully weave in all yarn ends. Weaving in ends securely is crucial for an item that will be washed frequently!
🍽️ Styling Your Thanksgiving Table
Once your placemats are finished, here are a few ideas for turning them into the focal point of your holiday decor:
- Color Palette Harmony: If you used a rich, warm tone like Burnt Orange for the placemat, pair it with soft, cool-toned cloth napkins in sage green or deep navy for a striking contrast.
- Layering with Neutrals: Place the crochet placemat beneath a simple white or cream dinner plate. The contrast will make the texture of the crochet truly pop.
- Natural Centerpieces: Keep the centerpiece organic. Think simple garlands of eucalyptus, small copper pumpkins, or a few white taper candles. The handmade texture of the placemats will ground the entire setting.
- The Perfect Gift: A set of these placemats makes an incredible housewarming or host gift. Crocheted with love, they offer a personalized and lasting alternative to store-bought items.
I hope you enjoyed this journey into creating cozy, beautiful fall decor. These placemats are more than just a place setting—they are a warm welcome to your guests, crafted stitch by stitch. Happy crocheting!
Don’t forget to share your finished project! Tag us with #HarvestTexturePlacemat and show off your gorgeous table.
Video tutorial:


