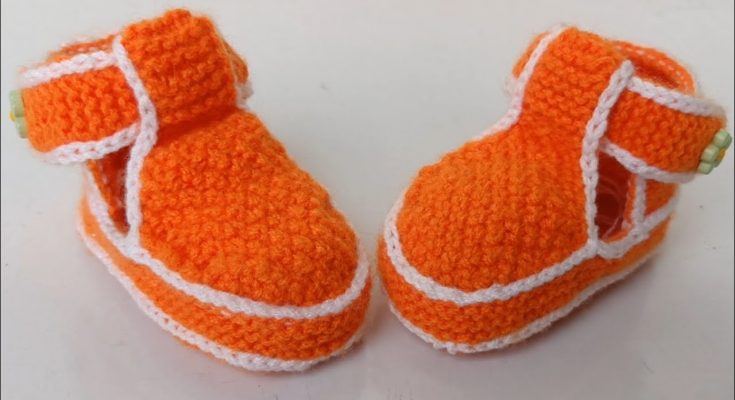
Knitting baby socks is one of the most rewarding small projects for knitters. Not only are they adorable and quick to make, but they also provide comfort and warmth to the tiniest of feet. Whether you’re an expectant parent, grandparent, or a thoughtful friend preparing a handmade gift, learning to knit baby socks allows you to create something both useful and heartfelt.
In this comprehensive guide, we’ll walk through everything you need to know to knit baby socks: from selecting the right materials to mastering the sock-making process. We’ll focus on a basic cuff-down pattern using double-pointed needles (DPNs), perfect for beginners and intermediate knitters alike.

🧶 Materials Needed
Before you start knitting, you’ll need the right supplies. Here’s a checklist:
Yarn
- Type: Choose a soft, washable yarn — typically fingering or sport weight.
- Fiber: Wool blends or superwash merino are ideal for warmth, comfort, and durability.
- Amount: One 50g skein is usually enough for several pairs of baby socks.
Needles
- Double-Pointed Needles (DPNs): Size US 1–3 (2.25mm–3.25mm), depending on your gauge and yarn weight.
- Alternatively, you can use Magic Loop method with a long circular needle.
Notions
- Stitch markers
- Tapestry needle for weaving in ends
- Scissors
- Measuring tape
- Row counter (optional)
🧷 Understanding Baby Sock Construction
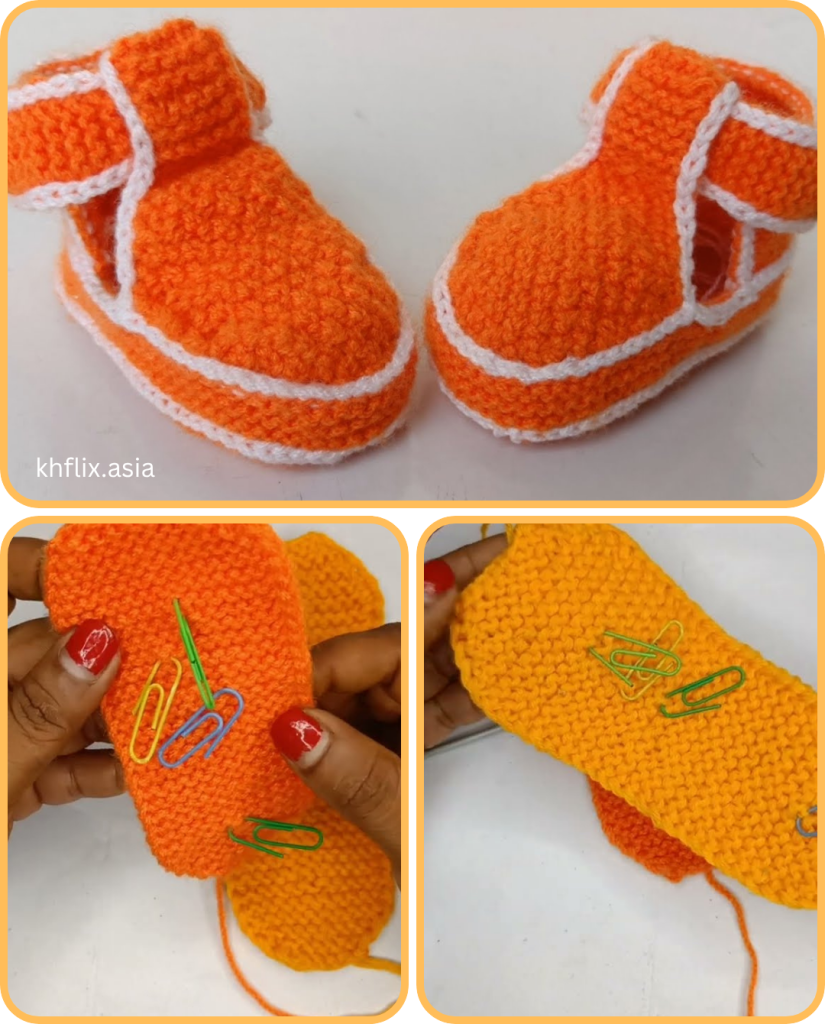
Baby socks follow the same basic structure as adult socks but on a miniature scale. They typically include:
- Cuff – the top of the sock, often ribbed for stretch.
- Leg – the section from cuff to heel.
- Heel flap and turn – creates the heel cup.
- Gusset – adds room around the ankle and joins heel to foot.
- Foot – the main body of the sock.
- Toe – shaped to fit the baby’s foot; finished with a grafted or closed toe.
📏 Sizing Guide
Babies grow quickly, and sizing is important for comfort. Here’s a general guideline:
| Age | Foot Length | Sock Length (Heel to Toe) |
|---|---|---|
| Newborn | 3.5″ (9 cm) | 3″ (7.5 cm) |
| 3-6 months | 4″ (10 cm) | 3.5″ (9 cm) |
| 6-12 months | 4.5″ (11 cm) | 4″ (10 cm) |
Always check your gauge and measure the baby’s foot if possible.
🧵 Basic Baby Sock Pattern (Cuff-Down)
This is a classic pattern suitable for newborns to 3-month-olds. Adjust the foot length for larger sizes.
Gauge
- 8 stitches per inch in stockinette
Cast-On
- Cast on 32 stitches using the long-tail method.
- Divide stitches evenly across 4 DPNs (8 stitches per needle).
- Join in the round, being careful not to twist.
Cuff (Optional Ribbing)
- Knit in k2, p2 rib for 1 inch (2.5 cm) or about 10 rounds.
Leg
- Knit all stitches in the round (stockinette stitch) for another 1 inch (2.5 cm).
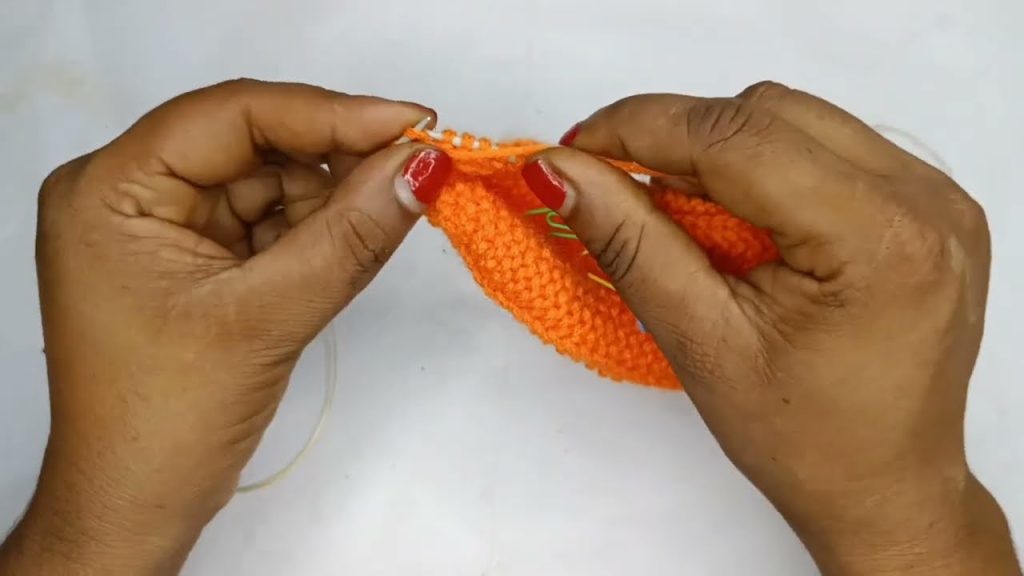
Heel Flap (Flat Knitting)
Switch to working back and forth on Needle 1 only (16 stitches):
- Row 1 (RS): Slip 1, knit 1 to end.
- Row 2 (WS): Slip 1, purl 15
- Repeat Rows 1–2 for 12 rows.
Turn Heel
- Row 1: Knit 9, k2tog, k1, turn.
- Row 2: Slip 1, purl 3, p2tog, p1, turn.
- Row 3: Slip 1, knit to 1 stitch before gap, k2tog, k1, turn.
- Row 4: Slip 1, purl to 1 stitch before gap, p2tog, p1, turn.
- Repeat rows 3 and 4 until all heel stitches are used (you’ll end with 10 stitches).
Gusset
- Pick up and knit 6 stitches along the side of the heel flap.
- Resume working in the round: knit across needles 2 and 3 (instep stitches).
- Pick up and knit 6 stitches on the other side of heel.
- Knit across heel stitches.
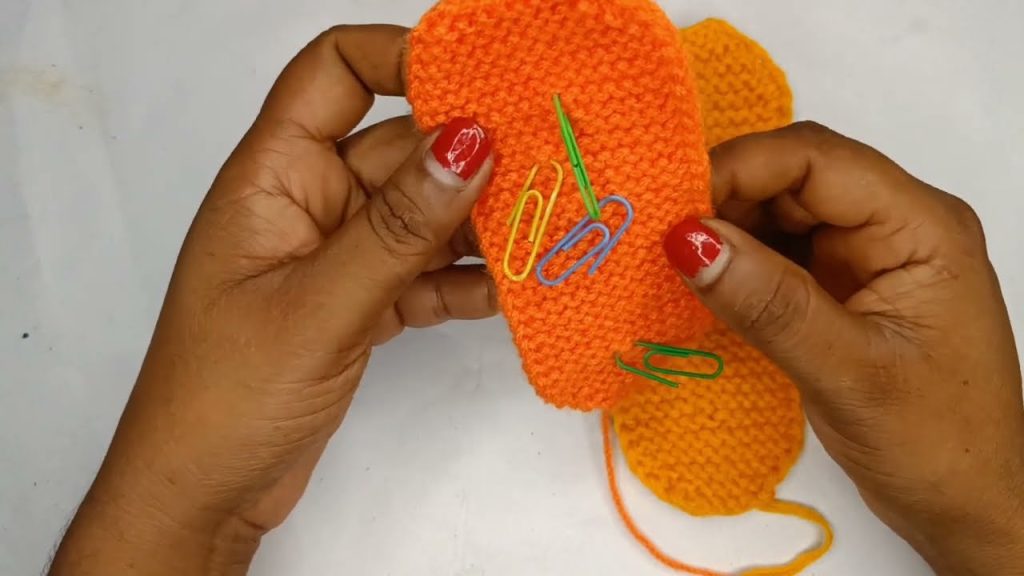
Now you’ll have more stitches. Distribute them evenly across needles:
- Needle 1: 11 sts (heel side)
- Needle 2: 16 sts (instep)
- Needle 3: 11 sts (heel side)
Gusset Decreases
Round 1:
- Needle 1: Knit to last 2 stitches, k2tog.
- Needle 2: Knit.
- Needle 3: SSK, knit to end.
Round 2: Knit all stitches.
Repeat Rounds 1–2 until you’re back to 32 stitches total (8 per needle).
Foot
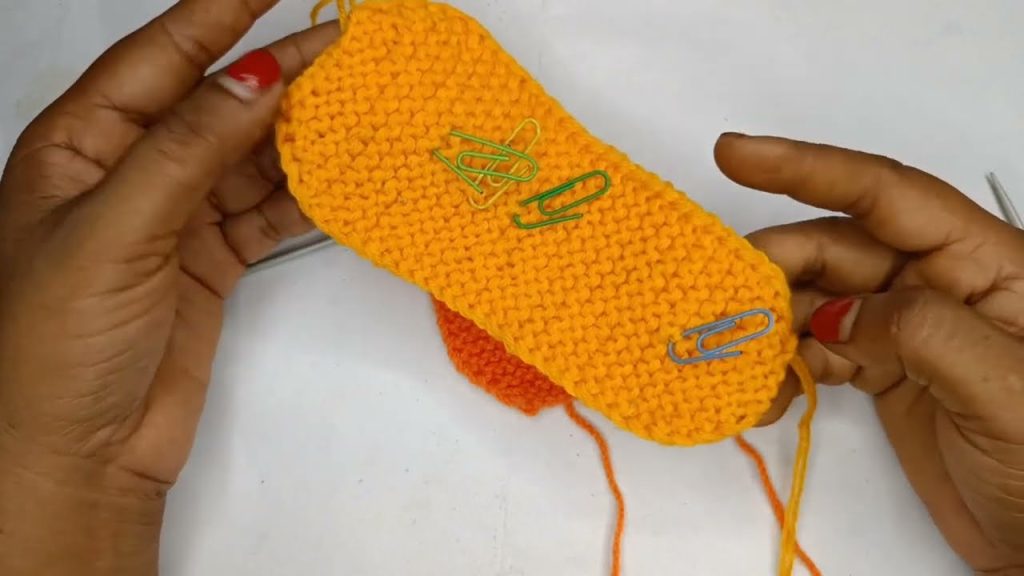
- Knit evenly in the round until the foot measures about 2.5 inches (6.5 cm) from heel (or desired length minus toe).
Toe Shaping
Round 1:
- Needle 1: Knit to last 2 stitches, k2tog.
- Needle 2: SSK, knit to last 2 stitches, k2tog.
- Needle 3: SSK, knit to end.
Round 2: Knit all stitches.
Repeat Rounds 1–2 until 8 stitches remain.
Finishing
- Graft the toe stitches together using Kitchener stitch, or cinch and pull through if preferred.
- Weave in all loose ends.
- Block gently if desired (use steam or wet block).

🪡 Tips for Success
- Use stitch markers to track the beginning of rounds.
- Check your gauge — it makes a big difference in fit.
- Try stretchy cast-ons like German twisted or long-tail for better elasticity.
- Don’t over-tighten when working on small rounds — it can cause ladders or stiff socks.
🧺 Care Instructions
Because baby socks will be washed frequently, choose machine-washable yarn. Always follow yarn label instructions. Hand-washing is gentler, but not always practical with baby items.
🧁 Bonus Ideas
- Add stripes or variegated yarn for visual interest.
- Use contrast color for heel and toe.
- Embroider initials or simple shapes after knitting for a personalized touch.
- Knit a matching hat or mittens for a complete baby set.

🧸 Final Thoughts
Knitting baby socks is not only a charming and practical gift idea, but it also allows you to improve your knitting skills. From shaping heels to learning new decreases, every pair helps you become more confident. And because they’re so quick, you can try different techniques and styles without a huge time commitment.
Whether you’re creating socks for your own baby or gifting them to someone special, the handmade love stitched into every row will surely be appreciated.
Happy knitting! 🧶👶🧦
Video tutorial:
