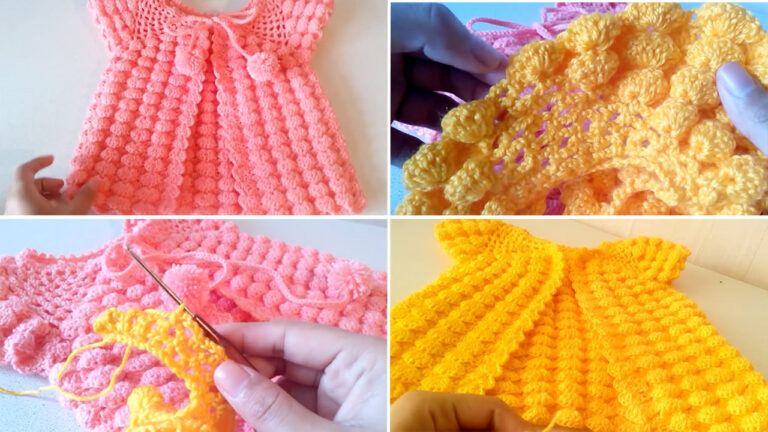
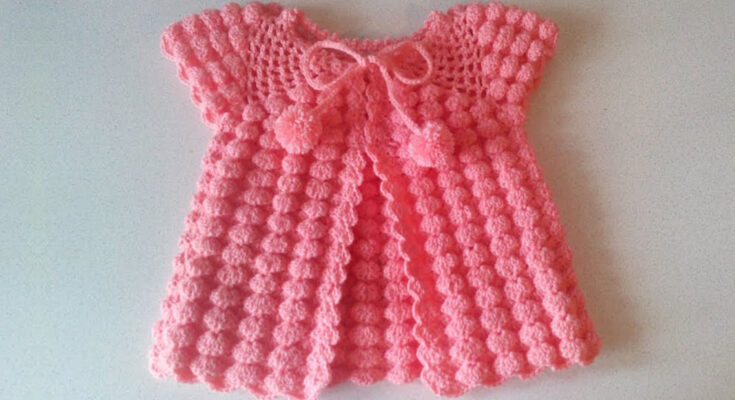
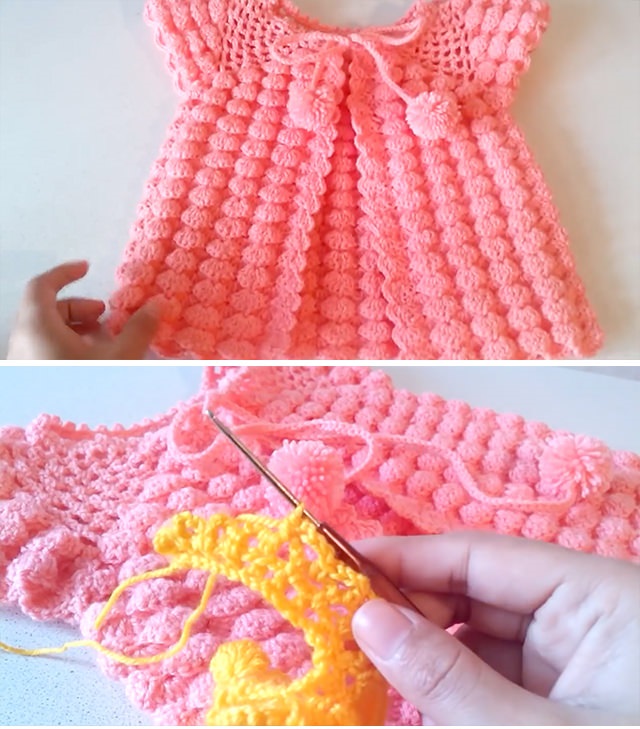
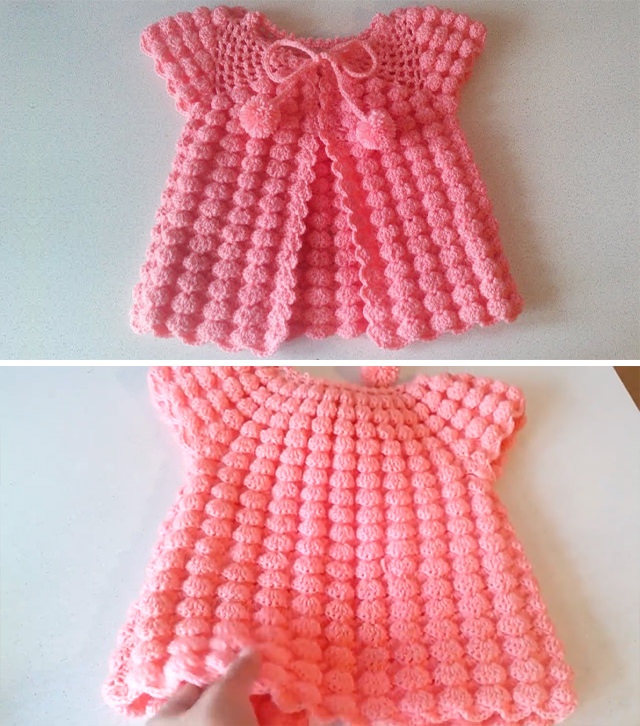
Crocheting a cardigan vest for a little girl is a beautiful way to create something unique, stylish, and practical. Whether you’re crafting a cozy garment for fall, a lightweight vest for spring, or a layering piece for chilly summer evenings, a handmade crochet vest adds warmth and charm to any wardrobe. With the right yarn, tools, and pattern, you can create a one-of-a-kind piece that any young girl would be proud to wear.
In this detailed guide, we’ll walk you through how to make a crochet cardigan vest for girls, from selecting materials and measurements to working through a beginner-friendly pattern. You’ll learn all the techniques needed to create this wardrobe staple, with optional ideas to personalize the design.
🧵 What is a Crochet Cardigan Vest?
A cardigan vest is a sleeveless version of the traditional cardigan, perfect for layering over shirts, dresses, or even turtlenecks. Unlike a pullover, a vest opens at the front and may include buttons or remain open for a more relaxed look. It offers warmth without restricting movement, making it ideal for active children.
Crocheting one allows you to:
- Choose custom colors and textures
- Adjust the fit based on exact body measurements
- Add personal flair like appliqués, lacy edges, or cute buttons
🧰 Materials You’ll Need
Before diving into the stitches, make sure you have the right supplies:
Yarn
- Weight: DK (3), worsted (4), or lightweight cotton yarn depending on season and desired thickness
- Fiber: Acrylic for durability, cotton for breathability, wool for warmth
- Quantity: 200–400 grams depending on size
Hook
- Size: Use the hook recommended for your yarn (typically 4mm–5.5mm)
- Optional: Go up or down a size to get gauge right
Other Notions
- Stitch markers
- Yarn needle for weaving in ends
- Scissors
- Measuring tape
- Buttons (optional)
- Decorative appliqués or ribbons (optional)
📏 Sizing and Measurements
Sizing is critical for a comfortable fit. Measure the girl’s:
- Chest circumference
- Shoulder to waist length
- Shoulder width
- Armhole depth
Use this rough sizing chart if you don’t have specific measurements:
| Age | Chest | Vest Length |
|---|---|---|
| 2–3 years | 21″ | 12″ |
| 4–5 years | 23″ | 14″ |
| 6–7 years | 25″ | 16″ |
| 8–10 years | 27–29″ | 17–18″ |
Always crochet a gauge swatch (usually 4″x4″) to ensure your stitches per inch match the pattern’s requirements.
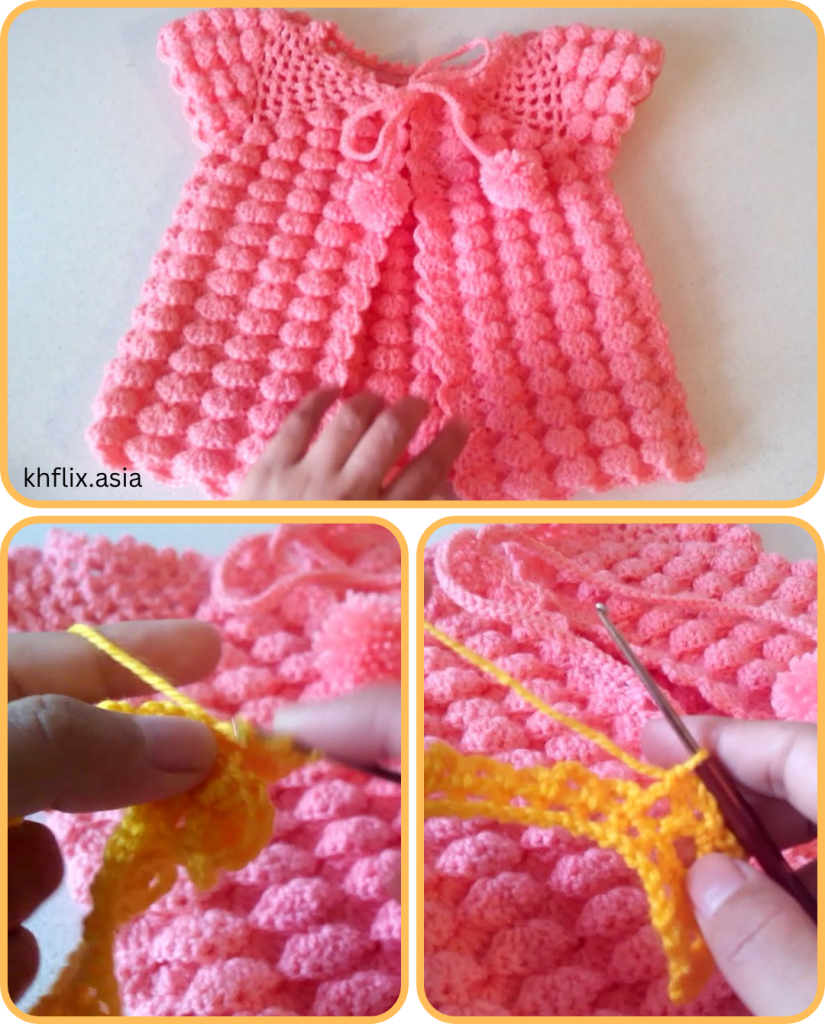
🪡 Stitches You Need to Know
The pattern uses basic crochet stitches, making it suitable for beginners.
- Chain (ch)
- Slip Stitch (sl st)
- Single Crochet (sc)
- Half Double Crochet (hdc)
- Double Crochet (dc)
- Optional: Shell stitch, V-stitch, or granny stitch for decorative texture
👗 Simple Cardigan Vest Pattern (Fits Ages 4–5)
This basic pattern is worked in panels (back and two fronts), then sewn together. You’ll add a border and button loops afterward.
🧶 Back Panel
- Foundation Chain:
Ch 44 (adjust for width – about 11″ across for ages 4–5). - Row 1:
Hdc in 2nd ch from hook and across. (43 hdc)
Ch 1, turn. - Rows 2–36 (or desired length):
Hdc in each stitch across.
Ch 1, turn after each row. ✔ Total height should be around 14″. - Fasten off and weave in ends.
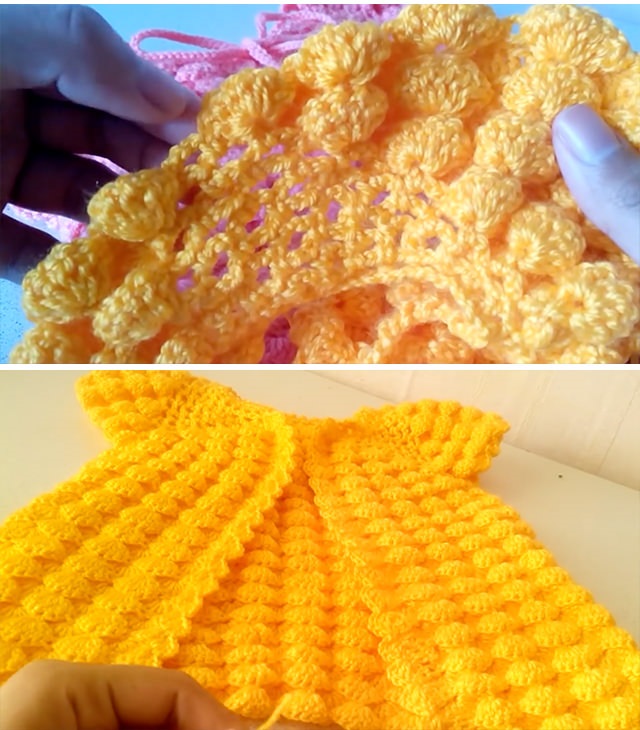
🧶 Left Front Panel
- Foundation Chain:
Ch 22. - Row 1:
Hdc in 2nd ch from hook and across (21 hdc).
Ch 1, turn. - Rows 2–36:
Hdc across. - Optional Shaping:
For neckline shaping, on Row 25 onward, decrease 1 stitch at the neck edge every 2 rows. - Fasten off.
🧶 Right Front Panel
Same as left, but neck shaping should be done in reverse.
🧶 Assembly
- Lay out the three panels.
- Use whip stitch or slip stitch to seam the shoulder edges (about 2–3 inches on each side).
- Seam the side panels from bottom up, leaving about 6–7″ for armholes.
- Weave in ends.
🧶 Optional Sleeveless Border
To give a clean finish to armholes and front:
- Join yarn at the bottom edge of armhole.
- Sc evenly around the armhole; sl st to join.
- Repeat 1–2 more rounds as desired.
- Do the same for the opposite armhole.
🧶 Front Edge Border (and Button Loops)
- Join yarn at bottom front edge.
- Sc evenly up the front, around the neckline, and down the other side.
- On the second row, create button loops on one side by chaining 4–5 and skipping 2 stitches.
- Repeat for as many buttons as needed (typically 3–5).
🎀 Decoration Ideas
- Add flowers or hearts using appliqué techniques
- Crochet pockets for a functional and cute detail
- Use contrasting border yarn for a pop of color
- Add a scalloped edge using shells or picot stitches
- Use novelty buttons in the shape of stars, animals, or flowers
🧼 Care and Washing
Check your yarn label. Most acrylic yarns are machine-washable, but handmade garments do best with gentle washing and air drying to retain shape.
- Wash in cool water
- Lay flat to dry
- Store folded, not hanging, to avoid stretching

💡 Tips for Beginners
- Use stitch markers to track rows or neck shaping
- Measure as you go to ensure good fit
- Don’t stress over perfection — handmade is supposed to look lovingly crafted
- Practice the stitch pattern on a swatch first
- Keep your tension even — not too tight, not too loose
🧚 Final Thoughts
Making a crochet cardigan vest for girls is a rewarding project that balances creativity, craftsmanship, and care. Once you master this basic version, you can branch out into different stitch textures, yarn weights, or even lacy openwork designs. Whether it’s for a birthday gift, a back-to-school outfit, or a handmade keepsake, this crochet vest will be treasured by both the wearer and the maker.
Your handmade piece isn’t just clothing — it’s a warm hug that can be worn again and again.
Video tutorial:


