Crocheting a tote bag is a fantastic project for beginners and experienced crocheters alike! They’re practical, customizable, and a great way to use up yarn. Here’s a detailed guide on how to crochet a basic, sturdy tote bag, focusing on simple stitches to ensure success.
How to Crochet a Tote Bag: A Step-by-Step Guide
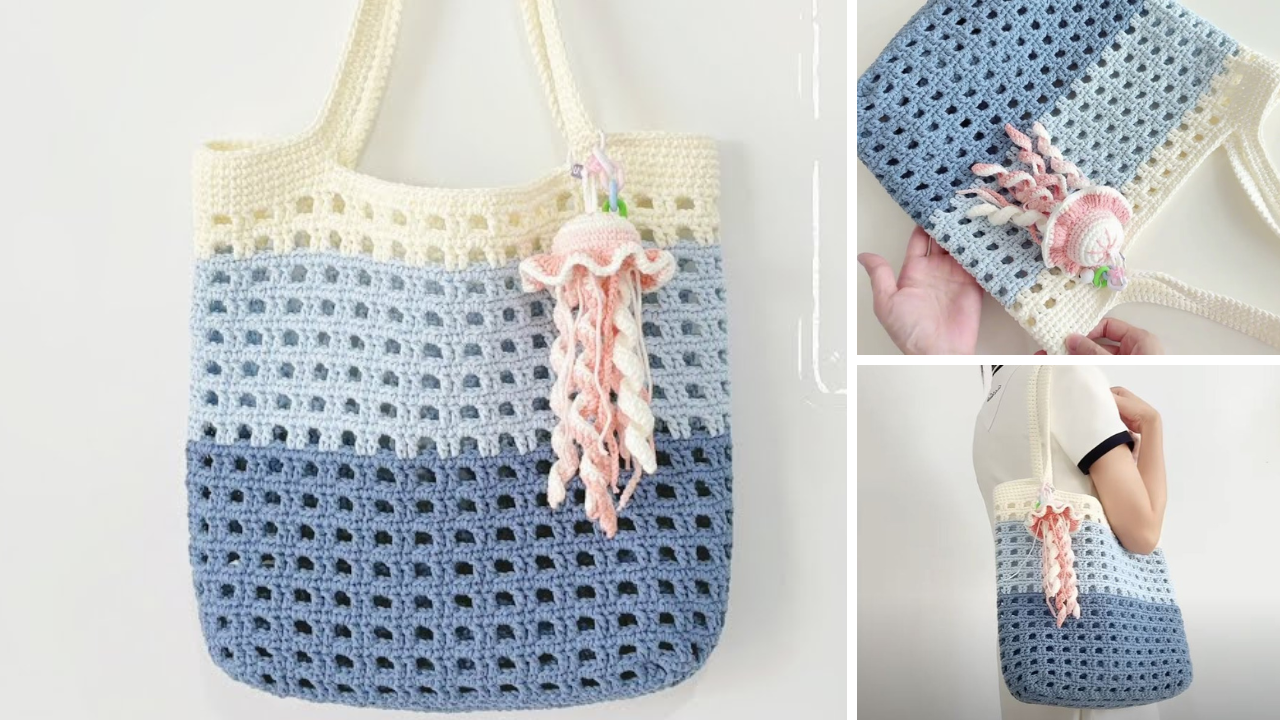
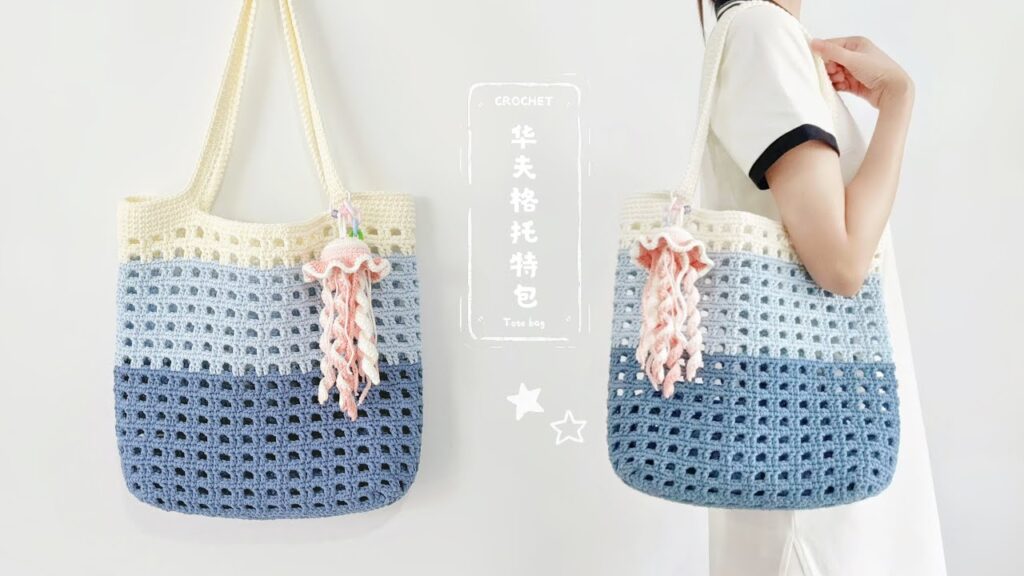
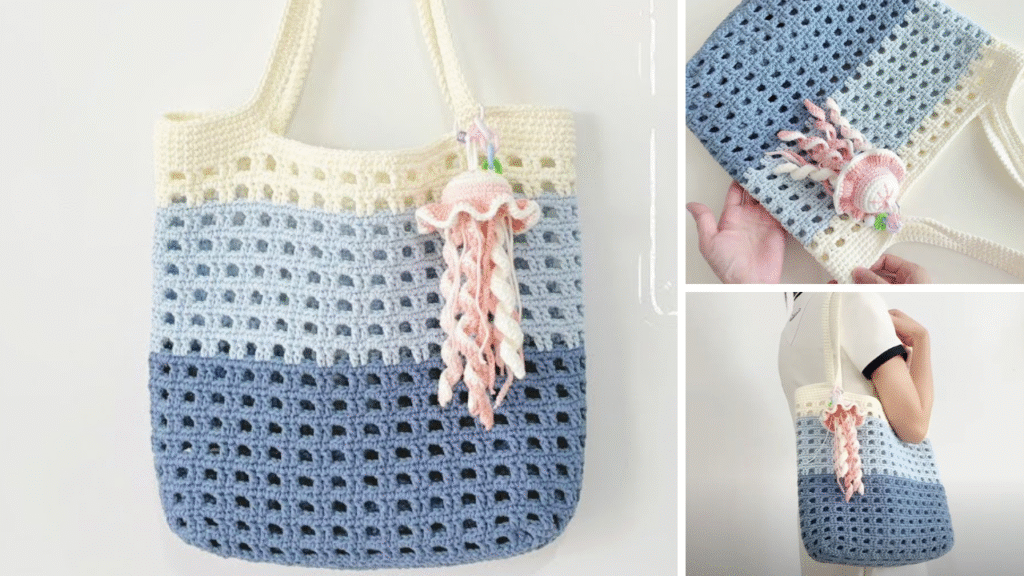
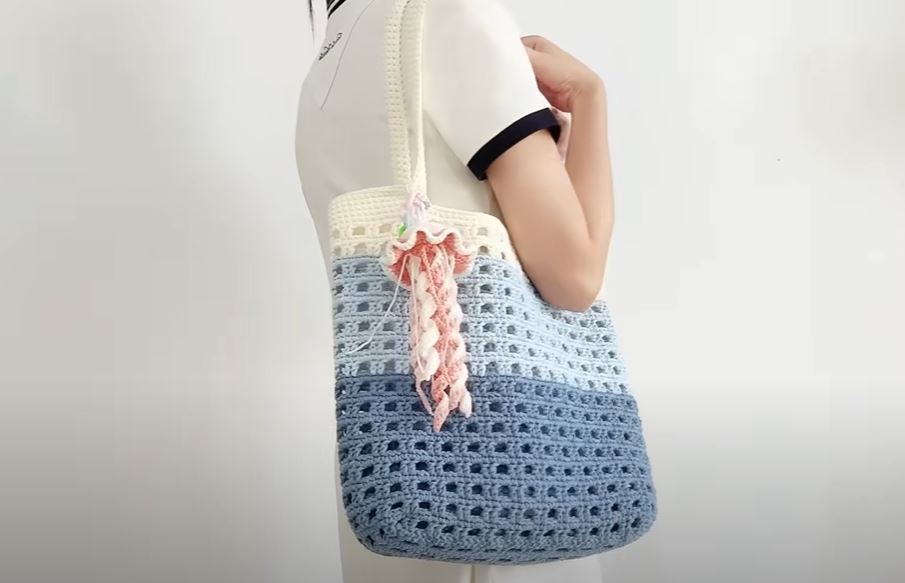
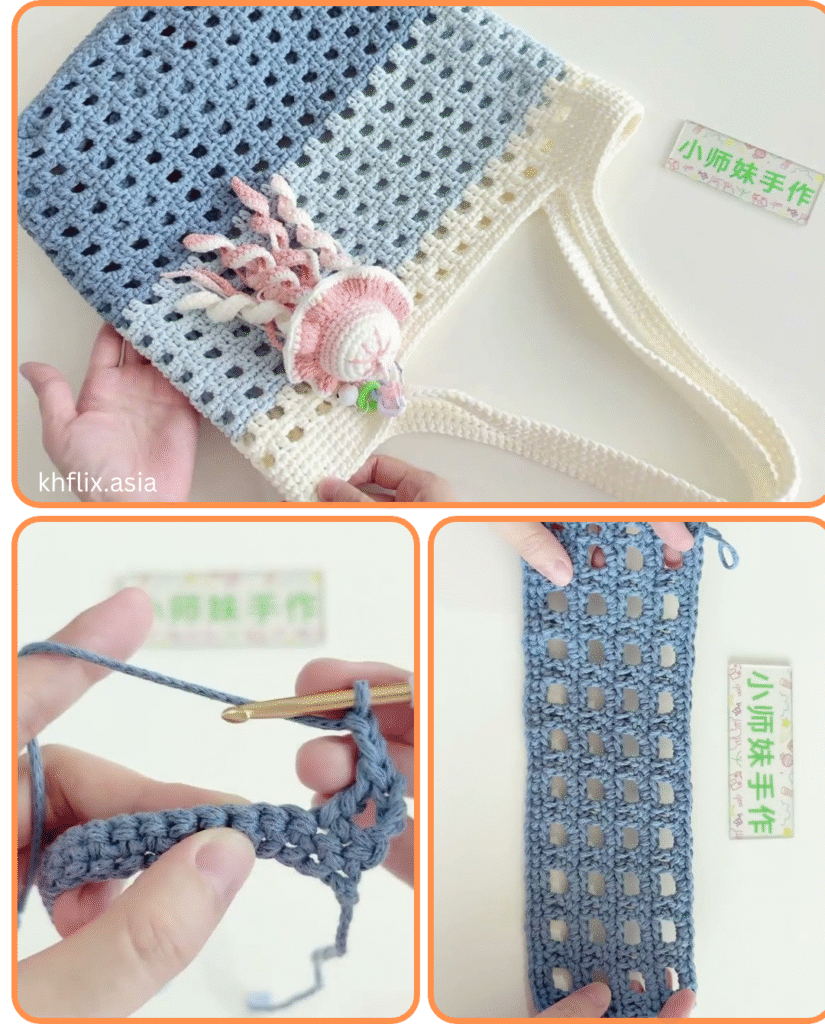
A handmade crochet tote bag is perfect for groceries, beach trips, market hauls, or simply carrying your everyday essentials. This tutorial will walk you through creating a simple yet strong tote, focusing on clear steps and beginner-friendly techniques.
Materials You’ll Need
Before you begin, gather your supplies:
- Yarn:
- Worsted weight (Aran) cotton yarn is highly recommended for tote bags. Cotton is durable, has good stitch definition, and minimal stretch, which is ideal for holding weight. You’ll need about 300-500 yards (275-450 meters) depending on your desired bag size. Consider using two strands held together for extra strength and thickness.
- Alternatives: Macrame cord, T-shirt yarn, or a sturdy acrylic yarn can also work, but check their stretch properties.
- Crochet Hook: A hook size appropriate for your chosen yarn. For worsted weight cotton, a 4.0mm to 5.5mm (G to I) hook is common. If holding two strands together, you’ll need a larger hook (e.g., 6.0mm-8.0mm). Check your yarn label for recommendations.
- Scissors
- Yarn Needle (or tapestry needle) for weaving in ends.
- Stitch Marker(s) (optional but very helpful, especially when working in the round).
Abbreviations (US Crochet Terms)
- Ch: Chain
- Sl St: Slip Stitch
- Sc: Single Crochet
- Hdc: Half Double Crochet
- Dc: Double Crochet
- St(s): Stitch(es)
- Rep: Repeat
- Inc: Increase (usually by working 2 stitches into one)
- BLO: Back Loop Only
Understanding Tote Bag Construction
Most crochet tote bags are made in three main parts:
- The Base: Often worked in rows or an oval shape to create a sturdy flat bottom.
- The Body: Worked in rounds from the base upwards to create the height of the bag.
- The Handles: Can be crocheted directly onto the bag, or made separately and sewn on.
For this tutorial, we’ll make a classic rectangular base and work the body up from there.
The Easy Tote Bag Tutorial
Let’s start crocheting!
Part 1: The Base (Worked in Rows, then Rounds)
We’ll create a flat, rectangular base.
- Foundation Chain: Make a slip knot and Ch 31. (This will be a medium-sized bag. Adjust this number to make your bag wider or narrower. Keep it an odd number if you plan to center your stitches in the round later.)
- Row 1: Sc in the 2nd Ch from hook and Sc in each Ch across. (30 Sc)
- Row 2: Ch 1 (does NOT count as a stitch), turn your work. Sc in each Sc across. (30 Sc)
- Repeat Row 2 until your base is your desired width. For a sturdy tote, about 6-10 rows is good. (e.g., repeat Row 2 for 8 more rows, totaling 10 rows).
- You now have a flat rectangular piece.
- Turning to Work in the Round for the Body:
- Round 1 (Edging the Base): Ch 1, do NOT turn your work. We’re now going to work Sc stitches all around the perimeter of the base to create the first round of the bag’s body.
- Work 1 Sc into the end of each row along the first long side (you’ll have 10 Sc if you did 10 rows).
- Work 3 Sc into the corner stitch.
- Work 1 Sc into each foundation chain stitch along the second long side (30 Sc).
- Work 3 Sc into the next corner stitch.
- Work 1 Sc into the end of each row along the third long side (10 Sc).
- Work 3 Sc into the last corner stitch.
- Work 1 Sc into each stitch along the remaining top edge of the base (29 Sc, since one corner stitch already has 3 Sc).
- Join with a Sl St to the first Sc of the round.
- (The exact stitch count isn’t crucial here, as long as it’s an even number and your base looks relatively flat. The goal is to create a seamless transition to the sides of the bag.)
- Pro Tip: Place stitch markers in the corner stitches as you go to help you visualize the shape.
- Round 1 (Edging the Base): Ch 1, do NOT turn your work. We’re now going to work Sc stitches all around the perimeter of the base to create the first round of the bag’s body.
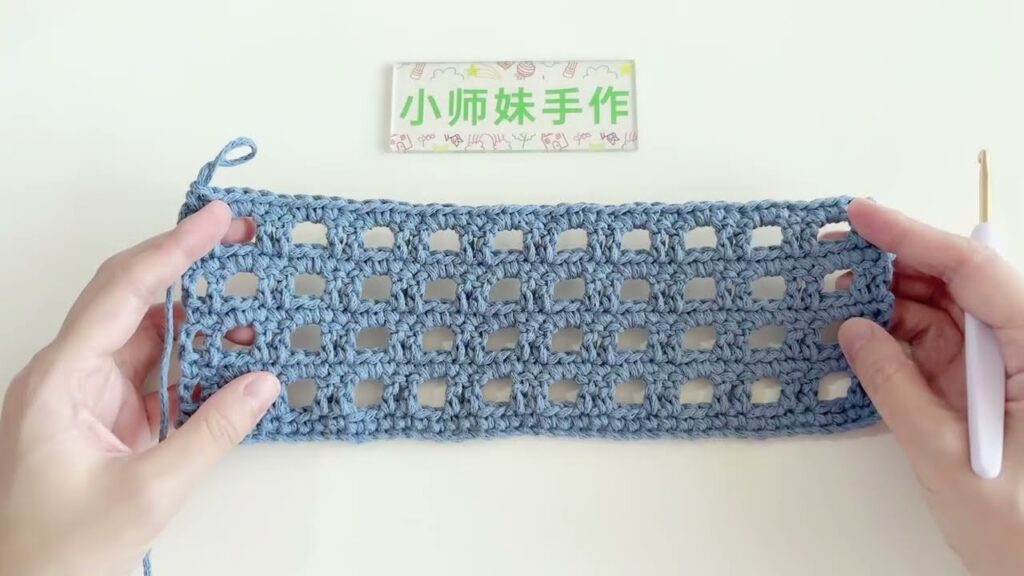
Part 2: The Body (Worked in Continuous Rounds)
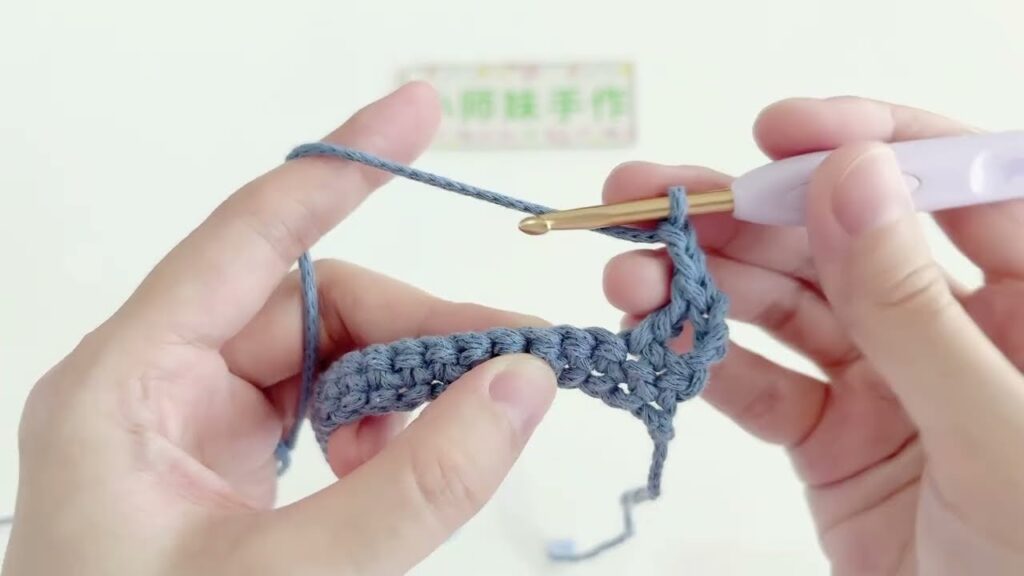
You can choose your preferred stitch for the body. Single crochet creates a very sturdy bag, while half double crochet or double crochet will make a looser fabric.
Option A: Single Crochet (Very Sturdy)
- Round 2: Ch 1 (does NOT count as a stitch). Sc in the same stitch and in each stitch around. Join with a Sl St to the first Sc.
- For a cleaner seam, you can also work in continuous spirals without joining, using a stitch marker to keep track of the beginning of the round.
- Repeat Round 2 until your bag reaches your desired height (e.g., 20-30 rounds).
- For a more structured bag, consider working a few rounds of Sc in the back loop only (BLO) periodically, or holding two strands of yarn together for added thickness.
Option B: Half Double Crochet (Good Strength, Faster)
- Round 2: Ch 2 (counts as first Hdc). Hdc in the same stitch and in each stitch around. Join with a Sl St to the top of the initial Ch 2.
- Repeat Round 2 until your bag reaches your desired height.
Option C: Double Crochet (Faster, More Drapey)
- Round 2: Ch 3 (counts as first Dc). Dc in the same stitch and in each stitch around. Join with a Sl St to the top of the initial Ch 3.
- Repeat Round 2 until your bag reaches your desired height.
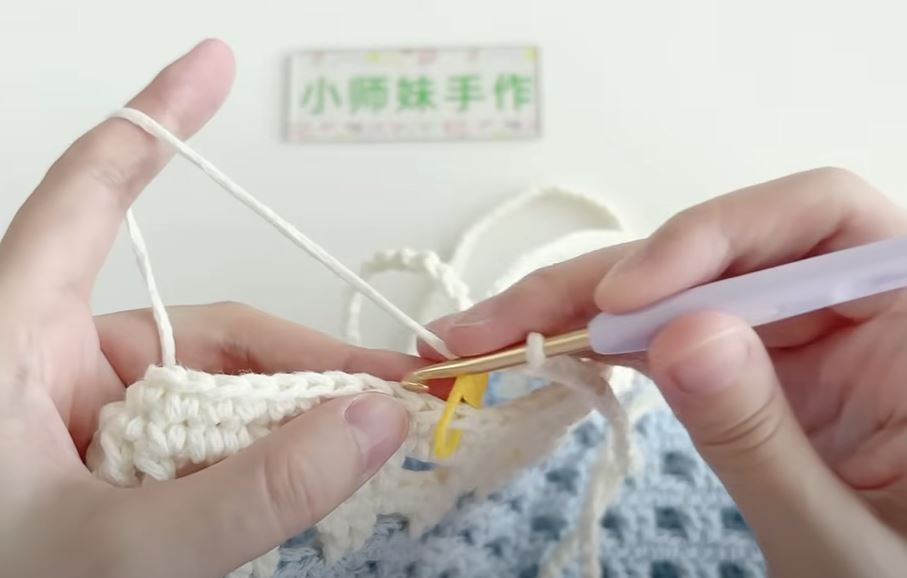
Part 3: The Handles
You can either crochet the handles directly onto the bag or create separate straps and sew them on.
Option A: Integrated Handles (Recommended for Beginners)
This method creates seamless handles as part of the bag’s final rounds.
- Last Body Round: Finish your last round of the bag body. Do not fasten off.
- Handle Placement Round:
- Ch 1 (if starting with Sc), or Ch 2/3 (if continuing with Hdc/Dc).
- Work your chosen stitch (Sc, Hdc, or Dc) for a certain number of stitches along the top edge of the bag. This will be one side of the opening for your arm. (e.g., Sc in the first 10 stitches).
- Ch 40-60 (adjust chain length for your desired handle drop – 40 for shorter, 60 for longer). This creates the strap.
- Skip a number of stitches on the bag body that roughly matches the chain length you just made. (e.g., Sk 20-30 stitches).
- Continue working your chosen stitch along the top edge of the bag for the next section. This is the top of the bag between the handles. (e.g., Sc in the next 20 stitches).
- Ch 40-60 again for the second strap.
- Skip the same number of stitches as before.
- Work your chosen stitch in the remaining stitches to the beginning of the round.
- Join with a Sl St to the first stitch of the round.
- Handle Reinforcement Round(s):
- Ch 1 (or Ch 2/3), work your chosen stitch into each stitch around, including working into each chain of the handle.
- Join with a Sl St.
- Repeat this round 1-2 more times to make the handles thicker and sturdier.
- Fasten off and weave in ends.
Option B: Separate Straps (More Polished Look)
- Make two straps:
- Ch enough stitches for your desired handle length (e.g., Ch 60-80).
- Work Sc (or Hdc) in the 2nd Ch from hook and across.
- Ch 1, turn. Sc (or Hdc) in each stitch across.
- Repeat this row until your strap is your desired width (e.g., 3-5 rows).
- Fasten off, leaving a long tail for sewing.
- Attach to Bag:
- Position the straps evenly on the inside or outside of your bag’s opening.
- Using your yarn needle and the long tails, securely sew the ends of the straps to the bag. Stitch back and forth multiple times in a rectangle or X-shape for maximum strength.
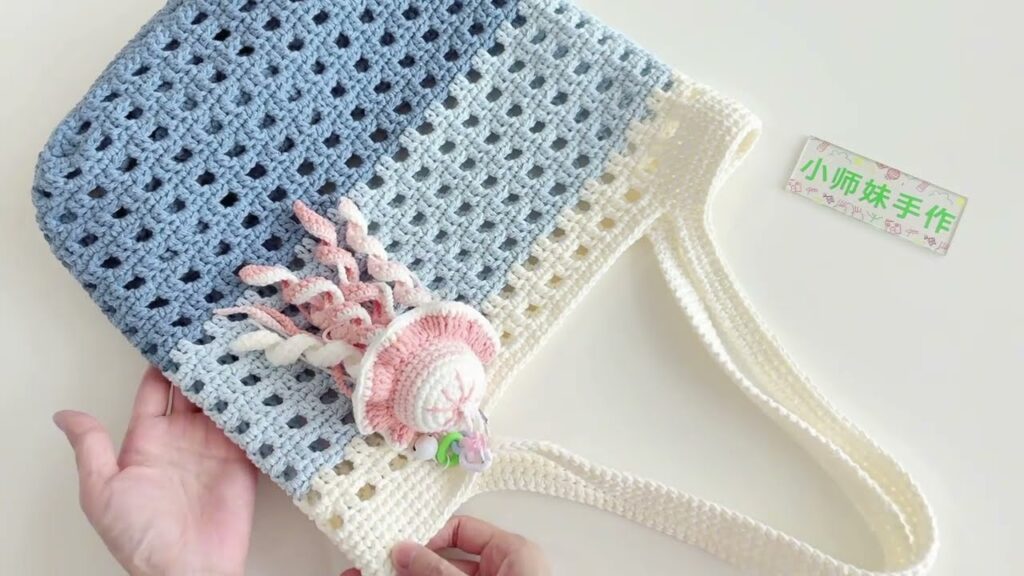
Finishing Touches
- Weave in all loose ends: This is crucial for a neat and durable bag. Use your yarn needle to thread the yarn tails through several stitches on the wrong side of your work.
- Blocking (Optional but Recommended): For a more professional look and to help your bag hold its shape, wet your finished bag (or steam it), gently shape it to your desired dimensions, and let it dry completely. You can stuff it with towels to help it maintain its form while drying.
- Add a lining (Optional): For ultimate durability and to prevent small items from falling through stitches, you can sew a fabric lining for your bag. This is a separate sewing project, but it elevates the finish.
You’ve now learned how to crochet a versatile and practical tote bag! Experiment with different colors, stripes, or even incorporate a textured stitch (like the Waffle Stitch discussed previously) for a truly unique creation. Happy crocheting!
Video tutorial:


