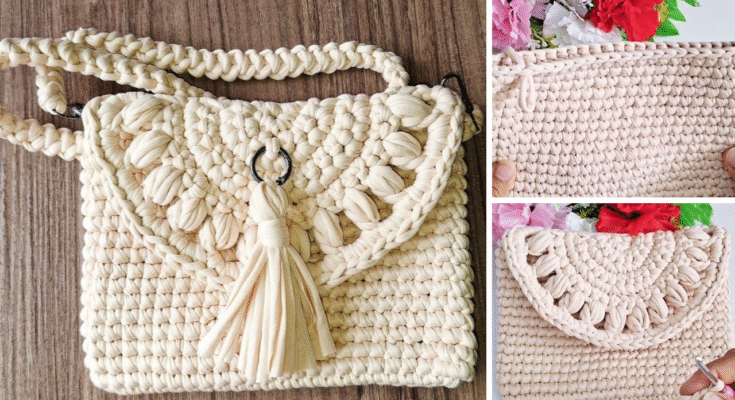
Stitch Up Your Style: A Super Easy Crossbody Summer Bag Tutorial
Summer is all about lightweight essentials, carefree adventures, and effortless style. What better way to embrace the season than with a chic, handmade crossbody bag that’s perfect for holding your phone, keys, and lip balm? This tutorial is designed for crafters of all levels, especially beginners, proving you don’t need to be a sewing expert to create something truly functional and fashionable.
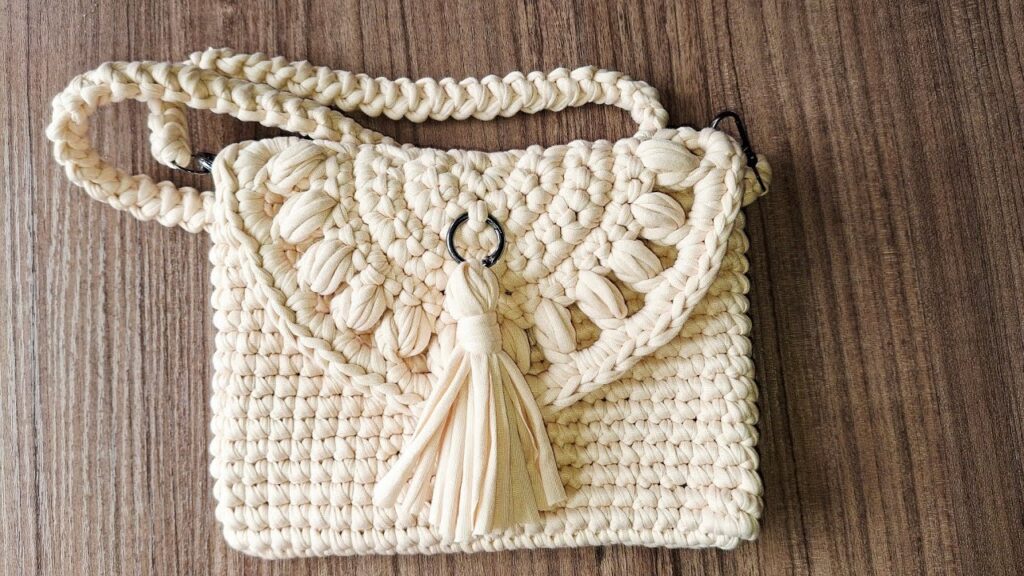
Why a Crossbody Bag?
Crossbody bags are the ultimate hands-free accessory. They keep your valuables secure and easily accessible, whether you’re strolling through a farmer’s market, enjoying a festival, or simply running errands. For summer, a smaller, lighter version in a fun fabric is ideal, making sure you stay cool and unburdened.
Gather Your Summer Bag Essentials
Before we dive into the stitching, let’s get organized! Here’s what you’ll need:
- Outer Fabric: About 1/2 yard of a vibrant cotton, linen, or canvas fabric. Think florals, stripes, or a bold solid to scream “summer!”
- Lining Fabric: About 1/2 yard of a coordinating cotton fabric. This can be a solid or a subtle print.
- Lightweight Interfacing (Optional but Recommended): About 1/2 yard. This gives your bag structure and durability, making it look more professional.
- Zipper: One 9-inch to 12-inch zipper (match the width of your bag).
- D-rings or Rectangle Rings: Two 1-inch rings for attaching the strap.
- Swivel Snap Hooks: Two 1-inch hooks for the adjustable strap.
- Fabric for Strap: A strip of outer fabric or coordinating webbing, about 2 inches wide and 50-60 inches long (adjust to your preferred strap length).
- Matching Thread
- Basic Sewing Supplies: Sewing machine, fabric scissors, pins or fabric clips, iron, ruler or measuring tape, seam ripper (just in case!).
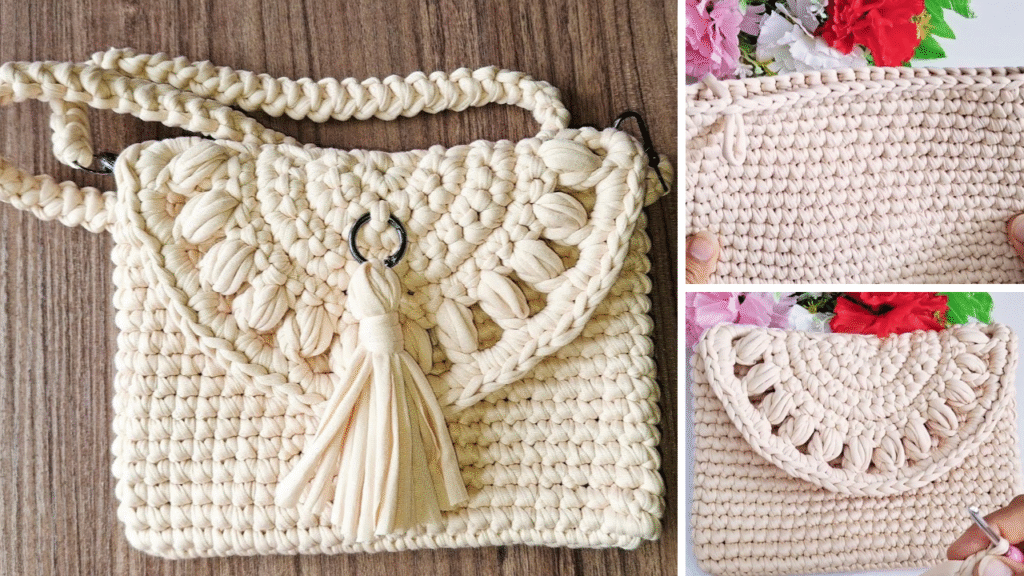
Cutting Your Fabric Pieces
Precision here will make your sewing much smoother. All measurements include a 3/8 inch (1 cm) seam allowance.
- From your Outer Fabric:
- Cut two rectangles measuring 10 inches wide x 11 inches high (for the main bag body).
- Cut two rectangles measuring 2 inches wide x 4 inches high (for the D-ring tabs).
- From your Lining Fabric:
- Cut two rectangles measuring 10 inches wide x 11 inches high (for the main bag body).
- From your Interfacing (if using):
- Cut two rectangles measuring 10 inches wide x 11 inches high.
- Cut two rectangles measuring 2 inches wide x 4 inches high.
- From your Strap Fabric:
- Cut one strip measuring 2 inches wide x 50-60 inches long (or your desired length).
Let’s Get Sewing! Your Easy Summer Crossbody Bag
Step 1: Fuse the Interfacing (if using)
If you’re using interfacing, iron it onto the wrong side of your outer fabric pieces and the D-ring tab pieces. Follow the manufacturer’s instructions for your specific interfacing. This step adds wonderful body to your bag!
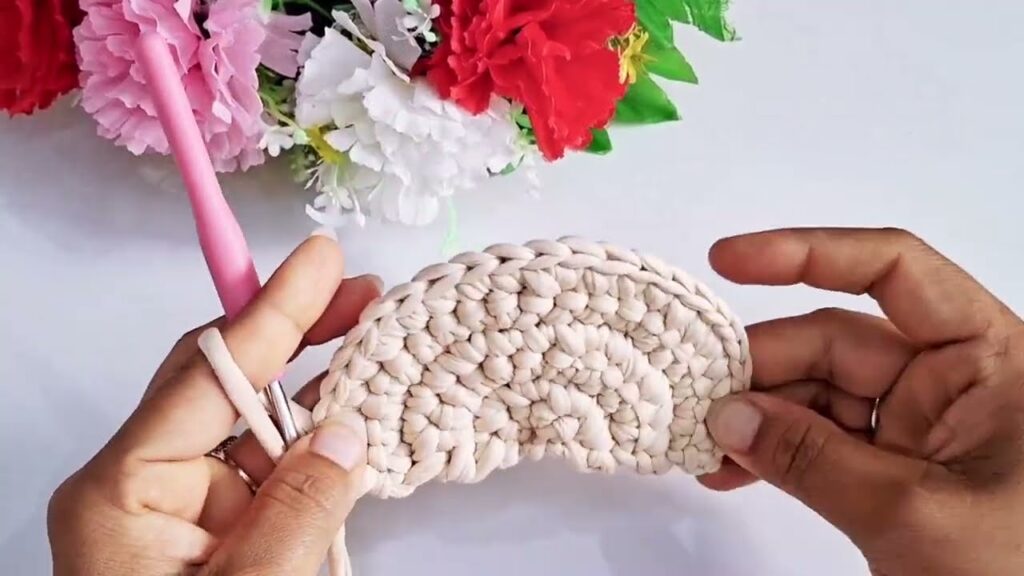
Step 2: Prepare the D-Ring Tabs
- Take one 2×4 inch outer fabric piece. Fold it in half lengthwise (hotdog style), wrong sides together, and press.
- Open it up. Fold each long raw edge in towards the center crease, and press again.
- Fold the strip in half along the original crease, so all raw edges are enclosed. Press well.
- Topstitch closely along both long edges of the folded strip.
- Repeat for the second D-ring tab.
- Thread one D-ring onto each tab, bringing the raw ends together. Baste (sew with a long stitch) the raw ends together about 1/4 inch from the edge to secure the D-ring in place. Set aside.
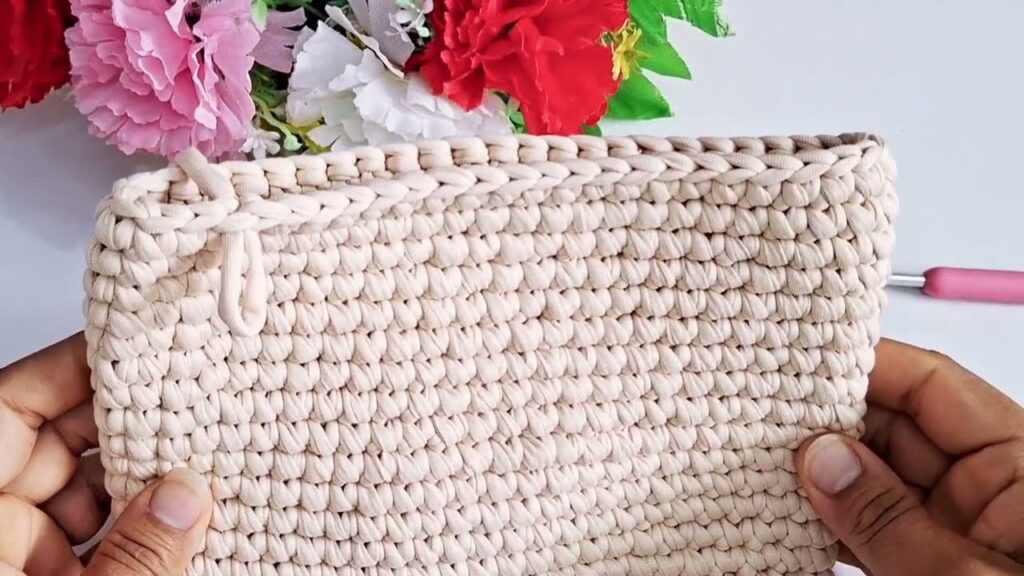
Step 3: Attach the Zipper
This is often where beginners get nervous, but it’s easier than you think!
- Lay one outer fabric main body piece right side up.
- Place your zipper right side down on top of the upper edge of the outer fabric, aligning the top edges.
- Place one lining fabric main body piece right side down on top of the zipper, sandwiching the zipper between the outer and lining fabrics. Align all top edges.
- Pin all three layers together.
- Using your zipper foot on your sewing machine, sew along the top edge, as close to the zipper teeth as possible.
- Flip the fabric pieces away from the zipper. Press well, pressing the seam allowance towards the lining fabric.
- Topstitch along the fabric edge closest to the zipper teeth. This gives a neat finish and prevents fabric from getting caught in the zipper.
- Repeat steps 1-7 for the other side of the zipper, attaching the remaining outer and lining fabric pieces. Ensure your outer fabrics are facing up and your lining fabrics are facing up when you press.
- You should now have a fabric “sandwich” with the zipper in the middle, and the outer fabric pieces on one side, and the lining fabric pieces on the other.
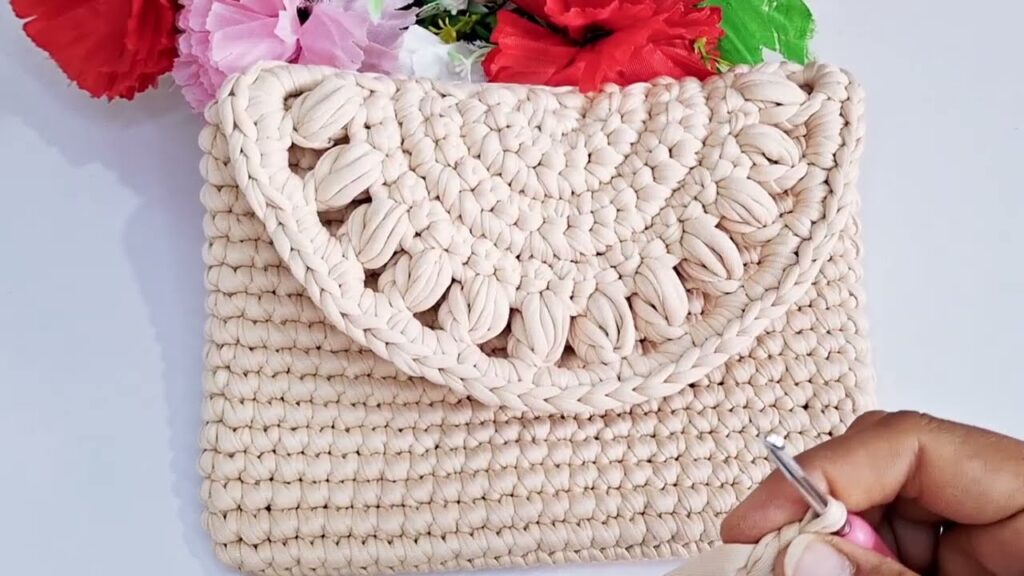
Step 4: Sew the Bag Body
- Open the zipper about halfway. This is crucial! If you don’t, you won’t be able to turn your bag right side out later.
- Lay your zipper sandwich flat. Pull the two outer fabric pieces together, right sides facing. Pin along the side seams and the bottom seam.
- Pull the two lining fabric pieces together, right sides facing. Pin along the side seams and the bottom seam.
- Insert the D-ring tabs: On the outer fabric side, along one of the short top edges (where the zipper is), center one of your D-ring tabs (with the D-ring pointing inwards towards the bag). Pin it securely, making sure it’s about 1 inch down from the zipper edge. Repeat for the other D-ring tab on the opposite short top edge of the outer fabric.
- Starting from one bottom corner of the lining, sew all the way around the outer fabric pieces, over the D-ring tabs, and continue sewing down the other side of the outer fabric, across the bottom, and up the other side of the lining. Leave a 4-5 inch opening at the bottom of the lining for turning.
- Clip your corners to reduce bulk.
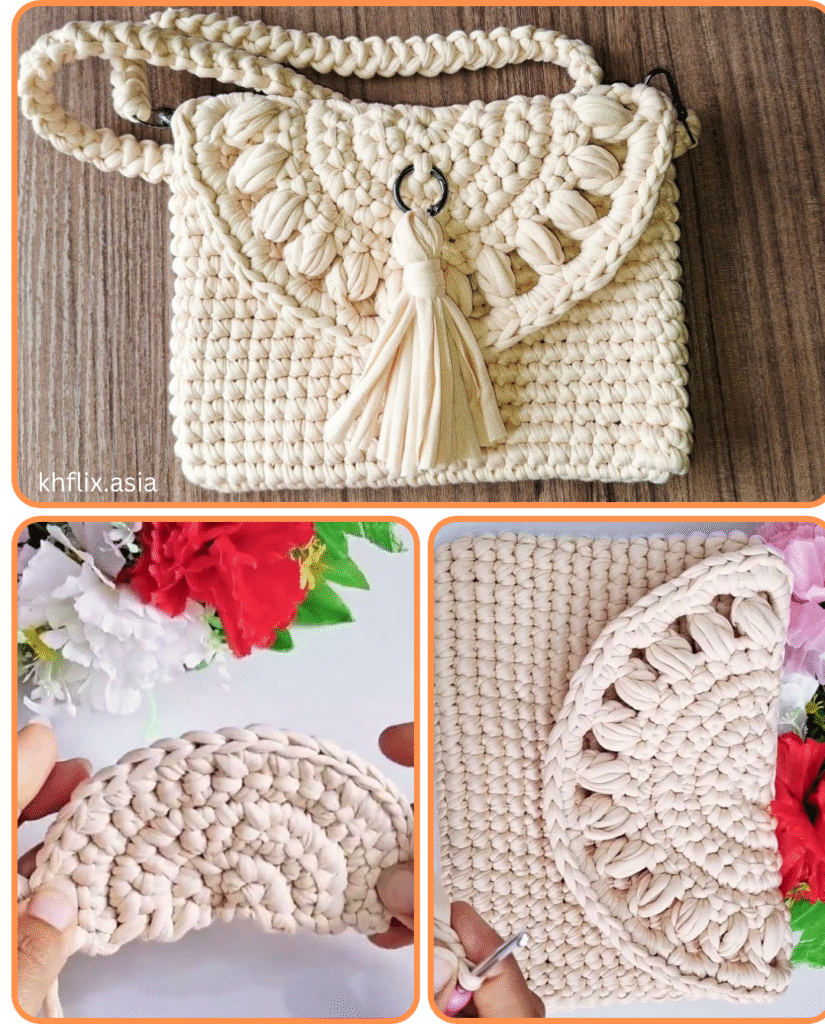
Step 5: Create Boxed Corners (Optional but Recommended)
Boxed corners give your bag more dimension and a flat bottom.
- At each of the four corners (two outer fabric, two lining fabric), pinch the corner so the side seam meets the bottom seam. You’ll form a triangle.
- Measure 1 inch from the tip of the triangle and draw a line perpendicular to the seam.
- Sew along this line.
- Trim the excess fabric from the corner, leaving about a 1/4 inch seam allowance.
- Repeat for all four corners.
Step 6: Assemble the Strap
- Take your long strap fabric piece. Fold it in half lengthwise, wrong sides together, and press.
- Open it up. Fold each long raw edge in towards the center crease, and press again.
- Fold the strip in half along the original crease, so all raw edges are enclosed. Press well.
- Topstitch closely along both long edges of the folded strap.
- On one end of the strap, thread one swivel snap hook onto the strap. Fold the raw end of the strap over the hook by about 1 inch and sew it down securely, forming a loop around the hook.
- On the other end of the strap, thread the other swivel snap hook onto the strap. Now, thread the raw end of the strap through the adjustable buckle (if using one), then back through the swivel snap hook, and then back through the buckle again. This creates an adjustable loop. Sew the very end of the strap down securely to finish the adjustable mechanism.
- If you’re not making an adjustable strap, simply attach both swivel hooks securely to each end of the strap.
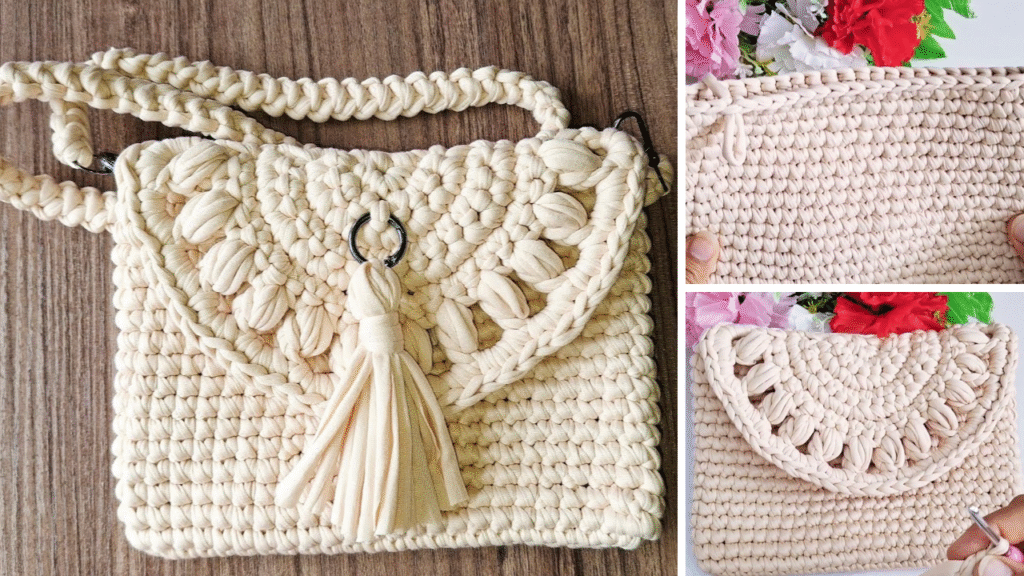
Step 7: Finish Your Bag!
- Reach into the opening you left in the lining. Gently pull the entire bag right side out through this opening. Take your time, pushing out the corners with your fingers or a blunt tool.
- Once the bag is turned, gently push the lining into the outer bag.
- Press the bag to get nice, crisp edges, especially around the zipper.
- Close the opening in the lining: Fold the raw edges of the opening inwards and press. Stitch the opening closed either by hand (using an invisible ladder stitch) or by machine (topstitch very close to the edge).
- Attach your finished strap to the D-rings on your bag.
Flaunt Your New Summer Staple!
Congratulations! You’ve just created a stylish and practical crossbody summer bag. Fill it with your essentials, adjust the strap to your perfect length, and step out into the sunshine with your fabulous handmade accessory. This easy project is a fantastic way to personalize your summer look or create thoughtful gifts for friends. Happy sewing!
Conclusion: Your Perfect Summer Companion Awaits!
And just like that, you’ve stitched your way to a brand-new crossbody summer bag! From selecting your vibrant fabrics to attaching that satisfying zipper, you’ve proven that creating your own stylish accessories can be both fun and incredibly rewarding, even for beginner sewers.
This hands-free bag is more than just a pretty accessory; it’s a practical essential for all your warm-weather adventures. Whether you’re hitting the beach, exploring a new city, or simply enjoying a sunny day out, your handmade bag will keep your necessities close and your style on point. So go ahead, fill it up, sling it on, and step out with confidence, knowing you’ve crafted a unique piece perfect for the sunny days ahead!
Video tutorial:
