Imagine carrying a bag that’s not just functional, but a true work of art – a giant, textured rose blooming from its surface. That’s the allure of a Crochet Mega Rose Bag. This project is all about embracing dimension and making a bold floral statement. While it might look intricate, breaking it down into manageable parts makes it a rewarding challenge for any crocheter.
Understanding the Mega Rose Concept
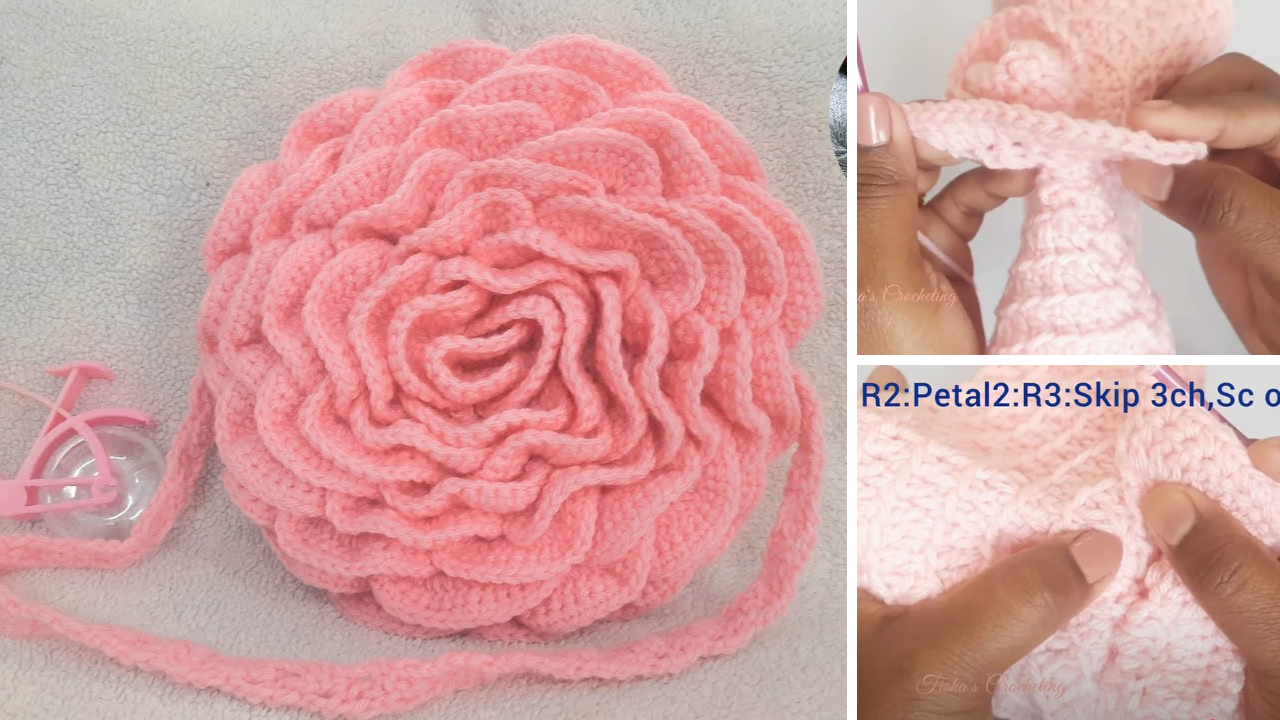
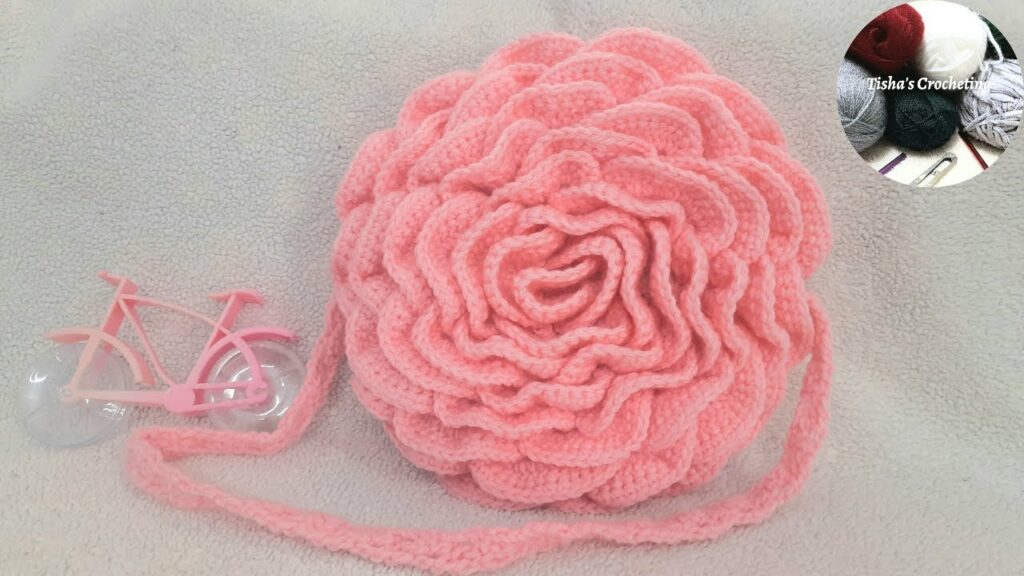
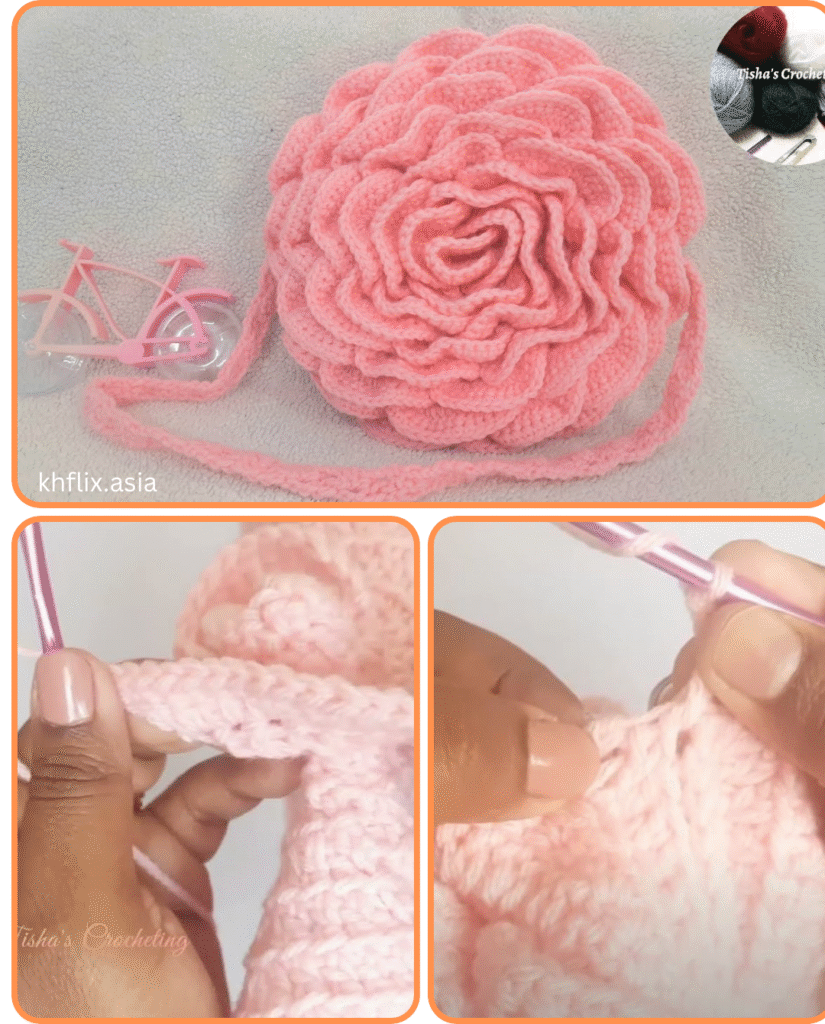
The “Mega Rose” in a bag context refers to a significantly large, often three-dimensional, crocheted rose that either covers a substantial portion of the bag’s front or is the sole decorative focus. It’s built upon layered petals, gradually increasing in size, to create that characteristic blooming effect.
Materials You’ll Need
Gathering the right supplies is the first step to a successful project:
- Yarn:
- For the Rose: You’ll want a yarn that holds its shape well and has good stitch definition. Worsted weight (Aran) or DK (light worsted) acrylic, cotton, or a cotton blend are excellent choices. You’ll need a significant amount of your chosen “rose” color.
- For the Bag Body: Choose a sturdy yarn like cotton, canvas yarn, or even T-shirt yarn for the bag itself. This needs to be durable to carry weight. A contrasting or complementary color to your rose will make it pop.
- For Leaves/Stem (Optional): A green yarn in a matching weight.
- Crochet Hook(s): Select a hook size appropriate for your chosen yarn weights. You might need a slightly smaller hook for the rose to ensure dense stitches and good form, and a standard hook for the bag body.
- Scissors
- Yarn Needle (or tapestry needle) for weaving in ends and assembly.
- Stitch Markers (helpful for rounds).
- Fabric Lining (Optional but Recommended): For durability and to prevent items from falling through stitches, a fabric lining is a great addition. You’ll need fabric, sewing machine/hand-sewing needle, and thread.
- Magnetic Snap or Zipper (Optional): For closure.
Part 1: Crocheting the Mega Rose
This is the star of your bag! The key to a “mega” rose is building up layers of petals. There are several ways to approach this, but a common method involves working a central base and then building concentric rounds of petals.
Basic Concept for a Dimensional Rose:
- Central Base: Start with a small circle (e.g., magic ring with 6-12 single crochets).
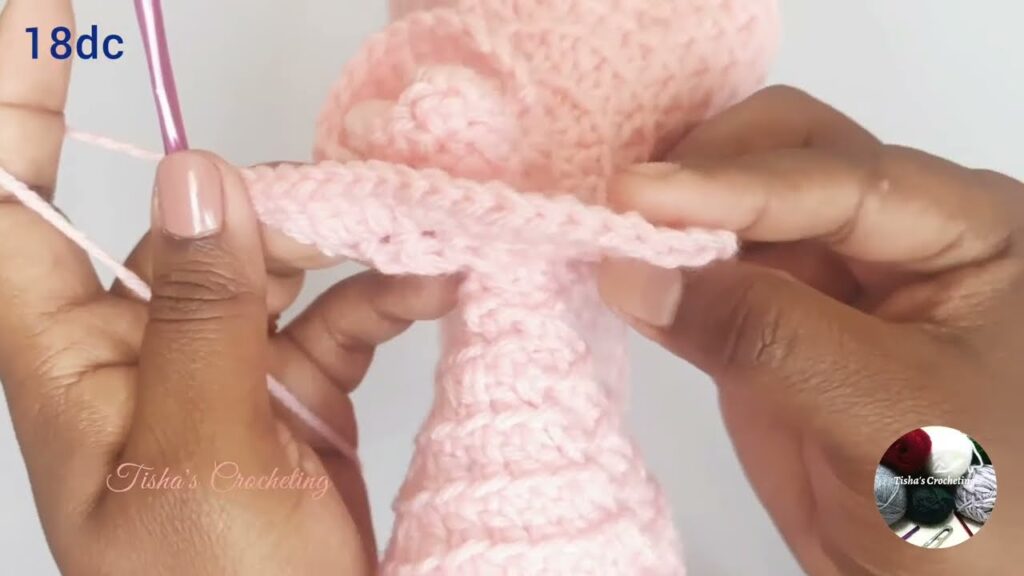
- First Petal Layer: Work into the stitches of the base to create the smallest, tightest petals. These often involve a series of stitches (like
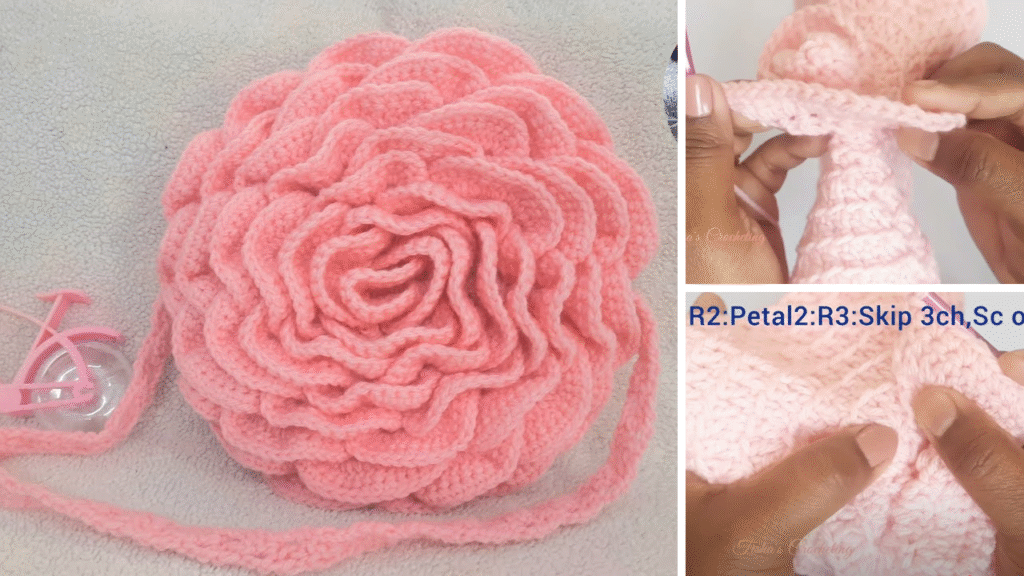
(Sc, Hdc, Dc, Hdc, Sc) in one stitchor[Dc, Ch 1, Dc] in one stitchfor a more open look) that create a scallop shape. - Subsequent Petal Layers: This is where the “mega” comes in!
- You’ll often work these layers behind or into the skipped stitches/spaces of the previous rounds, or directly into the back loops of previous stitches, to allow new, larger petals to form on top.
- Each new layer of petals will use taller stitches (like Double Crochet (Dc), Treble Crochet (Tr), or even Double Treble Crochet (Dtr)) and/or have more stitches per petal to make them larger and fuller.
- You’ll typically create chain spaces between petal groups to allow for the curve and overlap of the petals.
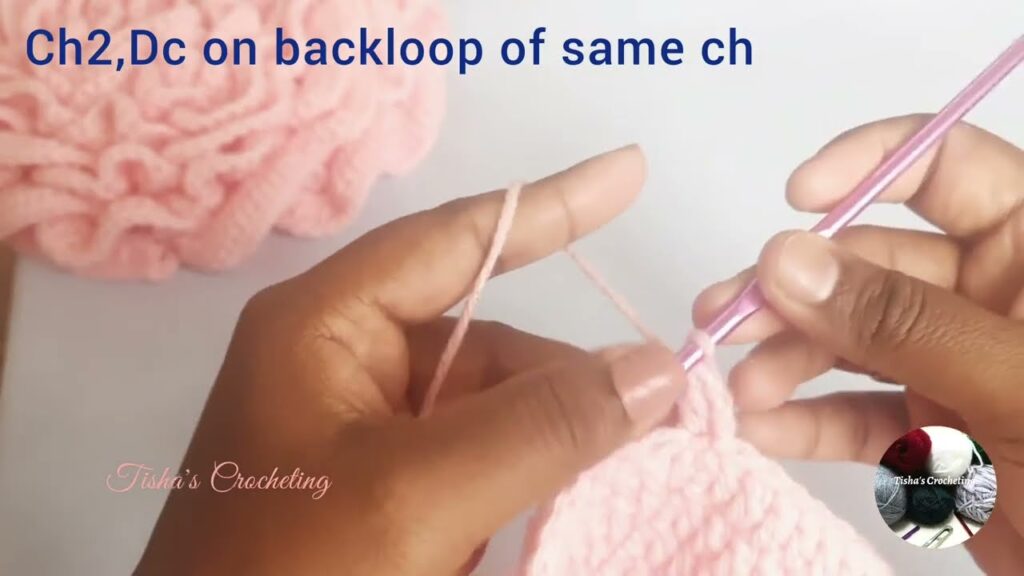
- Creating Curl: Many rose patterns incorporate chains between stitches (e.g.,
(Dc, Ch 1, Dc)) or a high number of stitches in a small space to naturally encourage the petals to curl. - Finishing: Once you have enough layers to achieve your desired “mega” size, fasten off, leaving a long tail for sewing.
Key Techniques for Rose Petals:
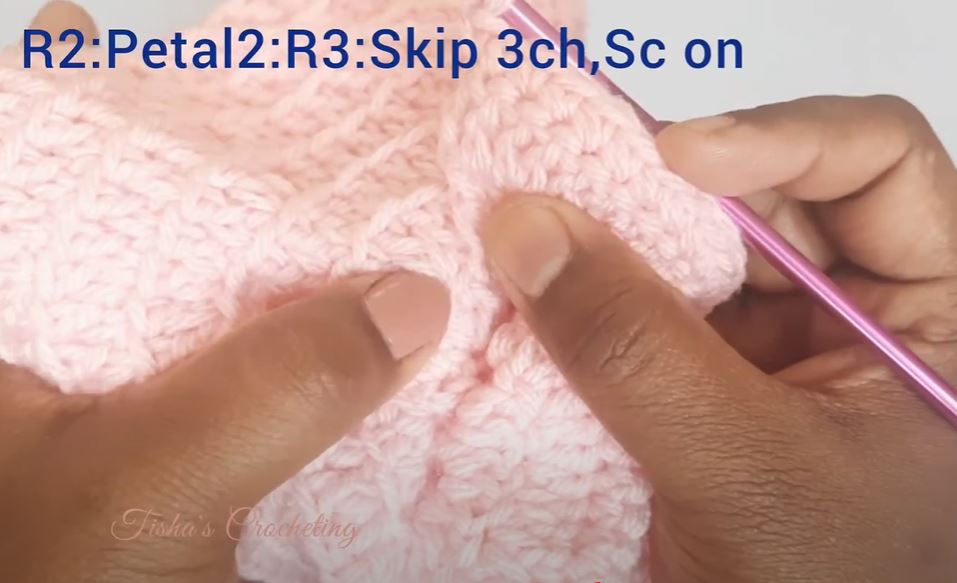
- Working in Chain Spaces: Petals are often worked into chain-1 or chain-2 spaces from previous rounds.
- Working in the Back Loop Only (BLO) or Front Loop Only (FLO): Sometimes, a round of stitches is worked in BLO to create a ridge, allowing you to work a subsequent petal round into the FLO or unused loops of the same stitch, keeping the layers distinct.
- Front Post/Back Post Stitches: Less common for the petals themselves, but could be used for the base or to add structure.
Finding a Pattern (Highly Recommended!):
While the above explains the concept, creating a truly impressive “Mega Rose” relies on a well-designed pattern. Search for patterns specifically for:
- “3D Crochet Rose”
- “Giant Crochet Rose Applique”
- “Crochet Rose Blanket Square” (you can adapt the rose part from these)
Look for patterns that create a layered, dimensional effect rather than a flat applique. Many free and paid patterns are available on Ravelry, Etsy, and various crochet blogs.
Part 2: Crocheting the Bag Body
The bag body should be relatively simple to allow your mega rose to shine. A basic tote bag pattern is perfect.
Common Bag Body Construction:
- Base: Start with a rectangular or oval base worked in rows or continuous rounds of Single Crochet (Sc) or Half Double Crochet (Hdc). This provides a sturdy bottom.
- See “How to Crochet a Tote Bag” tutorial for detailed base instructions.
- Sides: Once your base is complete, work in continuous rounds upwards for the height of the bag.
- Recommended Stitches for Strength:
- Single Crochet (Sc): Very dense and strong.
- Half Double Crochet (Hdc): Also strong, a bit faster than Sc.
- Waistcoat Stitch (Center Single Crochet): Creates a knit-look fabric that is incredibly dense and sturdy, perfect for a bag.
- Holding Two Strands Together: For ultimate strength, work your bag body holding two strands of yarn together.
- Recommended Stitches for Strength:
- Handles: Integrate the handles by skipping stitches and chaining across, or crochet separate straps and sew them securely.
Bag Dimensions:
- Decide how large you want your tote. A common size for a medium tote is about 12-14 inches wide and 14-16 inches tall.
- Ensure the front panel of your bag is large enough to accommodate your chosen Mega Rose comfortably, with a little border around it.
Part 3: Assembly and Finishing
This is where your Mega Rose Bag comes to life!
- Weave in All Ends: Before assembly, make sure all loose yarn tails on both your rose and your bag body are neatly woven in.
- Position the Rose: Lay your finished bag body flat. Carefully position your crocheted Mega Rose onto the front panel of the bag. Experiment with placement until you find what looks best. It’s often centered, but you could place it slightly off-center for a modern look.
- Sew the Rose to the Bag:
- Using your yarn needle and the long tail from your rose (or a new piece of matching yarn), begin to securely sew the rose to the bag.
- Start from the center of the rose and work outwards. You’ll want to stitch through the back of the rose and into the stitches of the bag, making sure your stitches are invisible from the front of the rose.
- Focus on attaching the inner layers and the base of the rose firmly. For the outer, more dimensional petals, you might only need to tack down a few points to allow them to maintain their beautiful 3D effect.
- Go around the entire perimeter of the rose, securing it well. This is the main decorative element, so take your time!
- Add Leaves (Optional): If you crocheted leaves, strategically place and sew them around the base of the rose.
- Add a Lining (Recommended):
- Measure the inside of your finished crochet bag.
- Cut two fabric rectangles for the body and a rectangle for the bottom (or two for a boxed bottom lining). Add a 1/2 inch seam allowance to all edges.
- Sew the fabric pieces together to create a simple fabric bag that fits snugly inside your crochet tote.
- Fold over the top edge of the fabric lining twice and press.
- Insert the lining into the crochet bag. Hand-stitch the top edge of the fabric lining to the top inside edge of the crochet bag, just below the handles.
- Add Closure (Optional): Sew a magnetic snap or zipper to the inside of your fabric lining.
- Final Touches: Give your bag a gentle block if needed, especially if your rose seems a bit flat after sewing.
Creating a Crochet Mega Rose Bag is a fantastic way to showcase your crochet skills and make a truly unique accessory. It’s a project that combines detailed floral work with practical bag construction, resulting in a show-stopping piece that’s sure to turn heads. Enjoy the process of bringing your giant floral vision to life!
Conclusion: Blooming with Your Mega Rose Bag
You’ve now uncovered the secrets to crafting a truly spectacular Crochet Mega Rose Bag! This isn’t just about making a functional accessory; it’s about creating a wearable piece of art that radiates charm and uniqueness. From forming the intricate, dimensional petals of your show-stopping rose to constructing a sturdy base for your essentials, you’ve learned to blend delicate artistry with practical design.
Your Mega Rose Bag is more than just a place to carry your belongings; it’s a testament to your creativity and skill. Whether you choose to carry it to a special event or simply as a daily dose of floral joy, it’s sure to be a conversation starter and a beloved addition to your collection. So go ahead, let your crocheted rose bloom, and enjoy the beauty you’ve brought to life with your hook and yarn!
Video tutorial:


