Few things are more adorable—or more cherished—than a tiny pair of hand-knitted baby booties. They’re soft, warm, and full of love. Whether you’re knitting for your own baby, a baby shower gift, or to donate to hospitals or charities, baby booties are a perfect beginner project that’s quick to make and rewarding to finish.
In this guide, you’ll learn how to knit easy baby booties, step-by-step, using basic techniques that are approachable for knitters of all levels.
👶 Why Knit Baby Booties?
- 🧵 Beginner-friendly – requires only basic stitches
- 🕒 Quick to finish – one bootie takes under 1 hour
- 🎨 Customizable – choose colors, textures, and embellishments
- 🎁 Perfect for gifting – thoughtful and practical for newborns
- 💖 Sentimental keepsake – treasured by families for years
🧶 Materials You’ll Need
- Yarn: Soft DK weight or light worsted weight yarn (preferably cotton or baby acrylic yarn)
- Knitting needles: US size 4 (3.5 mm) or 5 (3.75 mm) straight needles
- Tapestry/yarn needle – for seaming and finishing
- Scissors
- Optional: Ribbon, buttons, or pom-poms for decoration
✅ Note: Always use baby-safe yarn—soft, non-toxic, and machine-washable.
🧵 Skills You’ll Need (All in Flat Knitting)
- Cast on
- Knit stitch (garter stitch)
- Purl stitch (for optional ribbing)
- Knit two together (k2tog) – for shaping
- Binding off
- Sewing seams (mattress stitch or whip stitch)
📏 Size Guide
This simple pattern is designed for 0–3 month-old babies.
- Length of sole: approx. 3.5–3.75 inches (9–9.5 cm)
- Can be resized by adjusting the number of stitches and rows
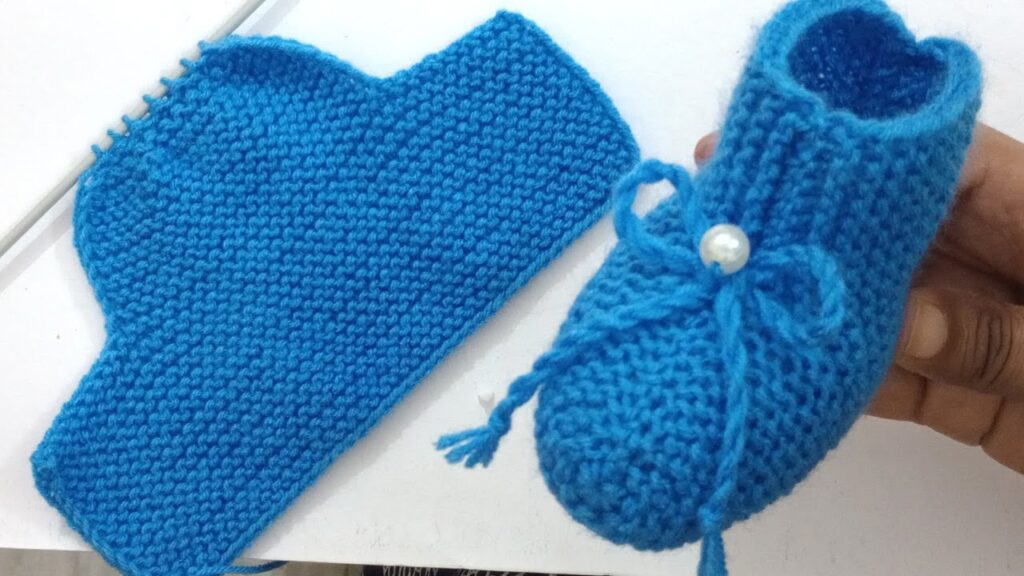
👟 Easy Knitting Baby Booties Pattern (Knit Flat)
✅ Step 1: Cast On
Cast on 28 stitches using the long-tail cast-on method (or your preferred method).
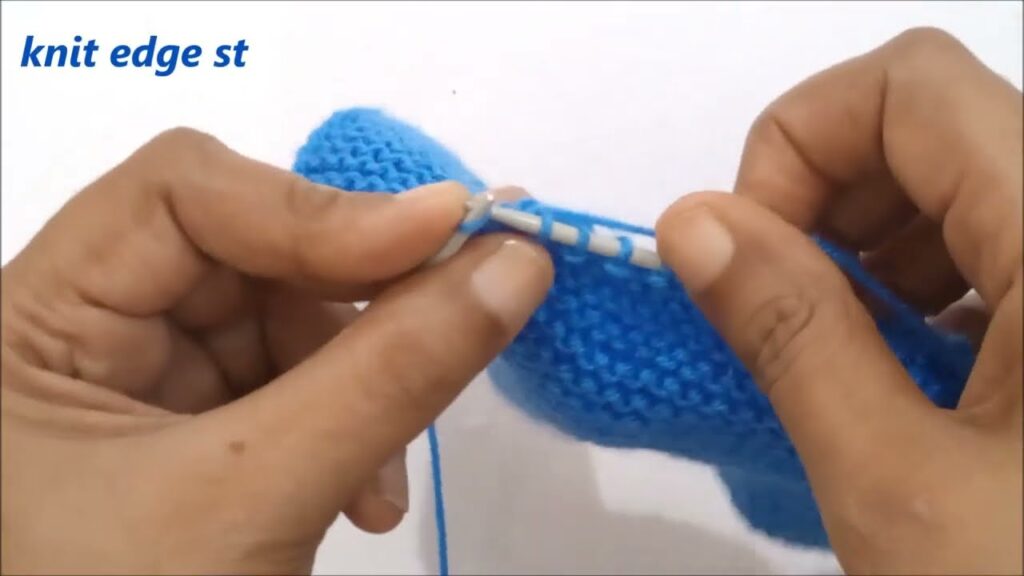
✅ Step 2: Knit the Cuff
Rows 1–8: (K1, P1) ribbing across each row.
This creates a stretchy cuff that hugs the baby’s ankle.
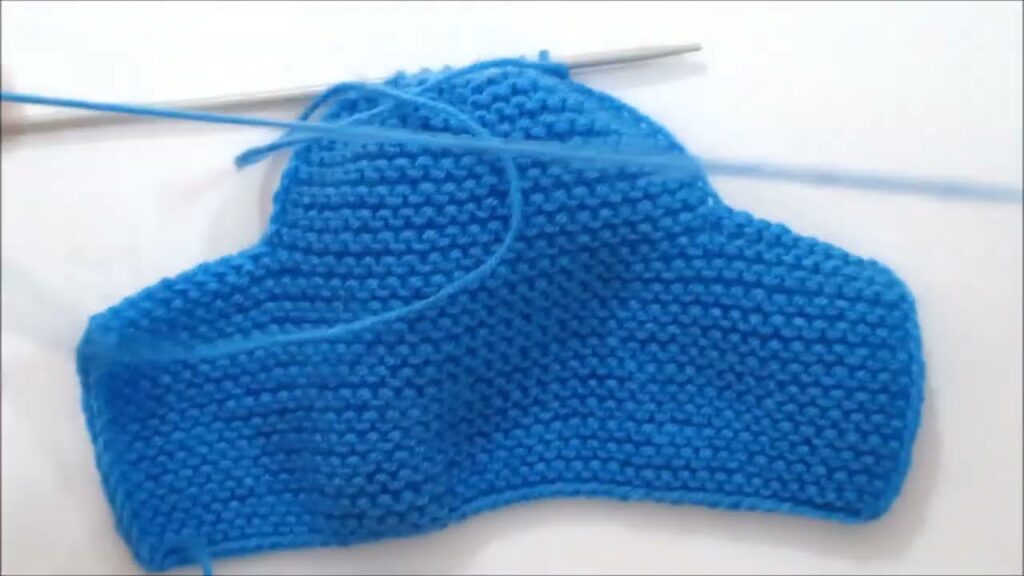
✅ Step 3: Knit the Top of the Foot
Rows 9–18: Knit all stitches (garter stitch) for 10 rows.
This section will fold over to form the top of the bootie.
✅ Step 4: Shape the Toe
We’ll now knit the toe with decreases.
Row 19: K9, k2tog (twice), K6, k2tog (twice), K9
(Decreases 4 stitches total – now you have 24 stitches)
Row 20: Knit all stitches
Row 21: K8, k2tog (twice), K4, k2tog (twice), K8
(20 stitches remain)
Row 22: Knit all stitches
Row 23: K7, k2tog (twice), K2, k2tog (twice), K7
(16 stitches remain)
Row 24: Knit all stitches
✅ Step 5: Bind Off
Bind off all stitches loosely.
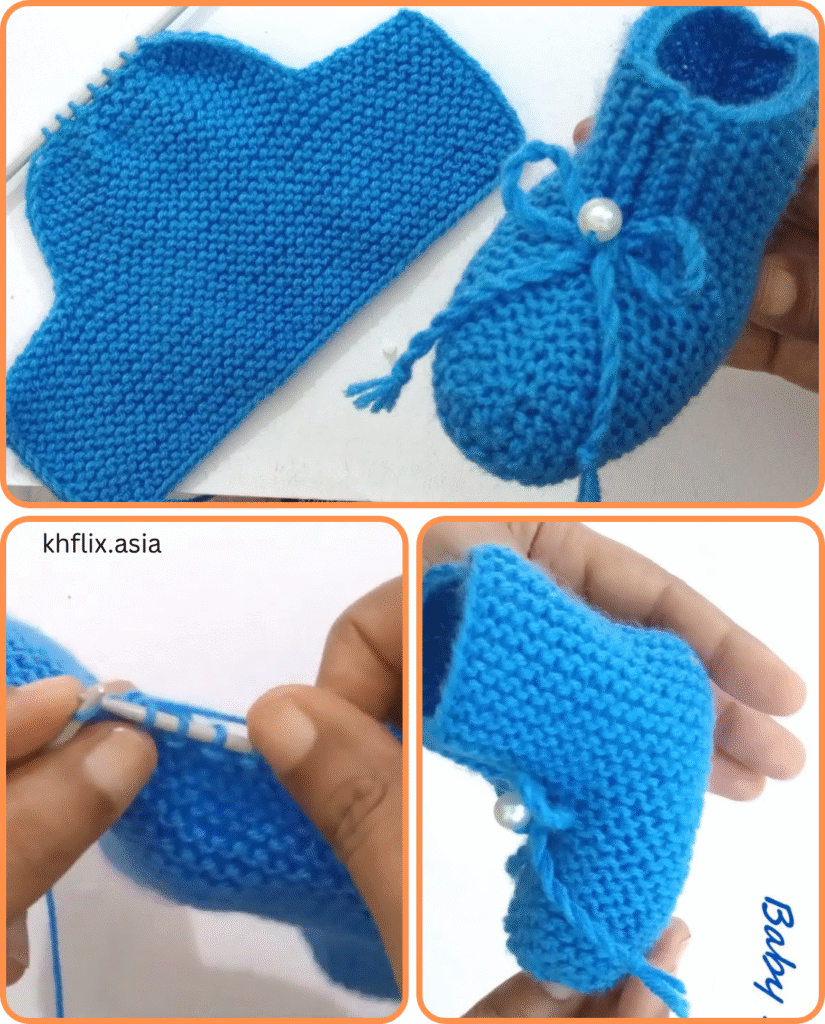
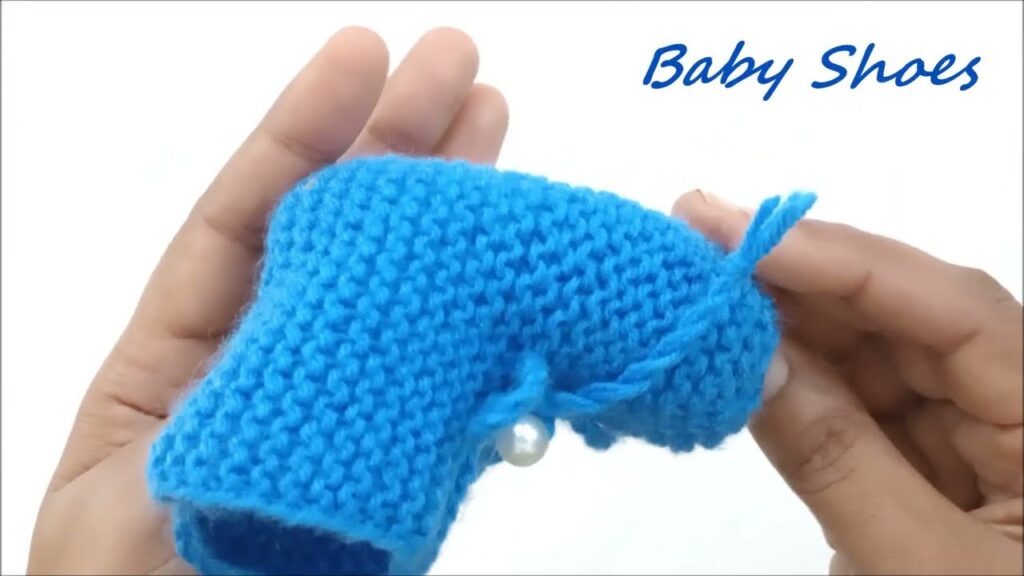
✅ Step 6: Sew the Bootie
- Fold the bootie in half lengthwise (right sides together).
- Sew the sole and back seam using mattress stitch or whip stitch.
- Turn the bootie right side out.
- Repeat the pattern for the second bootie.
🎀 Optional Embellishments
- Add ribbon: Thread a thin ribbon through the cuff for decoration
- Sew on a bow or button (be sure it’s secure and baby-safe)
- Attach small pom-poms for a playful look
- Embroider initials or simple designs for personalization
🧡 Tips for Success
- Make sure your tension is consistent for a neat finish
- Choose machine-washable yarn for easy care
- Always make two booties right away to ensure they match
- If you’re gifting, include care instructions (e.g., “wash gentle, air dry”)
- For larger sizes, increase cast-on stitches in multiples of 4 and add rows to foot length
🎁 Great for Gifting and Donations
These baby booties are ideal for:
- Baby showers
- Newborn hospital gifts
- Baptism/christening outfits
- Craft fairs
- Donation to NICUs or maternity wards
Bundle them with a matching baby hat or blanket for a heartwarming handmade set!
✅ Conclusion
These easy knitting baby booties are a delightful project that combines simplicity with love. With basic stitches and soft yarn, you can create a precious pair of handmade booties that bring warmth, comfort, and charm to a new baby’s wardrobe.
Whether you’re just learning to knit or are an experienced crafter looking for a quick gift, this project is a must-try. So grab your needles and yarn, and enjoy making these cozy little treasures—one stitch at a time.
Video tutorial: