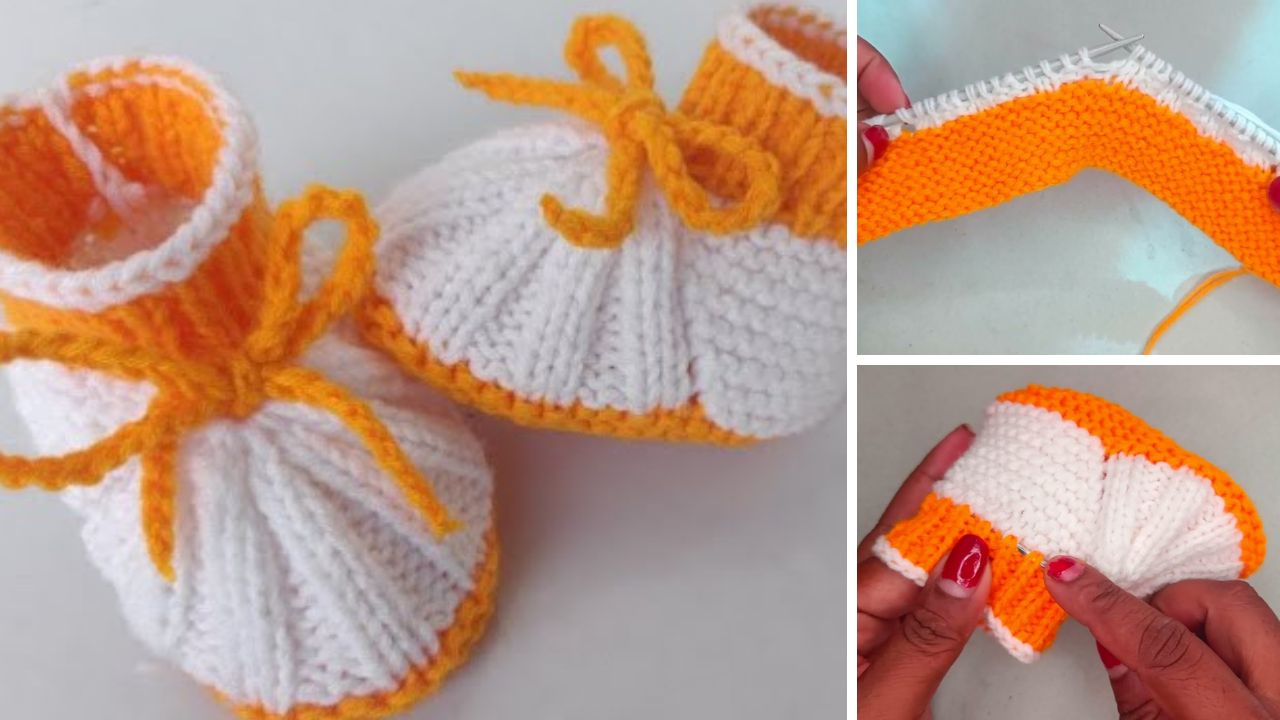
Knitting baby socks is a delightful project that combines practicality with charm. These tiny creations are perfect for warming tiny toes, giving as heartfelt gifts, or adding to a newborn’s coming-home outfit. Whether you’re a beginner or a seasoned knitter, creating beautiful hand-knitted baby socks is both rewarding and relaxing.
In this article, you’ll learn everything you need to know about designing and knitting beautiful baby socks, including materials, techniques, a simple pattern, and customization ideas.

🧶 Why Knit Baby Socks?
Baby socks are small, quick to make, and require minimal yarn. They also allow knitters to:
- Practice sock techniques on a manageable scale
- Use leftover yarn from other projects
- Create treasured handmade gifts
- Explore colors, textures, and patterns
Plus, they’re a great way to learn the basics of sock knitting—like working in the round, shaping heels and toes, and using double-pointed or circular needles.
🧵 Materials You’ll Need
- Baby yarn (fingering or sport weight yarn is ideal)
- Knitting needles:
- DPNs (double-pointed needles) or
- Circular needles for magic loop (size US 1–3 / 2.25–3.25 mm)
- Tapestry needle (for weaving in ends)
- Scissors
- Stitch markers (optional but helpful)
✅ Choose soft, washable, hypoallergenic yarn designed for babies—acrylic blends, bamboo, or cotton-acrylic mixes are great.

📏 Baby Sock Size (0–3 Months)
- Foot length: ~3.25 inches (8.25 cm)
- Foot circumference: ~5–5.5 inches (12.5–14 cm)
- Cuff height: ~2 inches (5 cm)
🪡 Stitches and Techniques Used
- Knit (k)
- Purl (p)
- Ribbing (k1, p1 or k2, p2)
- Stockinette stitch (knit all rounds)
- Short rows (for shaping the heel)
- Kitchener stitch or grafting (for seamless toe closure)
✅ If you’re new to socks, don’t worry—this basic pattern uses beginner-friendly techniques.
👶 Beautiful Baby Socks Knitting Pattern (Top-Down)
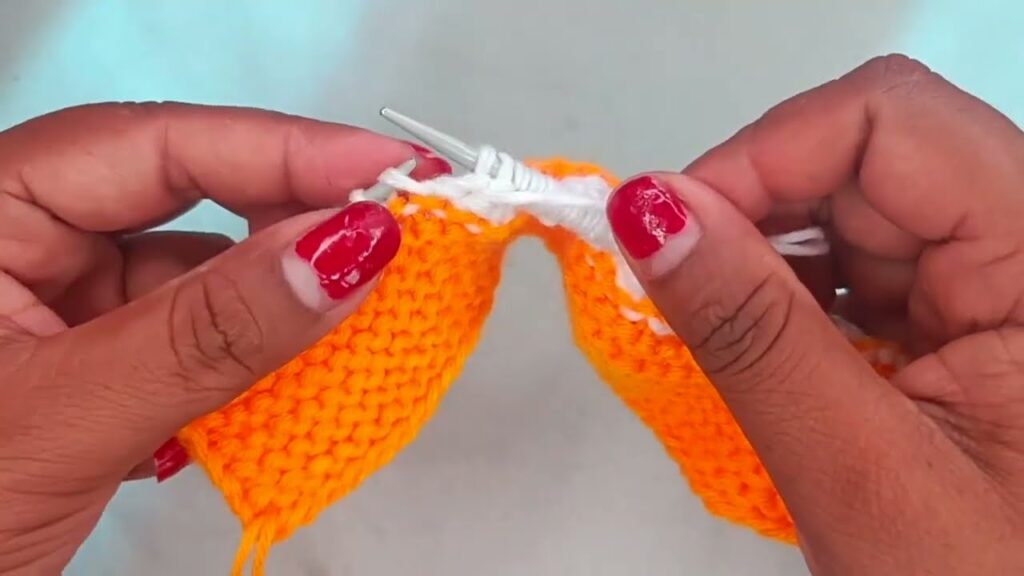
🧦 Step 1: Cast On and Cuff
- Cast on 32 stitches using the long-tail method. (Adjust based on yarn weight and desired snugness.)
- Distribute stitches evenly across 3 or 4 DPNs, or set up for Magic Loop.
- Join in the round, being careful not to twist.
- Work in k1, p1 ribbing for 12–15 rounds (~1.5 inches).
🎀 Optional: Try a picot edge for a decorative cuff by casting on with a provisional method and folding the hem later.
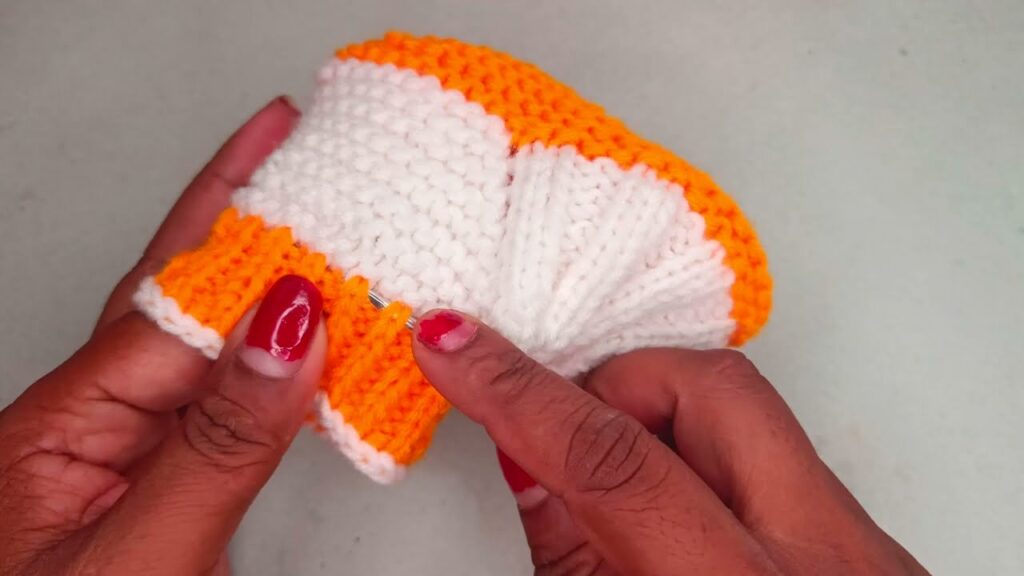
🧦 Step 2: Leg
- Switch to stockinette stitch (knit all stitches in the round).
- Knit 10–12 rounds for a short leg.
Want a longer sock? Add more rounds to this section.
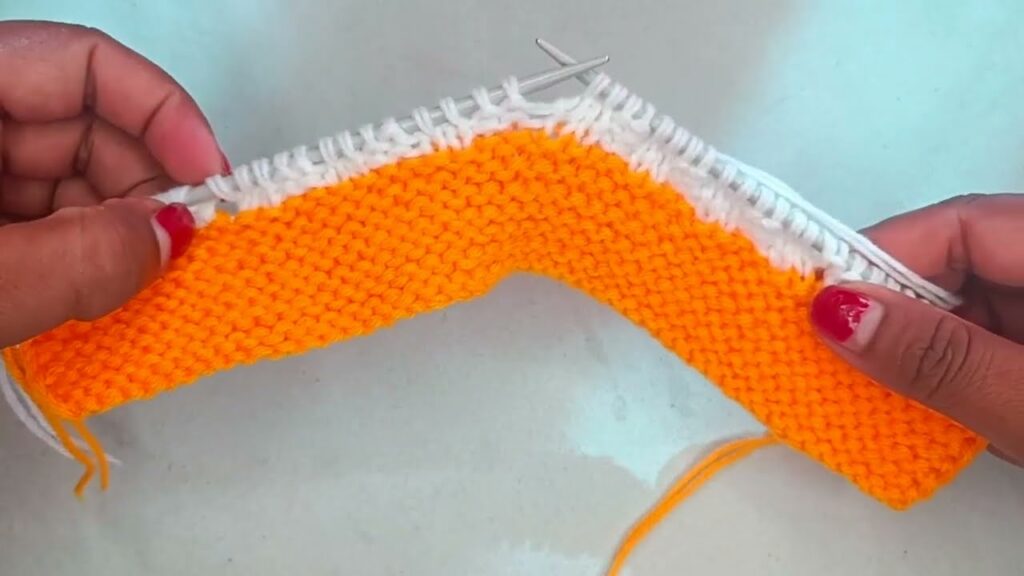
🧦 Step 3: Heel Flap (Worked flat)
- Work across half the stitches (16 sts) back and forth for 12 rows.
- Alternate rows:
- Row 1 (RS): Slip 1, k1 across
- Row 2 (WS): Purl all
This creates a reinforced heel flap.
🧦 Step 4: Turn Heel
- Row 1: K9, k2tog, k1, turn
- Row 2: Sl 1, p5, p2tog, p1, turn
- Row 3: Sl 1, k to 1 st before gap, k2tog, k1, turn
- Row 4: Sl 1, p to 1 st before gap, p2tog, p1, turn
Repeat until all heel stitches are used. You should have 10 heel stitches.
🧦 Step 5: Gusset
- Pick up 7–8 stitches along each side of the heel flap.
- Resume knitting in the round:
- Needle 1: Half heel stitches + picked-up side
- Needle 2: Instep stitches (unchanged)
- Needle 3: Picked-up side + remaining heel stitches
Gusset Decreases:
- Round 1: Needle 1 – knit to last 3 sts, k2tog, k1
- Needle 3 – k1, ssk, knit to end
- Needle 2 – knit all
Repeat decrease round every other round until you’re back to 32 total stitches.
🧦 Step 6: Foot
- Knit even in the round until the foot measures ~3″ from the back of the heel (or ¼” shorter than the desired length).
🧦 Step 7: Toe Shaping
- Decrease rounds:
- Needle 1: k to last 3 sts, k2tog, k1
- Needle 2: k1, ssk, k to last 3 sts, k2tog, k1
- Needle 3: k1, ssk, k to end
Repeat every other round until you have 12 stitches total.
- Graft the toe with Kitchener stitch, or pull yarn through final stitches and cinch shut if preferred.
🎨 Design Variations
- 🌸 Lace Panel: Add a small lace motif on the front of the leg.
- 🎀 Picot Edge Cuff: Add a folded hem with a picot edge for a girly touch.
- 🎨 Colorwork: Use contrasting heel and toe colors.
- 🧶 Textured Stitches: Try seed stitch, moss stitch, or cables on the leg section.
🧡 Tips for Success
- Use stitch markers to track the beginning of rounds and heel sections.
- Check your gauge to ensure proper fit—especially with finer yarns.
- Make two at once (if using Magic Loop) to ensure a matching pair.
- Block gently to shape your socks and even out stitches.
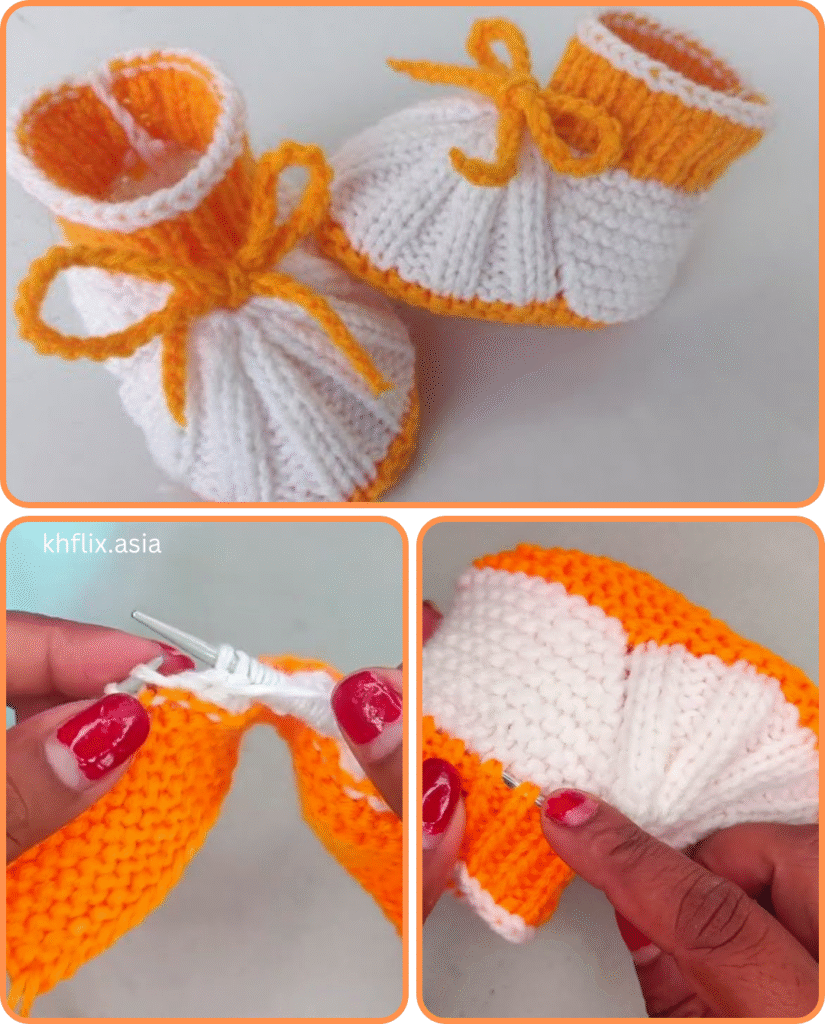
🎁 Perfect for Baby Showers and Keepsakes
Hand-knitted baby socks are a thoughtful, handmade treasure. Paired with a matching hat, sweater, or blanket, they make the perfect baby shower gift. They also work beautifully as heirlooms or photo props.
Video tutorial:
🧶 Conclusion
Knitting baby socks is a joyful and rewarding project. With their small size, soft textures, and sweet charm, they’re perfect for beginner and experienced knitters alike. Whether you’re crafting for your own little one or giving the gift of warmth and love, these beautiful baby socks are sure to be cherished.
So pick your yarn, grab your needles, and enjoy every stitch of creating something truly special!