
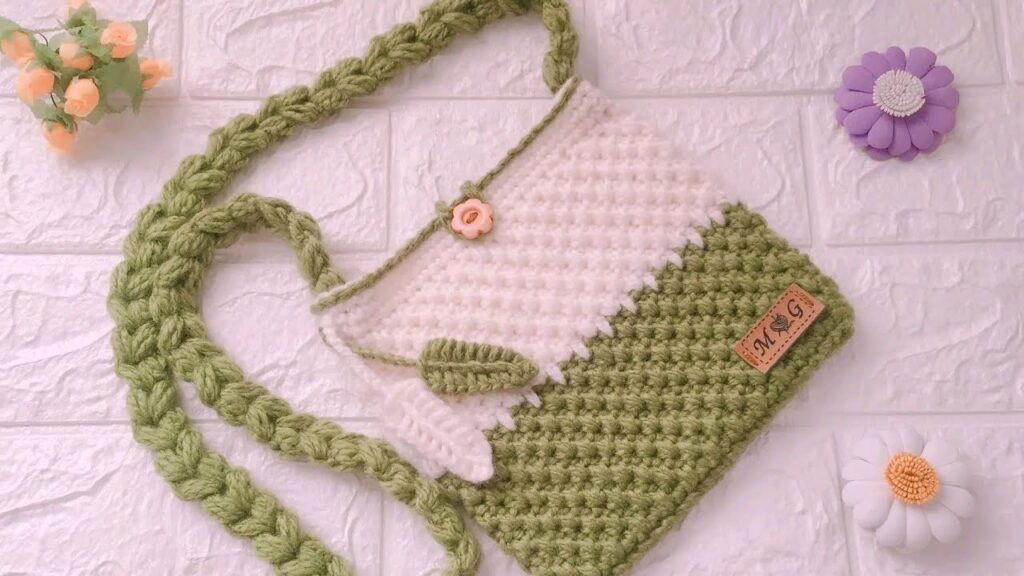
A crochet purse bag is a perfect project for anyone who enjoys crafting with yarn and wants to create something beautiful and useful. In this step-by-step guide, we’ll walk you through everything you need to know to crochet your own everyday purse bag—from gathering materials to the final finishing touches.
🧶 Why Crochet an Everyday Purse Bag?
Crocheted purse bags are:
- Customizable – Choose your own colors, size, and embellishments.
- Eco-Friendly – Use sustainable yarn and ditch fast fashion.
- Durable – Especially when made with strong cotton or polyester blends.
- Functional and Stylish – Great for daily use, they can hold your essentials like phone, wallet, keys, and more.
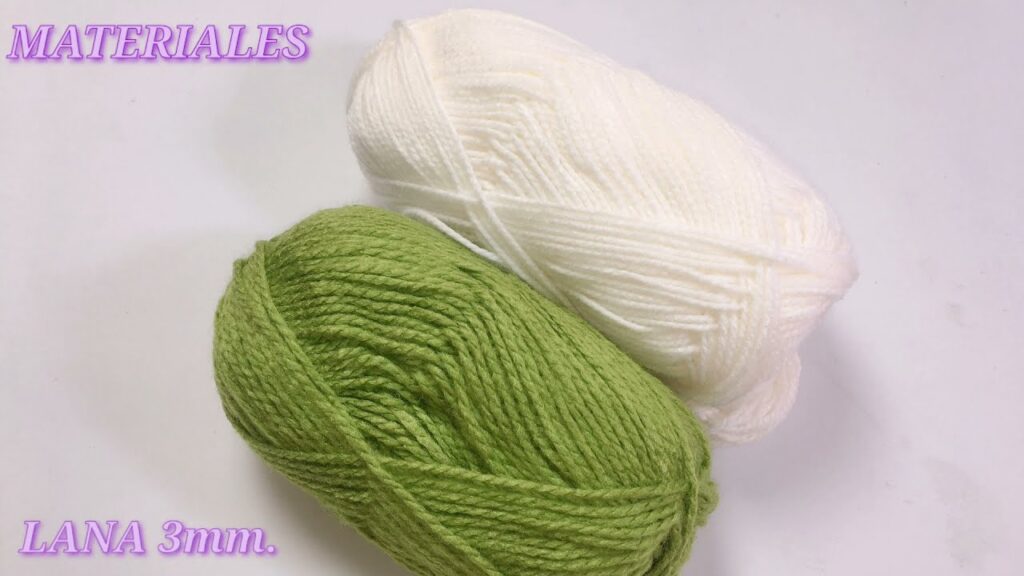
✨ Materials You’ll Need
- Yarn:
- Recommended: Worsted weight cotton yarn (like Lily Sugar’n Cream or Paintbox Cotton)
- Color: Choose one or multiple for patterning
- Crochet Hook:
- Size H/8 (5.0 mm) or size needed for your yarn choice
- Scissors
- Yarn needle (for weaving in ends)
- Magnetic snap, zipper, or button (optional closure)
- Lining fabric (optional)
- Stitch markers (optional but helpful)

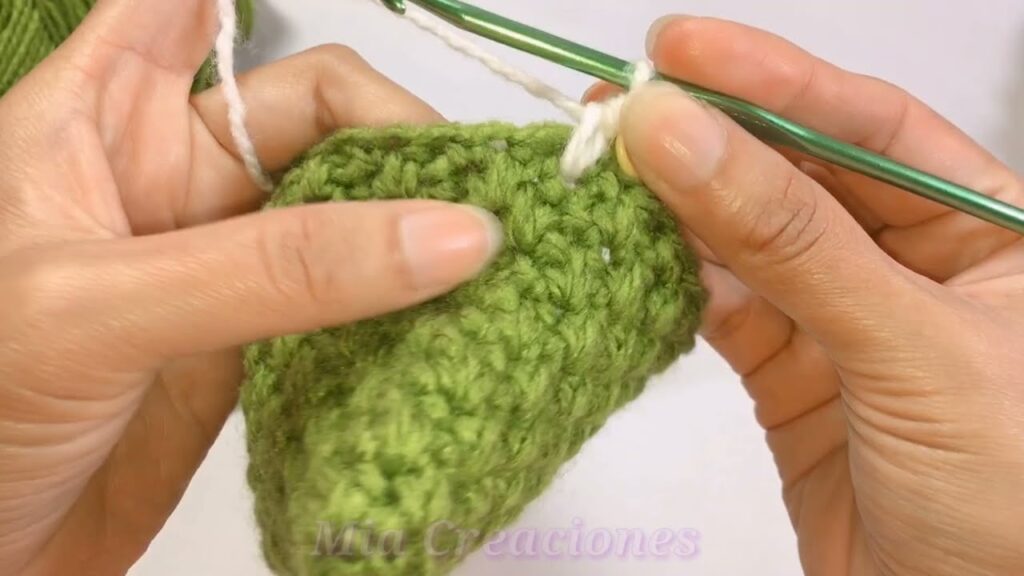
🪡 Basic Stitches Used
- Chain (ch)
- Single crochet (sc)
- Slip stitch (sl st)
- Half double crochet (hdc)
- Double crochet (dc)
If you’re a beginner, practice these stitches first with scrap yarn.
🧵 Step-by-Step Instructions
Step 1: Base of the Bag
You’ll begin with a flat oval base.
1. Ch 31 (this will be the length of the bag)
2. Round 1: Sc in 2nd ch from hook and each ch across. In last ch, make 3 sc to turn. Continue working sc on the other side of the chain. Make 2 sc in final st. (64 sts)
3. Round 2: Place stitch marker at beginning. Sc around, increasing at both ends to maintain oval shape.
4. Repeat for 2-3 more rounds, depending on how wide you want the base.
Step 2: Building the Body
1. Continue working in sc (or switch to hdc for a faster build).
2. Work in the round, without increasing, to build height.
3. For texture, alternate sc and dc every few rows (e.g., sc, dc repeat row followed by hdc row).
4. Keep crocheting until the bag reaches your desired height (about 8-10 inches for an everyday purse).
Step 3: Creating Handles (Two Options)
Option 1: Built-in Handles
1. When the bag is the right height, mark two sections on the top for handles (skip 10-12 sts for each).
2. Work in sc, skipping the handle stitches and chaining over them.
3. Next round, sc across the chains to form the handle.
4. Repeat 1-2 rows to reinforce the handles.
Option 2: Attach Separate Straps
- Crochet two long straps (chain + rows of sc or hdc).
- Sew them securely onto the bag.
Tip: Use metal rings for a more polished finish.
🧵 Step 4: Optional Lining
For durability and neatness, add a fabric lining:
- Cut fabric to fit inside the bag.
- Hem the edges.
- Hand-sew or machine-stitch it into the interior.
- Add a pocket if desired.
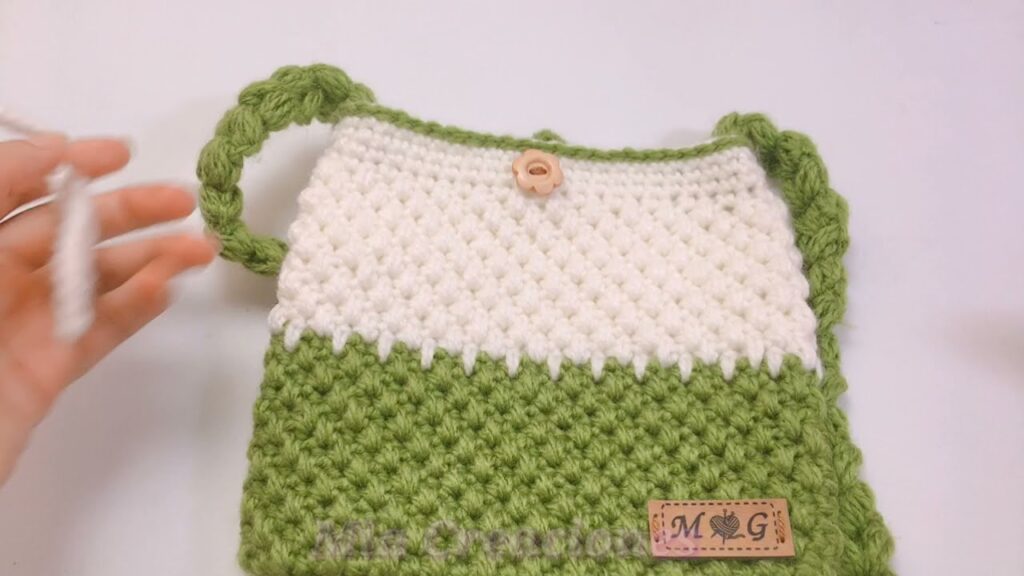
🔐 Step 5: Closure
Choose one of the following:
- Magnetic Snap: Sew into lining before attaching.
- Zipper: Sew into the top edge.
- Button & Loop: Crochet a loop and sew on a button.
🎀 Finishing Touches
- Weave in all loose yarn ends.
- Add a charm, tassel, or crochet flower for style.
- Block the bag lightly with steam to shape it nicely.
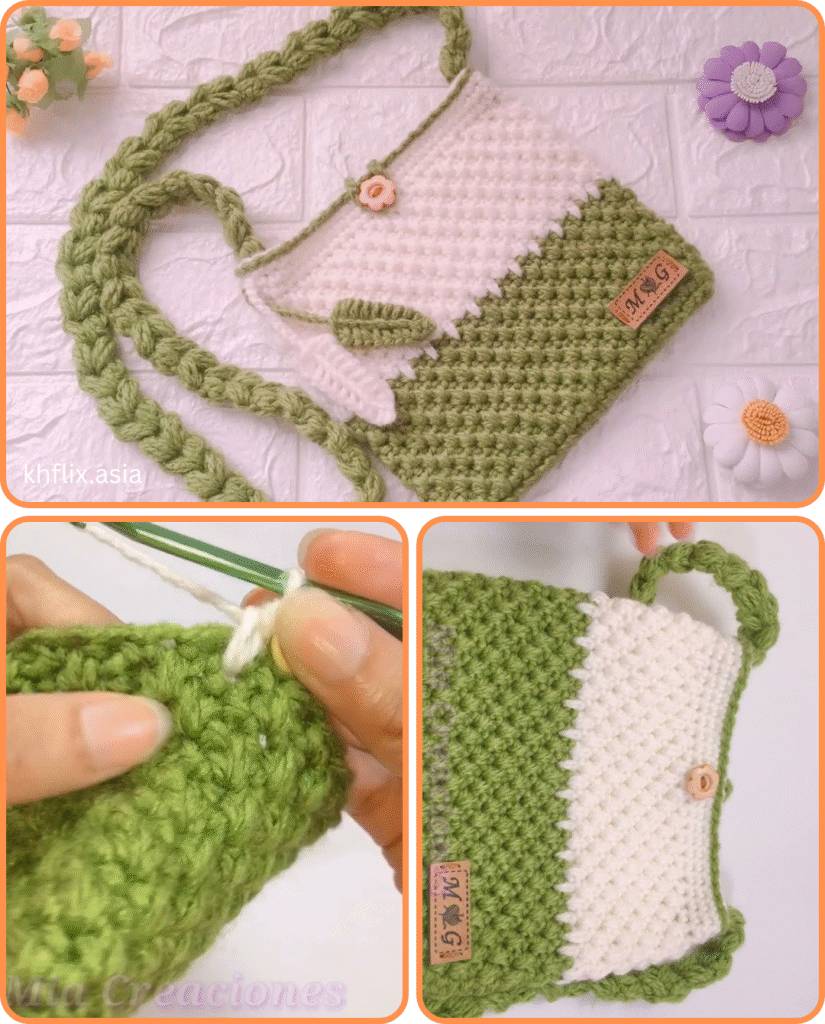
📌 Pattern Variations
- Color Block: Use 2-3 colors in sections.
- Tapestry Crochet: Add simple shapes or motifs.
- Granny Square Bag: Make several granny squares and join them to form the purse.
💡 Tips for Success
- Use tight stitches to keep the bag sturdy.
- Use a lining if the bag will carry heavy items.
- Reinforce the handles by crocheting or sewing multiple layers.
Video tutorial:
🎉 Conclusion
Crocheting your own everyday purse bag is not only rewarding but also practical. With some yarn, a hook, and a bit of patience, you’ll have a unique accessory that you can use daily or gift to someone special.
Start simple, take your time, and don’t be afraid to get creative with colors and textures. Once you’ve completed your first purse, you’ll be hooked!


