Crocheting headbands is one of the most satisfying small-scale projects you can take on. Whether you’re new to the craft or an experienced crocheter, making a crochet headband for a girl is fun, fast, and incredibly rewarding. These adorable accessories can be worn year-round, customized with flowers, bows, or buttons, and made to fit any size or style.
In this step-by-step tutorial, we’ll walk you through how to create a beautiful, stretchy, and comfortable headband that’s perfect for girls of all ages—from toddlers to tweens. Plus, we’ll give you customization ideas to make each piece truly one-of-a-kind.
💕 Why Crochet a Headband for Girls?
Crochet headbands are:
- Quick to Make – Often under 1 hour!
- Beginner-Friendly – A perfect project to learn or practice stitches.
- Functional – Keeps hair in place, adds warmth or flair.
- Customizable – Add embellishments, colors, textures, or stitch variations.
- Gift-Worthy – Ideal for birthdays, holidays, or handmade market items.
🧵 Supplies You’ll Need
Before we begin, gather your materials:
Yarn:
- DK (Light #3) or Worsted Weight (#4) yarn
- Cotton or soft acrylic is best for comfort and stretch
- Choose a fun color that suits the girl’s style
Crochet Hook:
- 4.0 mm (G-6) or 5.0 mm (H-8) depending on your yarn weight
Notions:
- Scissors
- Tapestry needle
- Measuring tape
- Optional: Buttons, bows, or crochet flowers
📏 Sizing Guide
To make sure your headband fits perfectly, refer to this general size chart:
| Age Group | Head Circumference | Headband Length |
|---|---|---|
| Toddler (1–3y) | 18–19 inches | 16.5 inches |
| Child (4–10y) | 20–21 inches | 18.5 inches |
| Pre-Teen | 21–22 inches | 19–20 inches |
Tip: Subtract about 1–1.5 inches from actual head circumference for a snug but comfortable fit, as yarn will stretch.

🧶 Basic Crochet Headband Pattern (Ribbed Style)
This ribbed headband is soft, stretchy, and stylish, made using simple stitches in rows and seamed at the end.
Step 1: Foundation Chain
- Ch 11 (or adjust for width – 8 to 12 chains gives a nice headband width)
Step 2: Row 1
- Sc in 2nd ch from hook and across (10 sc)
- Ch 1, turn
Step 3: Row 2–Until Desired Length
- Working in back loops only (BLO):
- Sc in each st across (10 sc)
- Ch 1, turn
- Repeat until the strip reaches the desired headband length (see chart above).
Why BLO? Working in the back loops creates a stretchy, ribbed texture that conforms nicely to the head.

Step 4: Seam the Ends
- Fold the headband in half.
- Slip stitch or whip stitch the short ends together to form a loop.
- Fasten off and weave in ends with a tapestry needle.
Voila! You now have a simple, ribbed headband perfect for daily wear.
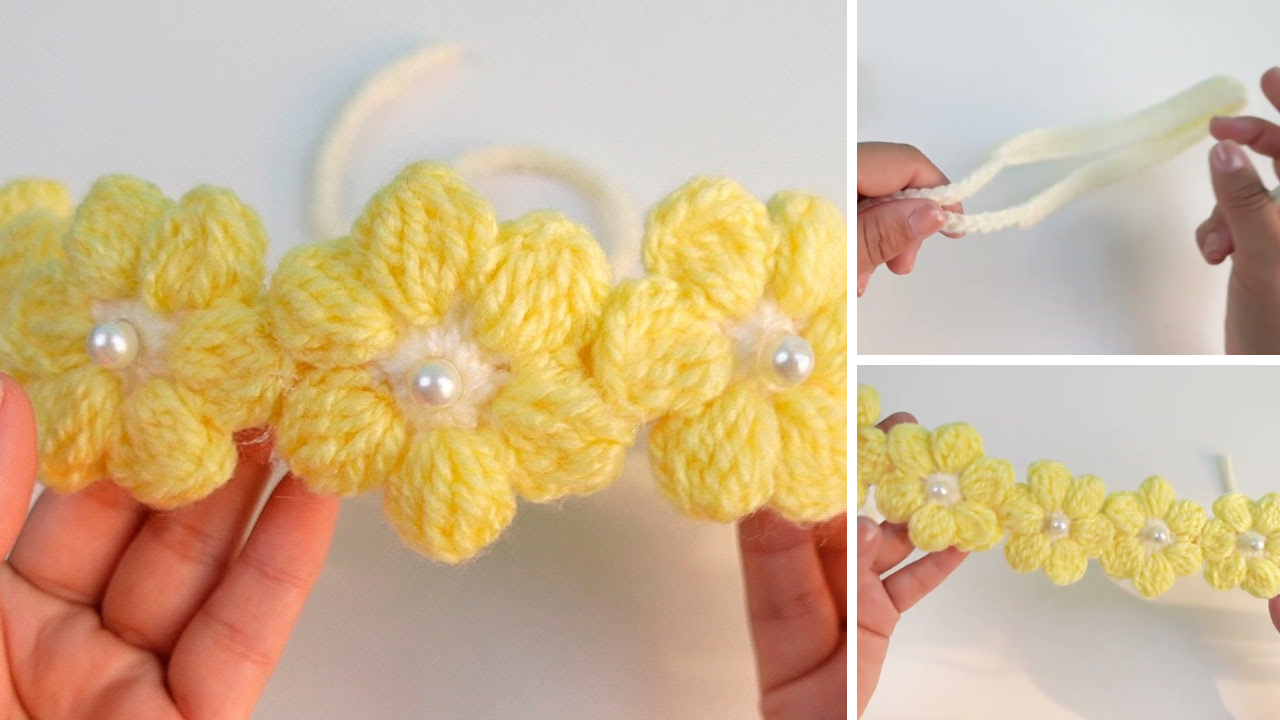
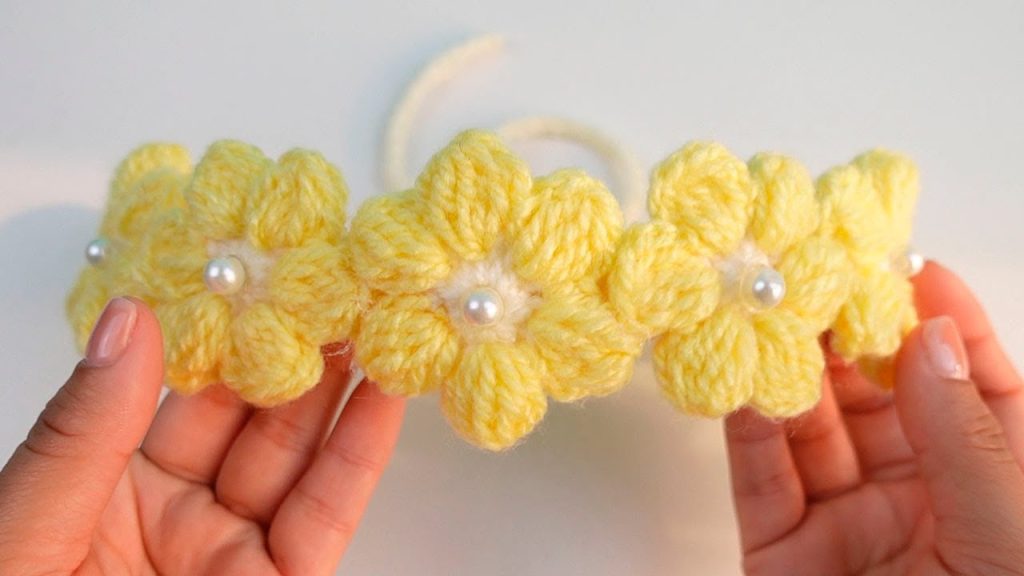
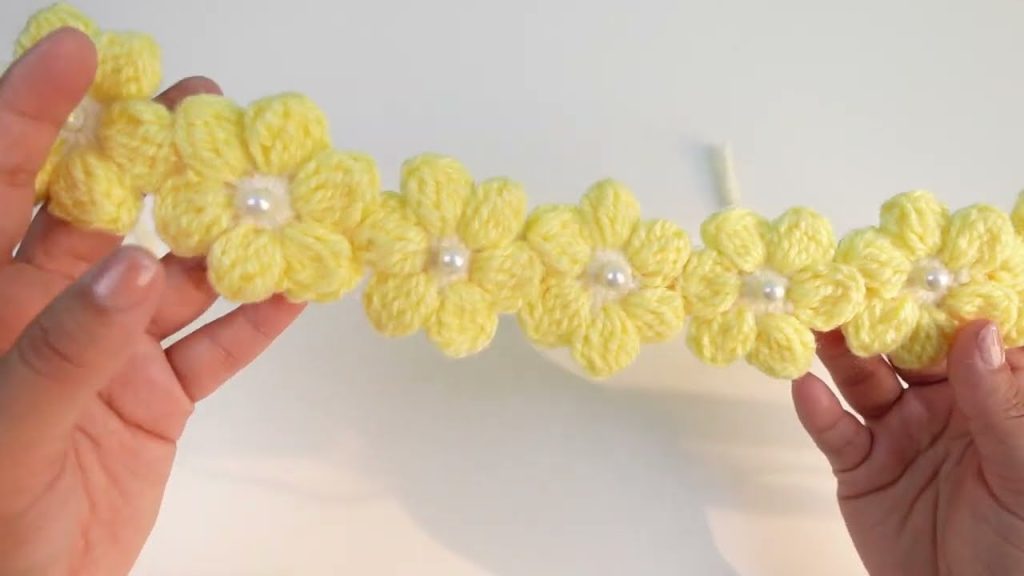
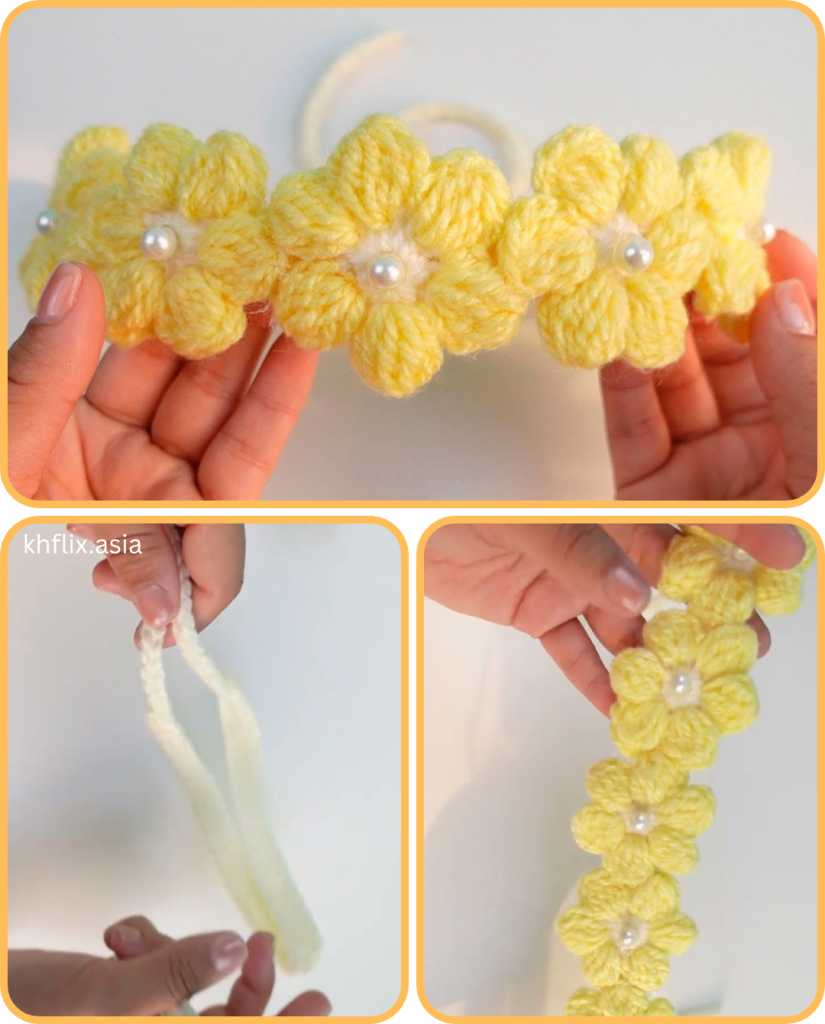
🌼 Add a Crochet Flower (Optional)
Want to jazz it up? Add a crochet flower to one side of the headband for a touch of cuteness.
Simple 5-Petal Flower:
- With accent color yarn and a 4.0 mm hook:
- Magic ring, ch 1, work 5 sc into ring, sl st to first sc (5 sts)
- Ch 2, 2 dc in same st, ch 2, sl st in next st – repeat for 5 petals
- Fasten off, leave long tail to sew onto the headband
Sew the flower onto the seam to hide it, or place it off-center for a trendy look.

🧣 Alternative Stitch Patterns
Want to explore different textures? Here are some variations:
1. Puff Stitch Headband
- Gives a bubbly, soft look. Puff stitch rows create a cushiony feel.
- Perfect for toddler girls.
2. Shell Stitch Headband
- Decorative and feminine.
- Use light pastel colors for a dainty finish.
3. V-Stitch Headband
- Breathable and lacy.
- Ideal for warmer months or dressier occasions.
🎀 Customization Ideas
Here’s how you can add personality to each headband:
- 🌸 Crochet Appliqués – Stars, hearts, animals, or letters
- 🧷 Buttons or Beads – Sew onto the center of flowers or sides
- 🪡 Embroidery – Use yarn to stitch the girl’s initials or small patterns
- 🎀 Bows – Crochet a bow or tie on a satin ribbon
- 🌈 Color Blocking – Change colors every few rows or use variegated yarn
🧼 Washing and Care Tips
Handmade accessories should be treated with care:
- Hand wash in cold water with mild detergent
- Gently press out water (don’t wring)
- Lay flat to dry on a clean towel
- Store flat to preserve shape
🎁 Great Gift Ideas
Crochet headbands are perfect for:
- Birthday gifts
- Baby showers
- Handmade party favors
- Back-to-school accessories
- Matching sets for moms and daughters!
Wrap it with a tag that says “Handmade with love” for an extra special touch.
📌 Troubleshooting & Tips
- Too Loose? Use a smaller hook or reduce rows.
- Too Tight? Add more rows or switch to a stretchier yarn.
- Edges Curling? Block your finished piece or add a border of slip stitches.
🧵 Free Pattern Summary (Quick View)
Ribbed Crochet Headband Pattern
Ch 11
Row 1: Sc in 2nd ch from hook and across (10 sts). Ch 1, turn.
Row 2–End: Sc BLO in each st across. Ch 1, turn.
Repeat until piece measures 1–1.5” shorter than head circumference.
Sew short ends together.
Add flower or embellishment if desired.
💬 Final Thoughts
Making a crochet headband for a girl is a heartwarming and rewarding project. It’s easy enough for beginners and offers endless room for creativity. From a simple ribbed design to a more decorative flower-topped piece, each headband you crochet becomes a wearable piece of love and craftsmanship.
Whether you’re crafting for your daughter, niece, or as a thoughtful handmade gift, this quick project is sure to bring a smile to someone’s face. And best of all—you can make one in under an hour!
Video tutorial:


