
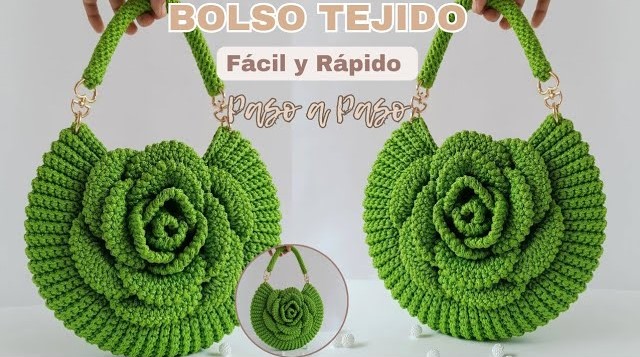
A woven cord bag is a must-have accessory in the world of modern fashion. It’s minimalistic, chic, and versatile—perfect for elevating both casual and semi-formal outfits. In this step-by-step guide, we’ll walk you through the process of making a woven cord bag from scratch using simple techniques. Whether you’re a beginner or a seasoned crafter, this tutorial will help you create a modern, elegant, and trendy bag that turns heads.
👜 Why Make a Woven Cord Bag?
- Trendy: It mirrors the luxury styles of designer brands.
- Durable: Cord is strong and long-lasting.
- Minimalist & Elegant: Matches today’s high-fashion aesthetic.
- Customizable: Adjust size, color, and shape to fit your personal style.
🧵 Materials You’ll Need
| Material | Description |
|---|---|
| Macrame cord / nylon cord / cotton rope | 3–5 mm thickness, 50–100 meters depending on bag size |
| Bag base (optional) | Leather or wooden oval/rectangle with holes |
| Lining fabric (optional) | For a polished interior finish |
| Scissors | Sharp for clean cord cuts |
| Tapestry needle | For finishing touches |
| Glue (optional) | For extra reinforcement |
| Metal handles / D-rings / straps | Add elegance and function |
| Measuring tape | Accuracy in cutting cord |
🎨 Step-by-Step Instructions
✅ Step 1: Choose Your Style
You can make various styles of woven cord bags:
- Tote-style (open top)
- Clutch-style (flat, with button or zipper)
- Shoulder bag (with long strap)
- Structured boxy bag (lined and reinforced)
Let’s go with a classic, structured rectangular shoulder bag, perfect for modern daily wear.
✅ Step 2: Measure and Cut Your Cord
📏 Basic Measurements:
- Bag dimensions: 10 in wide x 8 in tall
- Cord length (estimate): Each vertical strand = 2x bag height + extra for knots
- Example: Cut 20 cords at 22–24 inches long
Pro Tip: Add a few extra cords for backups or decorative tassels.
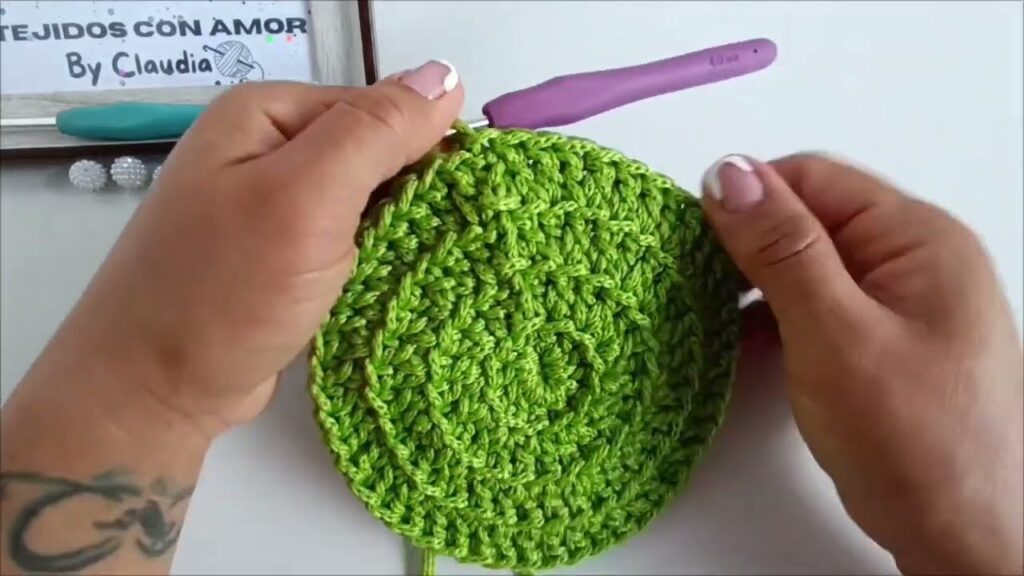
✅ Step 3: Start the Weaving Base
Two popular methods:
🔹 A. Latch-Knot (Macrame-style) Base
- Secure a dowel, metal rod, or handbag ring.
- Fold each cord in half.
- Use a Lark’s Head Knot to attach cords.
- You now have double the number of hanging cords (e.g., 20 cords = 40 ends).
🔹 B. Bag Base Panel with Holes
- Take a leather or wooden base with pre-drilled holes.
- Thread each cord through a hole from bottom to top and knot to secure.
- This creates your foundation for weaving up the bag sides.
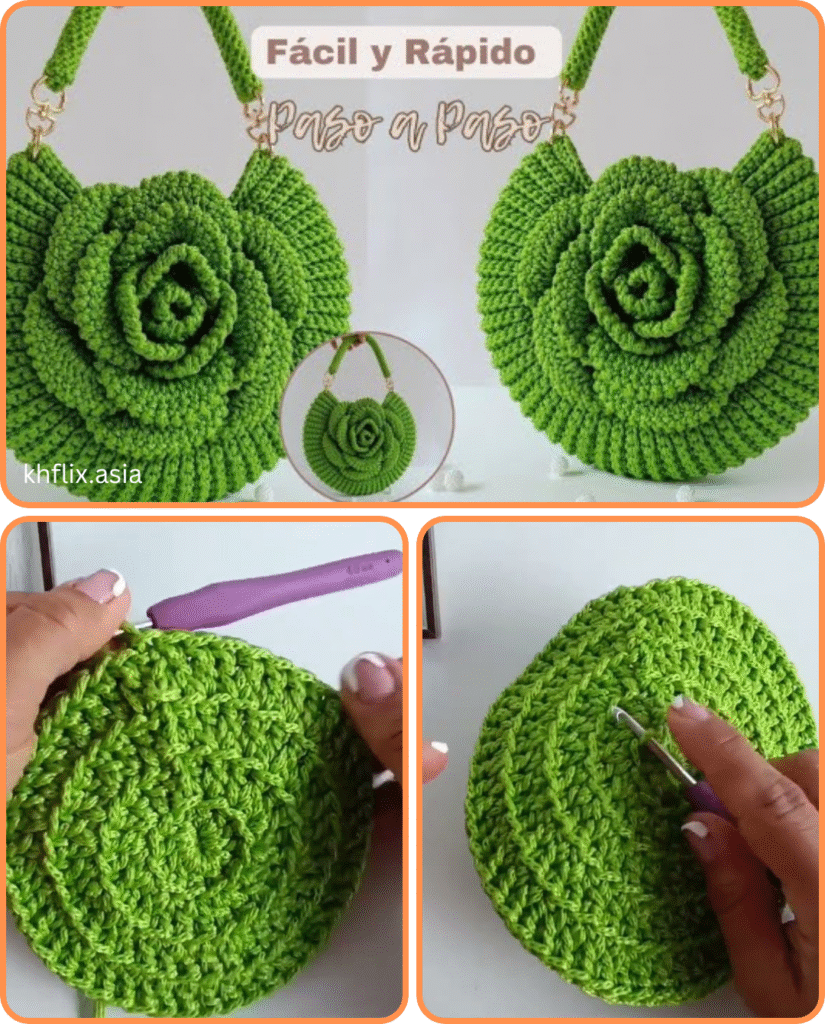
✅ Step 4: Weaving Techniques
You can use a basket weave or macramé knots (square, half, or diagonal knots) for texture.
🔹 Basket Weave (Beginner-Friendly)
- Take one cord and weave it over and under adjacent cords.
- Repeat for several rows, pushing down to tighten.
- Alternate starting cord in each row to create a true woven pattern.
🔹 Macramé Square Knot (Decorative)
- Use four cords: two working cords and two fillers.
- Pass left working cord over fillers and under right working cord.
- Bring right cord under fillers and through loop on the left.
- Pull tight; repeat in reverse for a full square knot.
Continue weaving until you reach your desired height.
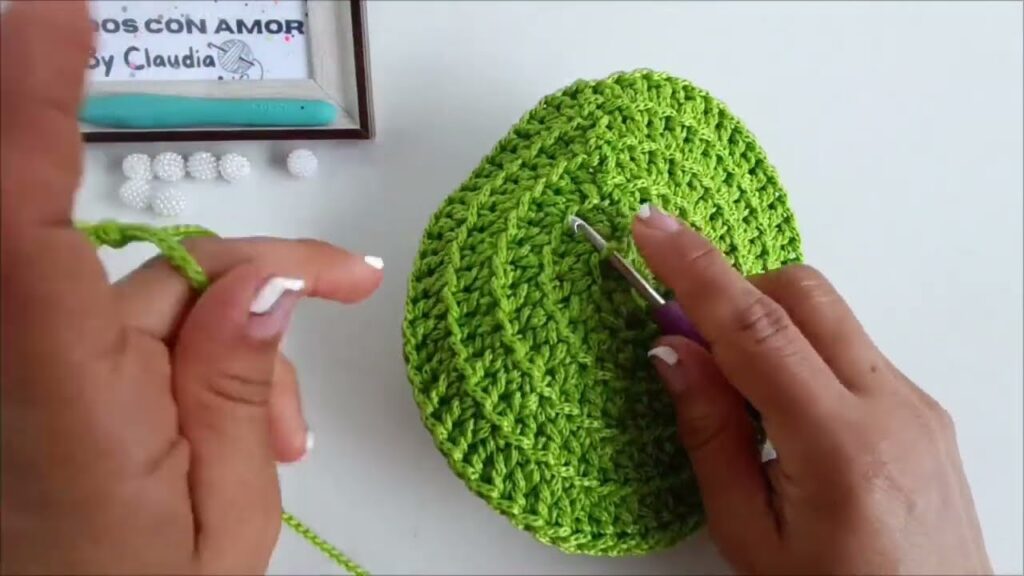
✅ Step 5: Shaping the Bag
- After weaving the body, fold it in half to form a front and back.
- Secure the sides using:
- Sewing with a thick needle
- Knotting the sides using square or spiral knots
- Lacing with a separate cord
✅ Step 6: Add Straps
Options:
- Macramé Cord Strap: Braid or twist cords into a handle.
- Chain Strap: Attach D-rings to the sides and clip on a metal strap.
- Leather Strap: Sew or rivet onto bag sides.
Tip: For extra durability, use leather patches or hardware where straps meet the bag.
✅ Step 7: Lining and Closure (Optional but Recommended)
✂️ To Line the Bag:
- Cut fabric to match the interior dimensions.
- Hem edges for neatness.
- Sew lining into the top edge using invisible hand stitches or fabric glue.
🔒 Closure Options:
- Magnetic Snap
- Zipper
- Button and Loop
✨ Final Touches
- Trim excess cords neatly.
- Add decorative elements like:
- Cord tassels
- Wooden beads
- Leather tags
- Use a steamer or fabric spray to set the shape if needed.
🌟 Style Inspiration and Variations
| Style | Description |
|---|---|
| Neutral Chic | Use beige or ivory cord with a wooden handle for a clean, Scandinavian vibe. |
| Boho Bold | Mix multiple colored cords and add fringe or beads. |
| Urban Minimalist | Stick to black, grey, or tan with clean lines and metal accessories. |
💡 Pro Tips
- Always measure and cut cords a bit longer than needed.
- Work on a flat surface or use a hanging macramé board for comfort.
- Use masking tape to label cords if doing intricate designs.
Video tutorial:
📌 Conclusion
A woven cord bag is a fantastic DIY project that lets you combine fashion, function, and creativity. It’s modern, elegant, and very much on-trend. Whether you wear it to brunch, the office, or a night out, your handmade bag will be a conversation starter.
Try different cord textures, colors, and techniques to make it uniquely yours. Once you’ve made one, you’ll want to make more in different sizes and styles.


