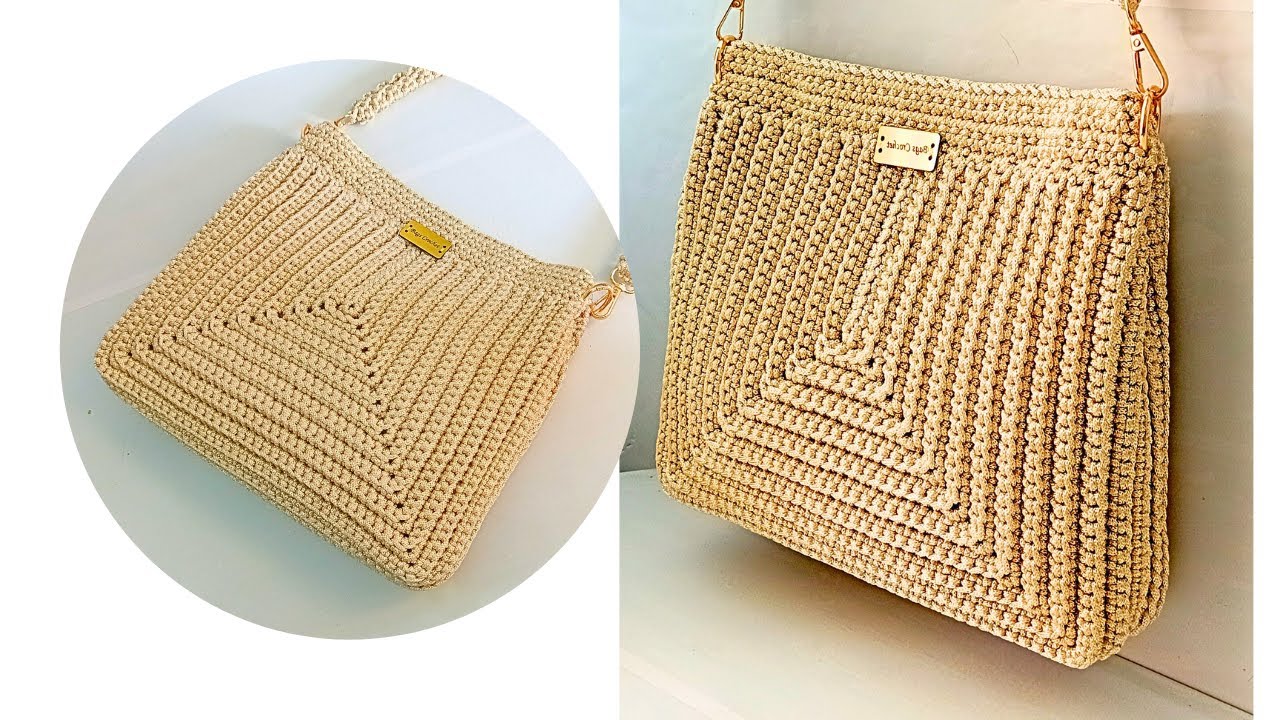
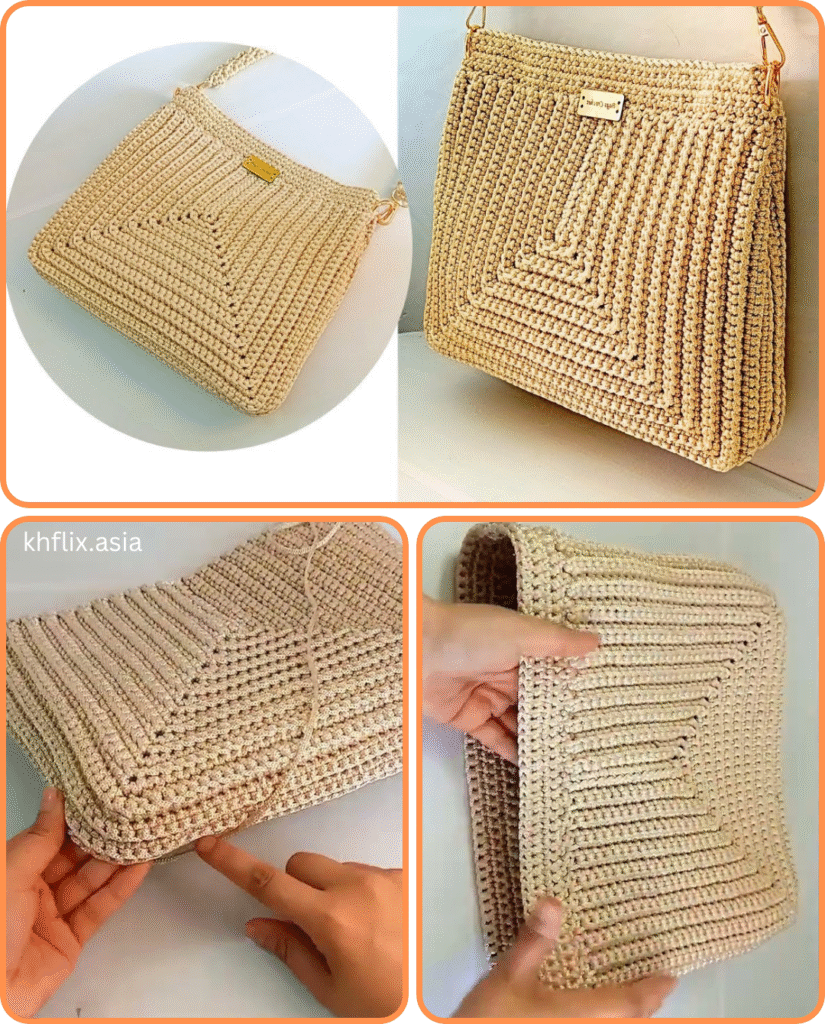
Crochet bags are more than just trendy accessories — they’re handmade pieces of art that combine beauty with practicality. If you’re a beginner eager to create something stylish yet functional, this guide will walk you through making a large, elegant crochet bag that you’ll be proud to carry anywhere — from markets to brunch dates.

🧵 Why Make a Crochet Bag?
Crochet bags are:
- Eco-friendly and reusable
- Customizable to match your wardrobe
- A great way to learn basic crochet skills
- Surprisingly durable when made with the right yarn and stitch
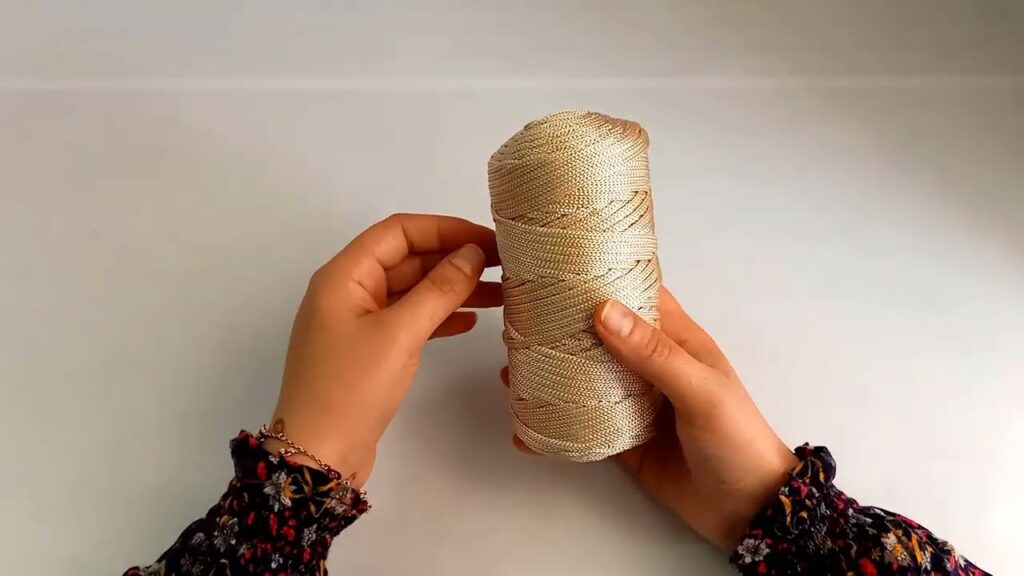
🧰 Materials You’ll Need
To make a large, elegant bag, you’ll want structure, beauty, and ease of crafting.
Essentials:
- Yarn:
- Use #4 worsted weight cotton yarn or #5 bulky cotton blend for structure and durability. Cotton holds shape better than acrylic.
- Choose elegant shades: neutral (ivory, taupe), black, navy, or jewel tones.
- Hook Size: 5mm–6.5mm (H–K), depending on yarn weight
- Scissors
- Tapestry needle (for weaving in ends)
- Stitch markers (helpful for keeping track of rounds or edges)
- Optional:
- Wooden or leather handles
- Magnetic snap or zipper
- Lining fabric (for extra polish)
🧶 Basic Stitches to Know
Even as a beginner, you only need to learn a few key stitches to complete this bag:
- Chain (ch)
- Slip stitch (sl st)
- Single crochet (sc)
- Half double crochet (hdc) – adds a little height and texture
- Magic ring (optional for circular base)
✨ Beginner-Friendly Elegant Bag Pattern
This pattern creates a structured tote bag with a flat round base and elegant vertical body texture, finished with optional handles.
🍃 Design Overview:
- Circular base (flat and sturdy)
- Vertical textured body (worked in the round)
- Finished with simple handles or custom straps
🧶 Step-by-Step Pattern
📍 Part 1: The Base (Flat Circle)
Use single crochet for structure.
Round 1: Start with a magic ring. Ch 1, 6 sc into ring. Join with sl st. (6)
Round 2: Ch 1, 2 sc in each stitch. Join. (12)
Round 3: Ch 1, 1 sc in next st, 2 sc in next st. Repeat around. Join. (18)
Round 4: Ch 1, 1 sc in next 2 sts, 2 sc in next. Repeat. Join. (24)
➡️ Continue increasing this way (adding one more sc between increases each round) until the base measures about 12–14 inches (30–36 cm) in diameter for a large tote.
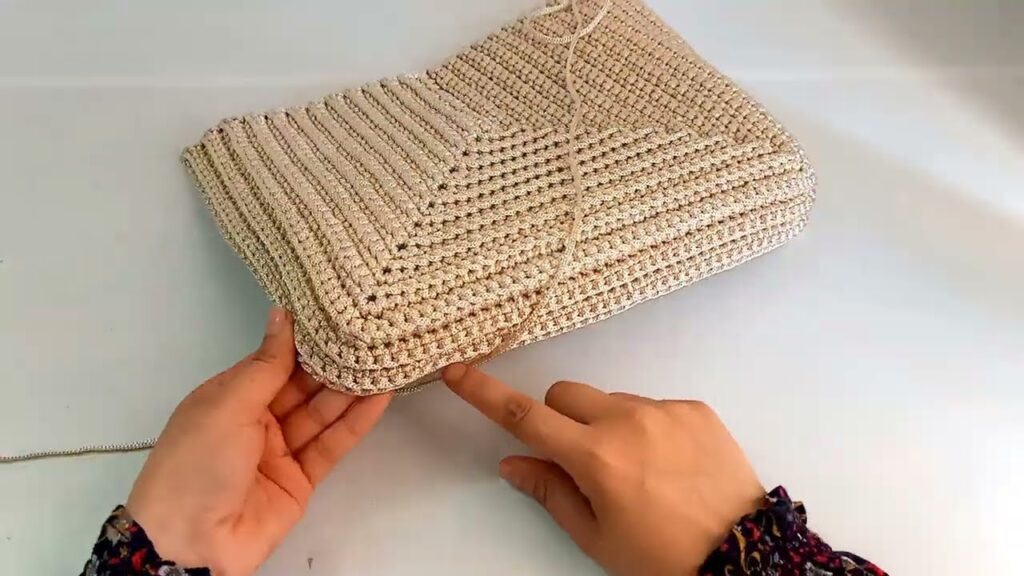
📍 Part 2: The Body
Now we build upward without increasing.
Switch to half double crochet (hdc) for a soft, elegant texture.
Round 1 of Body: Ch 1. In back loop only (BLO) of each stitch around, hdc. Join.
➡️ This BLO row creates a sharp edge, turning your base upward into a bag shape.
Continue hdc in both loops around for the rest of the body until the bag measures 12–15 inches tall.
Optional: Add a stripe or change yarn color halfway for contrast.
📍 Part 3: Finishing the Top
To make the top edge sturdier:
Last 2 Rounds: Switch to sc in each stitch. This creates a clean and firm edge.
📍 Part 4: Handles (Choose One)
🪵 Option 1: Sew-on Handles
Buy leather or wooden handles and sew them to the inside edge.
🧶 Option 2: Crochet Handles
Simple Strap Pattern:
- On one side, count 6–8 stitches, skip next 20–25 stitches (for handle space).
- Ch 30–35 (adjust length to preference).
- Reattach with sl st to form the other end of the handle.
- Repeat on opposite side.
- Sc over the chains for added strength (optional).
🧼 Optional: Add Lining
Sew a simple fabric rectangle to fit inside your bag. Use cotton canvas or muslin and attach with a whipstitch or fabric glue. This adds strength and prevents stretching.
💡 Style & Function Tips
- Elevate with embellishments: A tassel, flower, or charm adds personality.
- Use neutral tones for elegance: Cream, grey, black, and navy go with anything.
- Consider texture: A tight hdc stitch makes the bag look refined and store-bought.
- Reinforce straps: Especially important if you plan to carry heavy items.
Video tutorial:
🎯 Final Thoughts
Creating your own large crochet bag is a satisfying and stylish beginner project. With just a few basic stitches and materials, you can make something that looks boutique-worthy — and carries all your essentials.


