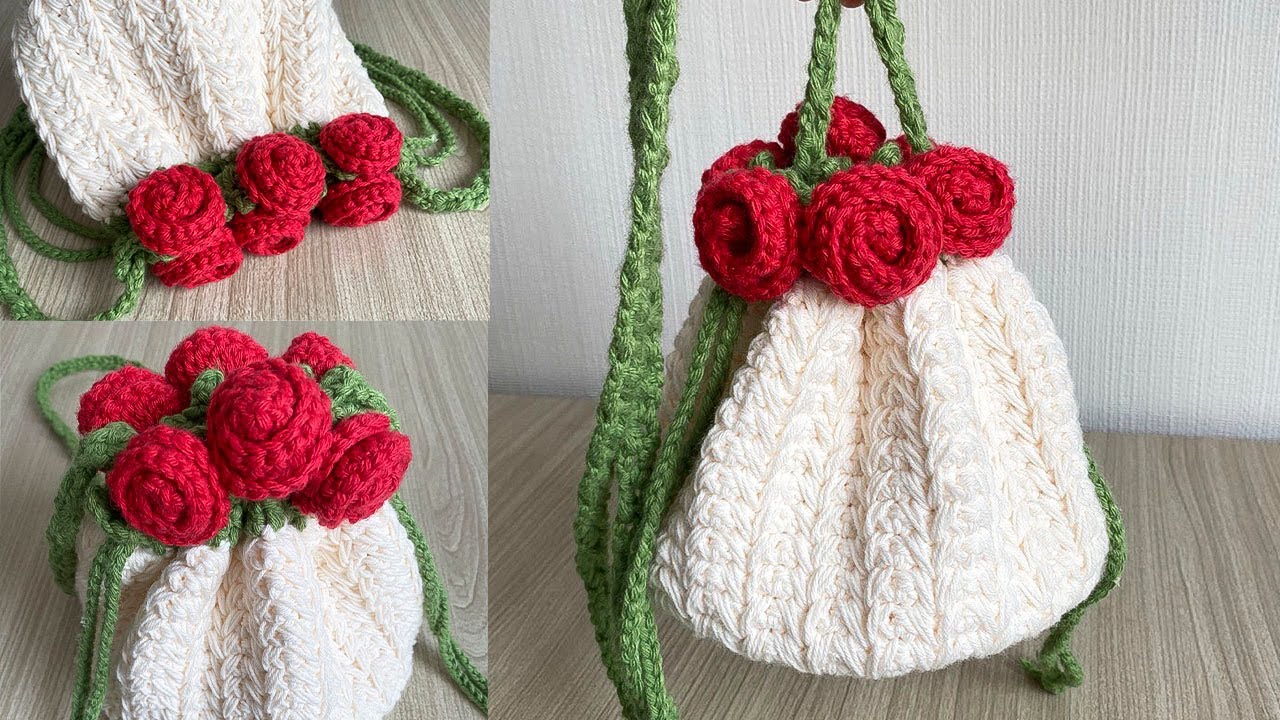
Crocheting is more than a hobby—it’s a form of self-expression. One of the most charming ways to combine creativity and practicality is by making a crochet rose bag. With its elegant floral design and customizable size and color, a rose bag is perfect for any occasion, whether it’s a casual outing, a romantic date, or a handmade gift.
In this step-by-step tutorial, you’ll learn how to crochet a stunning rose-themed bag from start to finish. Even if you’re a beginner, this project will be easy to follow, with clear instructions and helpful tips along the way.

✨ Why Make a Crochet Rose Bag?
The crochet rose bag stands out for many reasons:
- Fashionable: A chic accessory that looks great year-round.
- Functional: Use it to carry essentials like your phone, keys, or wallet.
- Handmade Beauty: Roses add a romantic and feminine flair.
- Gift-Worthy: Great for birthdays, Mother’s Day, or bridal showers.
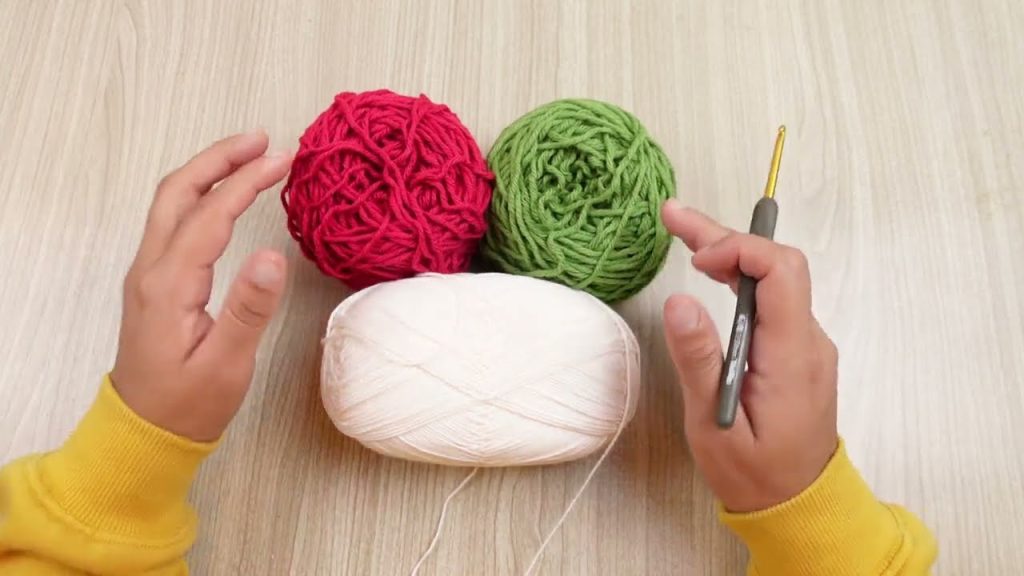
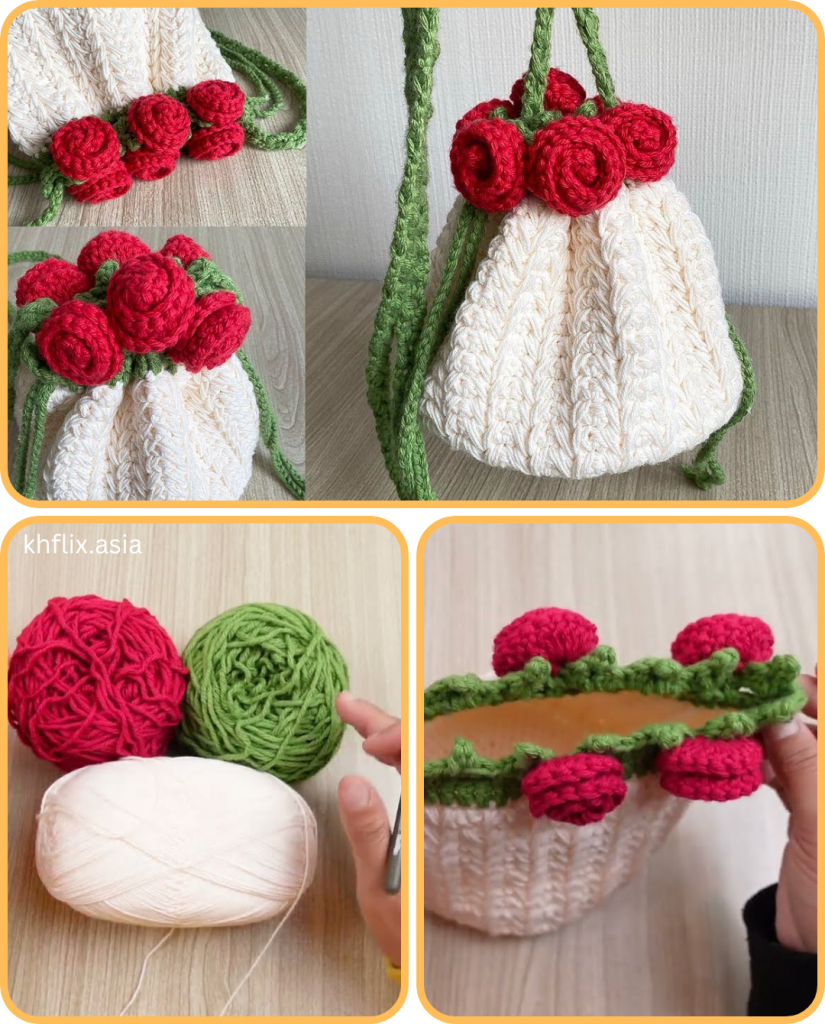
🧶 Materials You’ll Need
Before we begin, gather your supplies:
Yarn
- Cotton yarn (Worsted weight #4) for sturdiness and definition.
- Main Color (e.g., cream, beige, black) – for the body of the bag.
- Accent Colors (e.g., red, pink, green) – for the rose and leaves.
Crochet Hooks
- 4.0 mm (G/6) for roses and leaves.
- 5.0 mm (H/8) for the bag body.
Notions
- Scissors
- Tapestry needle (for weaving in ends)
- Stitch markers (optional)
- Magnetic clasp or zipper (optional, for closure)
- Lining fabric (optional, for inner bag structure)

🧵 Stitches Used
You’ll need to know the following basic stitches:
| Abbreviation | Stitch Name |
|---|---|
| ch | chain |
| sl st | slip stitch |
| sc | single crochet |
| hdc | half double crochet |
| dc | double crochet |
| tr | treble crochet |
| sc2tog | single crochet decrease |
Don’t worry if you’re unfamiliar—we explain them during the steps.
🌹 Crochet Rose Bag Pattern – Step by Step
👜 Part 1: Make the Base of the Bag
We’ll create a flat oval base as the foundation.
Step 1: Create the Base Chain
- Using your 5.0 mm hook and main color yarn:
- Ch 21
Step 2: Work Around the Chain
- Round 1: 1 sc in 2nd ch from hook, sc in next 18 ch, 3 sc in last ch.
- Working on the other side of the chain, sc in next 18 ch, 2 sc in last ch. (Total: 42 sts)
- Round 2: Continue in the round. 2 sc in corner sts, 1 sc in others, increasing on ends to maintain oval shape.
- Repeat until the base is approximately 9-10 inches long (usually 4-5 rounds).
👜 Part 2: Build the Body
Now we’ll crochet up the sides to form the body of the bag.
Step 3: Crochet in the Round
- Round 1: sc in each stitch around, working into the back loop only. This gives a nice edge to the base.
- Rounds 2–20 (or until desired height): sc in both loops of each stitch around.
- Optional: Add a round or two of hdc or dc for variation.
👜 Part 3: Create the Handles
You can make short or long handles—your choice.
Option A: Short Handles (Tote Style)
- Decide the position for each handle (approx. 4 inches apart).
- Skip 12 stitches, ch 30 (or desired handle length), skip 12 stitches again, then rejoin with sc.
- Repeat on the opposite side.
- Work 1–2 rounds of sc around the entire top, including over the handle chains.
Option B: Long Strap (Crossbody Style)
- Ch 100–130 depending on how long you want it.
- Attach each end to the inside edges of the bag.
- sc around the strap for durability.
🌹 Part 4: Crochet the Roses
Let’s create the roses that will be sewn onto the bag.
Step 1: Make the Rose Strip
- With 4.0 mm hook and red or pink yarn:
- Ch 51
Step 2: Work the Rose Petals
- Row 1: sc in 2nd ch from hook and across. (50 sc)
- Row 2: Skip 1 st, 5 dc in next st (petal), skip 1 st, sl st in next — repeat across.
- You should have about 12–13 petals.
Step 3: Roll the Rose
- Starting at one end, roll the petal strip tightly into a spiral shape.
- Use your tapestry needle to stitch the base of the rose securely.
- Make 2–4 roses depending on your design.
🌿 Part 5: Crochet the Leaves
Add green leaves for a floral accent.
Simple Leaf Pattern:
- With green yarn and 4.0 mm hook:
- Ch 8
- sc in 2nd ch from hook, hdc in next, dc in next 3 ch, hdc in next, sc in last.
- Turn to work on the other side of the chain.
- Repeat the same stitches.
- Fasten off and leave a long tail for sewing.
Make 4–6 leaves for a full floral look.
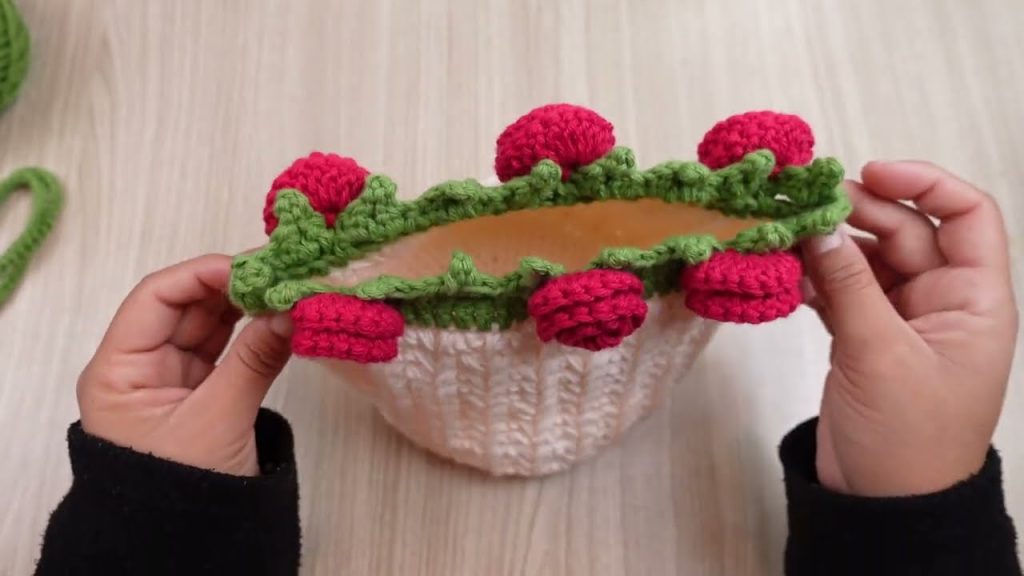
🪡 Part 6: Assemble the Bag
Now comes the fun part—decorating and assembling the bag!
Step 1: Arrange the Flowers
- Lay out the roses on one side of the bag.
- Tuck the leaves under the petals.
- Play with positioning until you’re happy with the design.
Step 2: Sew Them On
- Use a tapestry needle to carefully sew each flower and leaf in place.
- Be sure to stitch down the centers and edges so they don’t lift.
🧵 Optional: Add a Lining
To add durability and polish:
- Cut a piece of fabric to match the size of your bag (including seam allowance).
- Sew the lining fabric into a pouch.
- Hand-sew or machine-stitch the lining into the inside of your crochet bag.
This will prevent stretching and help hold the bag’s shape.
🧷 Optional: Add a Closure
You can leave the bag open or add:
- A magnetic snap for ease.
- A zipper for security (best added before sewing in the lining).
- A button loop for a classic touch.
💡 Customization Ideas
- ✨ Use metallic thread for rose highlights.
- 🎨 Try ombre or variegated yarn for unique effects.
- 🧵 Embroider initials or small designs for personalization.
- 🎀 Add tassels, beads, or pom-poms.
🧼 Care Instructions
- Hand wash in cool water.
- Use a mild detergent.
- Lay flat to dry.
- Avoid wringing or twisting to preserve the shape.
🌸 Final Thoughts
Your crochet rose bag is now complete—a stunning, romantic accessory handmade with love! This project combines function, fashion, and floral beauty in one stylish piece. Whether you’re crafting for yourself, a friend, or a special event, the rose bag is sure to charm everyone who sees it.
Remember: don’t stress perfection—each stitch adds to your unique creation. The joy is in the making.
Video tutorial:


