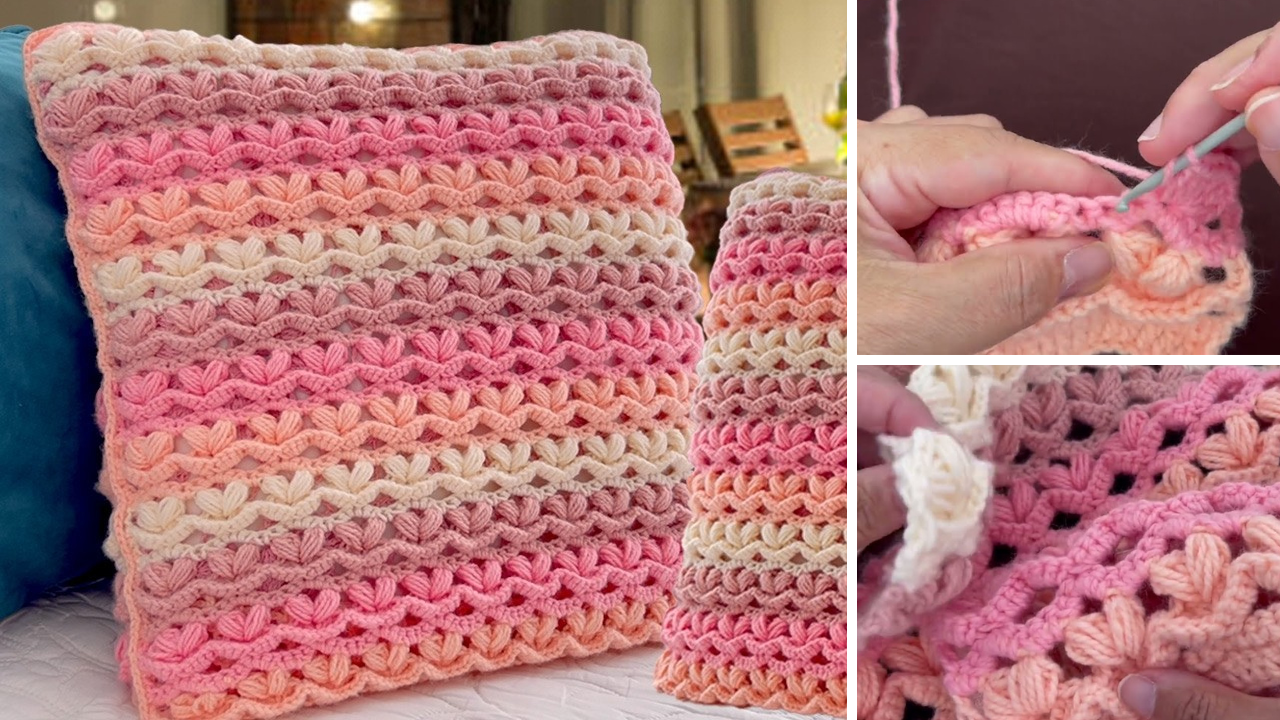
Crocheting your own decorative pillows is a fun, relaxing, and creative way to personalize your home décor. Whether you’re going for a cozy farmhouse vibe, modern minimalism, or something colorful and whimsical, handmade crochet pillows can be tailored to fit your style.
This easy, beginner-friendly tutorial will guide you step-by-step through the process of making cute and beautiful crochet pillows, covering materials, stitch techniques, sizing, stuffing, and tips for decorating and finishing.
🧵 Why Crochet Decorative Pillows?
Crocheted pillows are more than just cozy accents—they can:
- Enhance your living room or bedroom with handmade charm.
- Serve as thoughtful gifts for housewarmings, weddings, or baby showers.
- Be customized to match your style with yarn colors and patterns.
- Help you practice new stitches and build your crochet confidence.
Best of all, this project is beginner-friendly, with endless possibilities for personalization.
✂️ Materials You’ll Need
Here’s what you’ll need to start your crochet pillow project:
Basic Supplies:
- Yarn: Worsted weight (#4) or bulky yarn for a faster project. Cotton yarn is great for structure, while acrylic is soft and easy to work with.
- Crochet Hook: Use the size recommended on your yarn label (typically 5.0 mm to 6.5 mm for worsted/bulky yarn).
- Scissors
- Tapestry Needle: For weaving in ends and seaming.
- Stuffing: Polyester fiberfill, or use an insert if you want a removable cover.
- Measuring Tape
- Stitch Markers (optional)
- Buttons or zippers (optional for closures)
📐 Sizing Your Pillow
Standard pillow sizes you can use or replicate:
| Pillow Type | Size (inches) | Shape |
|---|---|---|
| Throw Pillow | 16” x 16” | Square |
| Boudoir Pillow | 12” x 16” | Rectangle |
| Round Pillow | ~15” diameter | Circular |
| Mini Accent | 10” x 10” | Square/Circle |
Tip: If you’re using a pillow insert, measure it first and add a slight border (usually 0.5” on each side) to allow for seaming.
🧶 Beginner-Friendly Stitches to Know
These basic crochet stitches are commonly used in pillow patterns:
- Chain (ch)
- Slip Stitch (sl st)
- Single Crochet (sc)
- Half Double Crochet (hdc)
- Double Crochet (dc)
- Magic Circle (for round pillows)
If you’re new to crochet, practice these stitches on a swatch before beginning the pillow pattern.

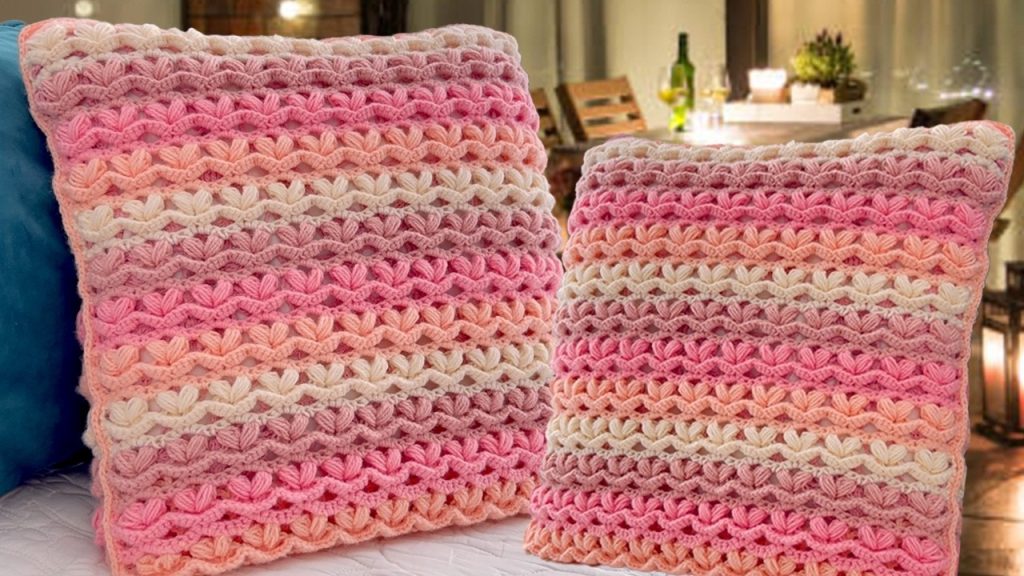
🪡 Easy Crochet Pillow Pattern: Square Pillow (16″x16″)
⭐ Skill Level: Beginner
📏 Finished Size: Approx. 16” x 16”
🧵 Front and Back Panels
We’ll be working two flat squares, then seaming them together and stuffing.
Step 1: Make a Foundation Chain
Chain 41 (this should make about 16″ in worsted weight yarn using a 5.5 mm hook).
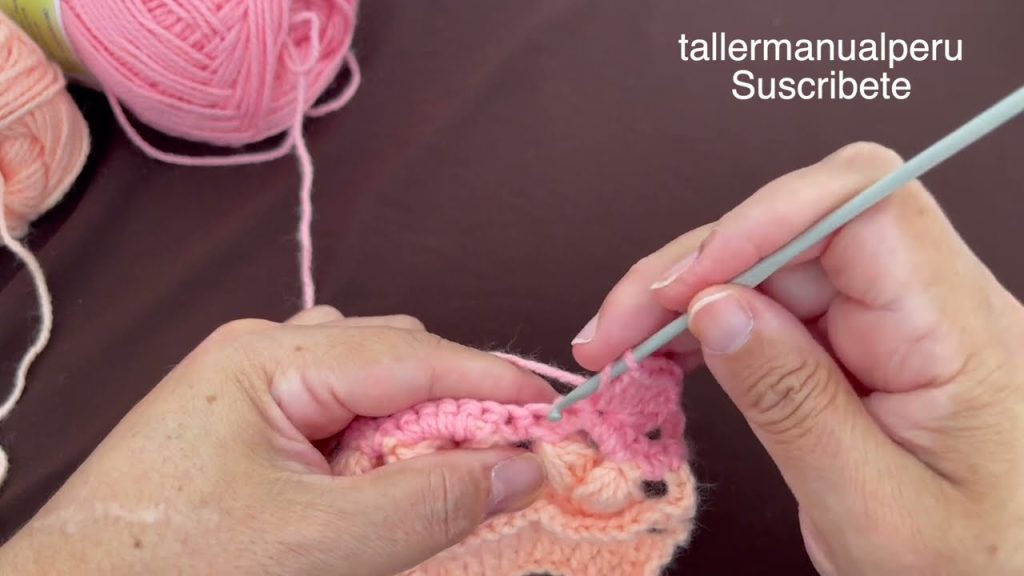
Step 2: Row Stitching
Row 1: In the second ch from the hook, sc across (40 sts). Ch 1, turn.
Row 2–40: Sc in each stitch across. Ch 1, turn.
OR for a different texture:
Try using half double crochet (hdc) or alternating sc and dc rows for a striped look.
Repeat the process for the back panel.
🧵 Assembly
Step 3: Join Panels
Place the two panels with right sides facing out (or in, if you’ll turn it after seaming). Use sc or sl st to join 3 sides together.
Step 4: Insert Stuffing
Fill with fiberfill or insert a pillow form. Don’t overstuff—pillow should be plump but flexible.
Step 5: Close the Pillow
Join the final edge with sc or sl st, and weave in all ends with your tapestry needle.
🎀 Decoration Ideas for Cute Pillows
Make your pillow truly unique with these fun add-ons:
🌼 Appliqués
Add crocheted flowers, hearts, stars, or animal shapes. Sew them onto the front panel before assembly.
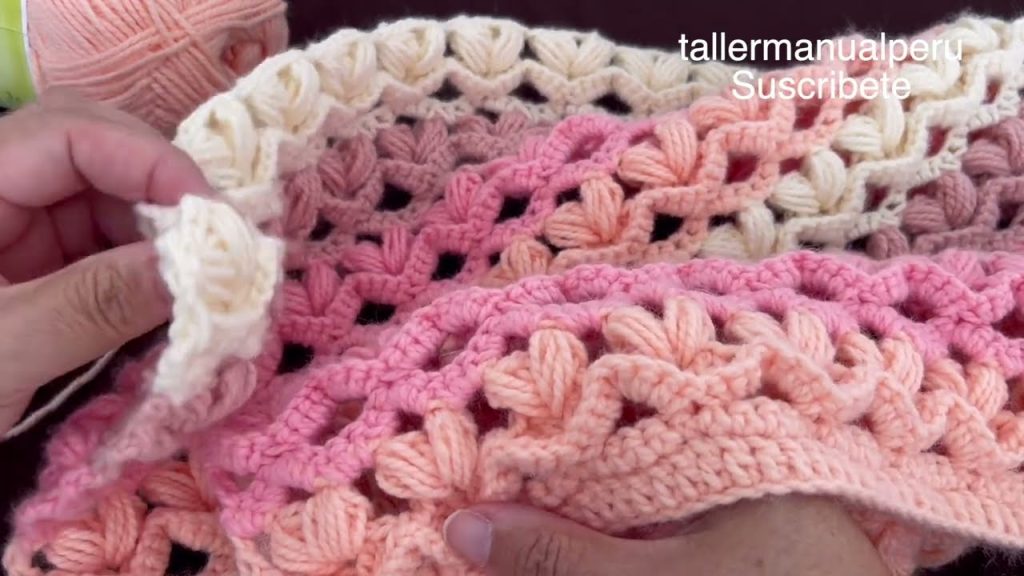
🎨 Color Blocking
Use multiple yarn colors to create modern or geometric patterns.
Example:
- Rows 1–10: Color A
- Rows 11–20: Color B
- Rows 21–30: Color C
- Rows 31–40: Repeat A
🎉 Pom-Poms or Tassels
Attach to each corner after finishing the pillow. Use a pom-pom maker or wrap yarn around your fingers to create them.
✨ Surface Crochet or Embroidery
Use a contrasting yarn to embroider names, shapes, or words like “love”, “home”, or initials after crocheting the panels.
🧶 Round Pillow (Optional Variation)
Want a more playful, whimsical pillow? Try a round crochet pillow!
Step 1: Magic Circle
Start with a magic ring, ch 2 (counts as hdc), and crochet 8 hdc into the ring.
Step 2: Increase in the Round
Continue working in rounds:
- Round 2: 2 hdc in each st (16)
- Round 3: 1 hdc in next st, 2 hdc in next repeat (24)
- Round 4: 1 hdc in next 2 sts, 2 hdc in next (32)
- Continue until it reaches ~15” in diameter.
Make two circles the same size, join the edges with sl st or sc, and stuff before closing.
🧺 Washing and Care Tips
Handmade crochet pillows should be cared for gently:
- Hand wash in cold water or use delicate cycle.
- Use a mesh laundry bag if machine washing.
- Lay flat to dry to prevent stretching.
- Spot clean with mild detergent if needed.
If you’re using an inner insert, make the cover removable with a button flap or zipper!
💡 Tips for Beginners
- Start with a small pillow (like 10” x 10”) if it’s your first project.
- Use lighter colors so you can easily see your stitches.
- Keep your tension even—it helps with shaping.
- Practice seaming with scrap yarn before sewing your panels.
🌟 Final Thoughts
Crocheting your own cute decorative pillows is a fantastic way to add a personal, handmade touch to your home. With basic stitches and a little patience, even beginners can create stunning pillows in all shapes and sizes.
Whether you want a cozy boho throw pillow with tassels or a sweet baby-room accent with little stars and hearts, the possibilities are endless.
So grab your yarn, hook, and creativity—your next favorite home décor piece is just a few stitches away. 🧶✨
Video tutorial:


