
Crochet handbags are among the most rewarding projects you can tackle, especially when they blend fashion with functionality. One of the most beloved and beginner-friendly designs is the crochet rounded handbag. With its stylish circular silhouette, practical size, and endless customization options, this type of bag is perfect for carrying daily essentials while adding a touch of handmade charm to any outfit.
In this article, we’ll guide you through everything you need to know to crochet your very own rounded handbag—from materials and stitches to a detailed, step-by-step pattern. Whether you’re a complete beginner or a seasoned crafter looking for a quick weekend project, this tutorial has something for you.
Why Choose a Crochet Rounded Handbag?
Rounded handbags are not only fashionable—they’re incredibly versatile. Here’s why they make such a great crochet project:
- 🧶 Beginner-friendly: Uses simple stitches and minimal shaping.
- 👜 Functional and stylish: Ideal for casual outings, beach days, or as a statement piece.
- 🎨 Customizable: Change the size, colors, straps, and even add lining or embellishments.
- ✨ Sustainable: Handmade bags mean less fast fashion and more personal craftsmanship.
What You’ll Need
Before you begin, gather these materials:
Yarn:
- Type: Medium-weight (worsted/Aran) cotton or cotton blend yarn is best for structure and durability.
- Color: Solid colors, stripes, or variegated yarns work well.
- Amount: Approximately 150–200g depending on size and handle length.
Crochet Hook:
- Recommended Size: 4.5mm to 6mm (check your yarn label)
- A smaller hook will create a tighter stitch, which is great for bags.
Tools & Accessories:
- Scissors
- Yarn needle for weaving in ends
- Stitch markers (optional)
- Wooden, metal, or crocheted handles (or make your own straps)
- Optional: Magnetic snap or zipper
- Optional: Lining fabric, sewing needle, and thread
Stitches and Techniques Used
You’ll only need a few basic stitches to create your bag:
- Magic ring (MR)
- Single crochet (sc)
- Slip stitch (sl st)
- Increasing with sc (2 sc in one stitch)
- Crocheting in the round
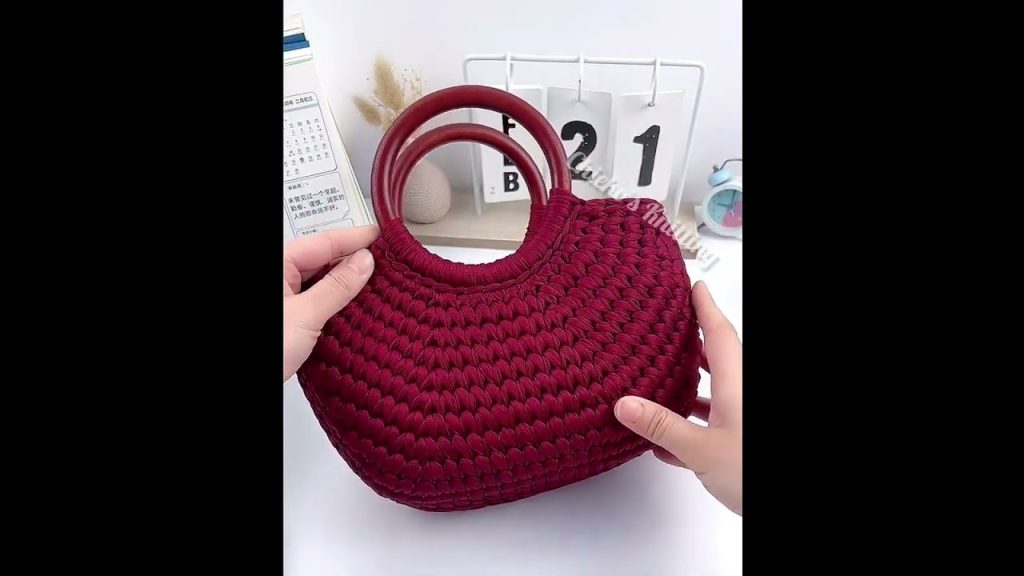
Pattern: Super Easy Crochet Rounded Handbag
This bag is made by creating two identical circular panels and then joining them together with a side strip or just by stitching around the edges. You can add a strap or handles at the end.
🌀 Step 1: Create the Two Round Panels
We’ll make two identical circles for the front and back of the bag.
Round Panel (Make 2)
- Round 1: Make a magic ring, ch 1, work 6 sc into ring. Pull tight. (6 sts)
- Round 2: 2 sc in each stitch around. (12 sts)
- Round 3: 1 sc in next st, 2 sc in next st, repeat around. (18 sts)
- Round 4: 1 sc in next 2 sts, 2 sc in next st, repeat around. (24 sts)
- Round 5: 1 sc in next 3 sts, 2 sc in next st, repeat around. (30 sts)
➡️ Continue increasing in this pattern (adding 1 sc between increases per round) until the circle is about 9–11 inches in diameter, or your desired size.
- Final Round: 1 sc in each stitch around. Fasten off and weave in ends.
Optional: If you want a more structured bag, make one final round in back loop only to help define the edge.
🧵 Step 2: Make the Side Panel (Optional for Depth)
If you want your bag to have depth, add a side panel. Otherwise, you can join the circles directly.
Side Panel (Optional)
- Chain 10–15 (depending on desired depth).
- Sc in 2nd chain from hook and across. (9–14 sts)
- Ch 1, turn, and sc in each stitch across.
- Repeat until the panel is long enough to go around the circumference of the circle.
- Measure or calculate: Circumference = π × diameter.
- For a 10″ circle, side panel should be ~31.4″ long.
Fasten off and leave long tail for sewing.
🪡 Step 3: Assemble the Bag
- Pin or clip the side panel around the edge of one circle.
- Sew using whip stitch or mattress stitch, aligning the edges neatly.
- Attach the second circle to the other side of the panel.
- If you skipped the side panel, just join the two circles together directly using sc or slip stitch around the edge (leave a gap at the top for the opening, if preferred).
🎒 Step 4: Add Handles or Strap
Choose one of these strap options:
Option A: Crocheted Strap
- Chain to desired length (e.g., 70–90 chains for a crossbody strap).
- Sc in each chain, ch 1, turn. Repeat for 3–5 rows for thickness.
- Sew each end to the inside top edge of the bag.
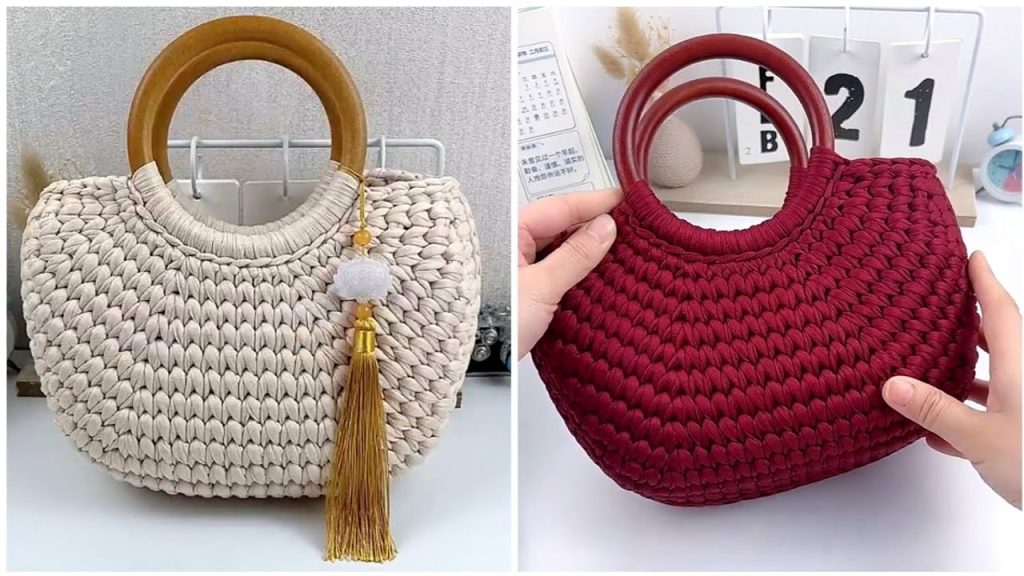
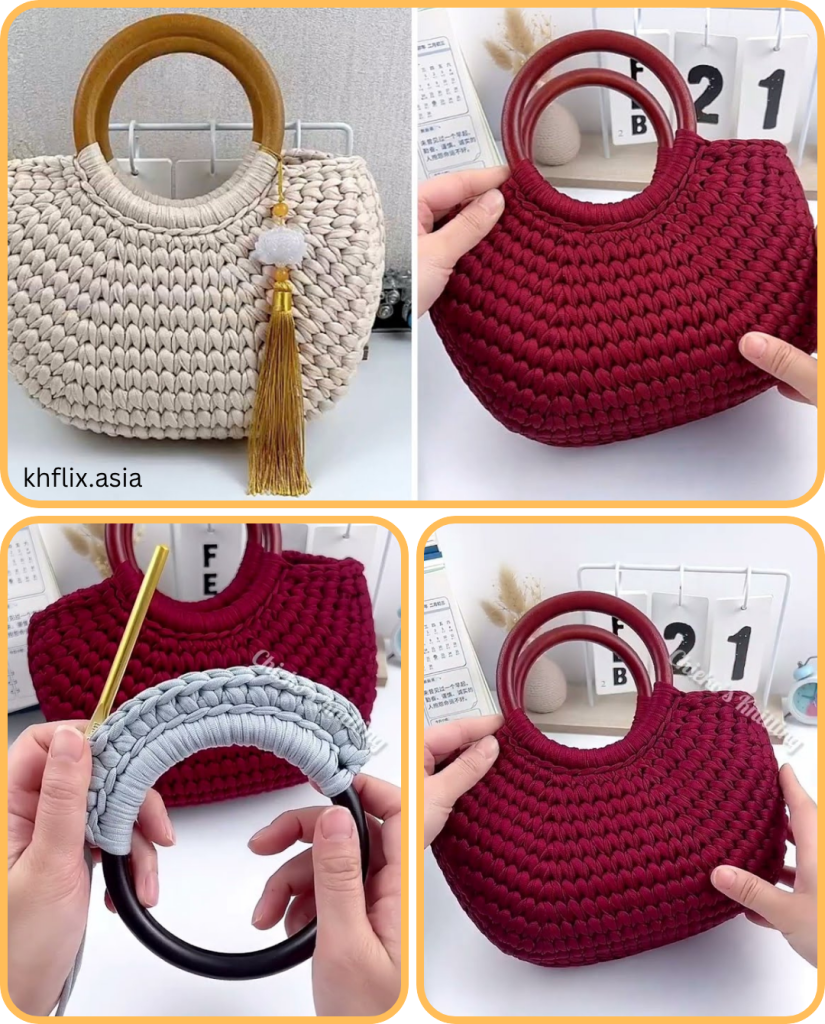
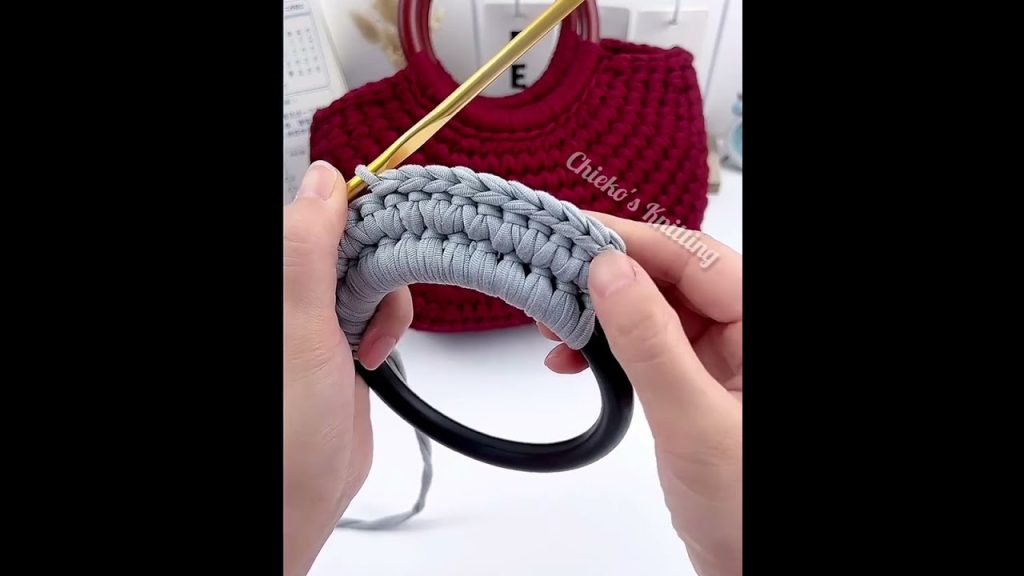
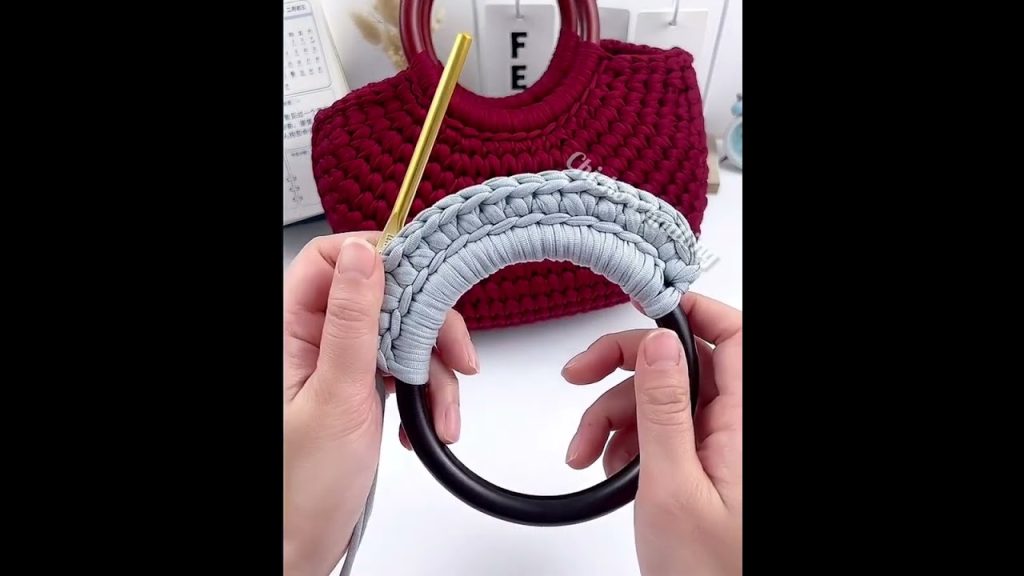
Option B: Wooden or Metal Handles
- Attach using small tabs or loops crocheted from yarn.
- You can also buy ready-made bag handles and sew them onto the top.
🧵 Step 5: Optional – Add Lining
Lining your crochet bag helps prevent stretching and makes it more practical.
- Cut a fabric circle the same size as your crochet panels.
- Cut a rectangle for the side panel.
- Sew together with a sewing machine or hand-stitch.
- Insert into the bag and tack down using thread and needle.
Customization Ideas
Make your handbag unique with the following ideas:
- Color blocking or stripes for a bold look
- Tassels or fringe on the edges
- Buttons, beads, or floral appliqués
- Textured stitches like bobbles or puff stitch on the front panel
- Surface embroidery for a pop of personality
Care Instructions
To keep your crochet handbag looking fresh:
- Hand-wash with cold water and mild detergent
- Lay flat to dry; avoid wringing or twisting
- Do not iron unless lining requires it
Conclusion: Your Stylish, Handmade Handbag Awaits
Crocheting a rounded handbag is a fun, accessible, and incredibly rewarding project. Whether you’re making it for yourself, as a thoughtful gift, or even to sell, this beginner-friendly pattern delivers both style and substance. With endless opportunities for customization, you can let your creativity shine while crafting a practical accessory that reflects your personal style.
So grab your favorite yarn, pick up your hook, and get ready to fall in love with the process—and the finished product!
Video tutorial:


