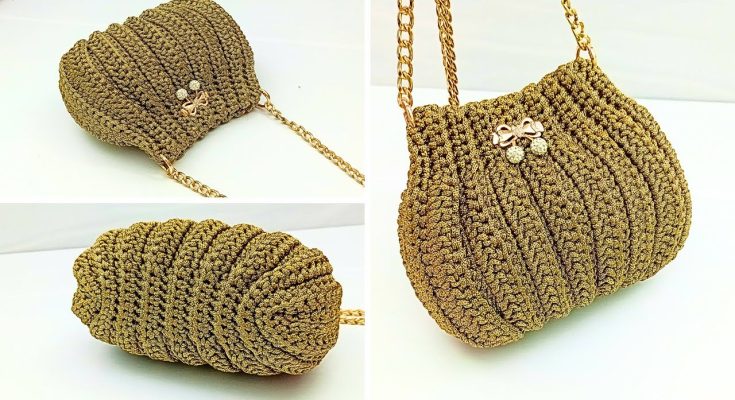
Crochet is an accessible and relaxing hobby, and one of the most satisfying projects you can make as a beginner is a simple crochet bag. It’s quick, requires minimal shaping, and gives you something stylish and useful to show off or gift. In this guide, we’ll walk through how to make the fastest and easiest crochet bag—a project that is perfect for beginners and those who want a minimalist, modern look without the complexity of advanced patterns.
You’ll learn everything from choosing your yarn and hook to step-by-step construction of a sleek tote-style crochet bag, including tips to make it faster, stronger, and more beautiful.
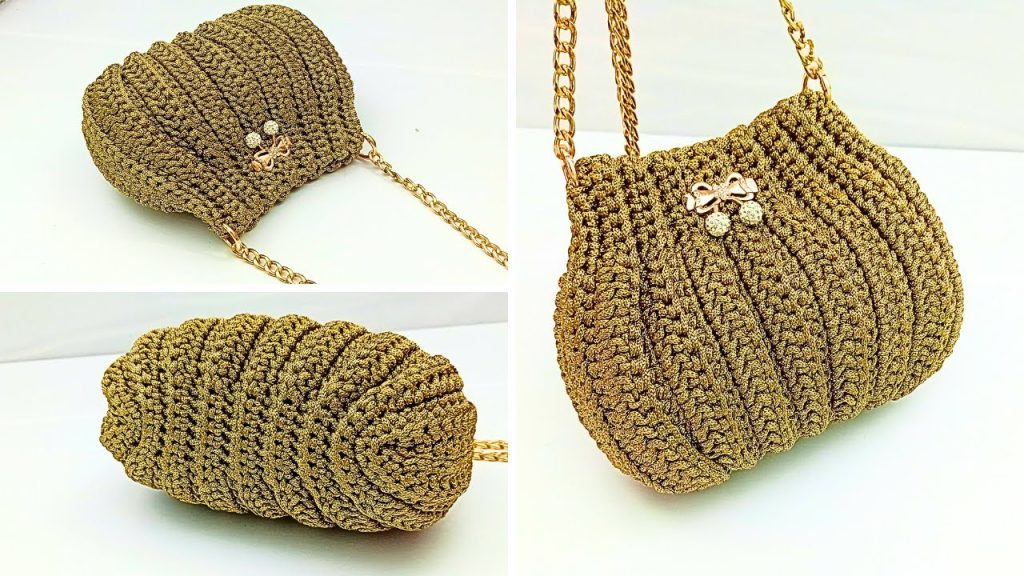
Why Make a Crochet Bag as a Beginner?
Crochet bags are among the easiest and most rewarding beginner projects. Unlike garments or amigurumi, bags often use basic stitches, flat panels, and minimal shaping. They also:
- Let you practice foundational techniques (like chaining, single crochet, or double crochet)
- Are versatile—great for shopping, the beach, or as a gift
- Don’t require perfect gauge, which means more freedom and less frustration
- Can be completed in just a few hours!
Project Overview: The Beginner’s Flat Panel Crochet Bag
Skill Level: Absolute beginner
Estimated Time: 2–4 hours
Construction: Two flat panels, seamed together with a basic strap
Stitches Used: Chain (ch), Single Crochet (sc)
Optional Add-ons: Button closure, fabric lining, longer strap
Materials You’ll Need
To keep this bag fast and simple, you’ll need only a few supplies:
- Yarn: Bulky weight yarn (Category 5) or double-stranded worsted weight yarn
Tip: Cotton or a cotton blend is best for durability. - Hook: Size K (6.5 mm) or L (8 mm) crochet hook
- Scissors
- Tapestry needle for sewing seams and weaving ends
- Stitch markers (optional, for beginners)
✨ Yarn Suggestions: Lily Sugar’n Cream (held double), Bernat Maker Home Dec, or any chunky t-shirt yarn for a trendy look.
Step-by-Step Instructions
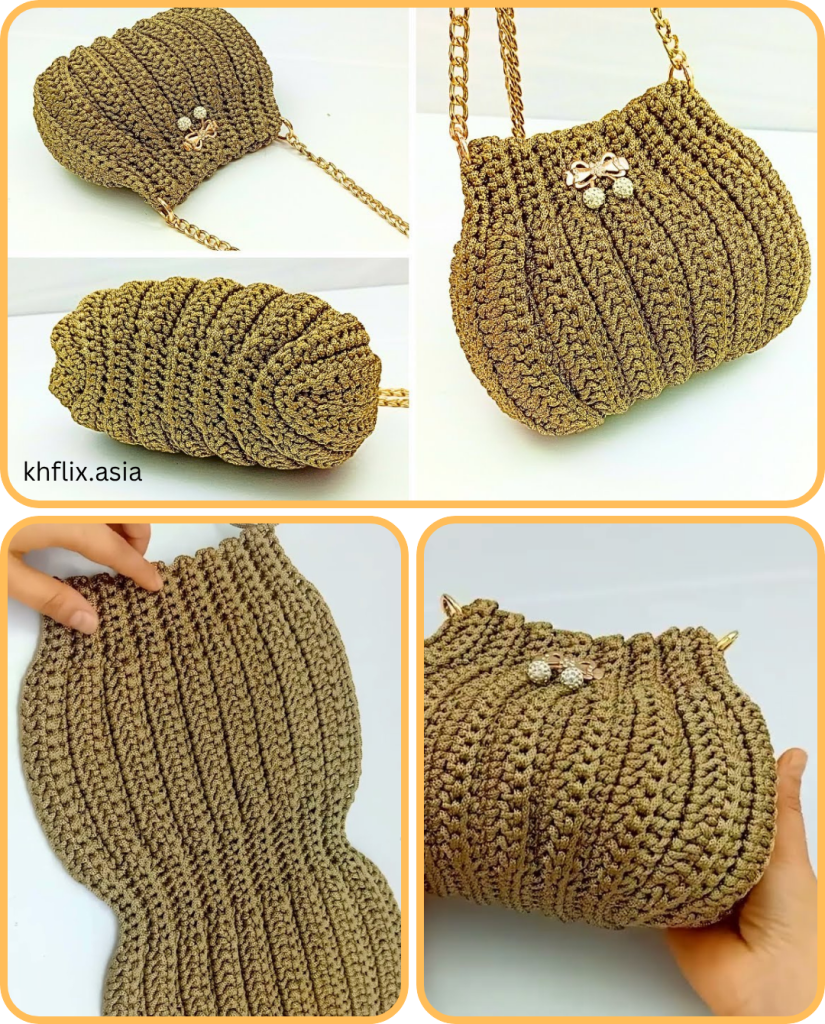
This bag is based on two simple rectangles joined together with side seams and a strap. Let’s dive into the process!
✅ Step 1: Make the Front Panel
Foundation Row:
- Ch 31 (this gives you a bag roughly 12″ wide; you can adjust this easily).
Rows 1–28:
- Sc into the second ch from hook and each across (30 stitches).
- Ch 1 and turn.
- Repeat single crochet rows until the panel is approx. 12″ tall.
Fasten off and weave in the ends.
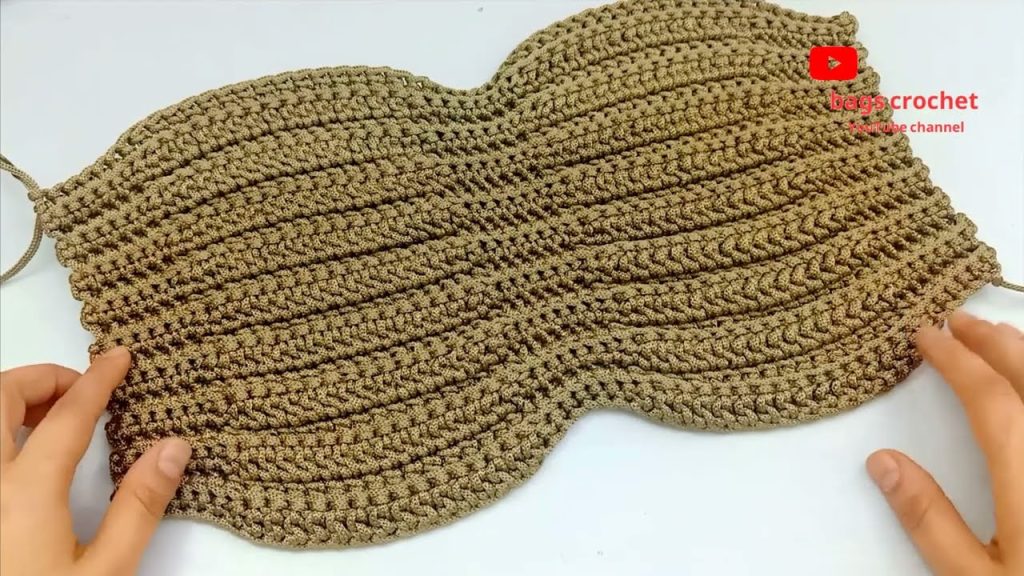
✅ Step 2: Make the Back Panel
Repeat the exact same process to create a second identical rectangle.
Note: You can easily adjust the size of the bag by chaining more (for width) or crocheting more rows (for height).
✅ Step 3: Seam the Panels
Lay both panels together with the right sides facing out.
Side Seams:
- Use a whip stitch or slip stitch to sew up the left and right sides, leaving the top open.
- Make sure your stitches are even to keep the edges tidy.
Bottom Seam:
- Seam the bottom of the bag using the same technique.
✅ Step 4: Create the Strap
This is a basic strap that you can sew onto the bag ends.
Chain 60–80 (depending on desired strap length).
- Row 1: Sc into second ch from hook and across.
- Row 2: Ch 1, turn, sc across again.
You can make the strap thicker by adding more rows if desired (2–4 rows wide is great for comfort).
✅ Step 5: Attach the Strap
Use your tapestry needle and securely sew each end of the strap to the inside edges of the bag opening.
- Double or triple stitch for durability.
- Place strap ends about 1 inch down from the top of the bag to reinforce weight support.
🧵 Optional Customizations for Style & Function
Even though this is a basic pattern, here are a few fun and easy ways to upgrade your bag:
➤ Add a Button or Loop Closure
Create a small loop with chain stitches on one side, and sew on a large button on the other side to keep the bag closed.
➤ Add a Pocket
Make a smaller rectangle (e.g., 20 chains x 10 rows of sc) and sew it onto the inside or front of the bag before assembling.
➤ Add Lining
Sew a simple rectangle from cotton fabric and hand-stitch or machine sew it into the bag to prevent stretching and add strength.
➤ Use Color Blocking
Use a different yarn color for the bottom half of the panels or the strap for a two-tone look.
🧶 Tips for Making Your Crochet Bag Faster and Easier
- Use chunky yarn: It works up faster than thinner yarns and gives structure.
- Stick to single crochet: It’s dense, simple, and ideal for beginners.
- Use a larger hook: A slightly oversized hook adds drape and flexibility to the bag without sacrificing structure.
- Weave ends as you go: This saves time and keeps the project tidy.
- Practice first: If you’re new, practice chaining and making rows on a small swatch before starting the full project.

💡 Troubleshooting Common Beginner Issues
Your sides are uneven?
- Double-check your stitch count on each row.
- Always chain 1 at the beginning of a row (and don’t count it as a stitch).
Bag feels too floppy?
- Use tighter tension or a smaller hook.
- Consider adding a lining or using a sturdier yarn.
Strap is stretching too much?
- Reinforce it with fabric, or crochet it wider.
- You can also crochet a foundation chain with slip stitch rows on both sides for added strength.
✅ Why This is the Best Beginner Bag
This crochet bag pattern is:
- Quick: Can be completed in one afternoon or evening
- Simple: Uses only one type of stitch (single crochet)
- Flexible: Easily resized or modified
- Stylish: Minimalist, modern, and fully customizable
Plus, once you’ve mastered this version, you can branch out into more advanced techniques—like textured stitches, shaped gussets, or even zippers and hardware.
🎁 Perfect for Gifting or Selling
These simple bags make great gifts or products for craft fairs. Personalize them with:
- Hand-sewn tags or leather labels
- Colorful buttons or tassels
- Fun fabric linings with patterns

🧺 Final Thoughts
If you’re looking for a fun and fast crochet project that gives you something practical and stylish, this fastest and easiest crochet bag is the perfect beginner pattern. With just a hook, some yarn, and a few hours, you’ll walk away with a handmade bag that’s ready for the farmer’s market, the beach, or a casual day out.
Don’t wait to master every stitch—start now, and enjoy the satisfaction of finishing your very own crochet bag today!
Video tutorial:
