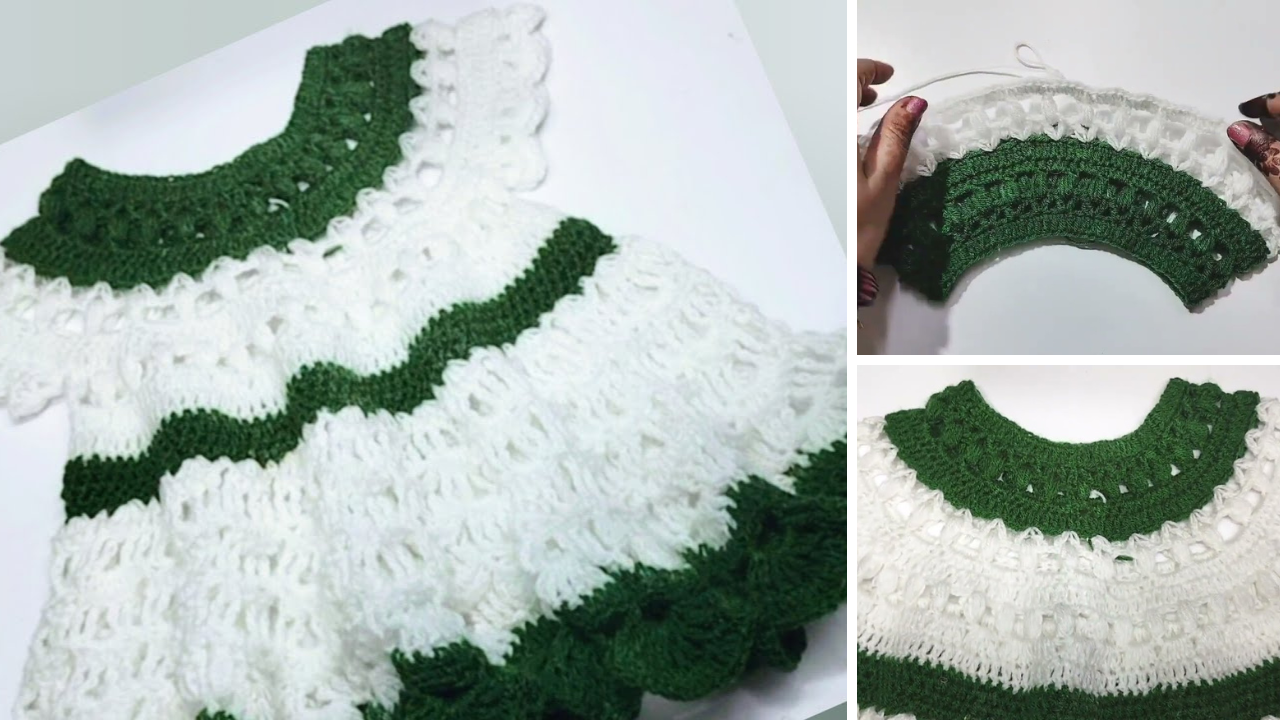
Crocheting a baby frock is a rewarding project that combines creativity, craftsmanship, and love. Whether you’re making it as a baby shower gift, for your own child, or just for the joy of creating something delicate and charming, this guide will walk you through the step-by-step process to make a beautiful crochet baby frock.
🧶 What You’ll Need
Before diving into the pattern, it’s important to gather all the necessary materials:
Materials:
- Yarn: Soft baby-friendly yarn like acrylic, bamboo, or cotton blends. (DK or light worsted weight yarn recommended)
- Crochet Hook: Usually size 3.5 mm to 4.5 mm, depending on your yarn choice.
- Stitch Markers
- Scissors
- Measuring Tape
- Yarn Needle (Tapestry Needle)
- Buttons, Ribbons, or Flowers (optional embellishments)
📏 Choosing the Size
Crochet baby frocks can be made in different sizes. Here’s a quick reference guide:
| Age | Chest Circumference | Length of Frock |
|---|---|---|
| 0-3 months | 16-17 inches | 12 inches |
| 3-6 months | 17-18 inches | 13-14 inches |
| 6-12 months | 18-19 inches | 15-16 inches |
Always measure if you can — babies grow fast!
🧵 Basic Stitches Used
You don’t need to be a crochet expert to create a baby frock. The following basic stitches will help you get started:
- Chain (ch)
- Slip Stitch (sl st)
- Single Crochet (sc)
- Half Double Crochet (hdc)
- Double Crochet (dc)
- Shell Stitch (for frills or skirt section)
You can find easy tutorials for each stitch online if you need a refresher.

✨ Step-by-Step Pattern to Crochet a Baby Frock
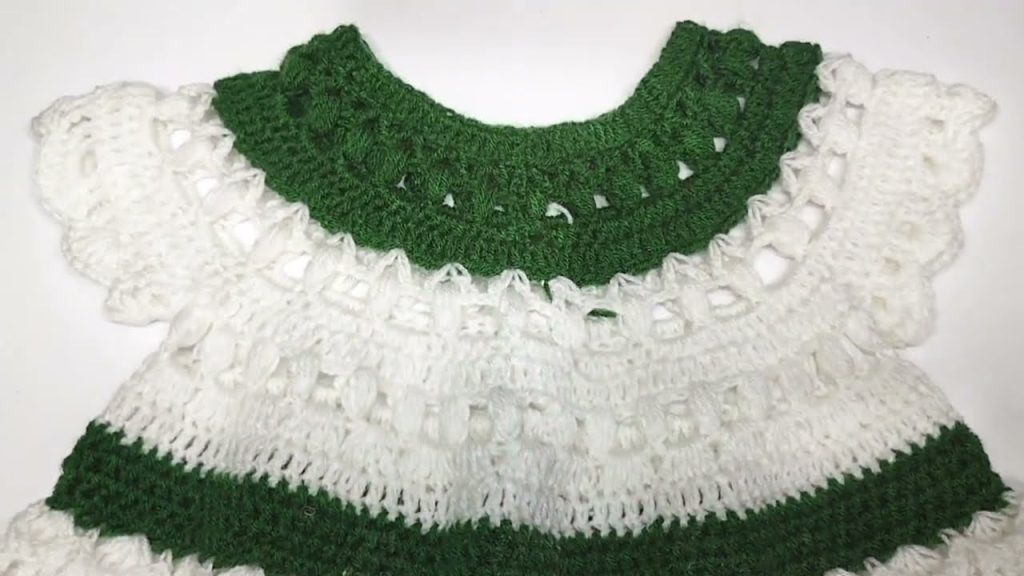
We’ll follow a top-down yoke-based pattern that flares out at the skirt.
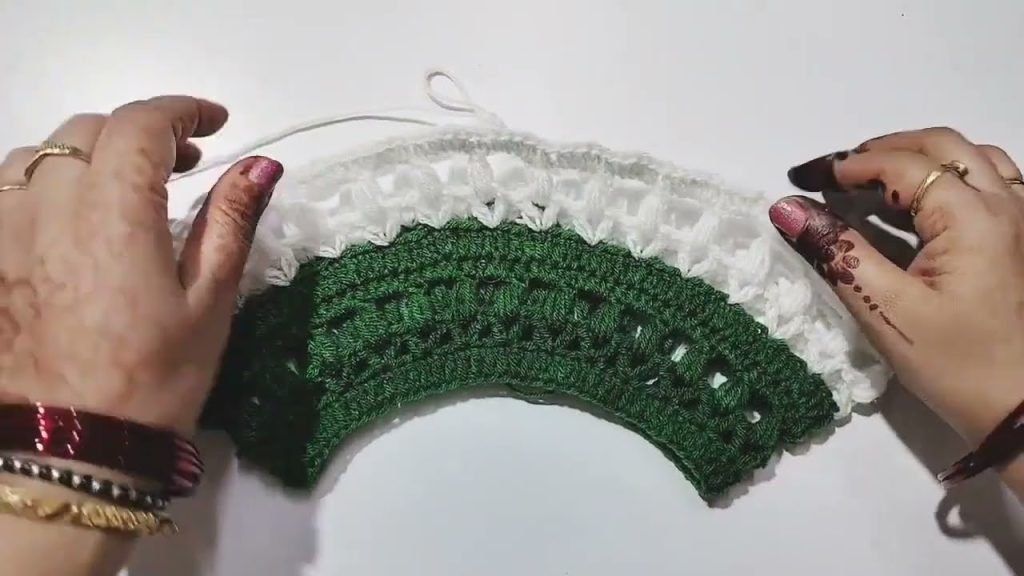
🧣 Part 1: The Yoke (Bodice)
This part fits around the baby’s chest and shoulders.
1. Foundation Chain
Make a chain long enough to fit the baby’s chest circumference (e.g., 60 chains for a 3–6-month size). Join the last chain to the first with a slip stitch to form a circle.
Tip: Avoid twisting the chain when joining.
2. Work in Rounds
- Round 1: Ch 2 (counts as first dc), dc in each stitch around, join with sl st to first dc.
- Round 2–6: Continue with dc in each st. Increase at four corners if you want a slightly square yoke. Use stitch markers at the increase points.
You’ll begin to see the bodice take shape. Try it on the baby (or use a baby mannequin) to check the fit.
🎀 Part 2: Dividing for Sleeves
Once the yoke is wide enough:
1. Divide the yoke into four parts:
- Front
- Back
- Two Sleeves
Example (for 60 stitches):
- 15 front
- 15 back
- 15 for each sleeve
2. Create the Body Section
- Ch 2, dc in each front stitch, skip sleeve stitches, dc in back, skip second sleeve, dc in front to complete the round.
- This creates armholes and forms the base for the frock’s body.
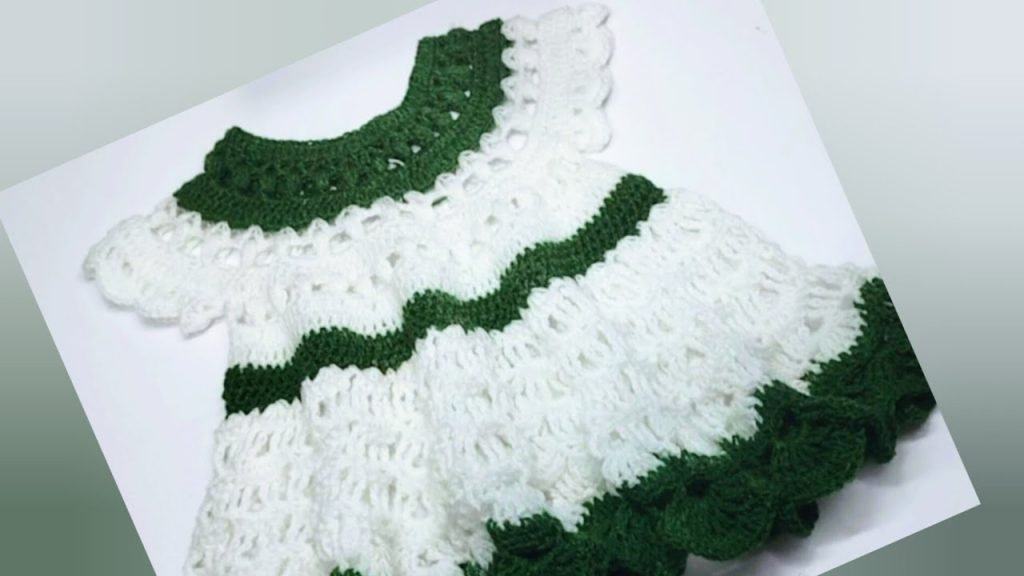
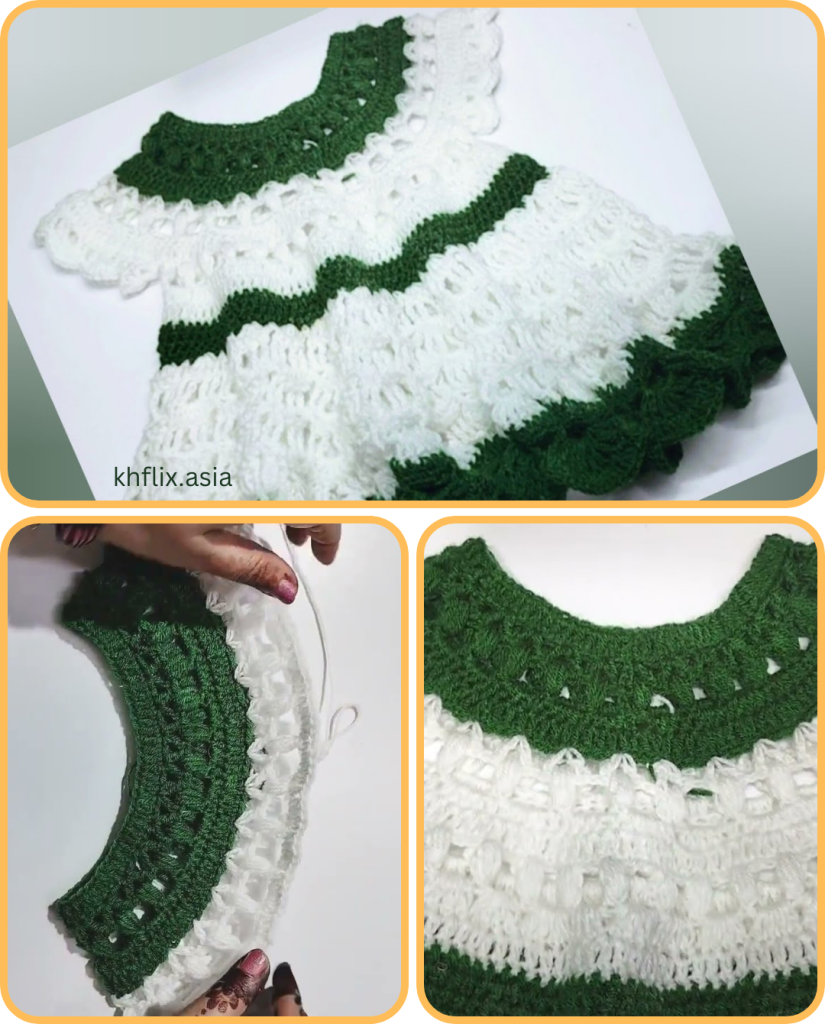
👗 Part 3: The Skirt
This is where the frock becomes beautiful and flowy.
1. Increase for Skirt
- Round 1: Ch 2, (2 dc in next stitch, 1 dc in next stitch) repeat around
- Round 2 onward: Introduce a decorative stitch like the shell stitch or V-stitch.
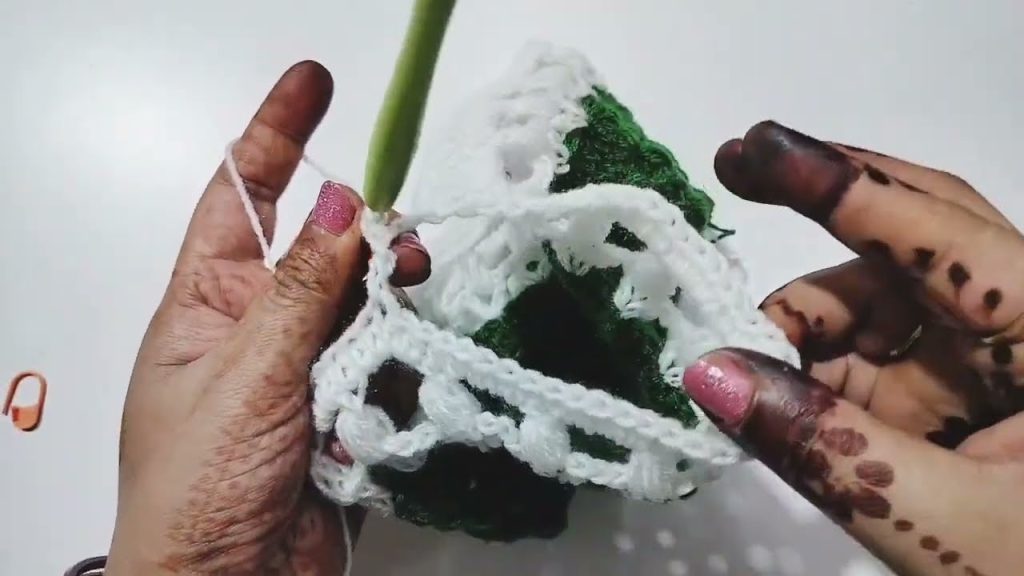
2. Shell Stitch Example:
- (2 dc, ch 1, 2 dc) in same stitch, skip 2, sc in next, skip 2 – repeat around
- Continue until the skirt reaches the desired length (e.g., 20–25 rows)
3. Edging
- Add a delicate edging at the bottom using picot stitch or lace edging.
💕 Part 4: Sleeves (Optional)
If you want sleeves:
- Reattach yarn to armhole
- Work dc or hdc in rounds
- Add ruffles or lace for decorative short sleeves
If sleeveless, simply finish with a clean edge.
🌸 Part 5: Finishing Touches
1. Neckline
- You can add a simple border: sc around the neckline, or use a reverse sc (crab stitch) for a decorative look.
2. Back Opening & Buttons
- Leave a small slit at the back neckline (3–4 rows).
- Add a button loop using chains and sew a small button.
3. Decorations
- Sew small crochet flowers or bows
- Weave ribbon through yoke or waistline
- Use beads or pearls for added elegance
🧼 Washing and Care
Use soft, baby-safe yarn that can withstand gentle washing.
- Wash: Hand wash in cold water or gentle machine cycle
- Dry: Lay flat to dry; avoid wringing or twisting
- Storage: Store in a breathable bag to avoid yellowing or dust
🎁 Gifting Ideas
- Pair with matching booties or a baby hat
- Package in a keepsake box
- Add a personalized label/tag
💡 Tips for Beginners
- Start with light colors to see stitches clearly
- Use stitch markers to track increases
- Count your stitches often
- Don’t be afraid to undo and redo—it’s part of the process!
📷 Inspiration and Variations
Here are some variations you can try once you’re comfortable with the basic frock:
- Empire Waist Dress: Bodice ends high, with flared skirt below
- Ruffled Layers: Add tiered ruffles for a fancy occasion dress
- Summer Dress: Use cotton yarn and shorter skirt
- Long Sleeve Winter Frock: Use thicker yarn and longer sleeves
❤️ Final Thoughts
Creating a crochet baby frock is more than just a project—it’s an act of love. The effort, attention to detail, and creativity you put into each stitch will be cherished, especially when it’s worn by a smiling little one. Whether it’s your first time crocheting or you’re a seasoned crafter, this frock will be a delight to make and to give.
Happy crocheting! 🧶✨
Video tutorial:


