
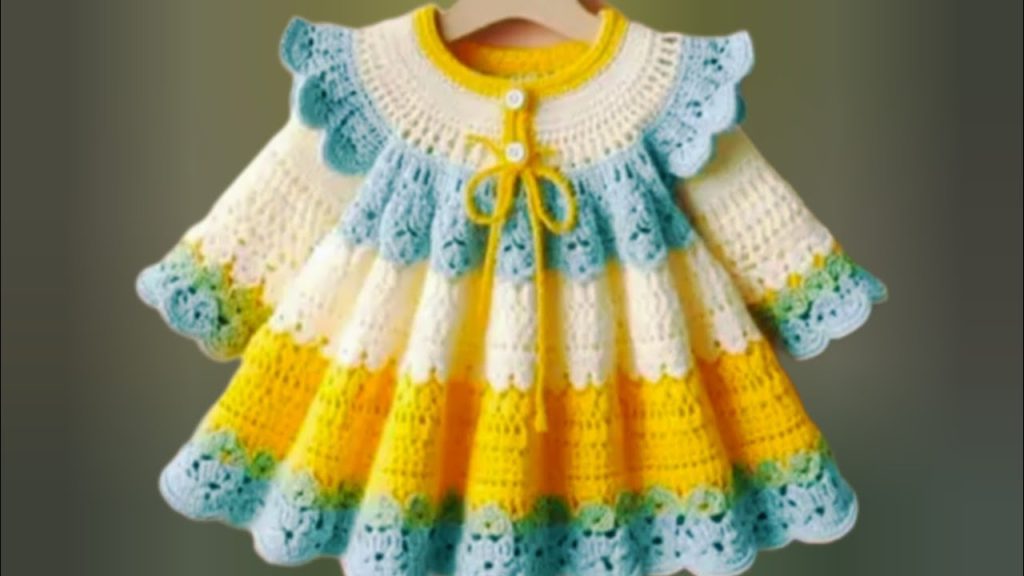
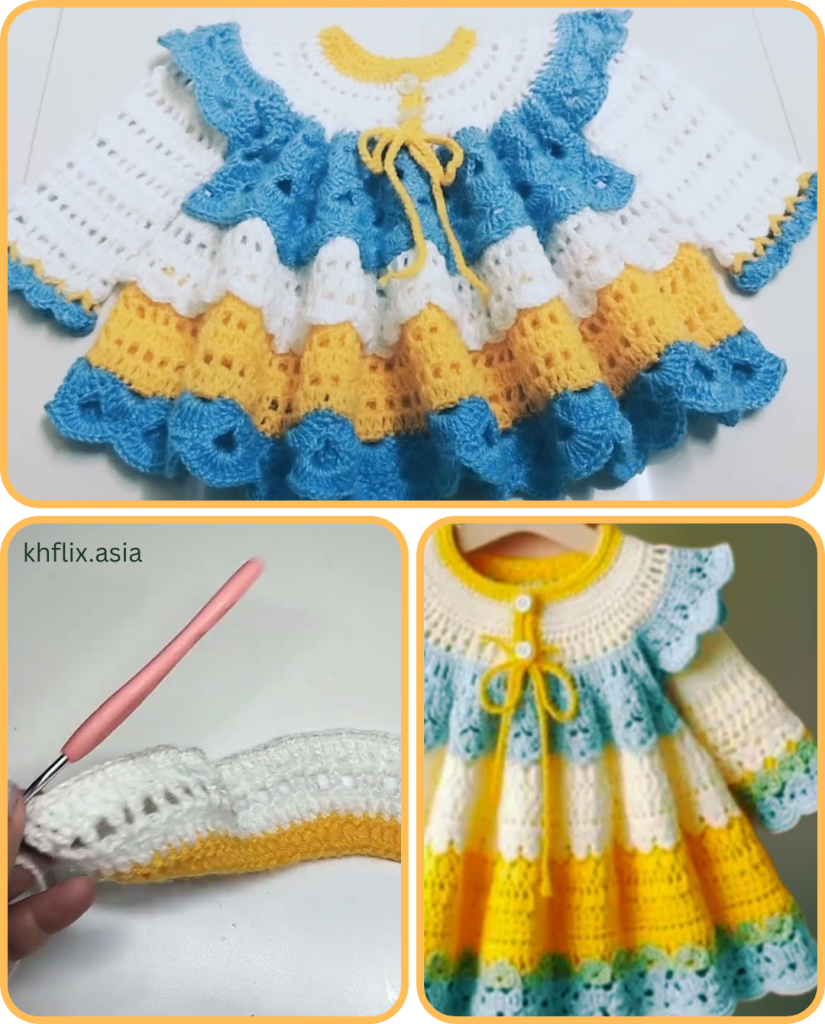
A baby princess dress made with crochet is one of the most enchanting and heartwarming garments you can create. Whether for a first birthday, a christening, or a fairy tale photoshoot, a handmade crochet dress adds a special charm and elegance that’s both classic and timeless.
In this detailed tutorial, you’ll learn how to design and crochet a baby princess dress from scratch — complete with ruffles, a flared skirt, and optional embellishments like bows, beads, or lace.
🧶 Materials Needed
Before we dive into the pattern, gather the essential materials:
📋 Supplies List:
- Baby-soft Yarn (cotton, bamboo, or acrylic – DK or light worsted weight)
- Crochet Hook (Typically 3.5 mm – 4.5 mm depending on yarn)
- Tapestry Needle
- Stitch Markers
- Measuring Tape
- Buttons or Zippers (for back closure)
- Decorative Elements (crochet flowers, ribbons, beads, sequins)
- Scissors
Recommended Yarn:
Choose a light, breathable yarn that’s safe for a baby’s skin. For a princess look, you might want to choose soft pastel colors or shimmering yarn (metallic-accented yarns work beautifully).
📏 Dress Sizing Guide
Before starting, it’s helpful to know what size you’re making:
| Age | Chest Circumference | Dress Length |
|---|---|---|
| 0-3 months | 16–17 inches | 12 inches |
| 3-6 months | 17–18 inches | 13–14 inches |
| 6-12 months | 18–19 inches | 15–16 inches |
| 12–18 months | 19–20 inches | 17–18 inches |
Use a soft measuring tape if you’re making it for a specific baby.
🧵 Crochet Stitches You’ll Use
You’ll need to know a few basic and decorative stitches:
- Chain (ch)
- Slip Stitch (sl st)
- Single Crochet (sc)
- Double Crochet (dc)
- Half Double Crochet (hdc)
- Shell Stitch (5 dc in the same stitch)
- V-Stitch (dc, ch 1, dc in the same stitch)
- Picot (for decorative edges)
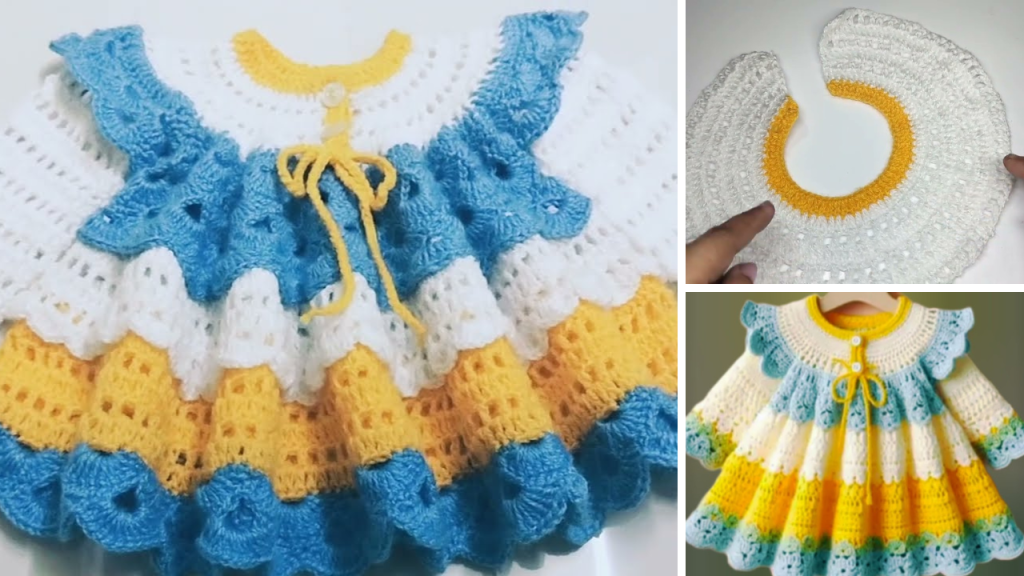
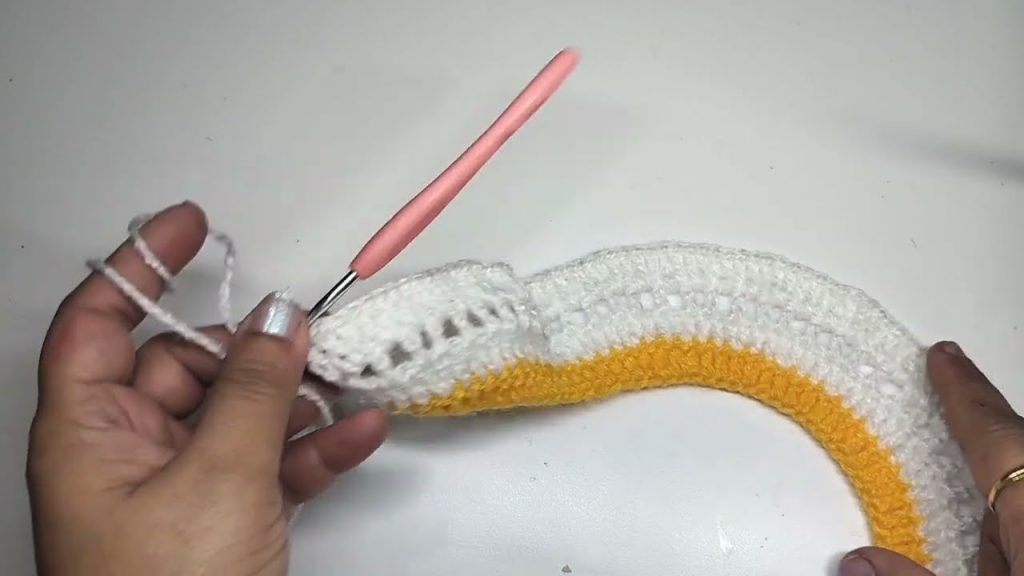
🌼 Part 1: Creating the Yoke (Top Bodice)
We’ll use a top-down approach for this princess dress.
Step 1: Foundation Chain
- Chain 60 (for 3–6 month size)
- Join with a slip stitch to form a circle (ensure it’s not twisted)
Step 2: Yoke Rows
- Row 1: Ch 2, dc in each stitch around. Join with sl st.
- Row 2–5: Continue in dc, but increase evenly across 4 points to shape the yoke. You can place stitch markers at these increase points.
For a rounded neckline, don’t over-increase. The shape should curve around the baby’s shoulders.
🎀 Part 2: Divide for Armholes
After completing the yoke:
- Divide the total number of stitches into 4 sections: front, back, and two sleeves.
- Skip the sleeve sections and connect front and back with dc to create a round base for the skirt.
For example: 15 stitches front, 15 stitches back, and 15 stitches each for sleeves.

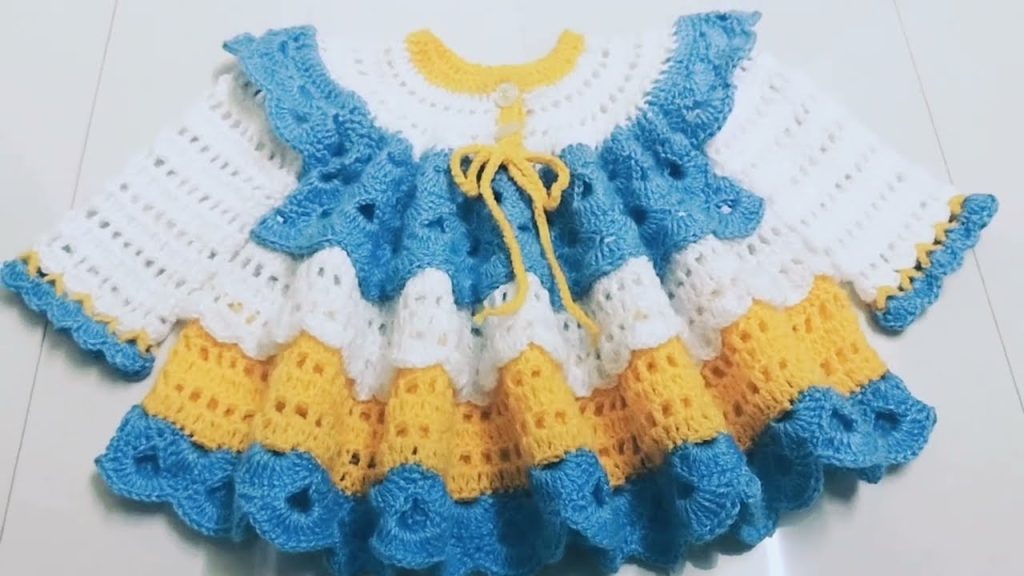
👗 Part 3: Creating the Princess Skirt
Now we start the flared, dramatic skirt portion of the dress.
Step 1: Increase the Fullness
- Begin with dc around the base of the bodice.
- Every 2nd round, increase by working 2 dc into one stitch at regular intervals to make the skirt flare.
Step 2: Add a Decorative Stitch
Use Shell Stitch or V-Stitch for the skirt.
Shell Stitch Skirt Pattern (Repeat until desired length):
- Row 1: (2 dc in same st, skip 1 st) repeat around
- Row 2: (5 dc in shell space, skip to next shell) repeat
- Row 3–20: Continue shell rows for a cascading skirt
You can create tiers or ruffles by working into front loops or layering shell stitch rows with increasing stitch height (dc → tr).
💎 Optional: Add Layers or Tulle (for True Princess Flair)
If you want that puffy princess look, consider these options:
- Sew a layer of tulle fabric underneath the crochet skirt
- Crochet a petticoat-style inner layer with tighter stitches to give volume
- Add a ribbon belt around the waist with a bow at the back
💠 Part 4: Sleeves (Cap or Puff Sleeves)
For Cap Sleeves:
- Reattach yarn to armhole
- Work 3–5 rows of dc or shell stitches
- Finish with a picot or scalloped edge
For Puff Sleeves:
- Work in rounds and increase in the middle rows
- Gather the sleeve slightly at the end with tighter stitches
You can also make the dress sleeveless and add a delicate trim instead.
🌟 Part 5: Neckline and Back Closure
Neckline:
- Add a decorative row of sc or reverse sc (crab stitch) for clean finish
- Optionally thread a narrow ribbon through the neckline row
Back Closure:
- Leave a 2–3 inch slit at the back for easy dressing
- Add a button loop and sew a decorative button
- Or install a zipper or sew-in snap buttons
🌸 Part 6: Embellishments
This is where the princess dress truly shines. Be creative!
Ideas:
- Crochet Flowers or Bows sewn onto bodice or waist
- Pearls or Beads sewn into shell stitches (secure very well)
- Ribbons at the waist or hemline
- Appliqués: hearts, crowns, butterflies
🧼 Washing and Care Tips
- Hand wash or machine wash on delicate cycle in cold water
- Lay flat to dry
- Do not bleach or iron
- Store in a breathable garment bag or box
🪡 Tips for Success
- Always make a gauge swatch before starting
- Keep a notebook to track rows, increases, and changes
- Try on a baby mannequin or dress form if you don’t have the baby nearby
- Be patient! Intricate crochet takes time but is worth it
📸 Princess Dress Styling Ideas
Want to go all out? Try these fun themes:
- Snowflake Princess: Use white yarn with silver thread and snowflake appliqués
- Floral Princess: Add rose motifs, green trim, and a matching floral headband
- Fairy Princess: Attach small, delicate wings and glittery tulle
- Birthday Princess: Add a birthday number applique and matching crown
🎁 Gifting Ideas
Handmade princess dresses make incredible heirloom gifts. Package it beautifully:
- Fold gently in a box with tissue paper
- Include a handwritten care card
- Pair it with matching booties and a headband
- Include a small lavender sachet to keep it fresh
❤️ Final Thoughts
Crocheting a baby princess dress is more than just crafting — it’s creating a magical memory. With each stitch, you’re building not only a beautiful outfit but a story of love, care, and creativity. Whether you’re making it for your daughter, a niece, or a friend’s baby, this handmade treasure will be cherished for years.
So grab your hook, pick your prettiest yarn, and start crocheting the princess dress of dreams. 👑✨
Video tutorial:


