
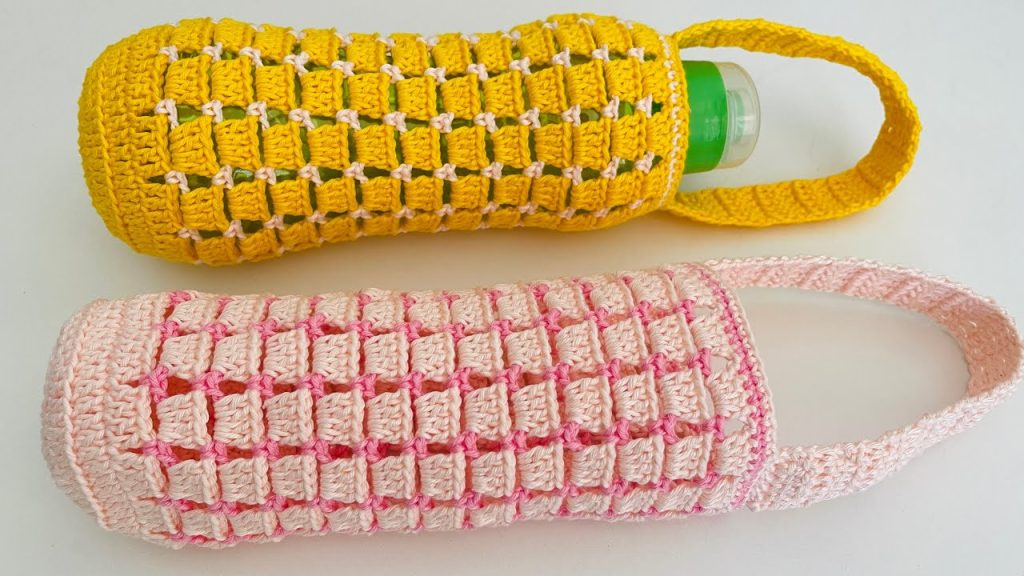
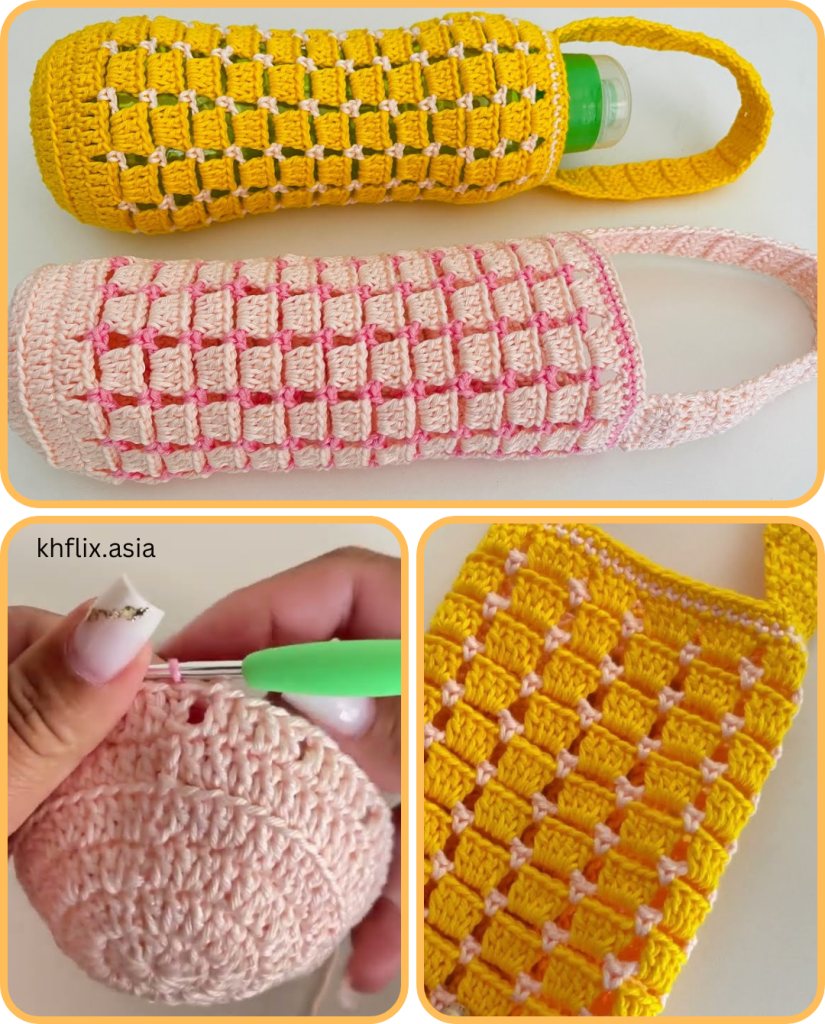
If you’re looking for a fun, functional crochet project, a crochet water bottle cover (also known as a water bottle holder or cozy) is the perfect place to start. It protects your bottle, helps maintain its temperature, adds a layer of personality, and makes it easier to carry. Best of all, you can customize it to fit your style, bottle size, and skill level.
In this guide, we’ll walk you through every step of making a crochet water bottle cover — from choosing materials to customizing the final design.
🧵 Why Crochet a Water Bottle Cover?
Before we dive into the steps, here’s why this is a great project:
- Eco-Friendly: Encourages reusable bottle use.
- Custom Fit: Tailor to your specific bottle size.
- Portable: Add a strap for hands-free carrying.
- Stylish: Use colors, stitches, and embellishments you love.
- Beginner-Friendly: Learn basic stitches and shaping.
🔧 Materials and Tools
Here’s what you’ll need to crochet your water bottle cover:
🧶 Yarn:
- Worsted weight cotton yarn is ideal (like Lily Sugar’n Cream).
- Cotton is strong, washable, and absorbent — perfect for holding a bottle.
🧷 Hook:
- 4.0 mm (G) to 5.0 mm (H) crochet hook depending on your yarn and tension.
✂️ Notions:
- Stitch markers
- Scissors
- Tapestry/yarn needle (for weaving in ends)
- Measuring tape
- Optional: button or toggle for closure, D-rings or carabiners for a strap
📏 Sizing Guide
This pattern is adjustable for bottles ranging from 16 oz to 32 oz (500 ml – 1 liter).
To determine your size:
- Measure the base diameter of your bottle.
- Measure the height from base to neck.
- Add 1–2 inches to the height if you want a fold-over lip or drawstring top.
🔄 Basic Pattern Construction
We will construct the water bottle cover in three parts:
- Base – a flat circle
- Body – straight sides worked in rounds
- Strap (optional) – a long chain or flat band
🧶 Step-by-Step Instructions
✅ Step 1: Crochet the Base (Flat Circle)
This is the round bottom that fits the base of your bottle.
Pattern (in continuous rounds — use a stitch marker):
R1: Make a magic ring, 6 sc into ring (6)
R2: inc in each st around (12)
R3: (1 sc, inc) x6 (18)
R4: (2 sc, inc) x6 (24)
R5: (3 sc, inc) x6 (30)

Continue increasing as needed until the circle matches the diameter of your bottle’s base.
🎯 Tip: Your circle should lie flat. If it starts to curl up, switch to a larger hook or do a round without increases.
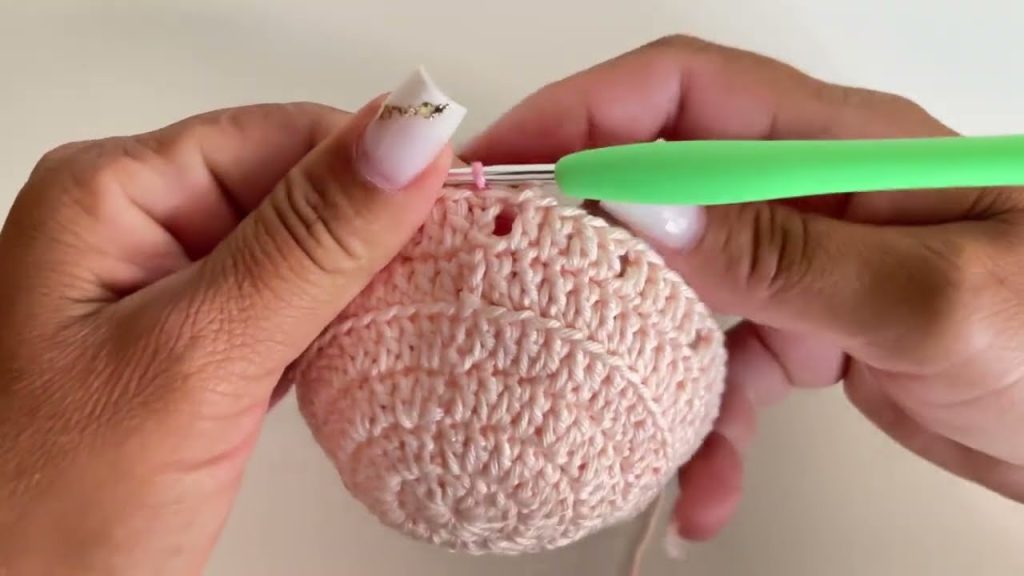
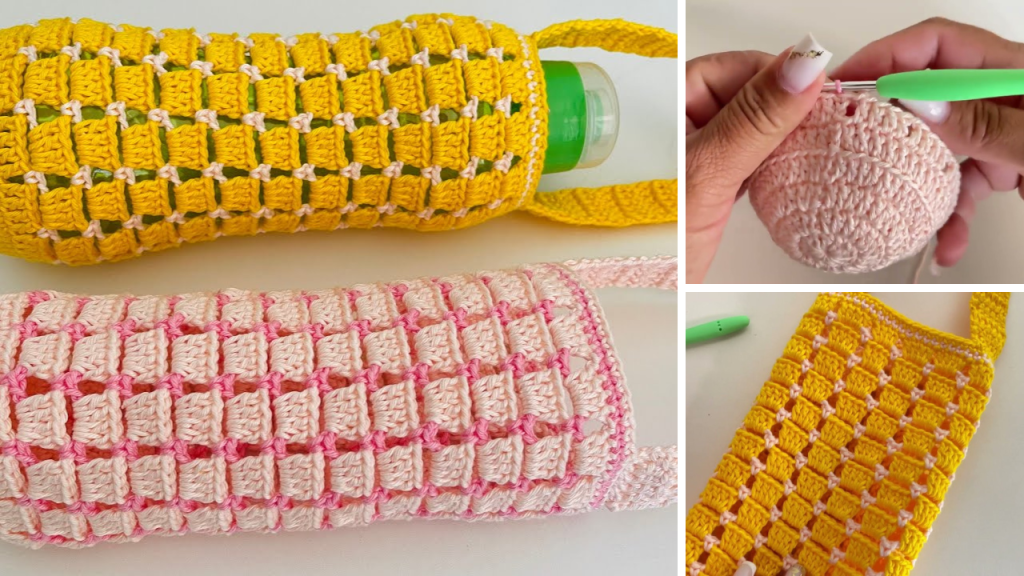
✅ Step 2: Crochet the Body (Tube)
Once the base is wide enough, stop increasing and build the sides.
Pattern:
R1: sc in back loop only (BLO) around to help define the edge (same number of stitches as last base round)
R2–X: sc in each st around
Repeat until the body measures the height of your water bottle.
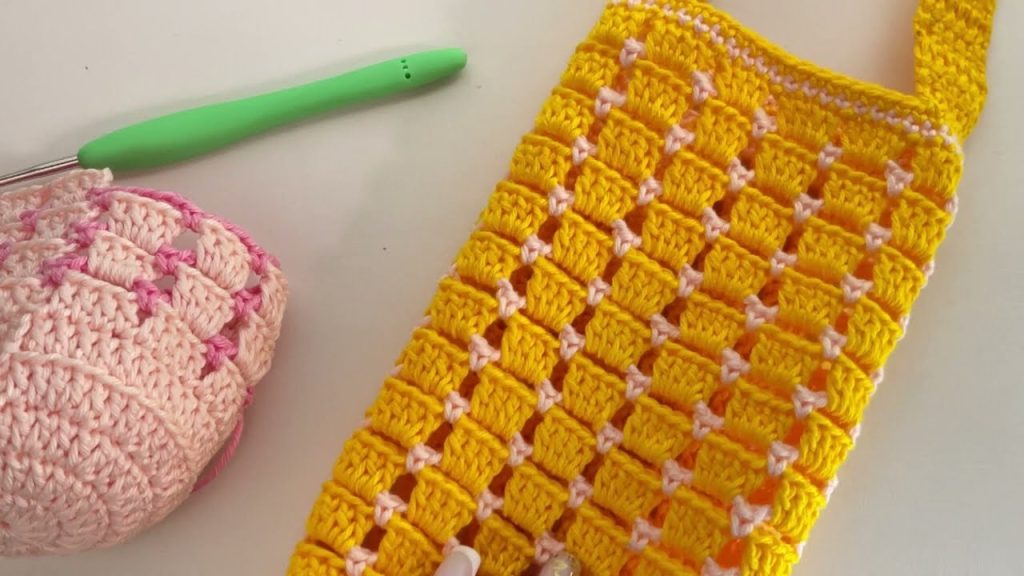
You can add texture or designs with the following optional rows:
- Mesh row: (ch 1, skip 1, sc in next) — good for breathability
- Shell stitch: (5 dc in same stitch, skip 2, sc) — adds decorative flair
- Color changes: Add stripes or gradient yarn
🧵 Optional: Leave a small hole for a bottle spout or loop.
✅ Step 3: Finishing Edge
Once your body is the right height, you can:
- Add a drawstring row: (sc, ch 1, skip 1) — then weave a chain cord through
- Create a snug ribbed edge: (Front post sc, back post sc) around for a stretchier top
Fasten off and weave in ends using a yarn needle.
✅ Step 4: Crochet the Strap (Optional but Recommended)
This turns your cozy into a carrier — great for walks, hikes, or festivals.
Option A: Simple Chain Strap
- Ch 100–150 (depending on desired length)
- Sc in each ch to make it sturdier
- Sew ends of strap to opposite sides of bottle cover
Option B: Flat Strap for Strength
- Ch 6
- R1: Sc in 2nd ch from hook and across (5)
- R2–X: ch 1, turn, sc across (5)
- Continue until strap is desired length
🔄 Attach using yarn or D-rings for removability.
🌟 Customization Ideas
Want to make your bottle cover uniquely yours? Try these:
🎨 Color Patterns:
- Stripes: Alternate yarn every 2–4 rows
- Ombre: Use gradient-dyed yarn
- Patchwork: Crochet granny squares and join them
🧵 Stitch Variations:
- Puff Stitch: For added texture
- Half-Double Crochet (hdc): For a denser, thicker cover
- Mesh Stitch: Great for quick drying
🧩 Embellishments:
- Add buttons, patches, or appliqué
- Sew on a label or tag
- Add fringe or tassels at the base
🧼 Care Instructions
Since your cozy may get wet or sweaty:
- Use machine-washable cotton yarn
- Hand wash or machine wash on gentle
- Lay flat to dry to avoid stretching
- Avoid bleach or high heat
📜 Sample Pattern Recap (For a 24 oz Bottle)
Here’s a basic overview to crochet a standard 24 oz bottle holder:
Base:
R1: Magic ring, 6 sc
R2: inc x6 (12)
R3: (1 sc, inc) x6 (18)
R4: (2 sc, inc) x6 (24)
R5: (3 sc, inc) x6 (30)

Body:
R6: sc in BLO around (30)
R7–22: sc around (30)

Top:
R23: (ch 1, skip 1, sc) around (15 holes)
Make a chain cord and weave through

Strap:
Ch 120, sc in each ch, sew to both sides
🎉 Final Thoughts
Crocheting a water bottle cover is both satisfying and useful. It’s a small, portable project that teaches you essential skills like working in the round, shaping, and building textures. Plus, it’s a great gift or market item for eco-conscious friends and outdoor lovers.
Once you’ve mastered the basic version, you can:
- Make matching cozies for coffee mugs, tumblers, or wine bottles
- Add insulation for cold beverages
- Even make themed bottle holders (like animals or characters!)
Video tutorial:


