
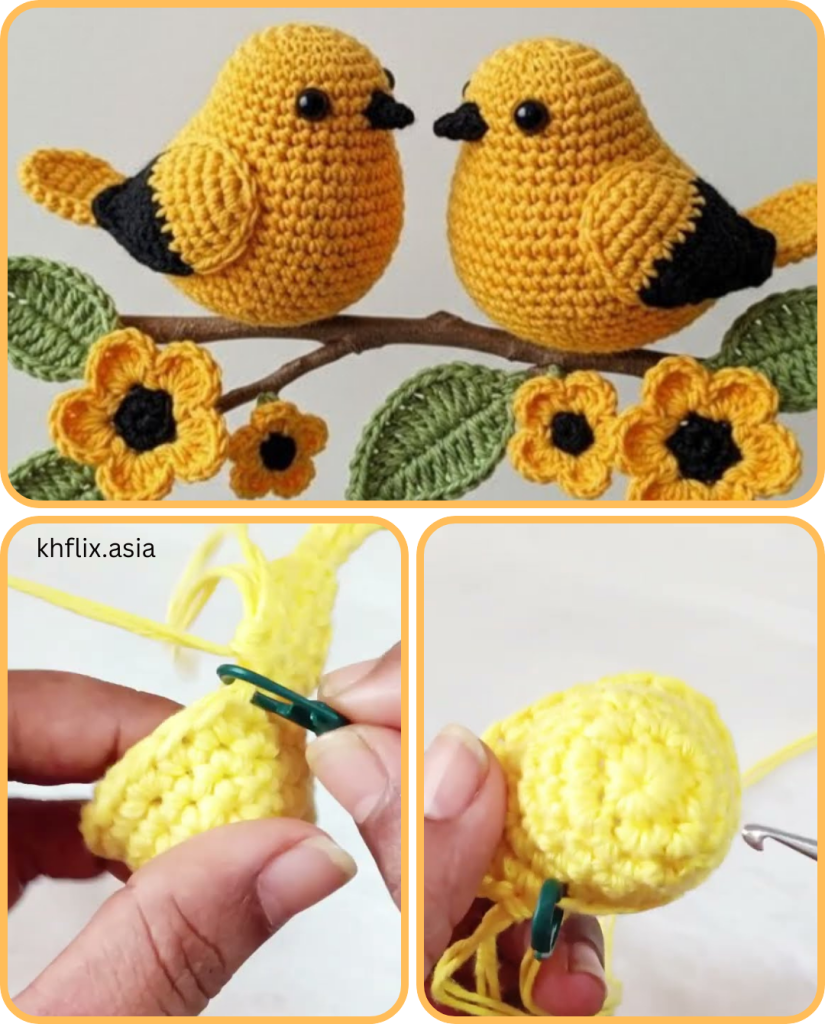
Crocheting animals — also known as amigurumi — has become a beloved craft for hobbyists worldwide. While teddy bears and bunnies are common subjects, crocheting a sparrow offers something uniquely beautiful: a symbol of freedom, grace, and natural simplicity captured in yarn.
In this article, you’ll learn everything you need to crochet your very own beautiful sparrow — from materials and stitches to detailed instructions for the head, body, wings, and tail. Whether you’re making a toy, decoration, or nature-inspired gift, this guide will help you bring this lovely little bird to life.

🧵 What You Need to Get Started
Before you begin crocheting your sparrow, gather the following materials:
✂️ Materials:
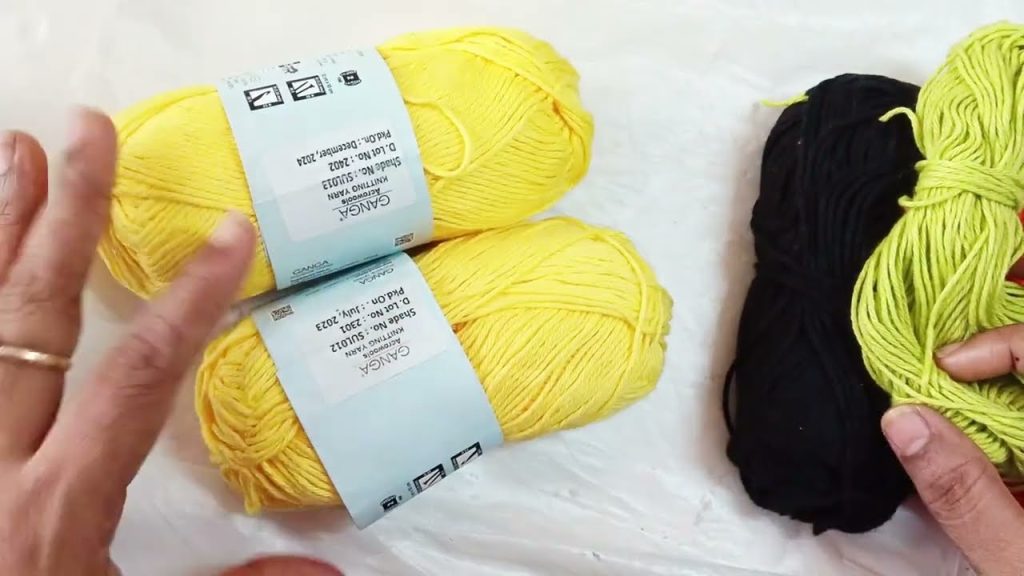
- Worsted-weight yarn in these colors:
- Brown (main body)
- Cream or beige (underbelly)
- Black (eyes, beak, feather accents)
- Optional: a touch of white (eye spots or wing markings)
- Crochet hook: Size 2.5mm – 3.5mm (based on yarn thickness)
- Stuffing: Polyester fiberfill
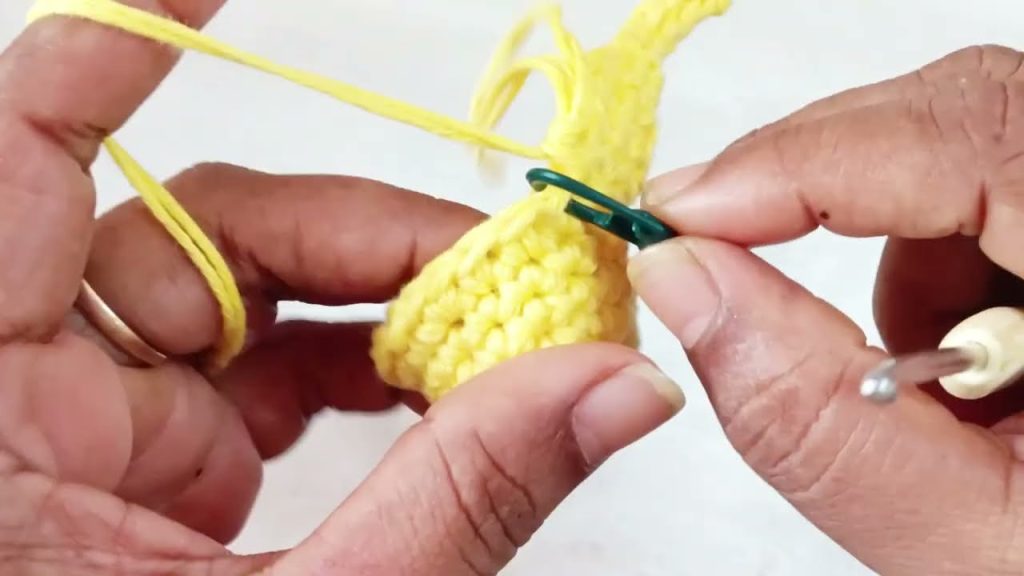
- Stitch markers: To track your rounds
- Yarn needle: For sewing pieces and weaving in ends
- Safety eyes or black yarn: For the eyes
- Scissors
📚 Skills Required:
- Magic ring
- Single crochet (sc)
- Increase (inc)
- Decrease (dec or sc2tog)
- Slip stitch (sl st)
- Working in the round (spiral crochet)
🪶 Overview: Sparrow Construction
You’ll be crocheting the sparrow in separate pieces and then assembling them. Here’s how it breaks down:
- Head and Body (worked as one piece)
- Wings (2 pieces)
- Tail
- Beak
- Eyes (if not using safety eyes)
🐦 Let’s Begin! Step-by-Step Instructions
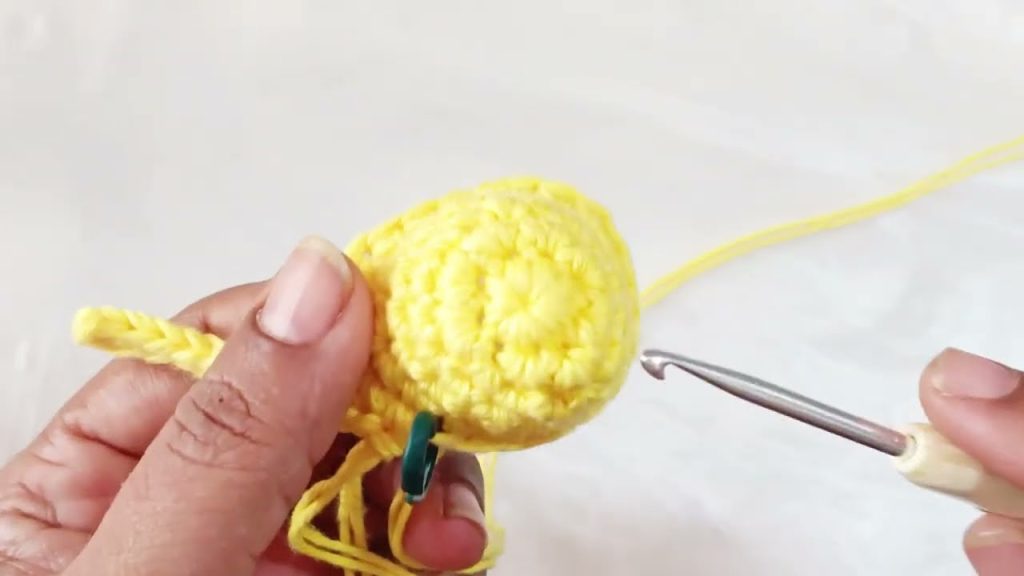
1. Head and Body
The head and body are worked from the top down in one continuous piece.
🧶 Head and Body Pattern:
With brown yarn:
R1: 6 sc in magic ring (6)
R2: inc around (12)
R3: (1 sc, inc) x6 (18)
R4: (2 sc, inc) x6 (24)
R5-8: sc around (24)

Switch to beige or cream yarn for the underbelly:
R9-12: sc around (24)

Begin shaping the body:
R13: (2 sc, dec) x6 (18)
R14: (1 sc, dec) x6 (12)
Stuff the head and body firmly
R15: dec around (6)
Fasten off and weave in end
✅ Tip: Use a stitch marker to keep track of the first stitch in each round.
2. Wings (Make 2)
These will be sewn onto the sides of the body later.
🧶 Wing Pattern:
With brown yarn:
R1: 6 sc in magic ring (6)
R2: (1 sc, inc) x3 (9)
R3: (2 sc, inc) x3 (12)
R4-5: sc around (12)
R6: (2 sc, dec) x3 (9)
Fasten off, flatten, and lightly stuff
Leave a long tail for sewing
You can add feather detail by stitching a line or two of black yarn on each wing.
3. Tail
The tail is a simple flat piece that fans slightly outward.
🧶 Tail Pattern:
With brown yarn:
Ch 6
R1: Starting in 2nd ch from hook, sc in each ch (5)
R2: ch 1, turn, inc, sc 3, inc (7)
R3: ch 1, turn, sc across (7)
Fasten off and leave tail for sewing
You may curve the tail slightly by blocking or sewing it at an angle.
4. Beak
The beak is small and triangle-shaped. Use black or dark gray yarn.
🧶 Beak Pattern:
R1: 4 sc in magic ring
R2: sc around (4)
Fasten off, lightly stuff, sew to face
5. Eyes
Use either:
- 6mm safety eyes (insert between rounds 5–6 of the head, spaced about 5 stitches apart), or
- Embroider small eyes using black yarn or thread.
Add a tiny white stitch above each eye for a glint if desired.
🧵 Assembly Instructions
Once all the parts are complete, it’s time to bring your sparrow to life:
- Position the wings on either side of the body. Pin them in place and sew neatly around the edges.
- Sew the tail to the lower back, angling slightly upward.
- Attach the beak to the center of the face, just below the eyes.
- Add embroidered feather details with black or dark brown yarn on wings, chest, or back for realism.
- Weave in all yarn ends and trim any excess.
🎨 Optional Embellishments
To personalize or stylize your sparrow:
- Use variegated yarn to mimic natural feather patterns.
- Add a crocheted branch or nest for display.
- Attach a ribbon or loop to turn your sparrow into a keychain, ornament, or bag charm.
- Crochet baby sparrows using lighter yarn and a smaller hook for a family scene.
🪺 Tips for a Realistic Look
- Reference real sparrow photos for color placement and proportions.
- Use a fine-tipped yarn needle for precision sewing.
- Consider light needle-felting over the yarn to blend color transitions (if you’re comfortable with felting tools).
- Experiment with layered wings for a more 3D effect.
🧼 Care Instructions
If you’re giving your sparrow as a gift or planning to wash it:
- Hand-wash gently with mild soap and air dry.
- Avoid machine washing or wringing, especially if using safety eyes or delicate yarn.
🧶 Final Thoughts
Crocheting a sparrow is not only a charming project but also a celebration of nature’s beauty in textile form. With a little patience and creativity, you’ll have a soft, lovable bird that brings joy — whether perched on a shelf, nestled in a gift box, or accompanying you as a travel buddy.
From its detailed wings to its petite beak, every stitch in your sparrow adds personality. So grab your yarn and hook, and let your imagination fly.
Video tutorial:


