
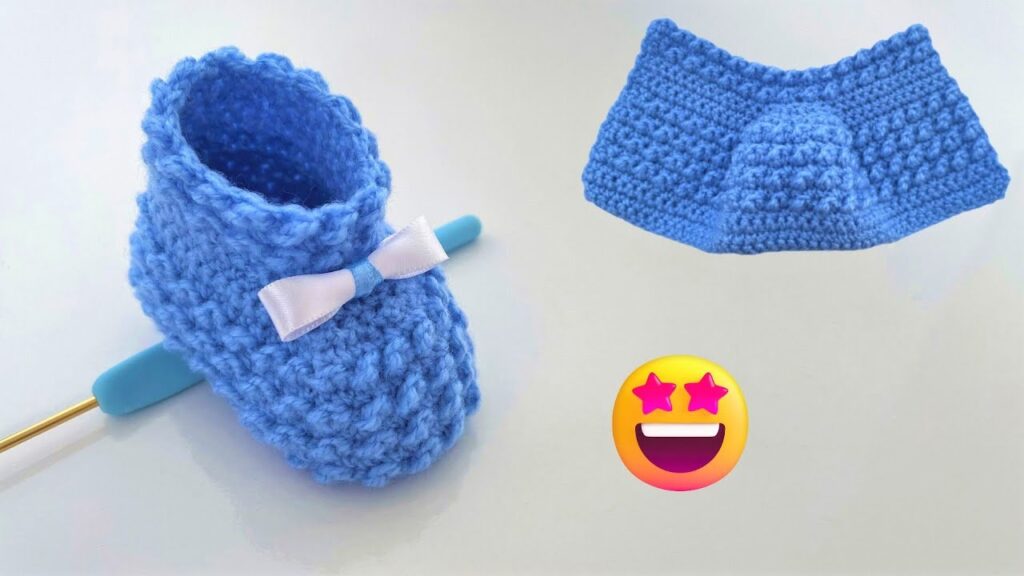
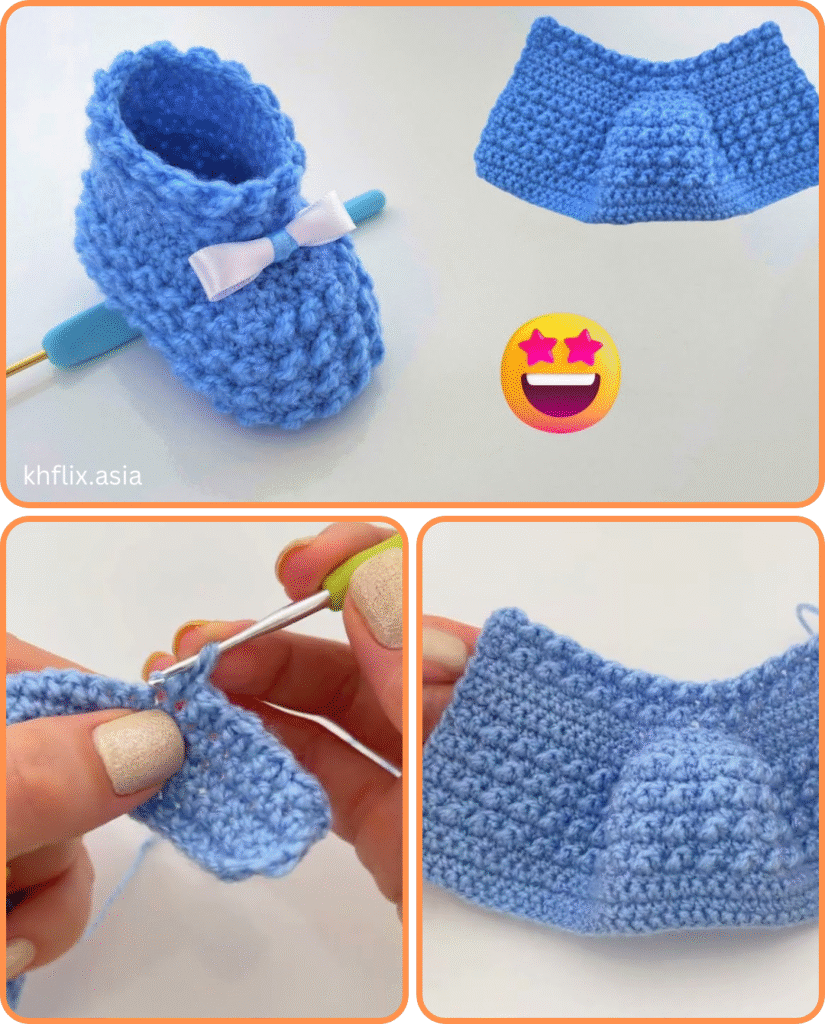
Tiny Toes, Happy Hooks: The Easiest Stitches for Crocheting Baby Shoes
There’s something uniquely precious about a pair of handmade baby shoes. They are tiny works of art, bursting with love, and an ideal gift for a newborn. If you’re new to crochet or looking for a quick, satisfying project, the thought of making baby shoes might seem daunting. But fear not! The secret to easy baby shoes lies not in complex stitches, but in mastering a few fundamental, simple stitches that create the perfect blend of softness, structure, and speed.
This detailed guide will focus on the best easy stitches for baby shoes and then walk you through a super simple pattern to put them into practice, ensuring your little creations are as delightful to make as they are to behold.
What Makes a Stitch “Easy” and Ideal for Baby Shoes?
For baby shoes, “easy” means more than just simple to execute. It also means the stitch properties contribute to a well-fitting, comfortable, and durable shoe. The best stitches for baby shoes are:
- Simple to Learn & Master: They use fundamental techniques you’ll quickly get the hang of.
- Dense & Sturdy: They create a fabric with minimal holes, preventing tiny toes from poking through and helping the shoe hold its shape.
- Soft & Comfortable: They don’t create a stiff or scratchy texture against delicate baby skin.
- Work Up Quickly: Essential for smaller projects like booties!
- Hold Shape Well: Crucial for a shoe that looks like a shoe and stays on.
The Best Easy Stitches for Baby Shoes
The real heroes of easy baby shoe making are the Single Crochet (sc) and the Half Double Crochet (hdc).
1. The Single Crochet (sc)
- How to: Insert hook into stitch, yarn over (yo), pull up a loop (2 loops on hook), yo, pull through both loops.
- Why it’s great for baby shoes:
- Maximum Density: It’s the shortest and tightest stitch, creating a very dense fabric with almost no gaps. This is perfect for the sole and outer structure of the shoe, ensuring warmth and that nothing falls out.
- Stiffness: Provides the most inherent stiffness, helping the shoe hold its shape without needing extra reinforcement.
- Durability: A tightly crocheted sc fabric is very hard-wearing, ideal for shoes.
- Best for: Soles, initial base rounds of the shoe body, and outer finishing edges.
2. The Half Double Crochet (hdc)
- How to: Yo, insert hook into stitch, yo, pull up a loop (3 loops on hook), yo, pull through all 3 loops.
- Why it’s great for baby shoes:
- Good Density, Faster Work-Up: Taller than sc, so it works up quicker, but still creates a fairly dense fabric. It’s often used for the main body of the shoe.
- Slightly Softer Drape: While still firm, it has a bit more give than sc, making it comfortable around the foot.
- Best for: The main body of the shoe, especially the sides, and sometimes for soles if you want a slightly larger or quicker sole.
Other Useful, Easy Techniques for Baby Shoes:
- Working in BLO (Back Loop Only): Inserting your hook only into the back loop of a stitch. This creates a subtle horizontal ridge and is fantastic for defining the transition from the flat sole to the upright sides of the shoe.
- Increases (sc inc / hdc inc): Working two stitches into the same stitch to expand the fabric (essential for the sole).
- Decreases (sc2tog / hdc2tog): Working two stitches together to reduce the fabric (essential for shaping the toe and heel).
- Working in Continuous Rounds: Crocheting in a spiral without joining each round. This creates a seamless fabric, often used for soles and the initial body of the shoe. (A stitch marker is essential here!)
Key Considerations Before You Start
- Yarn Choice (Softness is Paramount!):
- Fiber: Choose incredibly soft, breathable, and hypoallergenic yarns. Baby acrylic (often labeled as “baby” yarn), soft cotton, or superwash merino wool are excellent.
- Weight: DK (Light Worsted / Category 3) is usually ideal, providing a good balance of softness and structure.
- Washability: Babies are messy! Opt for yarn that is machine washable and dryable (check the label).
- Hook Size (Crucial for Fit!): Use a hook size that creates a relatively dense fabric with your chosen yarn. For DK weight, a 3.5mm (US E/4) or 3.75mm (US F/5) is a good starting point. A slightly smaller hook than recommended on the yarn label will create a sturdier shoe.
- Gauge (Absolutely Critical!): For baby shoes, gauge (specifically the length of the sole) is the most important factor for fit. A difference of even 0.5 cm can make the shoe too big or too small. Always measure your sole as you go!
- This tutorial aims for a 9.5 cm (approx. 3.75 inches) sole, suitable for 0-3 months.
- One Shoe at a Time: It’s best to make one shoe completely, then make the second one identically.
Materials You’ll Need:
- Yarn: Approx. 40-60 yards of DK (Category 3) weight soft baby yarn.
- Crochet Hook: 3.5 mm (US E/4) or 3.75 mm (US F/5) (adjust based on yarn and desired sole length).
- Yarn Needle (Tapestry Needle): For weaving in ends.
- Scissors:
- Stitch Marker: Essential for working in continuous rounds.
- Measuring Tape/Ruler: For checking sole length.
Essential Crochet Abbreviations:
- ch: chain
- sl st: slip stitch
- sc: single crochet
- hdc: half double crochet
- sc inc: single crochet increase (2 sc in same st)
- hdc inc: half double crochet increase (2 hdc in same st)
- sc2tog: single crochet 2 together (decrease)
- hdc2tog: half double crochet 2 together (decrease)
- st(s): stitch(es)
- BLO: back loop only
- (): indicates instructions to be worked into the same stitch/space
- …: repeat instructions within asterisks
- []: indicates stitch counts at the end of a round
Easy Baby Shoe Tutorial (Using SC & HDC for a Classic Bootie – 0-3 Months / 9.5 cm Sole)
We’ll work the sole in continuous rounds, and the body in a mix of continuous and joined rounds.
Part 1: The Sole (Foundation)
This creates the flat oval bottom of the shoe.
- Starting Chain: Ch 11.
- Round 1: Hdc in 3rd ch from hook. Hdc in next 7 ch.
- (5 hdc) in the very last ch (this curves around the toe end).
- Working along the opposite side of your starting chain: Hdc in next 7 ch.
- (4 hdc) in the very first chain stitch where you made your first hdc (this curves around the heel end).
- Do NOT join with a sl st. Place stitch marker in the last hdc. [24 hdc]
- Round 2: Hdc inc in first st. Hdc in next 7 sts.
- (Hdc inc) in next 5 sts.
- Hdc in next 7 sts.
- (Hdc inc) in next 4 sts.
- Move stitch marker to last hdc. [34 hdc]
- CRITICAL CHECK: Your sole should now measure approximately 9.5 cm (3.75 inches) in length. Adjust your hook size up or down and re-do if necessary until it matches!
—
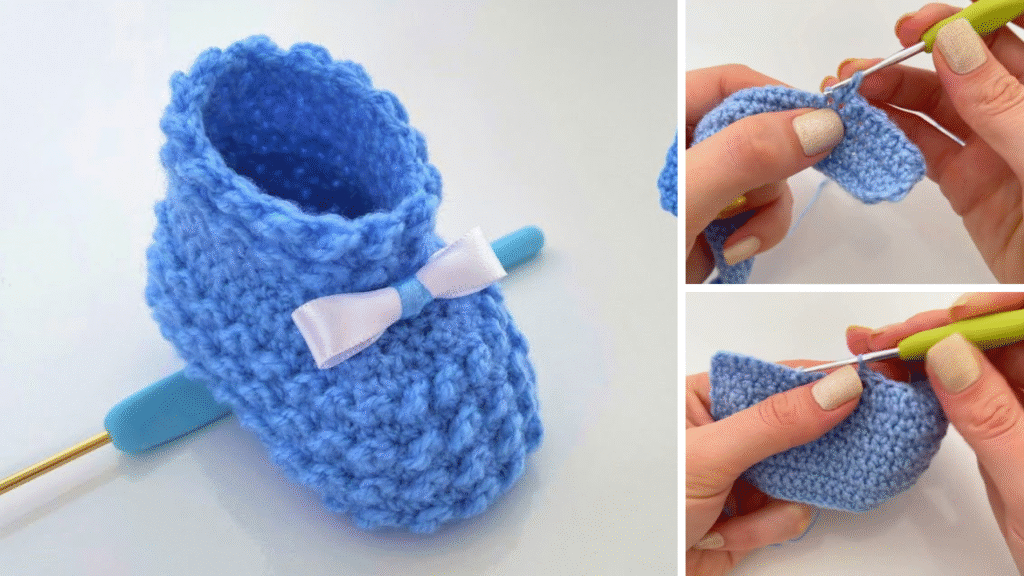
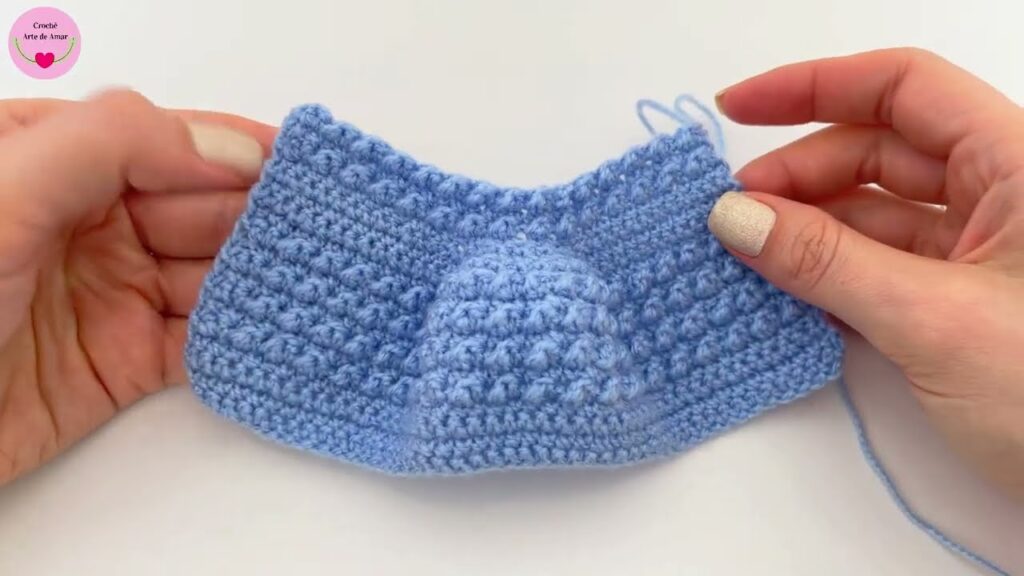
Part 2: The Shoe Body (Sides & Toe Shaping)
Now we build the walls of the shoe and shape the toe.
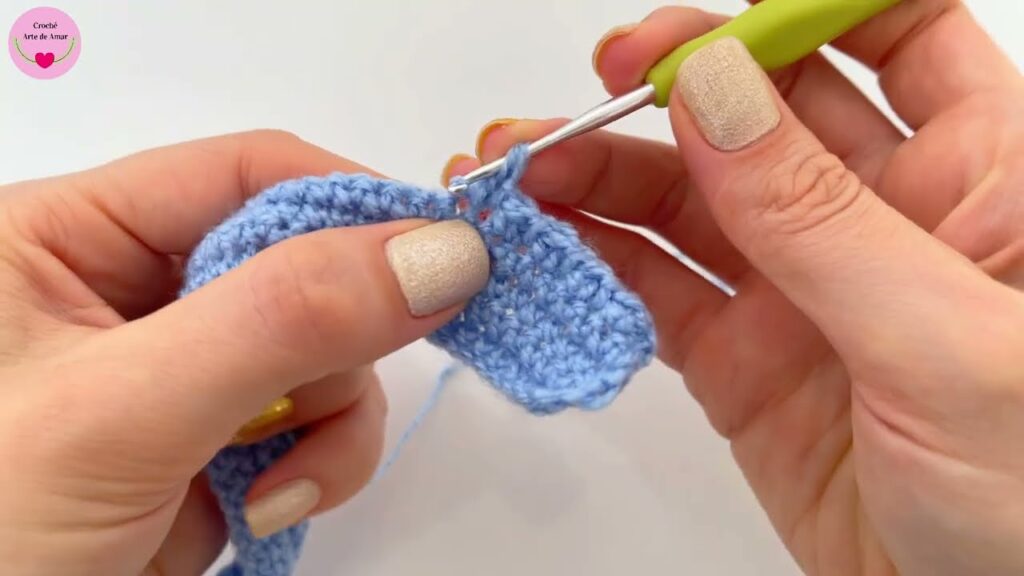
- Round 3 (Defining Wall): Ch 1 (does NOT count as a st). Sc in the back loop only (BLO) of each st around. Move stitch marker to last sc. [34 sc]
- This BLO round creates a neat ridge, making the sides of the shoe stand up vertically.
- Round 4 (Body Height): Ch 1. Sc in each sc around. Move stitch marker to last sc. [34 sc]
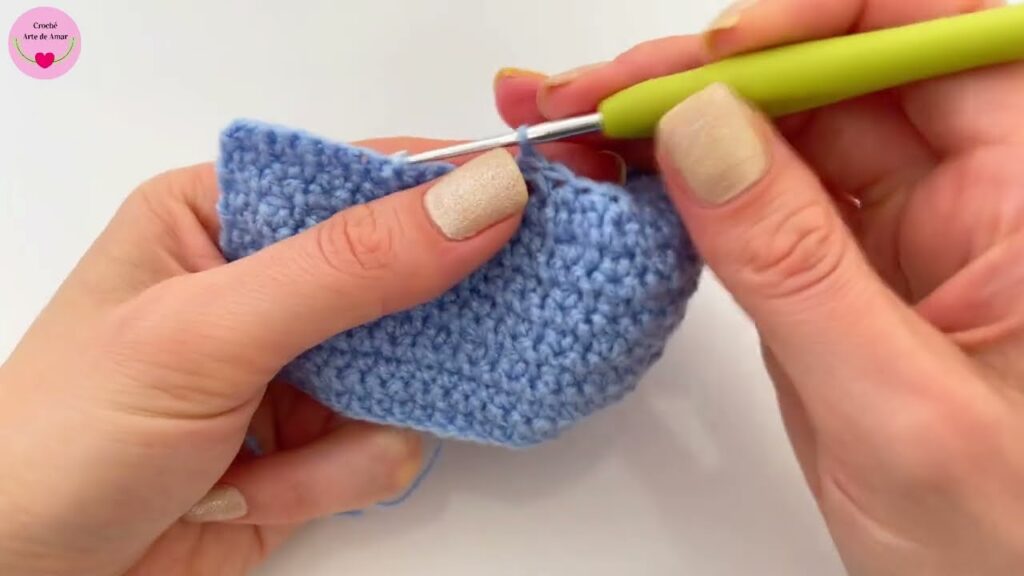
- Round 5 (Toe Shaping – Decrease Round 1): Ch 1. Sc in next 10 sts.
- (Sc2tog) 7 times (this forms the main part of the toe).
- Sc in remaining 10 sts.
- Move stitch marker to last sc. [27 sc]
- Round 6 (Further Toe Shaping – Decrease Round 2): Ch 1. Sc in next 8 sts.
- (Hdc2tog) 5 times (this refines the top curve of the toe).
- Sc in remaining 9 sts.
- Move stitch marker to last sc. [22 sts]
—
Part 3: The Ankle & Cuff
This creates the opening for the foot and a simple, neat finish.
- Round 7 (Ankle Height): Ch 1. Sc in each st around. Move stitch marker to last sc. [22 sc]
- Round 8 (Cuff Edge): Ch 1. Sc in each st around. Join with a sl st to the first sc of the round. [22 sc]
- FO, leaving a short tail to weave in.
—
Part 4: Finishing Touches
- Weave in All Ends: Securely weave in every single yarn tail using your yarn needle. For baby items, ensuring tails are completely hidden and won’t unravel or irritate baby’s skin is crucial.
- Make the Second Shoe! Repeat all steps from Part 1 to Part 3 to create an identical matching pair.
- Blocking (Optional): Gently mist your finished shoes with water. You can lightly stuff them with tissue paper or small plastic bags to help them hold their shape as they dry. This helps to even out stitches and set the final form.
Tips for Success & Customizing Your Easy Baby Shoes:
- Yarn Matters: Always prioritize softness and washability. A yarn that’s too stiff will be uncomfortable.
- Measure, Measure, Measure! The sole length is the most critical measurement.
- Consistent Tension: Aim for even stitches throughout. This creates a neater, more symmetrical shoe.
- Color Play: Experiment with different colors! You could do the sole in one color and the body in another, or work a few rows of contrasting color on the cuff.
- Simple Embellishments (Baby Safe!):
- Faux Laces: Cut two short lengths of matching or contrasting yarn and thread them through the top stitches of the toe for a decorative “laced” look, tying them in a tiny bow.
- Tiny Buttons: Sew on small, flat, very securely attached, baby-safe buttons for decoration (ensure they are very firmly attached and not a choking hazard).
- Simple Embroidery: Embroider a tiny star, heart, or initial on the side or toe.
- Care: Always refer to your yarn label for specific washing instructions. Most baby yarns are machine washable on a gentle cycle, but laying flat to dry helps maintain the shoes’ shape.
You’ve now created a charming, soft, and utterly adorable pair of baby shoes using truly easy crochet stitches. Enjoy the profound satisfaction of crafting something so sweet for tiny feet!
Video tutorial:


