Tunisian crochet combines the best elements of knitting and traditional crochet into a unique fabric with great structure and warmth—perfect for making slippers. One-piece slippers are particularly satisfying because there’s minimal seaming, and the construction is often easier than it looks. In this guide, you’ll learn step-by-step how to crochet one-piece Tunisian crochet slippers from start to finish.
🧶 Materials You’ll Need
- Yarn: Worsted weight (Category 4) yarn, about 150–200 yards.
- Tunisian crochet hook: Size 6.5 mm (K-10.5) with a cable or long enough for multiple stitches.
- Scissors
- Yarn needle: For weaving in ends and seaming.
- Stitch markers (optional)
🧵 Stitch Glossary
Before we begin, here are the basic Tunisian stitches you’ll use:
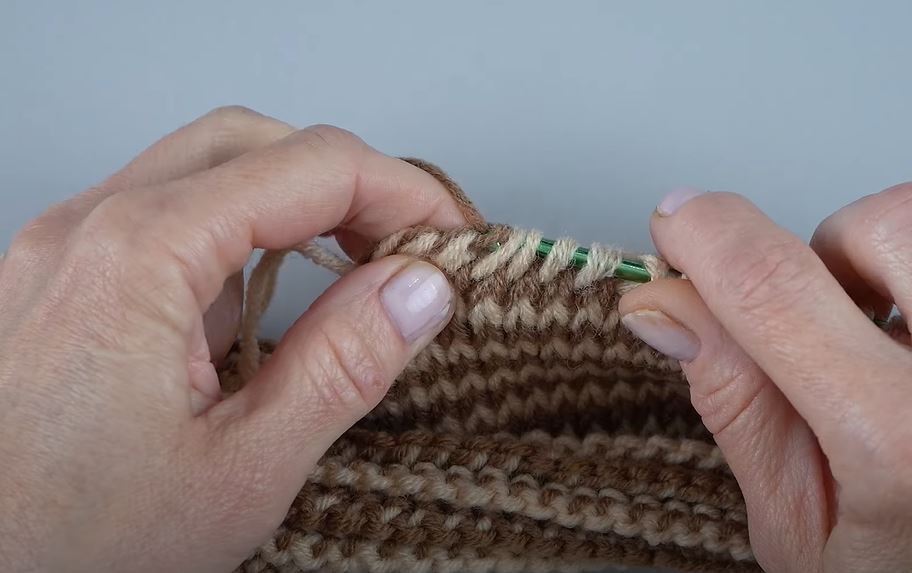
- TSS (Tunisian Simple Stitch): Insert hook under front vertical bar, yarn over, pull up a loop.
- Return Pass: Yarn over, pull through one loop, then yarn over, pull through two loops until one loop remains.
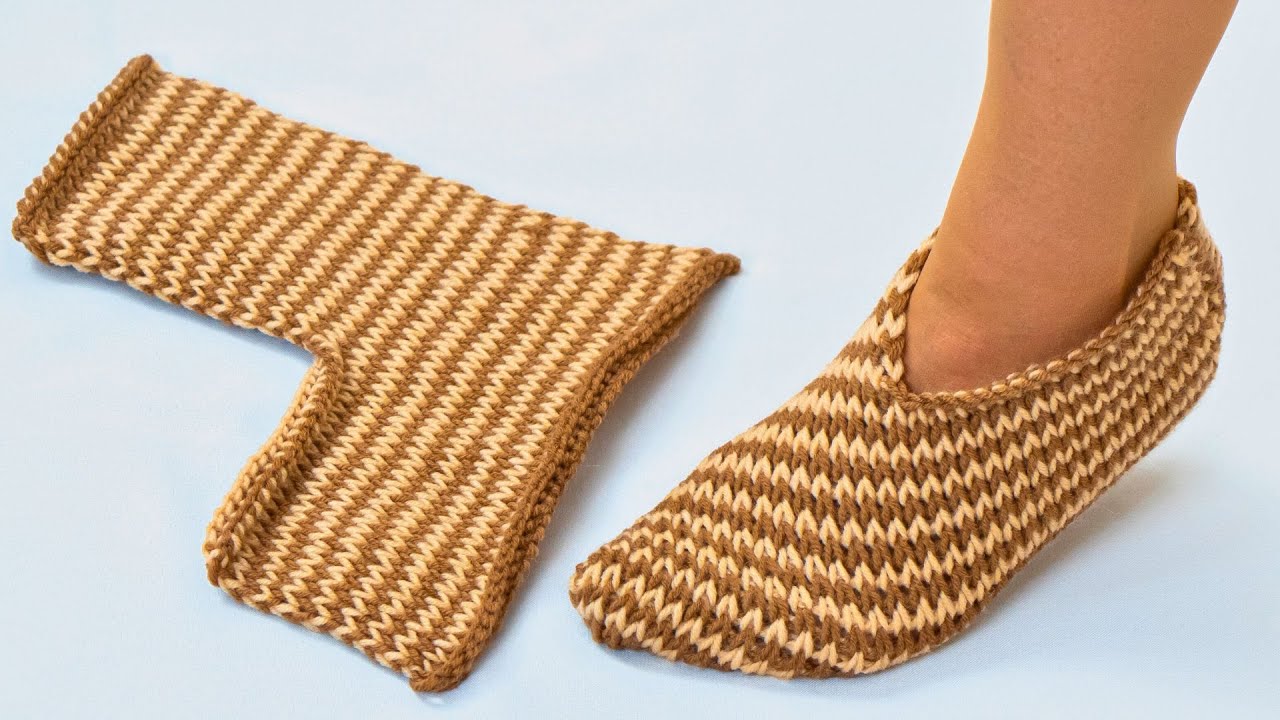
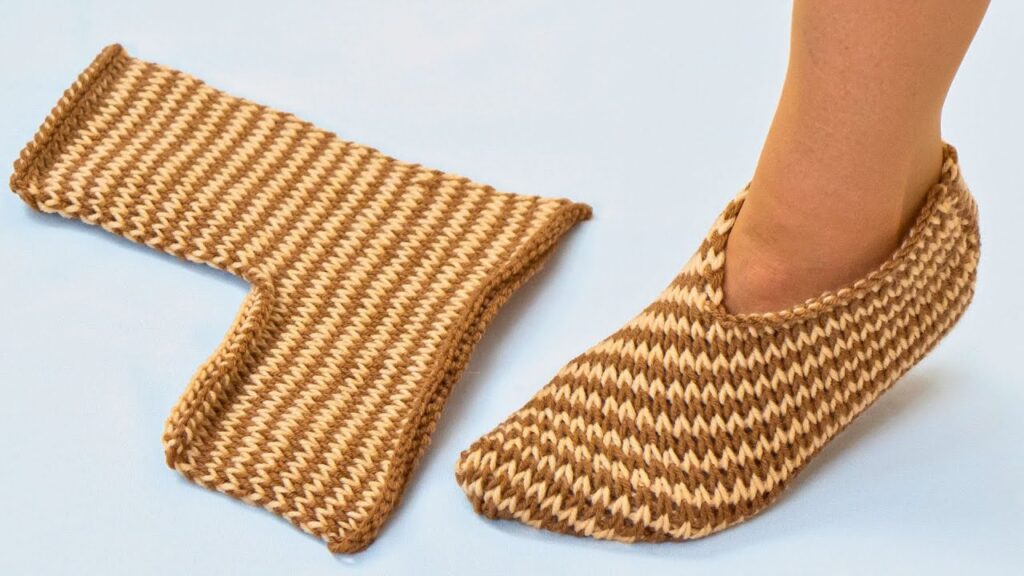
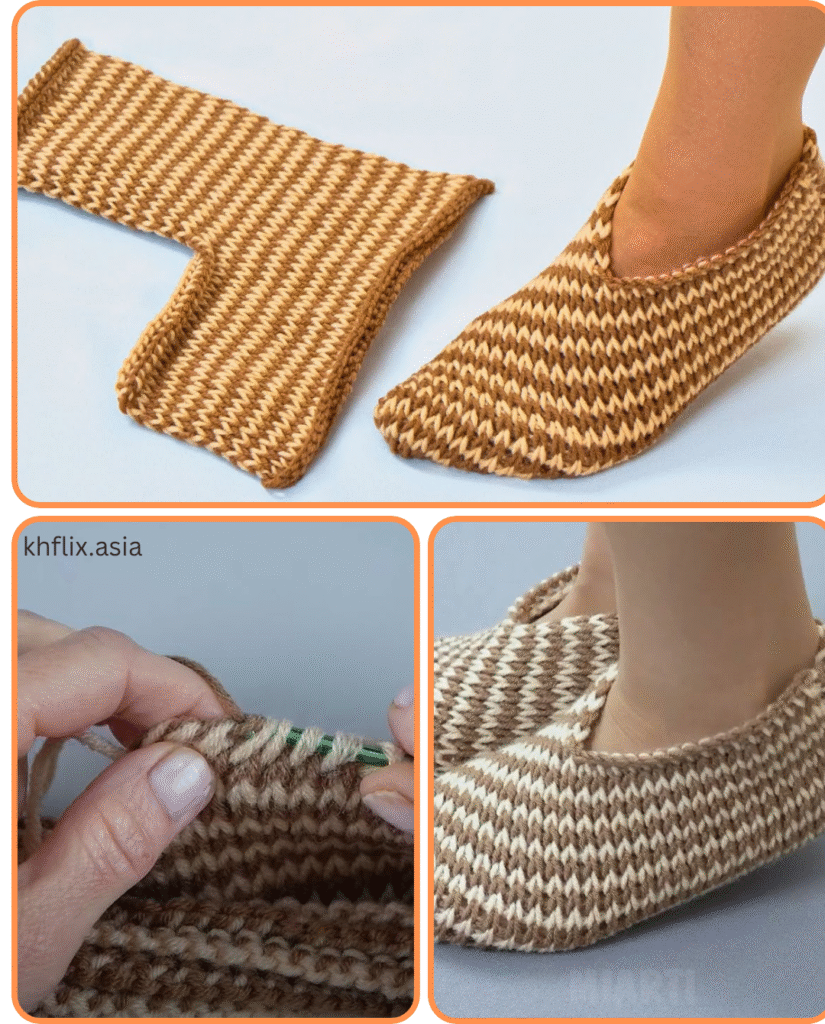
👣 Slipper Construction Overview
This one-piece Tunisian slipper is worked flat in a T-shape that will be folded and seamed to form the toe and heel. You’ll start with the sole, build the instep and top, and finish off with the cuff.
🪡 Pattern Instructions (Adult Medium)
Finished Size: Approx. Women’s US 7–9
Gauge: 13 stitches x 10 rows = 4″ x 4″ in TSS (relaxed after blocking)
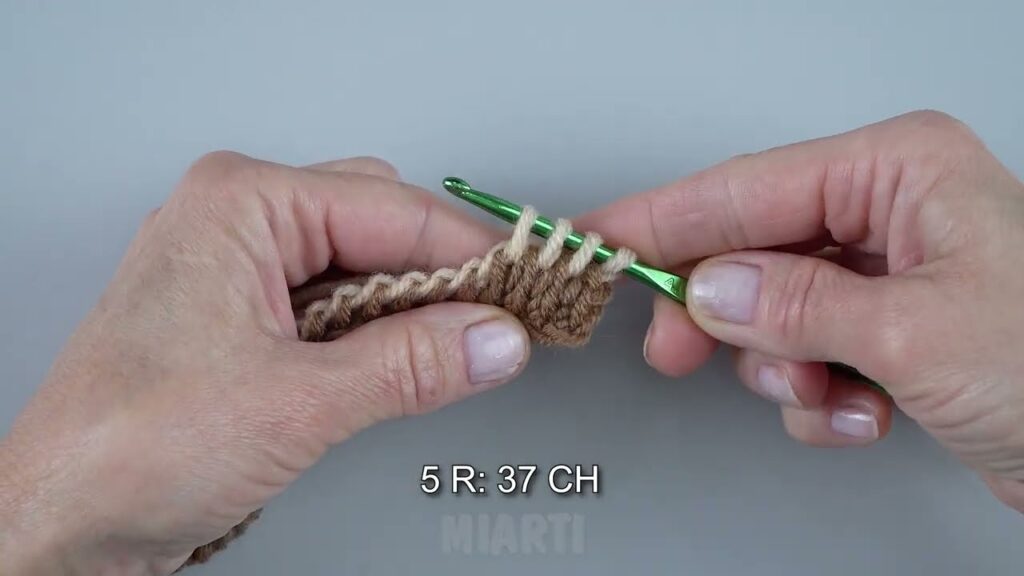
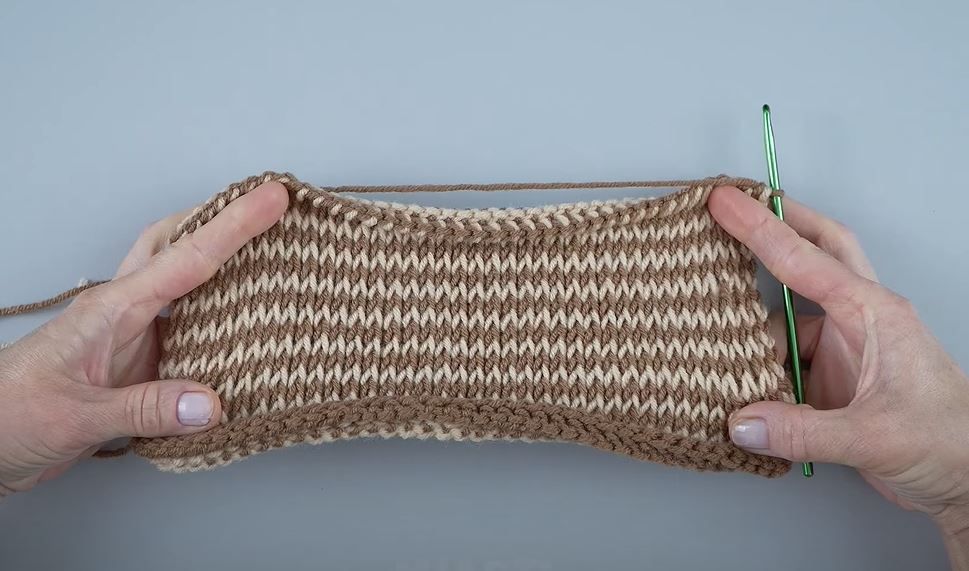
Step 1: Create the Sole
Foundation Chain: Ch 12
(Row width = sole width)
Row 1 (Forward Pass):
Insert hook into 2nd ch from hook and draw up a loop in each chain (12 loops on hook).
Return Pass: Yarn over, pull through 1 loop, then yarn over, pull through 2 loops to end.
Rows 2–22 (or desired sole length):
TSS across all stitches. (12 stitches per row)
Return Pass as normal.
Adjust number of rows for custom sizing—measure foot length for accuracy.
Step 2: Create the Instep Panel
From the end of the sole, we now work the top of the foot by narrowing the stitch count:
Row 23 (Setup for Instep):
TSS across only the center 6 stitches. (You can place markers to guide yourself.)
Return Pass for these 6 stitches only.
Rows 24–36:
TSS across these 6 center stitches.
Return Pass normally.
This forms the top of the foot. Adjust row count if needed for taller instep.
Step 3: Add the Side Panels
Now, we work across the full width again:
Row 37:
Pick up 3 stitches along the side of the instep, TSS across the existing 6 stitches, then pick up 3 stitches along the other side = 12 stitches total.
Return Pass as usual.
Rows 38–44:
TSS across all 12 stitches.
Return Pass as normal.
Step 4: Shape the Heel Flap
From here, we’ll work the back of the heel to close up the slipper.
Row 45:
TSS across the center 6 stitches only (just like for the instep).
Return Pass as normal.
Rows 46–52:
Repeat previous row. This flap will be folded upward and seamed.
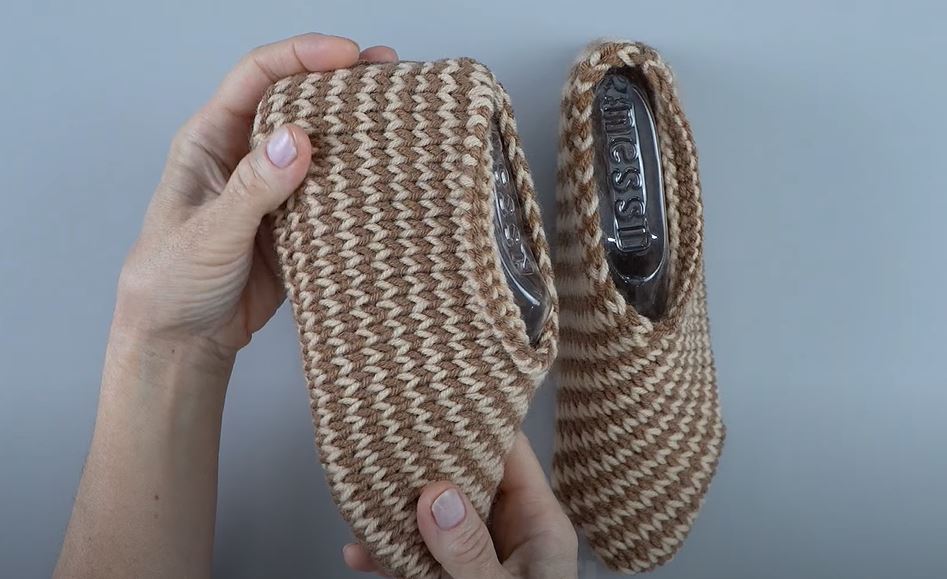
🧷 Finishing & Assembly
- Fold the slipper with right sides facing inward:
- Seam the instep panel sides to the sides of the sole.
- Seam the toe area by folding the slipper toe inward (like a moccasin).
- Seam the heel flap to the back edge of the slipper.
- Optional Cuff:
With a regular crochet hook or continuing with your Tunisian hook, pick up stitches around the ankle opening and crochet 5–6 rounds of single crochet or half double crochet for a snug ankle cuff. - Weave in all ends, turn right side out, and block if desired.
🧼 Care Instructions
Machine wash on gentle or hand wash. Lay flat to dry to maintain shape.
🧠 Tips & Variations
- Sizing Up or Down: Adjust foundation chain for width and row count for length.
- Color Changes: Stripe the instep panel or add a contrasting heel flap for visual flair.
- Sole Padding: Add faux leather patches or puff paint to the sole for slip resistance.
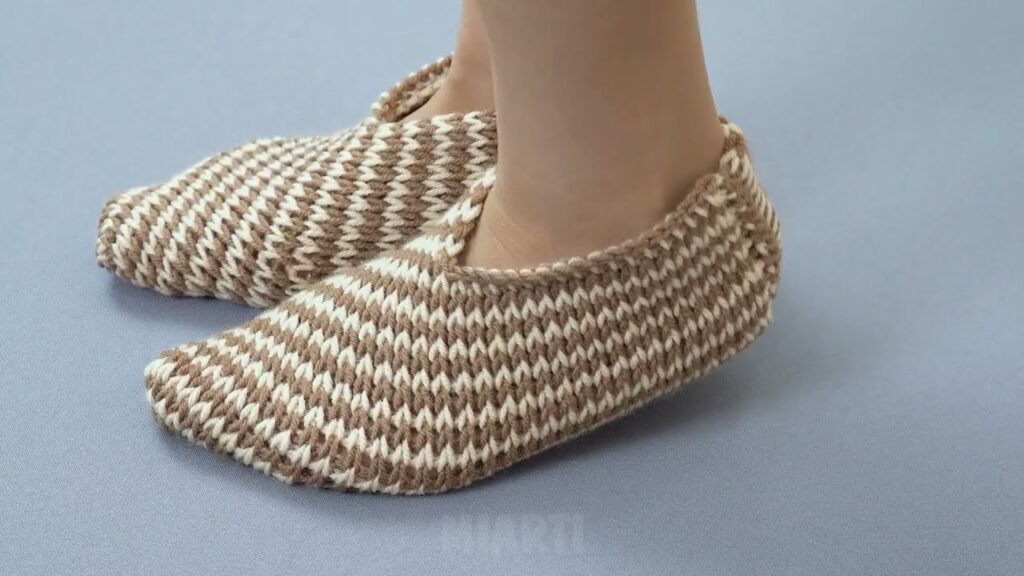
👟 Final Thoughts
One-piece Tunisian crochet slippers are a great project that combines utility with creativity. Whether you’re making a cozy pair for yourself or a handmade gift, the simplicity and comfort of this design make it a go-to pattern. Once you’ve mastered the basics, you can experiment with cables, colorwork, or different stitches to create custom looks.
Happy crocheting! 🧶✨
Video tutorial:


