
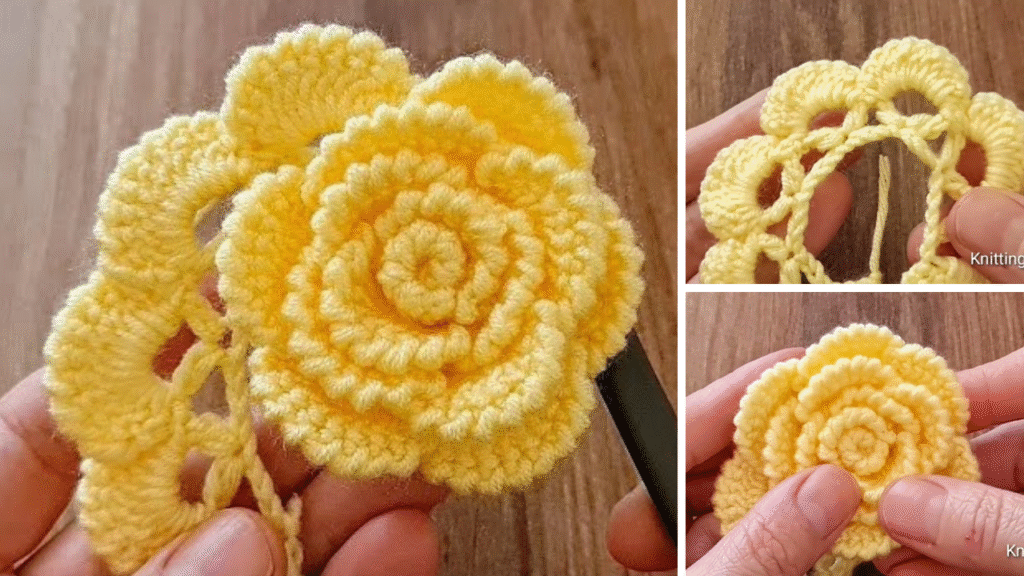
Imagine adding a delicate, handmade touch to your projects, gifts, or even just your desk. A crochet rose is a classic embellishment that looks intricate but is surprisingly simple to make, especially with this beginner-friendly method. If you’ve just learned the basic crochet stitches, you’re absolutely ready to create your own beautiful bloom!
This tutorial focuses on a straightforward technique that builds the rose from a simple strip of crochet fabric, which is then rolled into its charming shape. It’s quick, satisfying, and perfect for using up those yarn scraps.
What You’ll Need:
Gathering your materials before you start will make the process smooth and enjoyable.
- Yarn:
- Rose Petal Color: Choose any color you like for your rose! Pink, red, white, yellow, and even variegated yarns work wonderfully. An Aran/worsted weight (medium) acrylic or cotton yarn is ideal for beginners as it’s easy to work with and clearly shows stitch definition. You’ll only need a small amount—a few yards will do.
- Green Yarn (Optional, for leaves/stem): A small amount of green yarn in the same weight if you want to add a simple leaf.
- Crochet Hook: A hook size appropriate for your chosen yarn. For Aran/worsted weight yarn, a 4.0 mm (G) or 5.0 mm (H) hook is generally a good choice. Check your yarn label for the recommended size.
- Scissors: For cutting yarn.
- Yarn Needle (Tapestry Needle): Essential for weaving in ends and securing the rose shape.
- Hot Glue Gun and Glue Sticks (Optional but Recommended): For a quick and secure way to hold the rose shape once rolled. (If you prefer not to use glue, you’ll need a bit more patience with stitching).
Basic Crochet Stitches You’ll Use:
This rose uses only two fundamental crochet stitches. If you’re familiar with these, you’re good to go! If not, a quick online video tutorial for “how to chain stitch” and “how to double crochet” will get you started in minutes.
- Chain Stitch (ch): The foundation of most crochet projects.
- Double Crochet (dc): A taller, looser stitch that forms the “petals” of our rose.
Let’s Bloom! Creating Your Rose Strip
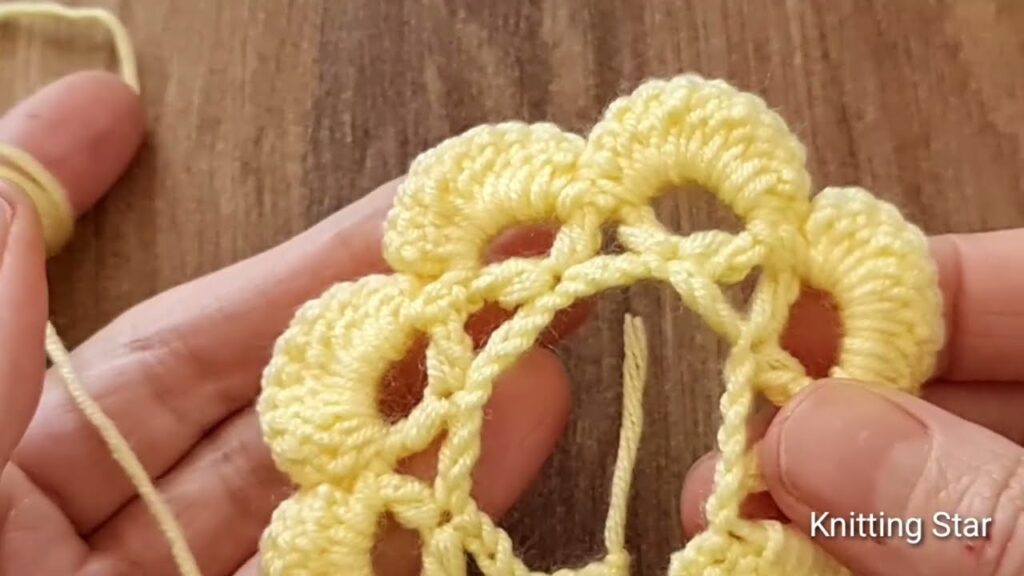
The magic of this rose lies in crocheting a simple, ruffled strip that you’ll later roll up.
- Foundation Chain: Make a slip knot. Using your main rose color yarn, chain (ch) 31. (This will determine the size of your rose. For a larger rose, chain more stitches; for a smaller one, chain fewer. Just ensure your chain is a multiple of 3, plus 1 extra chain for turning).
- Row 1 (First Petal Layer):
- Double crochet (dc) in the 4th chain from your hook. (The first 3 chains you skipped count as your first dc).
- Make 2 dc in the very same chain where you just made your dc. You’ve now made 3 dc stitches in one chain.
*Skip 2 chains. In the next chain, make (1 dc, ch 2, 1 dc)*. (This creates a V-stitch, which will form the “cup” for your petals).- Repeat from
*across the row until you reach the last 3 chains. - In the second to last chain, make 3 dc stitches.
- In the very last chain, make 1 dc.
- Chain 3 (ch 3) (this counts as your first dc for the next row). Turn your work.
- Row 2 (Second Petal Layer):
- Make 3 dc in the very first stitch (this will be the top of the last dc from the previous row).
*In the ch-2 space of the next V-stitch, make (2 dc, ch 2, 2 dc)*. (This creates a fuller, more pronounced “petal” group within each V-stitch).- Repeat from
*across the row until you reach the last ch-3 turning chain. - In the top of the ch-3 turning chain, make 4 dc stitches.
- Fasten off your yarn, leaving a long tail (at least 12-15 inches). This tail will be used to sew the rose together.
Shaping and Securing Your Rose
This is where your flat strip transforms into a beautiful flower!
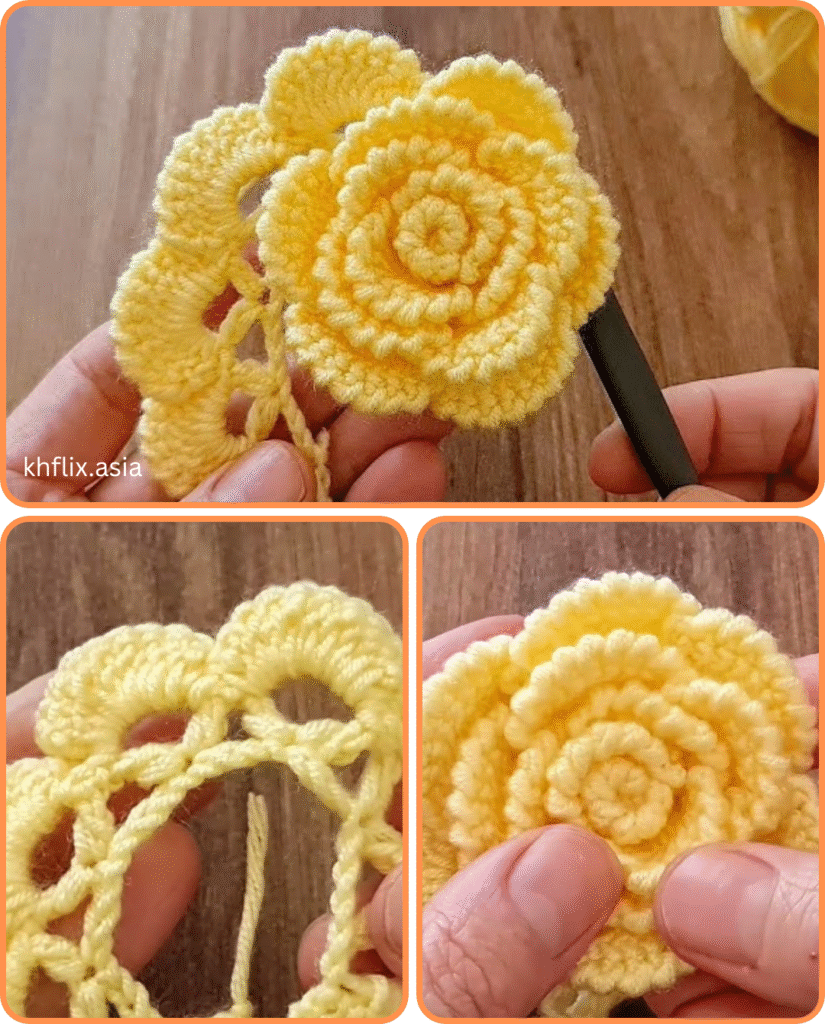
- Prepare to Roll: Lay your crocheted strip flat. You’ll notice one edge is fairly straight (your foundation chain) and the other edge has a wavy, ruffly appearance (your double crochet stitches). The ruffly edge will be the top of your petals.
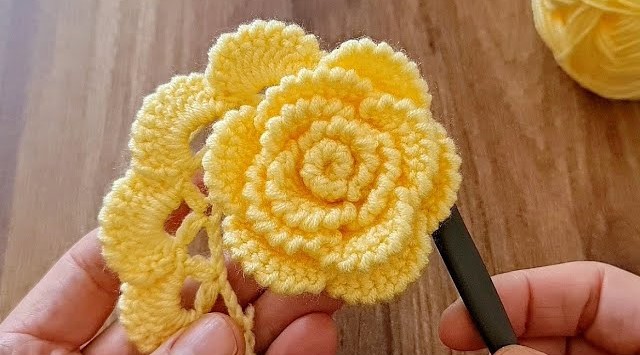
- Start Rolling: Beginning at one end of your strip (either end works, but generally start with the end where you finished your last row), tightly roll the strip inward.
- Roll the very beginning tightly to form the center bud of the rose.
- As you continue to roll, let the ruffly edge naturally fall outward, forming the petals. Don’t roll too tightly after the first few turns; allow the petals to bloom.
- Secure with Needle and Thread (or Hot Glue):
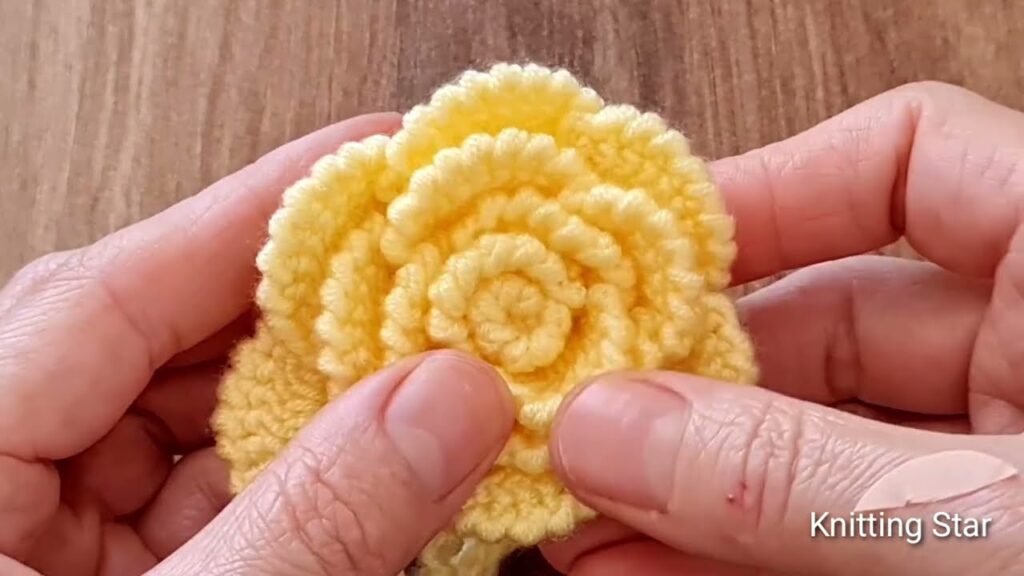
- With Yarn Needle: Once you’ve rolled the entire strip, hold the rose firmly in place. Thread your long yarn tail onto your yarn needle. Carefully stitch through all the layers at the bottom (the straight edge) of the rose. Go back and forth several times, catching all the layers, to securely fasten the rose in its rolled position. Work your stitches discreetly from the bottom so they don’t show on the top of the petals. Weave in any remaining yarn ends.
- With Hot Glue (Quicker Method): Roll the rose as described. Once you have the shape you like, use a small dab of hot glue to secure the very end of the strip to the side of the rolled rose. Then, add a few small dabs of hot glue to the bottom of the rose, pressing all the layers together to secure the shape. Be careful not to use too much glue or let it seep through the petals.
Adding a Simple Leaf (Optional)
A single crocheted leaf can beautifully complement your rose.
- Make the Leaf: With green yarn, make a slip knot and chain (ch) 7.
- Working Back Down the Chain:
- Slip stitch (sl st) in the second chain from the hook.
- Single crochet (sc) in the next chain.
- Half double crochet (hdc) in the next chain.
- Double crochet (dc) in the next chain.
- Half double crochet (hdc) in the next chain.
- Single crochet (sc) in the last chain.
- Chain 2 (ch 2) (this forms the point of the leaf). Sl st back into the base of the same stitch to secure.
- Now, working down the other side of your initial chain (into the remaining loops), repeat the stitch sequence in reverse: sc, hdc, dc, hdc, sc, sl st.
- Fasten off, leaving a tail.
- Attach Leaf: Using your yarn needle, sew the leaf to the bottom/side of your finished rose, or secure with a small dab of hot glue. Weave in any remaining ends.
Final Touches and Ideas:
- Weave in All Ends: Ensure all yarn tails are neatly woven into your rose for a clean, professional finish.
- Stiffen (Optional): For a firmer rose, you can lightly mist it with fabric stiffener and let it dry.
- Uses for Your Rose:
- Attach to a hair clip or headband.
- Embellish a hat, scarf, or bag.
- Decorate a gift package.
- Sew onto a blanket or piece of clothing.
- Create a bouquet by attaching multiple roses to floral wire stems.
- Use as a brooch.
Congratulations! You’ve just crocheted a beautiful rose. This simple technique is incredibly versatile, allowing you to create different sizes and looks by adjusting your initial chain length and the number of double crochets in each petal group. Enjoy making a whole garden of these lovely blooms!
Video tutorial:


