
Hello, fellow makers and crochet enthusiasts! Are you searching for that perfect, heartfelt, and quick handmade gift for a new arrival? Or perhaps you just need an adorable pattern that works up in a flash? Today, we are diving deep into a beautifully delicate and easy-to-master crochet pattern: the Quick and Easy Crochet Baby Bootie!
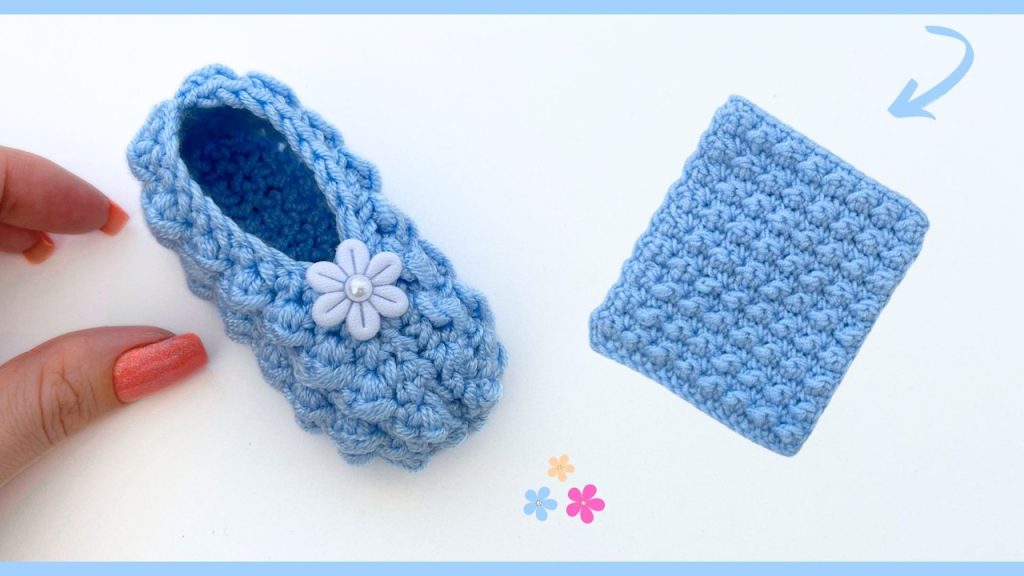
This design, featured in the wonderful tutorial by Crochê Arte de Amar, is a true gem. It’s renowned for its simplicity, speed, and unisex appeal, making it the ideal project for last-minute baby showers or when you just want to add a cute, hand-stitched piece to your little one’s wardrobe. Grab your yarn, your hook, and let’s get started on creating a pair of these charming little slip-ons.
1. The Essentials: Sizing and Supplies
Before we begin, a good crocheter is an organized crocheter! While the full material list is available in the video description, here’s a quick overview of what you’ll need:
- Yarn: A soft, baby-friendly yarn (DK or light worsted weight is generally recommended).
- Hook: The size appropriate for your chosen yarn (the video uses a specific hook, but match it to your yarn’s label for best results).
- Tapestry Needle: For assembling and weaving in ends.
- Scissors.
- Optional: Embellishments like small crochet flowers, pom-poms, or ribbons.
Getting the Perfect Fit
The brilliance of this pattern lies in its customizable sizing. The entire length of the initial chain determines the length of the baby shoe!
The Golden Rule: You must measure the length of the baby’s foot, from the heel to the tip of the toes, and make your starting chain that exact length.
- Video Example: For a bootie fitting a 0 to 3-month-old (approx. 9 cm/3.5 inches), the instructor starts with 18 chains.
2. The Core Pattern: Row-by-Row Breakdown
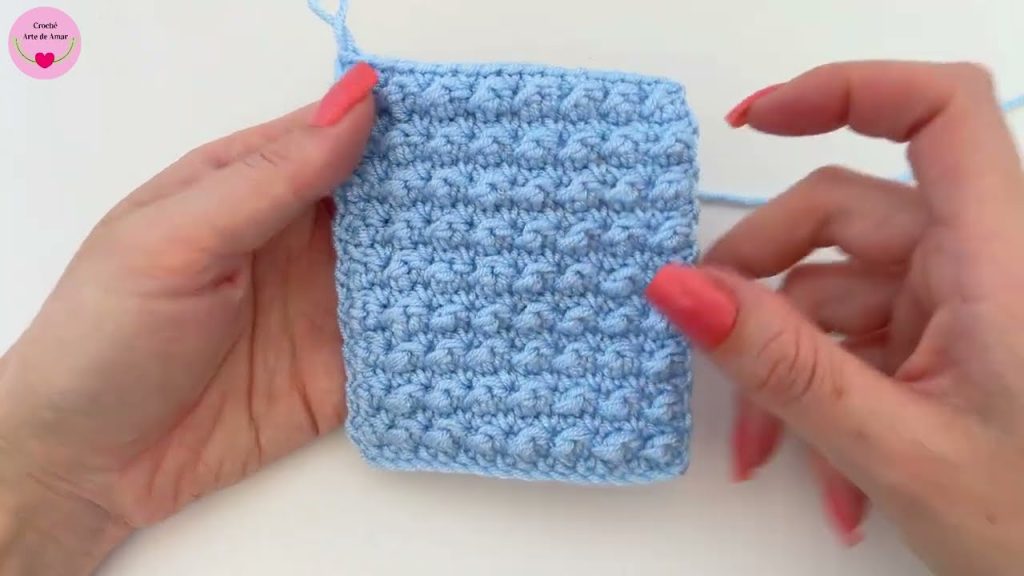
This pattern is primarily constructed by repeating just two alternating rows, which creates a textured, fabric-like finish that is soft and durable.
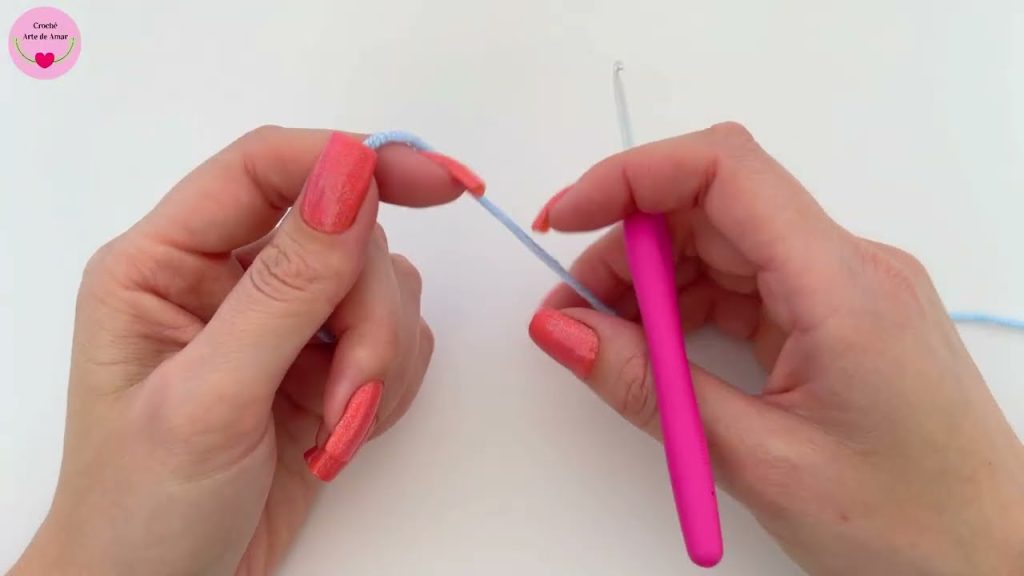
Phase 1: The Foundation (Row 1)
Goal: Establish the base length of your sole.
- Starting: Once you have your required number of chains (e.g., 18 for the 0-3 month size), you will begin working into the second chain from the hook.
- Stitch: Work one Single Crochet (SC) (“ponto baixo”) into every chain across the entire row.
- Count Check: If you started with 18 chains, you should finish with 17 Single Crochet stitches.
Phase 2: The Texture Row (Row 2)
Goal: Introduce the beautiful, delicate texture of the bootie.
- Turn: Chain 1 and turn your work. This Chain 1 counts as the first stitch of the row.
- Alternating Pattern: You will now repeat a sequence of two different stitches across the row:
- Stitch A (Textured Stitch): Yarn over, insert hook into the next stitch, pull up a loop, yarn over, pull through two loops. Stop. Return to the same stitch, insert hook, pull up a loop, then yarn over and pull through all loops on your hook. (This is a simplified bobble/puff-like stitch).
- Stitch B (Connecting Stitch): Work one Slip Stitch (SS) (“ponto baixíssimo”) into the very next stitch.
- Repeat: Continue to alternate Stitch A and Stitch B across the row.
- End: Finish the row by working a single Single Crochet (SC) into the last stitch (the turning chain of the previous row).
Phase 3: The Return Row (Row 3)
Goal: Create a clean background row for the next texture row.
- Turn: Chain 1 and turn your work. This Chain 1 acts as your first stitch.
- Stitch: Work one Single Crochet (SC) into every single stitch across the entire row, placing the final SC in the last stitch of the row (the turning chain/last stitch of Row 2) -.
Phase 4: Repeating for Bootie Circumference
- Repeat: The body of the bootie is formed by repeating Row 2 (Texture) and Row 3 (SC) until the entire piece is long enough to wrap around the baby’s ankle and foot circumference.
- Length Check: The instructor worked until the piece measured approximately 11 cm in height (or length, depending on how you view the finished work) to achieve the final circumference.
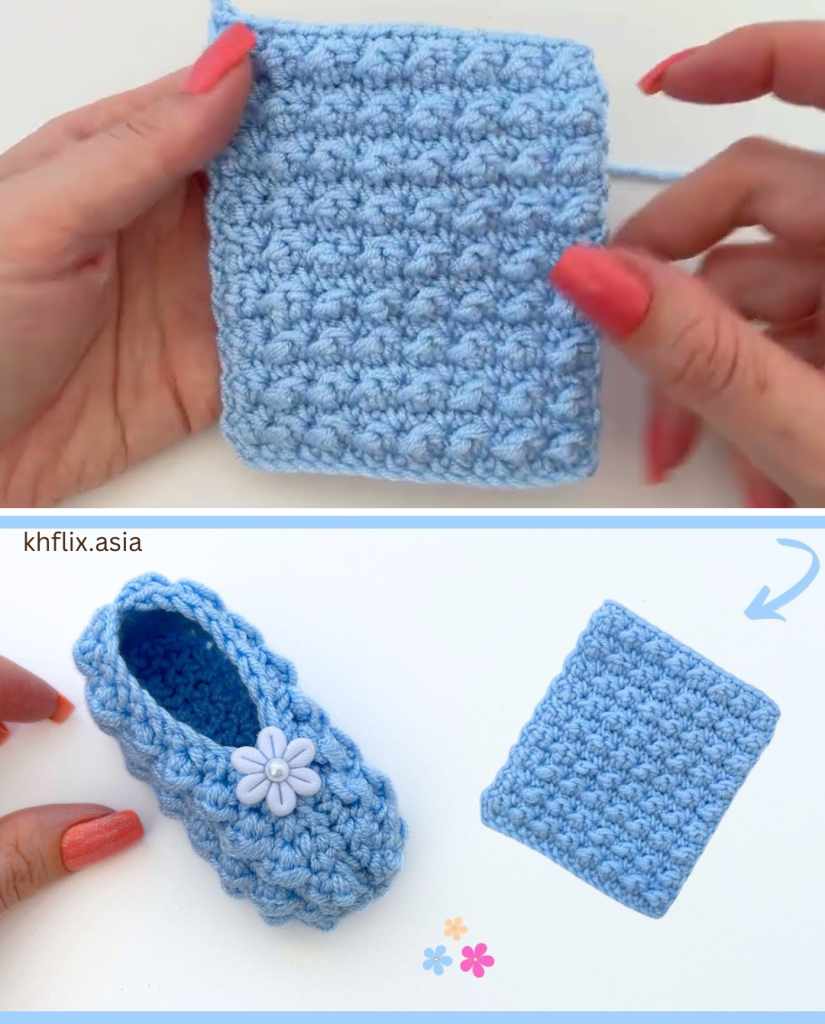
3. The Grand Finale: Assembly and Embellishments
Once you’ve completed all your rows, you should have a rectangular piece of beautifully textured crochet fabric. Now, it’s time to turn it into a shoe!
Step 1: Preparing for Assembly
- Finishing: Cut your working yarn, leaving a long tail (enough to sew the seams).
- Turning: Flip the piece so that the wrong side (the side you want to be the interior of the bootie) is facing out. This is the side you will use for seaming.
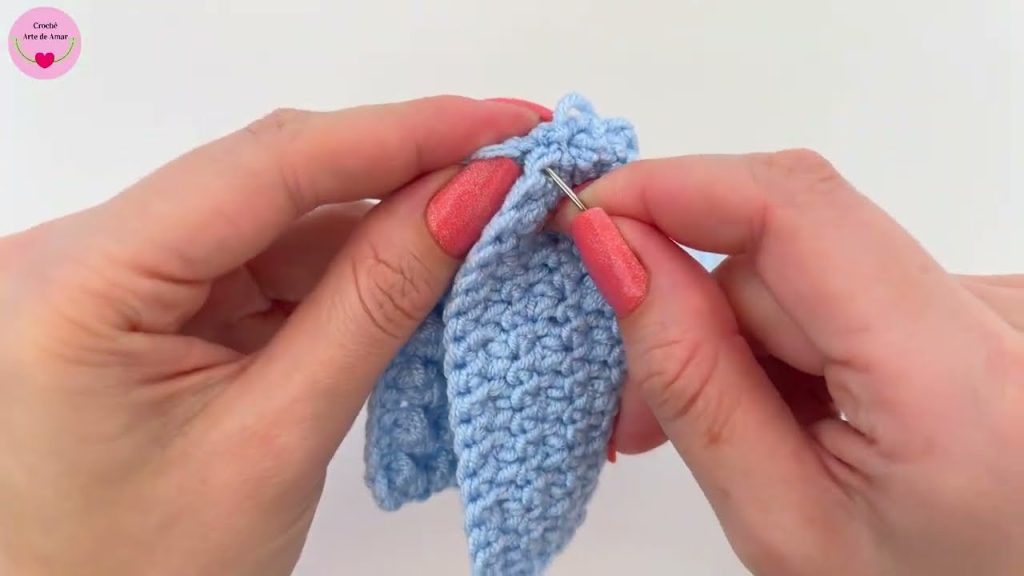
Step 2: Closing the Toe (Front Seam)
- Weaving: Thread your long yarn tail onto your tapestry needle. On the shortest end of your rectangle (which will become the toe), weave the needle through the stitches along the edge in a simple zigzag pattern.
- Cinching: Pull the yarn tail tight. This will gather and cinch the toe closed, creating a rounded front shape.
- Securing: Pass the needle through the center a few times to secure the cinch, and then work a few points to close any remaining small gaps.
Step 3: Seaming the Foot Opening (Top Seam)
- Seaming: Continue using your tapestry needle to sew the side seam of the piece, starting from the gathered toe and working your way back down the edge towards the heel.
- Stopping: Stop sewing when you reach the back/heel portion of the shoe.
Step 4: Closing the Heel (Back Seam)
- Weaving: Begin seaming the back/heel edge, working through the stitches, until you reach approximately 1 cm from the bottom edge of the heel.
- Cinching the Heel: At this point, switch back to the zigzag technique (as you did for the toe). Weave the needle through the remaining 1 cm of the edge stitches.
- Final Shape: Pull the yarn tail tight to cinch the bottom corner of the heel into a rounded shape. Secure with a knot, weave in all ends, and trim the excess.
Step 5: The Final Reveal
- Turn Right-Side-Out: Gently turn the finished bootie right-side-out. Admire the beautiful texture and the perfectly adapted shape!
4. Personalizing Your Masterpiece
While the bootie is stunning on its own, adding personal touches is what makes a handmade gift truly special.
- Flowers and Pom-Poms: The tutorial shows a small flower glued to the side for a feminine touch. You can add crocheted flowers, felt embellishments, or a fuzzy pom-pom.
- Ribbons for Security: If you are worried about the bootie slipping off, you can weave a thin satin ribbon or crocheted I-cord through the texture holes around the ankle. This allows you to tie a bow and keep the shoe snugly on the baby’s foot.
This project truly is a standout. It offers a beautiful, differentiated texture that fits the baby’s foot comfortably.
We hope you enjoyed this detailed pattern breakdown! If you found this guide helpful, please like this post and share it with your fellow crafters. Do you have a favorite baby project? Let us know in the comments below!
Video tutorial:


