
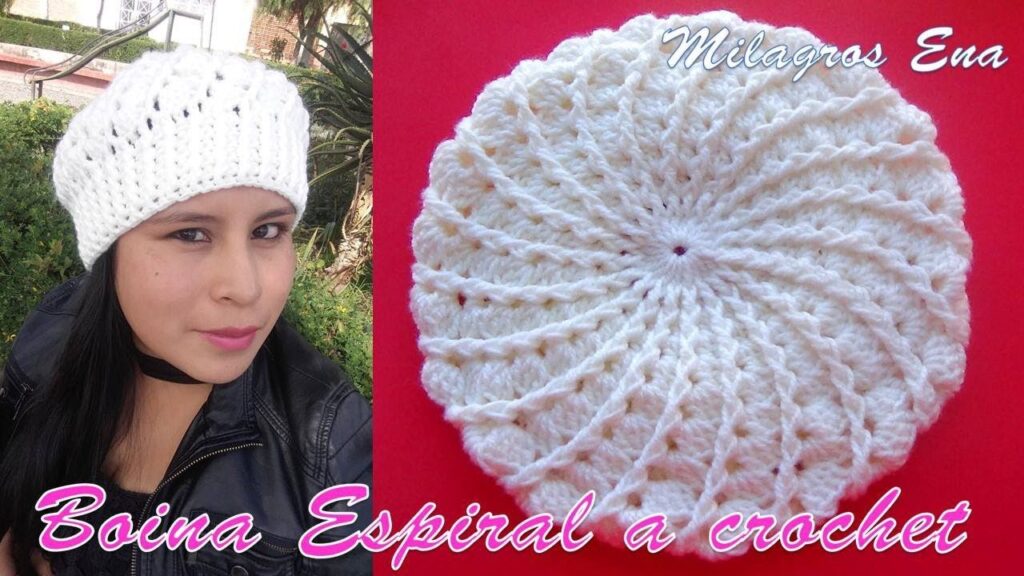
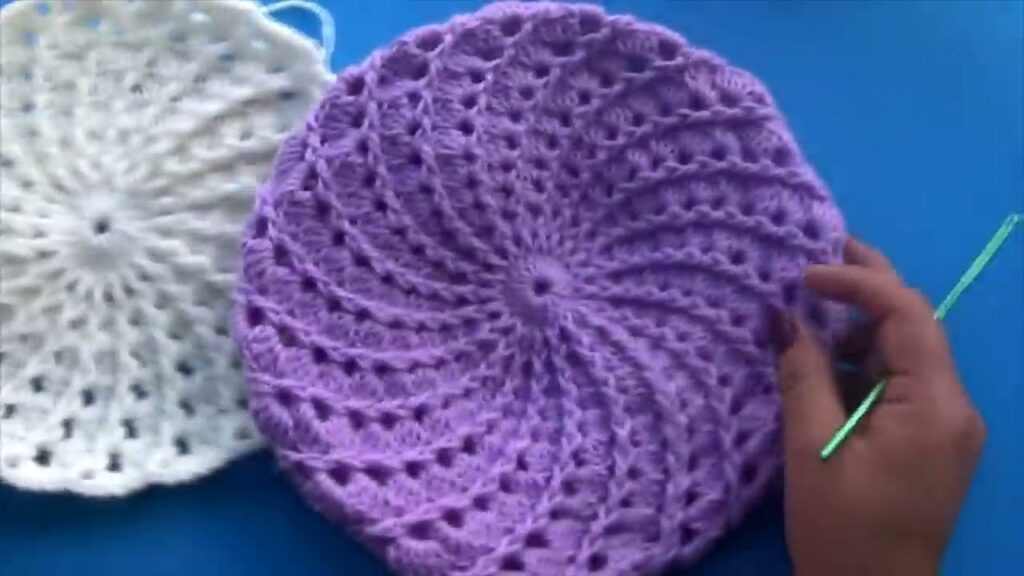
The beret, with its classic shape and timeless appeal, is a wonderful accessory that can be dressed up or down. Adding spiral and relief stitches elevates its texture and visual interest, creating a truly unique and elegant piece. This detailed guide will walk you through crocheting a beautiful beret incorporating these techniques, adaptable for both girls and women.
Understanding the Elements: Spiral and Relief Stitches
Before we dive into the pattern, let’s clarify the key techniques:
- Spiral Crochet: Unlike traditional crochet in the round where you join each round with a slip stitch, spiral crochet involves working continuously in a spiral without joining. This creates a seamless fabric, perfect for the smooth flow of a beret’s crown and body. A stitch marker is absolutely essential here to keep track of your rounds.
- Relief Stitches (Post Stitches): These stitches (Front Post Double Crochet – FPDC, Back Post Double Crochet – BPDC) are worked around the “post” of the stitch from the previous row, rather than into the top of the stitch. This creates a raised, textured effect, perfect for defining sections like the brim or adding decorative bands.
Beret Construction Overview
A top-down beret typically consists of three main sections:
- Crown: The flat, increasing circle at the top of the head.
- Body: The section where you stop increasing and may even decrease slightly to create the characteristic “slouch” or fitted shape, depending on the desired look.
- Brim: The final, fitted band that sits around the head, often incorporating relief stitches for elasticity and definition.
Materials You’ll Need
- Yarn:
- For Girls (approx. 8-12 years): Approx. 150-200 yards of DK (light worsted) or Worsted (#3 or #4) weight yarn.
- For Women: Approx. 200-300 yards of Worsted (#4) or Aran (#4/5) weight yarn.
- Fiber Choice: Wool or acrylic blends are great for warmth and stitch definition. Cotton can work for a lighter, spring/summer beret.
- Crochet Hook:
- For DK yarn: 4.0 mm (G-6) or 4.5 mm (7)
- For Worsted/Aran yarn: 5.0 mm (H-8) or 5.5 mm (I-9)
- Always check your yarn label for recommended hook size and make a swatch!
- Stitch Marker: Absolutely crucial for working in a spiral.
- Tapestry Needle: For weaving in ends.
- Scissors:
- Measuring Tape: For checking gauge and dimensions.

Gauge: Your Most Important Tool!
Before starting, make a gauge swatch! Your tension can vary wildly, and gauge ensures your beret will be the correct size.
- For Worsted Weight Yarn (e.g., 5.0 mm hook): Work 13 HDC and 10 rows = 4 inches (10 cm).
- For DK Weight Yarn (e.g., 4.0 mm hook): Work 15 HDC and 12 rows = 4 inches (10 cm).
Adjust your hook size if your gauge doesn’t match: if your swatch is too small, go up a hook size; if it’s too large, go down a hook size.
Sizing Guidelines (Approximate)
| Size | Head Circumference (inches/cm) | Crown Diameter (inches/cm) | Beret Diameter (Widest) (inches/cm) | Final Height (inches/cm) |
|---|---|---|---|---|
| Girls (8-12 yr) | 20-21″ / 51-53.5 cm | 7-7.5″ / 18-19 cm | 9-10″ / 23-25.5 cm | 7-7.5″ / 18-19 cm |
| Women (Small) | 21-22″ / 53.5-56 cm | 7.5-8″ / 19-20.5 cm | 10-11″ / 25.5-28 cm | 8-8.5″ / 20.5-21.5 cm |
| Women (Medium) | 22-23″ / 56-58.5 cm | 8-8.5″ / 20.5-21.5 cm | 11-12″ / 28-30.5 cm | 8.5-9″ / 21.5-23 cm |
| Women (Large) | 23-24″ / 58.5-61 cm | 8.5-9″ / 21.5-23 cm | 12-13″ / 30.5-33 cm | 9-9.5″ / 23-24 cm |
Export to Sheets
- Crown Diameter: For a beret, the initial flat crown should be roughly 1 inch (2.5 cm) larger than for a typical beanie to allow for the characteristic drape.
- Beret Diameter (Widest): This is the widest part of the beret before it starts to taper for the brim. This will be the point where you stop increasing and begin working even or decreasing slightly.
Abbreviations Used
- Ch: Chain
- Sl St: Slip Stitch
- SC: Single Crochet
- HDC: Half Double Crochet
- DC: Double Crochet
- Inc: Increase (work 2 stitches into the same stitch)
- Dec: Decrease (work 2 stitches together)
- FPDC: Front Post Double Crochet
- BPDC: Back Post Double Crochet
- MR: Magic Ring
- St(s): Stitch(es)
- Rnd: Round
STEP-BY-STEP BERET PATTERN (Spiral & Relief Stitch)
This pattern uses Half Double Crochet (HDC) for the body for good drape and Double Crochet (DC) for the relief stitches on the brim.
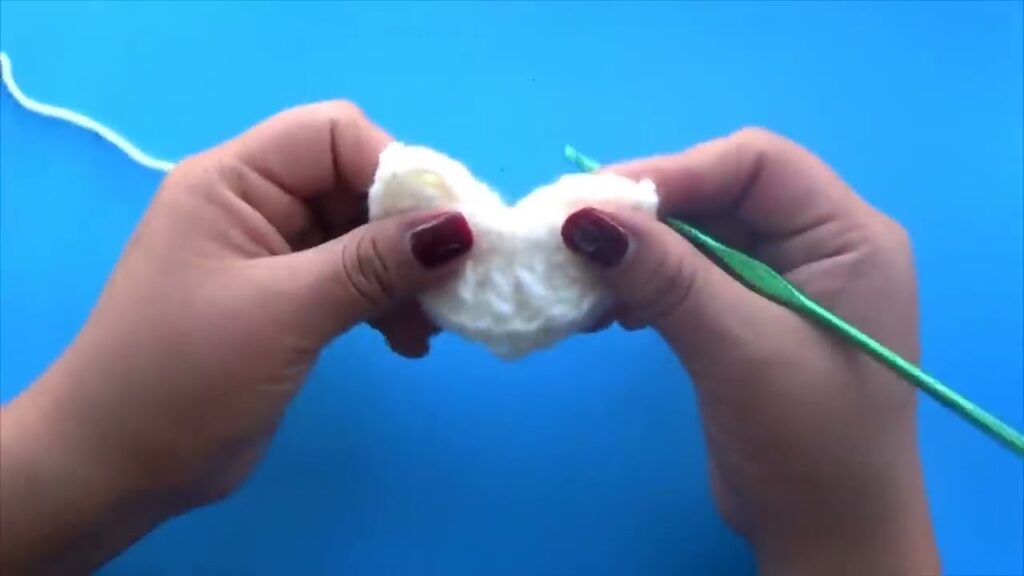
Part 1: The Crown (HDC in Spiral)
We start with a flat circle, continuously increasing stitches. Place a stitch marker in the first stitch of each round and move it up as you go.
Starting Options:
- Magic Ring (MR) Method (Recommended for a tight center):
- Create a MR.
- Rnd 1: Ch 1 (does not count as st), work 10 HDC into MR. Do NOT join. Pull tail to close ring. (10 HDC)
- Ch 2 Method:
- Ch 2.
- Rnd 1: Work 10 HDC into the 2nd Ch from hook. Do NOT join. (10 HDC)
Increasing Rounds: Continue working in a spiral. Mark the first stitch of Rnd 2 and move it up each time you complete a round.
- Rnd 2: HDC Inc in each st around. (20 HDC)
- Rnd 3: HDC, HDC Inc around. (30 HDC)
- Rnd 4: HDC in next 2 sts, HDC Inc around. (40 HDC)
- Rnd 5: HDC in next 3 sts, HDC Inc around. (50 HDC)
- Rnd 6: HDC in next 4 sts, HDC Inc around. (60 HDC)
- Rnd 7: HDC in next 5 sts, HDC Inc around. (70 HDC)
- Rnd 8: HDC in next 6 sts, HDC Inc around. (80 HDC)
- Rnd 9: HDC in next 7 sts, HDC Inc around. (90 HDC)
- Rnd 10: HDC in next 8 sts, HDC Inc around. (100 HDC)
- Rnd 11: HDC in next 9 sts, HDC Inc around. (110 HDC)
- Rnd 12: HDC in next 10 sts, HDC Inc around. (120 HDC)
Continue increasing in this manner until your crown reaches the desired “Beret Diameter (Widest)” from the size chart above. For example:
- Girls: Stop increasing around Rnd 9-10 (90-100 HDC)
- Women (Small/Medium): Stop increasing around Rnd 10-12 (100-120 HDC)
- Women (Large): You might need to go to Rnd 13-14 (130-140 HDC)
Important for Spiral: Your stitch marker tells you where a new round begins. Don’t join at the end of the round; just continue working into the next stitch. The spiral will naturally form.
Part 2: The Body (HDC Even & Optional Decrease)
Now that your crown is wide enough, we’ll shape the body of the beret.
- For a slouchier beret: Work 1-2 rounds of HDC even (HDC in each st around, no increases or decreases).
- For a more fitted beret (or after slouch rounds):
- Rnd [Next]: Work 1 round of HDC even.
- Rnd [Next]: HDC in next 8 sts, HDC Dec around. (This round reduces your stitch count slightly, helping the beret to curve inwards.) If your stitch count is higher (e.g., 140 HDC), you might do HDC in next 12 sts, HDC Dec. The idea is to decrease evenly.
- Rnd [Next]: Work 1-2 rounds of HDC even.
Continue working even HDC rounds (and optionally a gentle decrease round) until the beret reaches about 1-1.5 inches (2.5-4 cm) shorter than your “Final Height” from the size chart. This remaining height will be made up by the brim.
Part 3: The Brim (Relief Stitches)
This section will create the fitted band around the head. We’ll transition from spiral to joined rounds for a cleaner brim edge. We’ll use DC for these stitches to give them good definition.
- Transition Round (to prepare for joining):
- Rnd [Next]: Work HDC in each st until you reach your stitch marker. Remove the marker. Work 1 Sl St into the next stitch. This is now your joining point for subsequent rounds. Ch 2 (counts as first DC). (Stitch count remains the same as previous body rounds).
- Brim Ribbing – FPDC/BPDC:
- Rnd 1 of Brim: Ch 2 (counts as first DC). DC into next st, FPDC around next st, BPDC around next st. Repeat from * around. You will alternate FPDC and BPDC. Join with Sl St to top of beginning Ch 2.
- Rnd 2 of Brim: Ch 2. FPDC around the FPDC from previous row, BPDC around the BPDC from previous row. Repeat from * around. Join with Sl St to top of beginning Ch 2.
- Rnd 3 of Brim: Repeat Rnd 2 of Brim. (This gives a standard 3-round ribbed brim).
Adjusting Brim Length/Fit:
- For a tighter brim, you can decrease a few stitches in the first brim round (before starting the FPDC/BPDC pattern), or use a smaller hook for the brim.
- For a wider brim, add more rows of FPDC/BPDC.
Part 4: Finishing
- Final Fasten Off: After completing your last brim round, Ch 1, cut yarn leaving a 6-inch tail. Pull the tail completely through the loop on your hook to secure.
- Weave in Ends: Use your tapestry needle to carefully weave in both the starting tail (from the magic ring) and the finishing tail. Ensure they are securely woven into the stitches to prevent unraveling.
- Blocking (Optional but Recommended): For best results, especially with natural fibers, gently block your beret.
- Wet the beret thoroughly (or spray with water).
- Gently squeeze out excess water (do not wring).
- Lay flat on a towel, reshaping to the desired beret diameter and height. You can place it over a plate or small bowl (for girls’ sizes) or a larger dinner plate (for women’s sizes) to help shape the crown and drape.
- Allow to air dry completely.
Tips for Success
- Stitch Marker is Your Best Friend: Seriously, don’t skip it when working in a spiral. It’s easy to lose track otherwise.
- Check Diameter Regularly: Lay your work flat and measure the diameter of your crown as you go.
- Try It On: If crocheting for yourself or someone present, try on the beret periodically (especially after the crown is done and during the body section) to check the fit and desired drape.
- Consistent Tension: Try to maintain even tension throughout the project for a smooth, attractive fabric.
- Yarn Over Before Inserting Hook (for HDC): This is a common mistake for beginners. Remember to yarn over before inserting your hook for HDC.
- Practice Post Stitches: If you’re new to FPDC/BPDC, practice them on a swatch first until you feel comfortable.
By following these steps, you’ll be able to create a beautiful, textured beret with lovely spiral and relief stitch details, perfectly sized for girls or women. Enjoy your stylish new accessory!
Video tutorial:


