There’s something incredibly satisfying about creating your own accessories, especially when they’re as functional and stylish as a handmade bag. And if you’re new to sewing or just looking for a quick and rewarding project, the “one-piece bag” is an absolute game-changer. This design minimizes seams, simplifies construction, and delivers a beautiful, functional bag with minimal effort.
This article will guide you through the process of making a very easy one-piece bag, perfect for beginners and seasoned crafters alike. Whether you need a simple tote for groceries, a stylish project bag, or a cute gift, this method will have you stitching in no time!

Why a “One-Piece” Bag?
The magic of this design lies in its single-fabric construction:
- Minimal Seams: Fewer seams mean less cutting, less pinning, and less sewing. This dramatically speeds up the process and reduces the chances of errors.
- Beginner-Friendly: If you can sew a straight line, you can make this bag. It’s an ideal first sewing project.
- Quick to Make: Depending on your speed, you can easily complete one of these bags in under an hour.
- Versatile: The basic rectangular shape can be adapted to various sizes and uses.
- Efficient Fabric Use: Often, you can utilize a single large piece of fabric without much waste.
Materials You’ll Need
Gathering your materials before you start will make the process smooth and enjoyable.
- Fabric:
- Recommended: Medium-weight cotton canvas, duck cloth, denim, or home decor fabric. These fabrics offer good structure and durability for a bag.
- Alternatives: Quilting cotton (consider interfacing for more structure), linen, even some sturdy outdoor fabrics.
- Yardage: This will depend on your desired bag size. For a medium tote (approx. 14″ W x 16″ H), you’ll need about 1 yard (1 meter) of fabric that is at least 44-45 inches wide. Always buy a little extra!
- Matching Thread: Polyester all-purpose thread is usually sufficient.
- Sewing Machine: With a universal needle.
- Fabric Scissors or Rotary Cutter and Mat: For precise cutting.
- Ruler or Measuring Tape: For accurate measurements.
- Fabric Chalk or erasable fabric marker: For marking lines.
- Pins or Fabric Clips: To hold layers of fabric together.
- Iron and Ironing Board: Crucial for crisp seams and a professional finish.
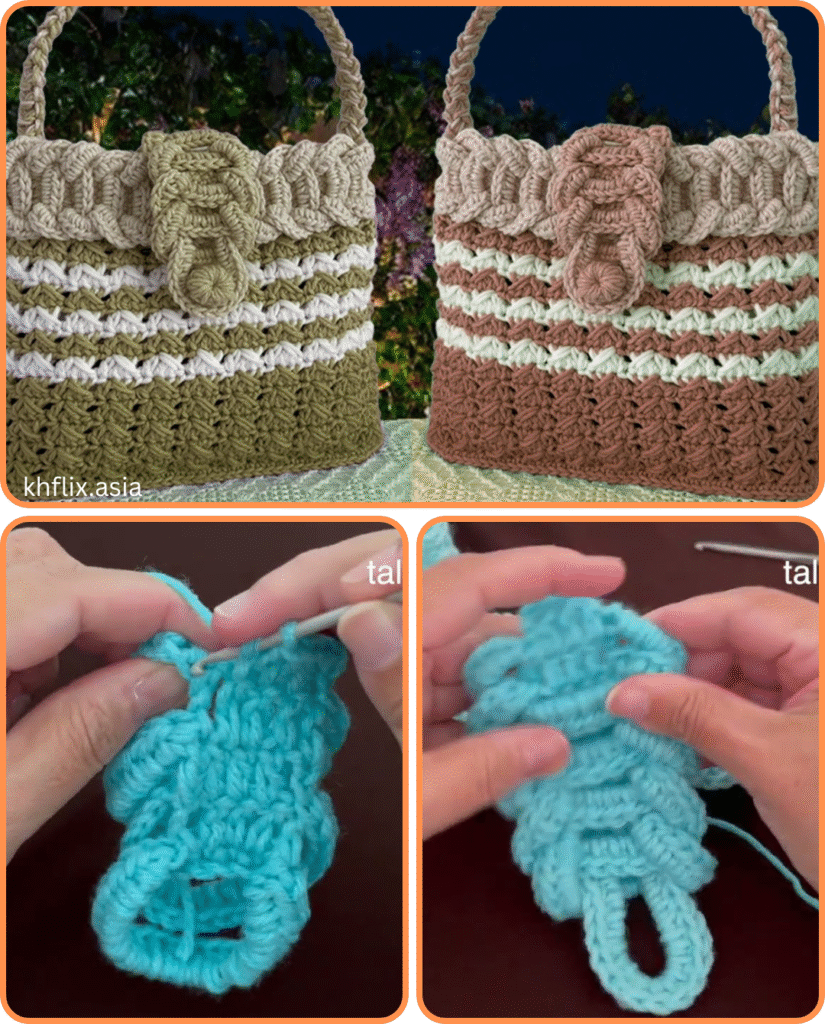
Planning Your Bag: Dimensions Are Key!
The beauty of a one-piece bag is its customizability. You’ll start with a single rectangle of fabric.
- Determine Finished Bag Dimensions:
- Desired Width: How wide do you want the finished bag to be? (e.g., 14 inches)
- Desired Height: How tall do you want the finished bag to be? (e.g., 16 inches)
- Desired Strap Length: How long do you want the straps to be? (e.g., 24 inches for shoulder, 16 inches for hand-held)
- Desired Strap Width: How wide do you want the straps? (e.g., 1.5 inches)
- Calculate Fabric Rectangle Dimensions: This is where the “one-piece” magic happens!
- Cutting Width: (Desired Finished Bag Width) + (2 x Seam Allowance). Standard seam allowance is 1/2 inch (1.25 cm) or 5/8 inch (1.5 cm). Let’s use 1/2 inch for simplicity.
- Example: 14″ (width) + 1″ (2 x 0.5″ SA) = 15 inches
- Cutting Length: (2 x Desired Finished Bag Height) + (Desired Strap Length) + (2 x Hem Allowance for top opening) + (2 x Strap Seam Allowance)
- For the top opening, we’ll create a generous hem for strength and a clean finish, usually 2-3 inches. Let’s use 2.5 inches for this tutorial, so a 5-inch total allowance for the double-fold hem.
- For strap seam allowance, we’ll add 1 inch (2 x 0.5″) for each strap end, so 2 inches total for both straps.
- Example: (2 x 16″ height) + 24″ (strap length) + 5″ (top hem) + 2″ (strap SA) = 32 + 24 + 5 + 2 = 63 inches
- Using the example above: 15 inches wide x 63 inches long.
- Cutting Width: (Desired Finished Bag Width) + (2 x Seam Allowance). Standard seam allowance is 1/2 inch (1.25 cm) or 5/8 inch (1.5 cm). Let’s use 1/2 inch for simplicity.
- Strap Pieces (Optional – if you want separate straps):
- If you’re making the bag from one continuous piece, the strap is integrated. However, if your fabric isn’t long enough or you prefer a separate look, you’d cut two additional strips:
- (Desired Strap Width x 2) + 1 inch seam allowance (e.g., (1.5″ x 2) + 1″ = 4 inches wide)
- Desired Strap Length + 1 inch seam allowance (e.g., 24″ + 1″ = 25 inches long)
- You’d then sew these separately and attach them to the bag. For this “very easy one-piece” tutorial, we’ll assume integrated straps.
- If you’re making the bag from one continuous piece, the strap is integrated. However, if your fabric isn’t long enough or you prefer a separate look, you’d cut two additional strips:
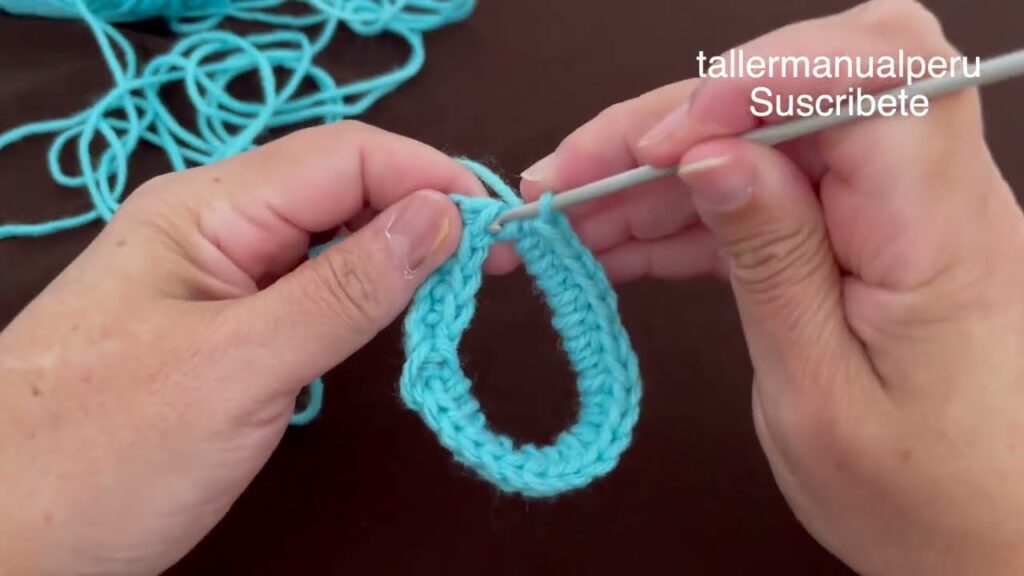
Step-by-Step Construction
Step 1: Cut Your Fabric
- Lay your fabric flat and smooth out any wrinkles.
- Using your ruler and fabric marker, carefully mark out your calculated rectangle dimensions (e.g., 15″ wide x 63″ long).
- Cut out your single fabric rectangle precisely.
Step 2: Prepare the Straps and Top Edges
- Identify the Center: Fold your long fabric rectangle in half lengthwise (hotdog style), so the two long raw edges meet. Press lightly to mark the center crease. Unfold.
- Mark Strap Ends: Along each of the short ends of your fabric rectangle, measure in from the raw edge:
- First mark: 1/2 inch (1.25 cm) from the short raw edge. This is your seam allowance.
- Second mark: 1 inch (2.5 cm) from the first mark. This creates a double-fold for a strong strap end.
- Use your iron to press these folds towards the wrong side of the fabric.
- Fold and Press Straps: Now, fold the short ends again, bringing the pressed edge down towards the 1/2 inch seam allowance line. Press well. This creates a neat, strong end for your straps.
- Mark Strap Width: From each long raw edge, measure inwards by half your desired strap width plus seam allowance (e.g., for a 1.5″ finished strap, you’ll eventually have 1.5″ x 2 = 3″ total for the strap, so measure 1.5″ + 0.5″ = 2″ in from the long raw edge). Mark a line down the length of what will be your strap sections (the two ends of the long rectangle).
- Alternatively, simply fold each long raw edge inwards by 1/2 inch (1.25 cm) and press. Then fold it in by another 1/2 inch and press. This will encase the raw edge for a clean strap. Do this on both long sides of the entire rectangle.
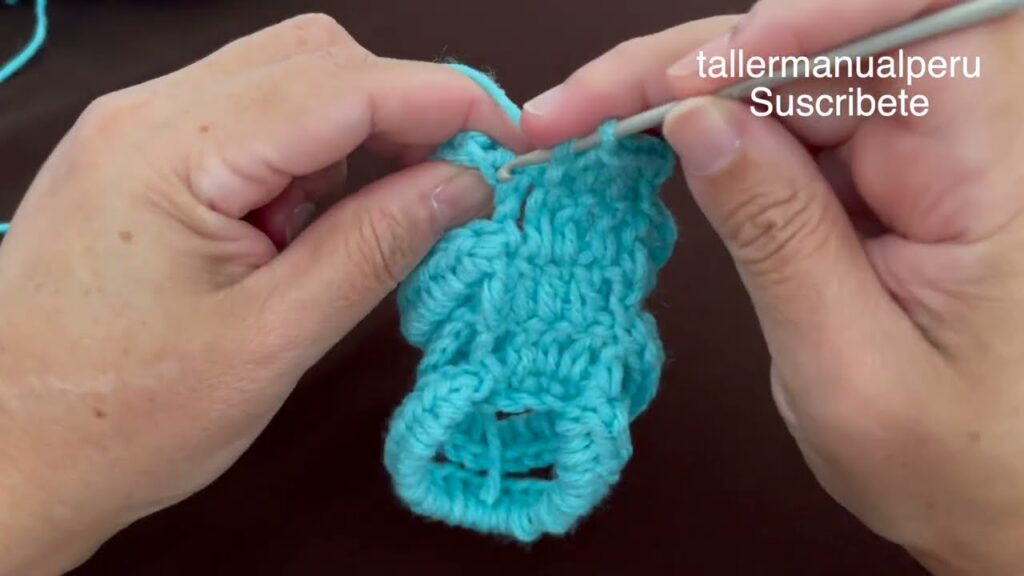
Step 3: Fold and Sew the Straps/Top Hem
- Fold the Entire Length: With the wrong side of the fabric facing up, fold each of the long raw edges in by 1/2 inch (1.25 cm) and press firmly.
- Fold Again: Fold each long edge in by another 1/2 inch (1.25 cm) and press again. This creates a double-fold hem that encases the raw edge and forms the strap and top edge of the bag. Pin in place.
- Stitch the Hems: On your sewing machine, stitch along the inner folded edge, close to the fold, all the way down the length of the fabric. Do this for both long sides. You now have two long, finished edges that form your straps at the ends and the top opening of your bag in the middle section.
Step 4: Create the Bag Body
- Fold in Half: Lay your fabric piece flat with the right side facing up. Fold the entire piece in half, bringing one finished strap end towards the other finished strap end, aligning the two short finished ends. The fabric will now form a “U” shape with the two straps meeting at the top.
- Essentially, you’re folding your long rectangle in half. The top of the U is where the straps meet, and the bottom is where the bag will be.
- Mark Bottom Fold: Measure from the folded bottom edge up the desired height of your bag (e.g., 16 inches). Mark a line across the fabric at this point. This line indicates the bottom of your bag’s side seams.
- Sew Side Seams: Pin the two layers of fabric together along the raw side edges, from the mark you just made (the bottom of the bag) all the way up to the bottom of the “V” where the straps begin to separate.
- Ensure the folded edges you just sewed (the strap/hem edges) are aligned perfectly.
- Stitch Side Seams: Sew a straight stitch along these pinned side edges, using a 1/2 inch (1.25 cm) seam allowance. Backstitch at the beginning and end of each seam for reinforcement.
- Finish Seams: To prevent fraying and give a clean finish, you can:
- Trim the seam allowance to 1/4 inch and zig-zag stitch along the raw edges.
- Use an overlocker/serger if you have one.
- Press seams open or to one side.
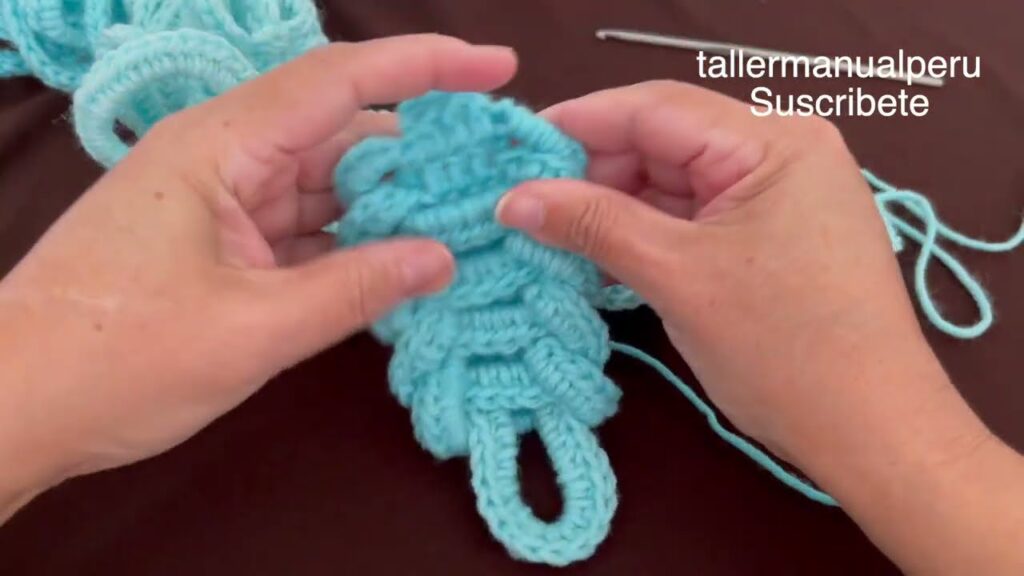
Step 5: Form the Boxed Corners (Optional, but Recommended for a Flat Bottom)
This step gives your bag a flat, structured bottom.
- Flatten Corners: Reach inside the bag and flatten one of the bottom corners, aligning the side seam with the bottom fold. The corner will form a triangle shape.
- Measure and Mark: From the point of the corner, measure in 1.5 to 2 inches (3.75 – 5 cm) along the seam and mark a line perpendicular to the seam. The larger the measurement, the wider your boxy bottom will be.
- Stitch Across: Sew directly along this marked line. Backstitch well at the beginning and end.
- Trim (Optional): Trim off the excess fabric from the triangle, leaving a 1/2 inch seam allowance. You can zig-zag stitch the raw edge to prevent fraying.
- Repeat: Repeat steps 1-4 for the other bottom corner.
Step 6: Finishing Touches
- Turn Right Side Out: Turn your bag right side out. Use a point turner or blunt object to gently push out the corners.
- Press: Give your entire bag a good press with an iron. This will make all your seams crisp and give your bag a professional finish.
- Reinforce Straps (Optional): For extra durability, you can stitch a small box or “X” at the point where the straps attach to the bag body. This distributes stress and makes the straps stronger.
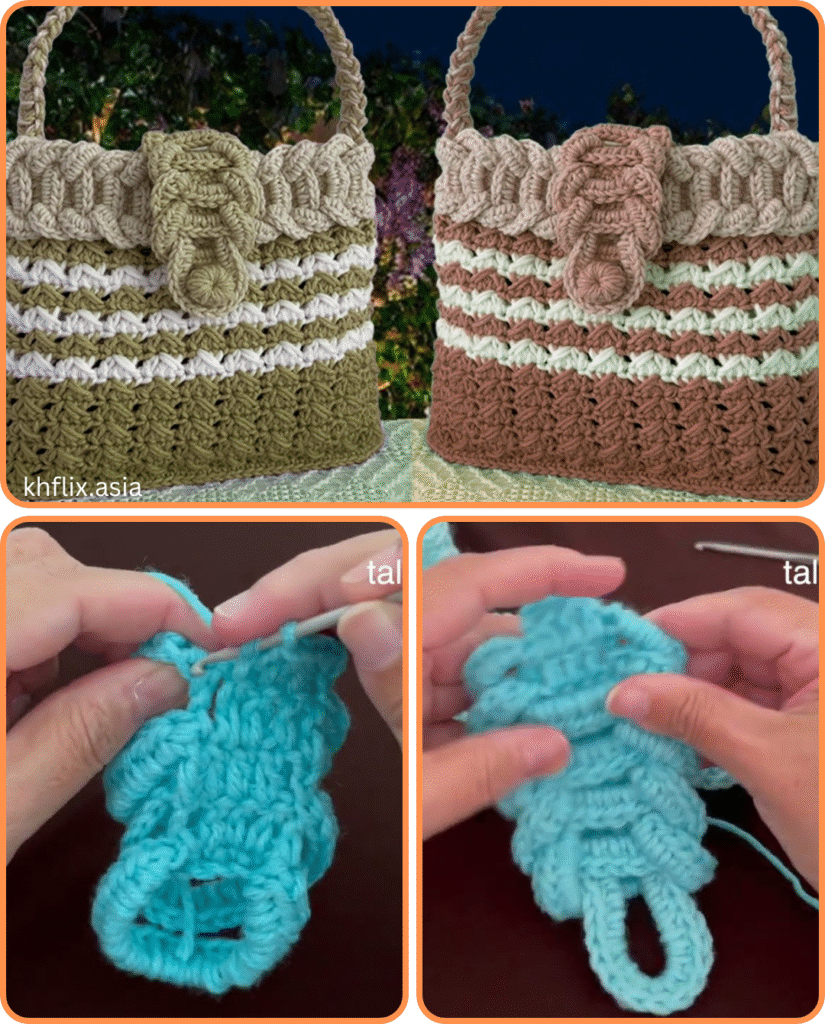
Your Easy One-Piece Bag is Complete!
You’ve done it! You’ve successfully created a functional and beautiful bag from a single piece of fabric with minimal fuss. This versatile pattern can be easily adapted to different sizes and fabrics, opening up a world of creative possibilities.
Tips for Success
- Pressing is Your Friend: Don’t skip the ironing steps! It makes a huge difference in the final look of your bag.
- Backstitch: Always backstitch at the beginning and end of your seams to secure them and prevent them from unraveling.
- Test Stitches: Before sewing on your actual project, test your stitch length and tension on a scrap piece of your fabric.
- Take Your Time: Even though this is an easy project, rushing can lead to mistakes. Enjoy the process!
- Experiment: Once you’ve mastered the basic version, try adding pockets, lining, or different types of straps.
This one-piece bag is a testament to the fact that beautiful, handmade items don’t have to be complicated. Happy sewing!
Video tutorial:


