
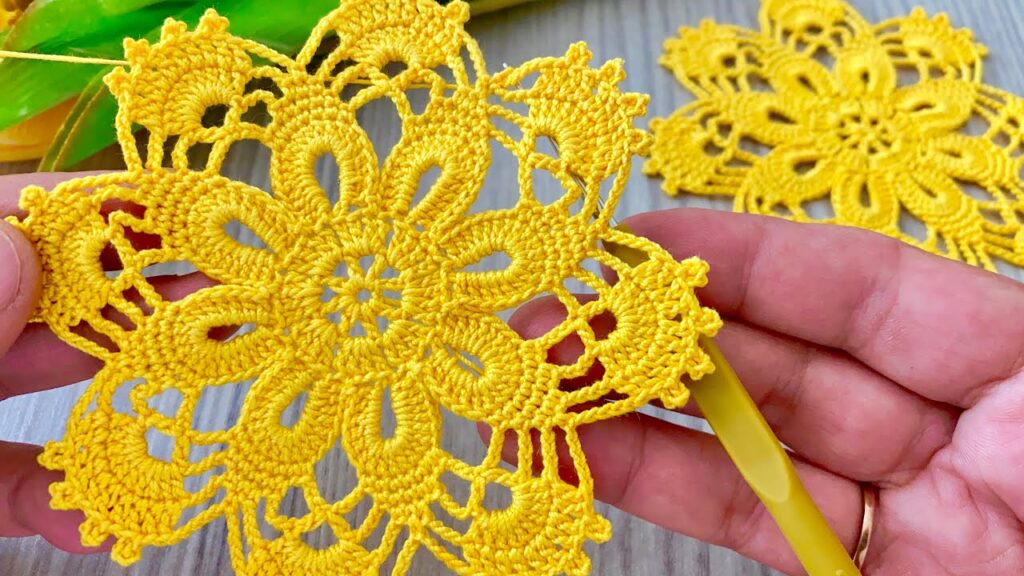
Crochet motifs are small, individual crocheted pieces that can be used on their own as appliqués or joined together to create larger projects like blankets, garments, or bags. For beginners, they are fantastic skill-builders because they are small, manageable, and offer a quick sense of accomplishment.
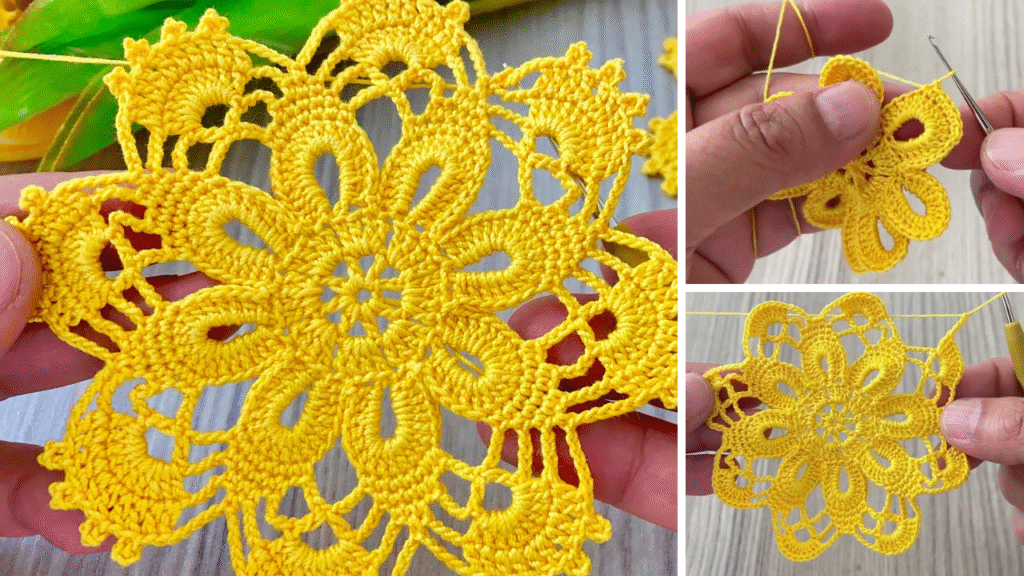
While “uniquely beautiful” can be subjective, the true beauty of any crochet motif for a beginner lies in its simplicity, versatility, and the potential for customization through color and yarn choice.
This article will guide you step-by-step through a Very Easy Solid Crochet Square Motif. This motif is foundational, easy to master, and serves as an excellent building block. Its beauty comes from its clean lines and how dramatically it can change with different colors and combinations.
Unlock Your Creativity: A Beginner’s Step-by-Step Guide to a Versatile Crochet Motif
Learning to crochet motifs is like learning the alphabet before writing a novel. Each motif is a small, satisfying victory, and mastering one opens up a world of possibilities for larger, stunning projects. This solid square motif is perfect for absolute beginners, teaching you essential stitches and techniques in a manageable size.
Why This Motif is Perfect for Beginners
- Uses Basic Stitches: Primarily chain stitches and double crochet.
- Works Up Quickly: You’ll have a finished motif in minutes, boosting your confidence.
- No Complex Shaping: It’s a simple square, making it easy to follow.
- Highly Versatile: Can be used alone or joined with others.
- Perfect for Color Play: Easily change colors for different rounds to create unique designs.
What You’ll Learn
By the end of this tutorial, you’ll be able to:
- Start a crochet project using a magic ring or chain method.
- Create double crochet stitches.
- Work in the round.
- Create corners in a square motif.
- Change colors seamlessly.
- Finish off and weave in ends neatly.
Materials You’ll Need
- Yarn: Any smooth yarn. A worsted weight (Aran) acrylic or cotton yarn is highly recommended for beginners as it’s easy to see your stitches. Choose a light color initially to make stitches more visible. You can use 1, 2, or even 3 different colors for your motif!
- Crochet Hook: Match your hook size to your yarn. The yarn label will usually recommend a size (e.g., 5.0mm [H-8]).
- Tapestry Needle: For weaving in loose ends.
- Scissors:
- Stitch Marker (Optional but Recommended): To mark the beginning of your rounds.
Essential Crochet Stitches & Terms (US Terms)
Refresh your memory on these basics:
- Chain (ch): Yarn over (yo), pull yarn through loop on hook.
- Slip Stitch (sl st): Insert hook into stitch, yo, pull yarn through stitch and through loop on hook. Used for joining.
- Double Crochet (dc): Yo, insert hook into stitch, yo, pull up a loop (3 loops on hook), yo, pull through 2 loops (2 loops on hook), yo, pull through remaining 2 loops.
Your Step-by-Step Tutorial: The Easy Solid Square Motif
We will start with a Magic Ring for a tight center, but if that’s too challenging, an alternative Chain 4 Method is provided.
Method A: Starting with a Magic Ring (Recommended for a Tighter Center)
- Make a Magic Ring:
- Drape the yarn tail over your palm.
- Wrap the working yarn (coming from the ball) around two fingers (index and middle) once.
- Insert your hook under the first strand of yarn, hook the second strand, and pull it under the first.
- Chain 1 (this doesn’t count as a stitch).
- Need help? Search “crochet magic ring tutorial” on YouTube for a visual guide.
Method B: Starting with Chain 4 (Alternative)
- Chain 4: Ch 4.
- Form a Ring: Sl st into the first chain to form a small ring.
- This will create a small hole in the center, which is fine for many projects.
Regardless of your starting method, proceed with Round 1.
Round 1: Building the Center Square
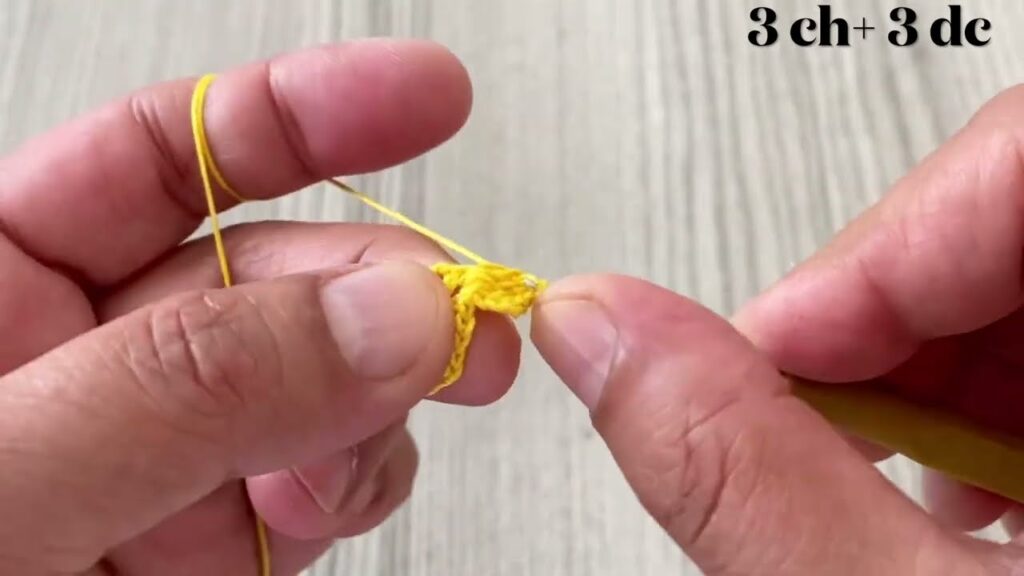
- Chain 2 (ch 2): This counts as your first double crochet (dc).
- Make 2 dc into the ring. (If using Magic Ring, work into the ring; if using Chain 4, work into the center of the ring).
- Chain 2 (ch 2): This forms your first corner space.
- Make 3 dc into the ring.
- Chain 2 (ch 2): This forms your second corner space.
- Make 3 dc into the ring.
- Chain 2 (ch 2): This forms your third corner space.
- Make 2 dc into the ring. (You’ll have 2 dc here to complete the last side with the initial ch 2 that counted as a dc).
- Chain 2 (ch 2): This forms your fourth corner space.
- Join: Sl st into the top of the beginning ch 2 to close the round.
- You should now have 4 groups of 3 dc, separated by 4 chain-2 spaces (your corners).
- If using a Magic Ring, gently pull the yarn tail to close the center hole tightly.
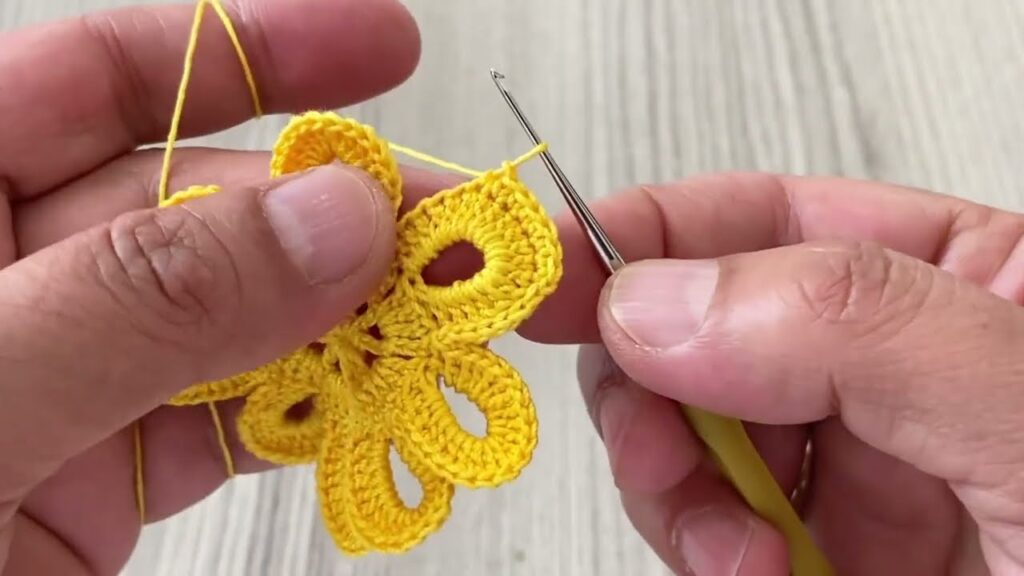
Round 2: Expanding the Square
- Chain 2 (ch 2): This counts as your first dc.
- Work 2 dc into the same stitch where you joined. (This begins your first side).
- Work into the first corner space (the ch-2 space): Make (2 dc, ch 2, 2 dc) all into that corner space. This creates a clear corner.
- Work 3 dc into the next 3 dc stitches along the side.
- Work into the next corner space (the ch-2 space): Make (2 dc, ch 2, 2 dc) all into that corner space.
- Repeat “3 dc into the next 3 dc stitches, then (2 dc, ch 2, 2 dc) into the corner space” two more times.
- Finish the last side: Make 3 dc into the last 3 dc stitches (these are the remaining stitches from the beginning of your round).
- Join: Sl st into the top of the beginning ch 2 to close the round.
- You should now have 4 sides with a clear increase in stitches, and 4 defined corner spaces.

Round 3: Growing Your Motif (Optional Color Change!)
- To Change Color (Optional): When making the final sl st to join Round 2, instead of pulling through your current color, drop it, pick up your new color, and pull that through to complete the sl st. Then proceed with the ch 2 for the new round.
- Chain 2 (ch 2): This counts as your first dc.
- Work 2 dc into the same stitch where you joined. (This starts your first side).
- Work dc in each dc stitch along the current side until you reach the next corner space.
- Work into each corner space (the ch-2 space): Make (2 dc, ch 2, 2 dc) all into that corner space.
- Repeat: Work “dc in each dc stitch along the side, then (2 dc, ch 2, 2 dc) into the corner space” around all four sides.
- Finish the last side: Make dc into the last dc stitches to complete the final side.
- Join: Sl st into the top of the beginning ch 2 to close the round.
To make a larger motif, simply repeat Round 3 (or a similar increasing round) as many times as desired!

Finishing Your Motif
- Fasten off: Cut your yarn, leaving a tail of about 6 inches (15 cm). Yarn over, pull the tail completely through the loop on your hook, and pull tight to secure.
- Weave in ends: Thread each yarn tail onto your tapestry needle. Carefully weave the tail through the stitches on the back of your motif, going in one direction for a few stitches, then reversing direction for a few more to lock it in place. Trim any excess.
Making Your Motif “Uniquely Beautiful”
This simple square is a canvas for your creativity!
- Color Play:
- Solid Color: Creates a clean, minimalist look.
- Two-Tone: Use one color for the center (Round 1) and another for subsequent rounds.
- Rainbow: Change colors every round for a vibrant, multi-hued motif.
- Ombre Effect: Use shades of the same color, going from dark to light or vice-versa.
- High Contrast: Pair bright colors with neutrals (e.g., a neon center with a black border).
- Yarn Choice:
- Thicker Yarn: A chunky yarn makes a large, plush motif.
- Thinner Yarn: A fingering weight yarn creates a delicate, intricate-looking motif.
- Textured Yarn: A fuzzy or sparkly yarn can add unique visual and tactile interest.
- Embellishments:
- Surface Crochet: Use slip stitches or single crochet on the surface of your motif to add lines, shapes, or designs.
- Embroidery: Stitch small details like flowers, stars, or initials onto the finished motif.
- Beads/Buttons: Sew small beads or a decorative button into the center or along the edges.
- Picot Edging: Learn a simple picot stitch (ch 3, sl st into first ch) and add it as a decorative border to your motif for a delicate finish.
- Joining Motifs:
- The true beauty of motifs shines when they are joined! Learn basic joining techniques (like slip stitch join, single crochet join, or whip stitch seam) to create larger projects like:
- Blankets: Join many motifs to create a stunning afghan.
- Bags/Purses: Create front and back panels.
- Coasters/Placemats: A single motif makes a great coaster.
- Scarves/Shawls: Join motifs in a long strip.
- The true beauty of motifs shines when they are joined! Learn basic joining techniques (like slip stitch join, single crochet join, or whip stitch seam) to create larger projects like:
Tips for Beginner Success
- Don’t Crochet Too Tightly: This is the most common beginner mistake. Loose stitches are easier to work into and count.
- Count Your Stitches: Especially in the early rounds, counting ensures your motif stays square and doesn’t get distorted.
- Use Stitch Markers: Place a stitch marker in the top of your beginning ch 2 and in each corner ch-2 space to easily identify them.
- Practice Makes Perfect: Your first motif might not be perfect, and that’s absolutely normal! Each one you make will get better.
- Watch Tutorials: If you’re struggling with a stitch, look up video tutorials on YouTube. Seeing the motion can be incredibly helpful.
Congratulations! You’ve just taken a significant step in your crochet journey by creating your first versatile motif. Embrace the joy of experimenting with colors and stitches, and watch as your simple squares transform into truly unique and beautiful creations. Happy crocheting!
Video tutorial:


