
Crochet has long been a favorite pastime for crafters seeking to create personalized, handmade items that offer both functionality and charm. Among the wide variety of crochet projects, one particularly enjoyable and rewarding endeavor is making your own crochet shoes. Whether you’re a beginner with just a few stitches under your belt or an experienced crocheter looking for a fun, fast project, simple and quick crochet shoes are a perfect way to combine creativity, comfort, and practicality.
In this article, we’ll guide you through the essentials of crocheting shoes, from choosing the right materials to simple patterns you can finish in just a few hours. Let’s dive into the cozy world of handmade footwear!
Why Crochet Shoes?
Crochet shoes are more than just stylish—they’re functional and customizable. Here are a few reasons why you might want to make your own pair:
- Cost-effective: They require very little yarn and can be made from leftover supplies.
- Custom Fit: Perfectly tailor shoes to your foot size and shape.
- Eco-Friendly: Reduce waste by using natural or recycled yarn.
- Creative Expression: Mix colors, textures, and patterns for a one-of-a-kind design.
- Quick Results: Many beginner-level crochet shoe patterns can be completed in a single day.
Materials You’ll Need
Before you start crocheting, gather your supplies. Here’s a list of basic tools and materials:
1. Yarn
Choose a durable and soft yarn, preferably a cotton blend or wool for warmth. Acrylic yarn can also work well for indoor shoes or slippers. For outdoor wear, you might want a sturdier yarn or even jute.
- Recommended yarn weight: DK (Double Knit), worsted, or bulky depending on the pattern.
- Tip: If you’re crocheting soles for outdoor shoes, consider adding a rubber base or sewing the crochet onto an existing sole.
2. Crochet Hook
Use the size recommended for your yarn, typically ranging from 3.5 mm to 6 mm. A smaller hook will make tighter stitches, which is ideal for a snug, sturdy shoe.
3. Stitch Markers
These help you track your rounds, especially important in shoe patterns that use circular crochet.
4. Tapestry Needle
Useful for weaving in ends and sewing parts together.
5. Insoles or Rubber Soles (Optional)
For added comfort and durability, especially if you plan to wear your crochet shoes outdoors.
Basic Crochet Techniques Used
Even a beginner can make crochet shoes by learning just a few basic stitches and techniques:
- Chain stitch (ch)
- Single crochet (sc)
- Half double crochet (hdc)
- Double crochet (dc)
- Slip stitch (sl st)
- Magic ring (used to start in the round)
Understanding increases and decreases is also helpful, especially when shaping the toe and heel.
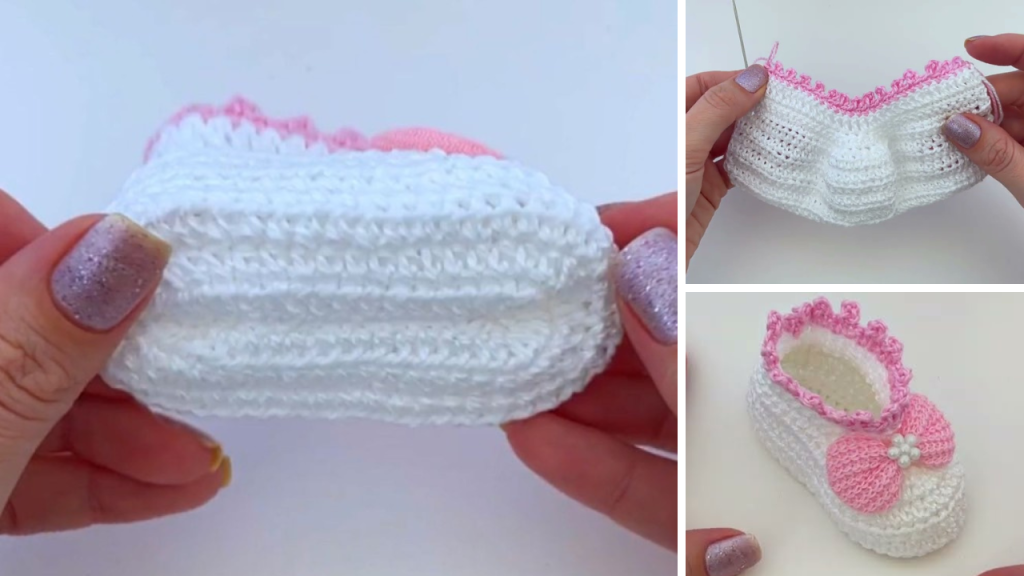
🧶 SIMPLE CROCHET SHOE (SLIPPER) – STEP-BY-STEP TUTORIAL
🔹 MATERIALS:
- Worsted weight yarn (category 4) – about 100g
- Crochet hook – 5 mm (H-8)
- Stitch markers (optional)
- Yarn needle – for sewing and weaving in ends
- Scissors
🔹 STITCHES USED (U.S. terms):
- ch = chain
- sc = single crochet
- hdc = half double crochet
- sl st = slip stitch
- inc = increase (2 stitches in one stitch)
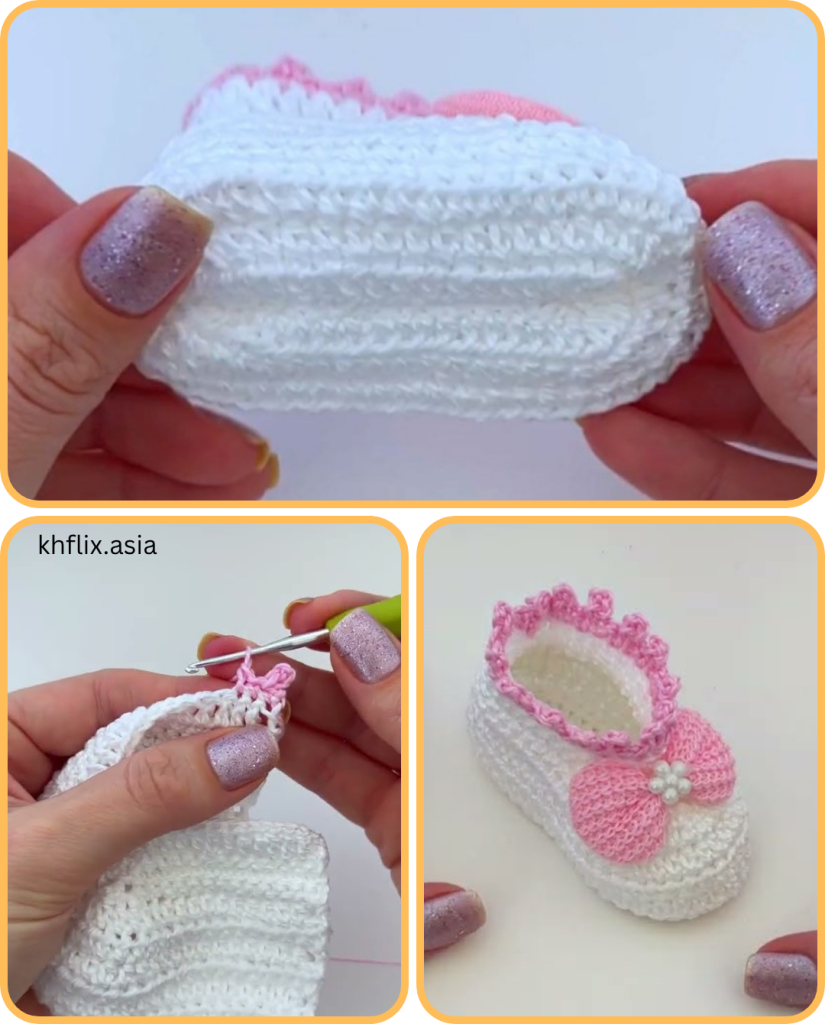
🔸 PART 1: CROCHET THE SOLE
We’ll make the sole in an oval shape, working in the round.
1. Start with a chain
- Chain 12 (for women’s US size 7–8).
- Adjust by adding or subtracting chains depending on your foot length.
2. Round 1
- In the 2nd ch from hook, make 2 sc.
- Sc in next 9 chains.
- In the last chain, make 5 sc (this curves around the end).
- Now work on the other side of the chain:
- Sc in next 9 stitches.
- Make 2 sc in the last stitch.
- Join with sl st to first sc. (You should have 28 stitches.)
3. Round 2
- Ch 1, 2 sc in first stitch (inc), 1 sc in next 9, 2 sc in each of next 3, 1 sc in next 9, 2 sc in each of last 2.
- Join with sl st. (34 stitches)
4. Round 3
- Repeat increases on the ends to make the oval longer and wider.
- If the sole is still too small, continue one or two more rounds, evenly increasing at toe and heel.
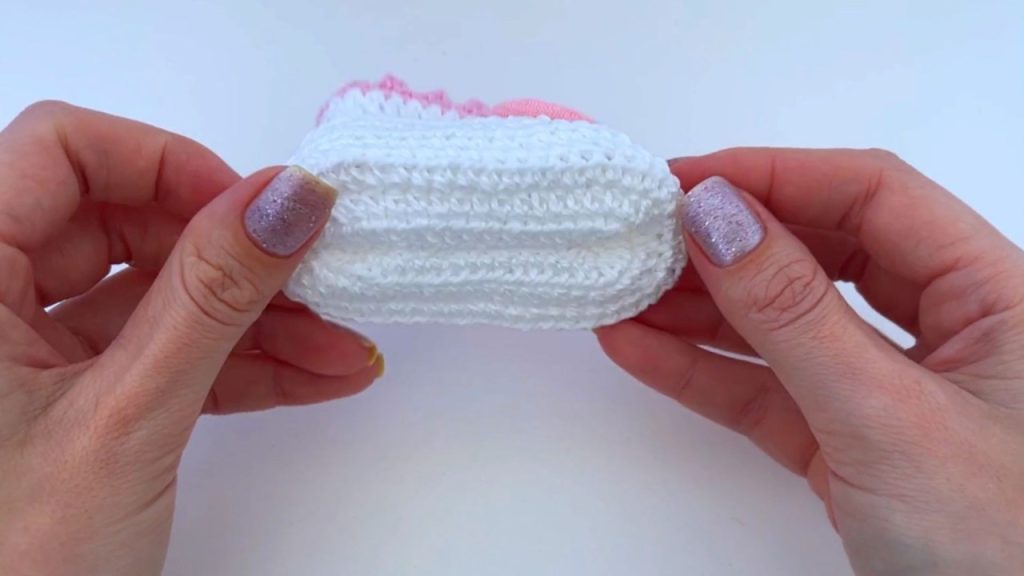
🔸 PART 2: BUILDING THE SIDES
Now that we’ve finished the sole, it’s time to build up the sides of the shoe.
1. Round 1 (Sides)
- Work 1 hdc in back loops only all around (this helps the edge turn upward).
- Join with a sl st. Ch 1.
2. Round 2–4
- Hdc in each stitch around. Join each round with sl st and ch 1.
- You should now have a “bowl” shape forming — this is the base of the shoe.
🔸 PART 3: CROCHET THE TOE
Now we’ll shape the top/front of the shoe.
1. Toe Shaping (Row 1)
- From the middle back, count and place a stitch marker 8 stitches from each side (front center = 16 stitches total).
- Work hdc normally until the first marker.
- From here, turn your work and only crochet across the 16 front stitches.
2. Rows 2–4 (Shaping the top)
- Ch 1, turn. Hdc2tog (decrease), hdc across, hdc2tog.
- Repeat for 3–4 rows or until it covers your toes.
- Fasten off, leaving a tail.
3. Sew the Toe
- Use the tail and yarn needle to sew the toe closed, pulling it snug but comfortable.
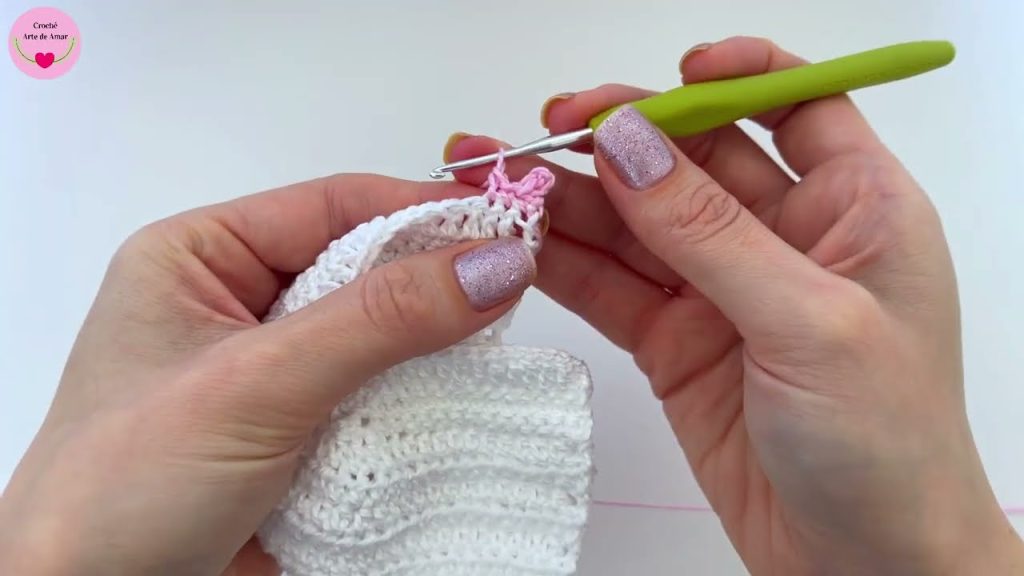
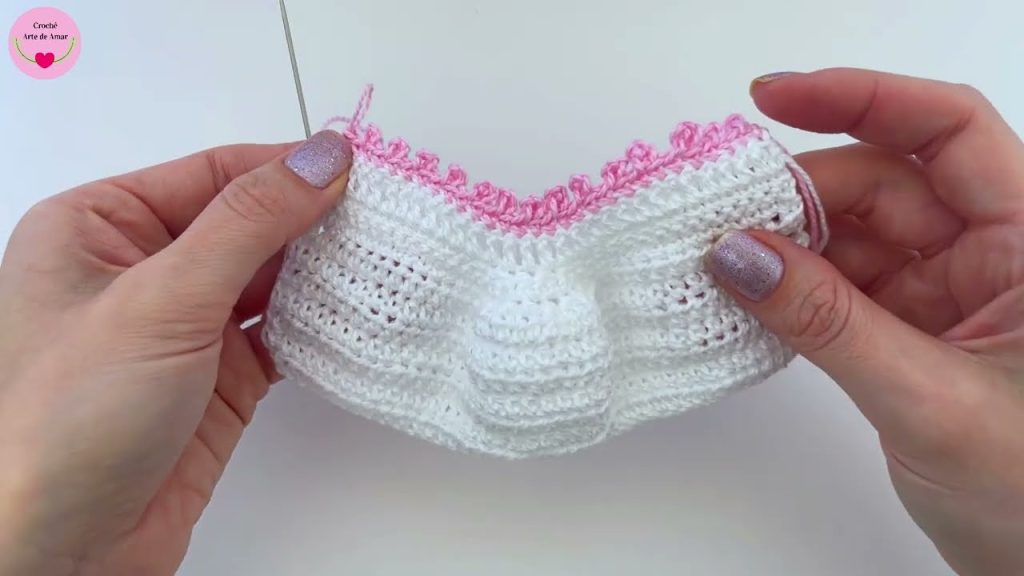
🔸 PART 4: FINISHING TOUCHES
1. Heel Option
If you want a snug fit at the heel, you can add a small strap or crochet a few extra rows across the back.
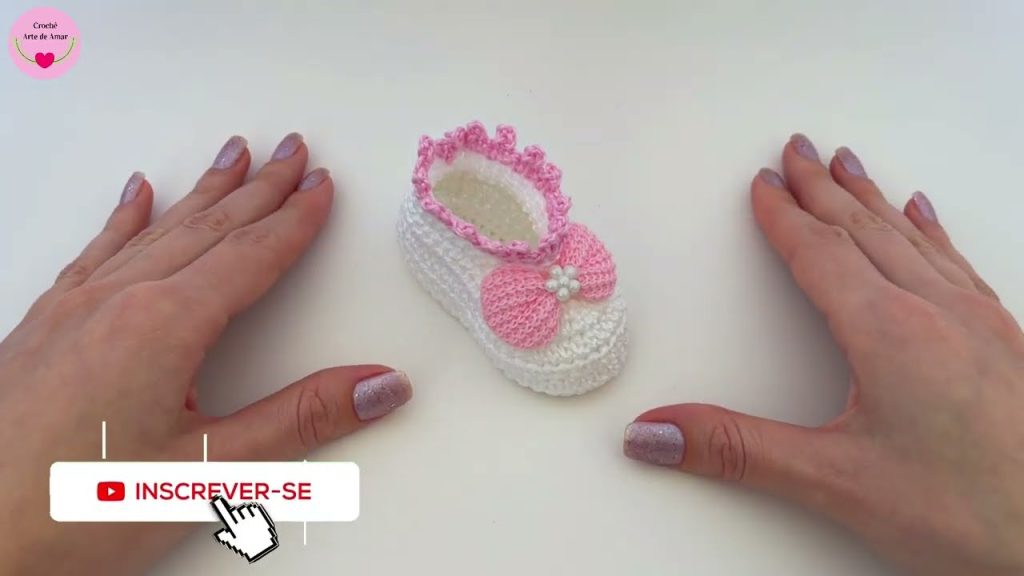
2. Decorate (Optional)
- Add a crochet flower, button, or bow to the top.
- You can also make a small strap across the front for style and fit.
Customization Ideas
Personalize your crochet shoes with these creative additions:
- Color Changes: Stripes, ombre, or color-blocking techniques.
- Buttons or Laces: Functional or decorative elements.
- Flowers or Bows: Attach a small crochet motif on the toe area.
- Leather or Rubber Soles: Add for durability and grip.
- Lining: Sew a fleece or fabric lining for extra warmth and comfort.
Troubleshooting Common Issues
| Problem | Solution |
|---|---|
| Shoe too loose | Use a smaller hook or tighter tension |
| Shoe too tight | Add extra stitches around the sole |
| Slipping on hard floors | Add non-slip soles or fabric paint dots underneath |
| Crooked shape | Use stitch markers and count rows carefully |
Care Instructions
To keep your crochet shoes in good condition:
- Hand wash with cold water and mild soap.
- Air dry flat to retain shape.
- Avoid machine drying unless you’re using durable yarn labeled as machine-safe.
Conclusion
Crochet shoes are the perfect project for crafters of all skill levels who want a fast, practical, and satisfying project. They combine creativity, comfort, and customization in one handy item. Whether you’re making cozy slippers for winter, breathable flats for summer, or adorable baby booties, there’s a crochet shoe pattern that fits your needs and style.
With just a hook, some yarn, and a little time, you can walk in shoes you’ve made with your own hands—literally! So grab your materials and get stitching. Your feet will thank you.
Video tutorial:


