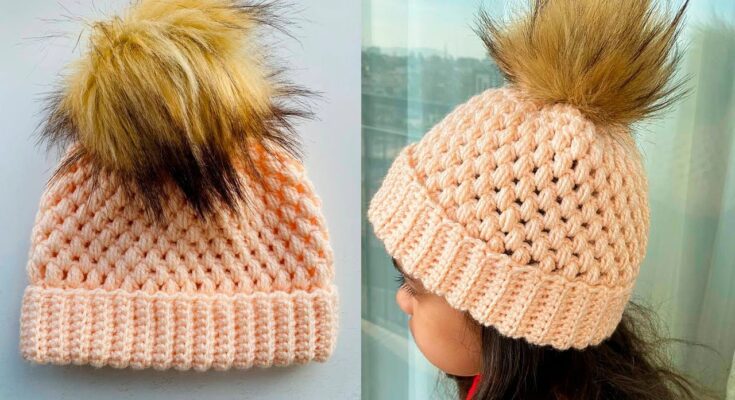
A crochet hat is one of the most popular and practical projects for yarn lovers of all skill levels. Whether you’re making cozy beanies for winter, lightweight caps for summer, or stylish gifts for friends and family, this step-by-step crochet hat tutorial will guide you through creating hats in any size — from newborn to adult large.
This tutorial uses simple stitches and a top-down method, making it ideal for beginners who want to learn to shape a hat while practicing basic crochet techniques.
🧵 MATERIALS YOU’LL NEED
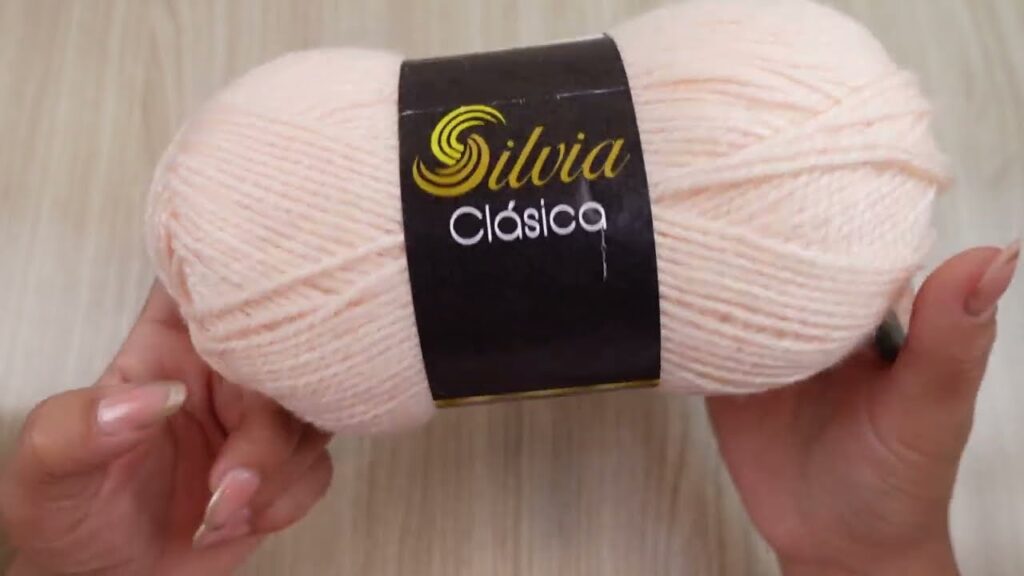
- Worsted weight yarn (Medium / Category 4)
- Hook: 5.0 mm (H-8) or size appropriate for your yarn
- Yarn needle
- Scissors
- Stitch marker (optional, but helpful)
- Measuring tape
📐 CROCHET HAT SIZE CHART (CHEAT SHEET)
| Size | Head Circumference | Hat Height |
|---|---|---|
| Newborn | 13–14” (33–35.5 cm) | 5” (12.5 cm) |
| Baby (3–6m) | 14–16” (35–40.5 cm) | 5.5” (14 cm) |
| Baby (6–12m) | 16–18” (40.5–46 cm) | 6” (15 cm) |
| Toddler | 18–20” (46–51 cm) | 6.5” (16.5 cm) |
| Child | 20–21” (51–53.5 cm) | 7” (18 cm) |
| Teen/Adult S | 21–22” (53–56 cm) | 7.5” (19 cm) |
| Adult M/L | 22–24” (56–61 cm) | 8” (20 cm) |
📝 Pro Tip: Crochet hats should be 1–2″ smaller than the actual head circumference (negative ease) for a snug fit.
✨ STITCHES USED
- Magic Ring (adjustable loop)
- ch – chain
- sl st – slip stitch
- sc – single crochet
- hdc – half double crochet (used in this tutorial)
- hdc inc – increase (2 hdc in one stitch)
🎩 HAT CONSTRUCTION: TOP-DOWN METHOD
We’ll work in the round, starting from the crown and increasing outward to the desired width, then working evenly for height.
🪡 STEP-BY-STEP INSTRUCTIONS
🔁 STEP 1: START THE CROWN
Round 1:
- Make a magic ring, ch 1, and place 10 hdc inside the ring.
- Pull tight and join with sl st to the first hdc. (10 sts)
Round 2:
- Ch 1, 2 hdc in each stitch around. Join with sl st. (20 sts)
Round 3:
- Ch 1, (1 hdc in next st, 2 hdc in next) repeat around. Join. (30 sts)
Round 4:
- Ch 1, (1 hdc in next 2 sts, 2 hdc in next) repeat around. Join. (40 sts)
👉 Continue increasing by adding 1 more stitch between increases in each round until you reach the number of stitches needed for your desired head circumference.
🧠 HOW TO FIND THE RIGHT STITCH COUNT
Measure the flat circle diameter to estimate the circumference using:
Circumference ≈ Diameter × 3.14 (π)
For example:
- A 6.5″ flat circle = 6.5 × 3.14 ≈ 20.4″ hat circumference (good for toddlers/child)
Use a measuring tape or stitch gauge to monitor.
🧵 STEP 2: STOP INCREASING (ONCE SIZE IS REACHED)
Once your flat circle reaches the desired width, stop increasing. Now work even rounds (1 hdc in each stitch) to build height.
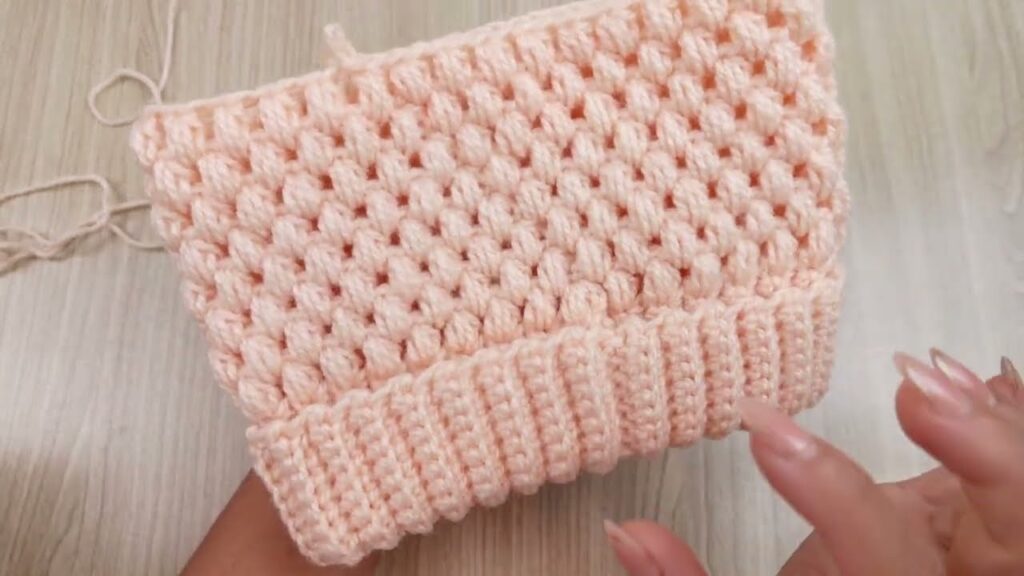
🧶 STEP 3: BUILD THE BODY OF THE HAT
Rounds X to Y:
- Ch 1, hdc in each stitch around
- Join with sl st
- Repeat until the hat reaches the desired height (see chart above)
🔚 STEP 4: FINISH OFF
- Fasten off yarn
- Weave in all ends with a yarn needle
Optional: Add a ribbed band or brim (see below)
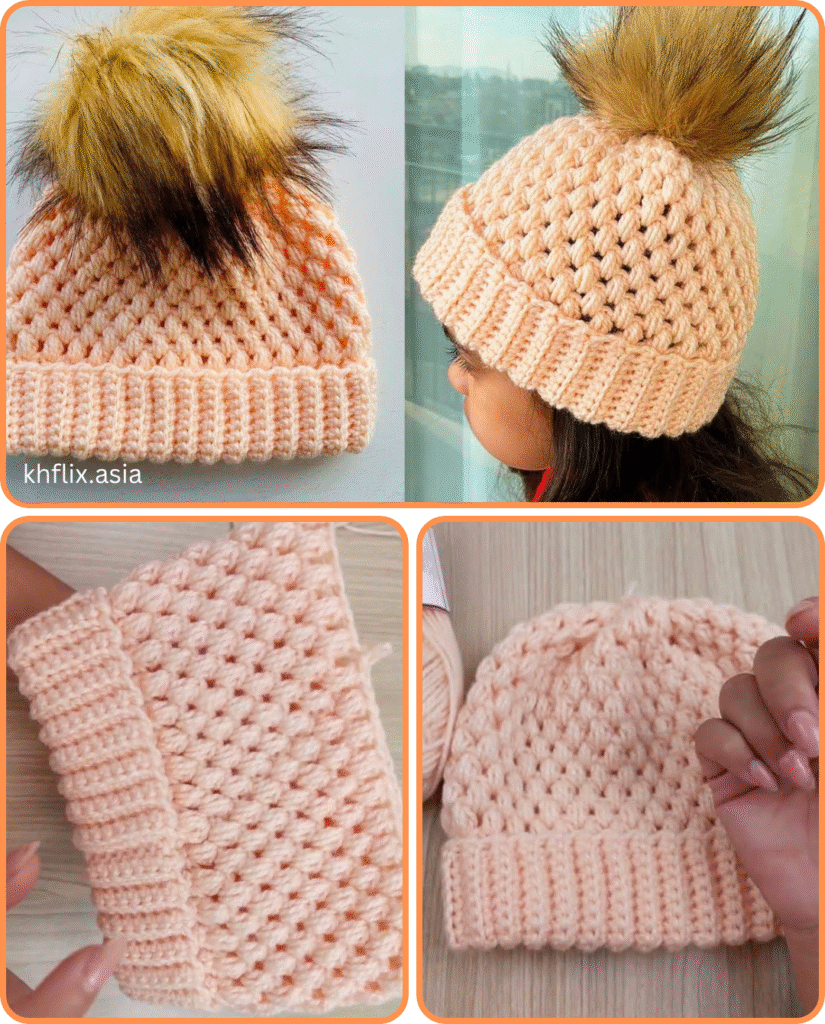
👑 OPTIONAL: ADD A RIBBED BRIM
To make a stretchy, cozy band:
Ribbing (Bottom-Up Method):
- At the bottom edge, join yarn with sl st
- Ch 6 (or desired band height)
- Sc in 2nd ch from hook and each across (5 sc)
- Sl st into next 2 stitches along hat edge
- Turn, sc in back loops only across
- Repeat across the entire brim
- Sew or sl st the ribbing edges together
🎀 CUSTOMIZATION IDEAS
- 🎨 Color changes: Make stripes or color blocks
- 🧵 Stitch variations: Try double crochet (dc) or front-post/back-post hdc
- 🎉 Add-ons: Pom-poms, buttons, leather tags, or appliqué

🧼 CARE INSTRUCTIONS
- Gently hand wash or machine wash on cold/delicate
- Lay flat to dry
- Use soft, non-irritating yarn for babies or sensitive skin
💬 FINAL THOUGHTS
This step-by-step crochet hat tutorial is the perfect foundation for building your own unique collection of beanies and caps. Whether you’re making gifts, selling handmade hats, or keeping your family warm, you’ll love how simple — and size-inclusive — this method is.
🧶 Once you’ve mastered this pattern, you can explore textures, cables, or even ear flaps. The possibilities are endless!
Video tutorial:
