
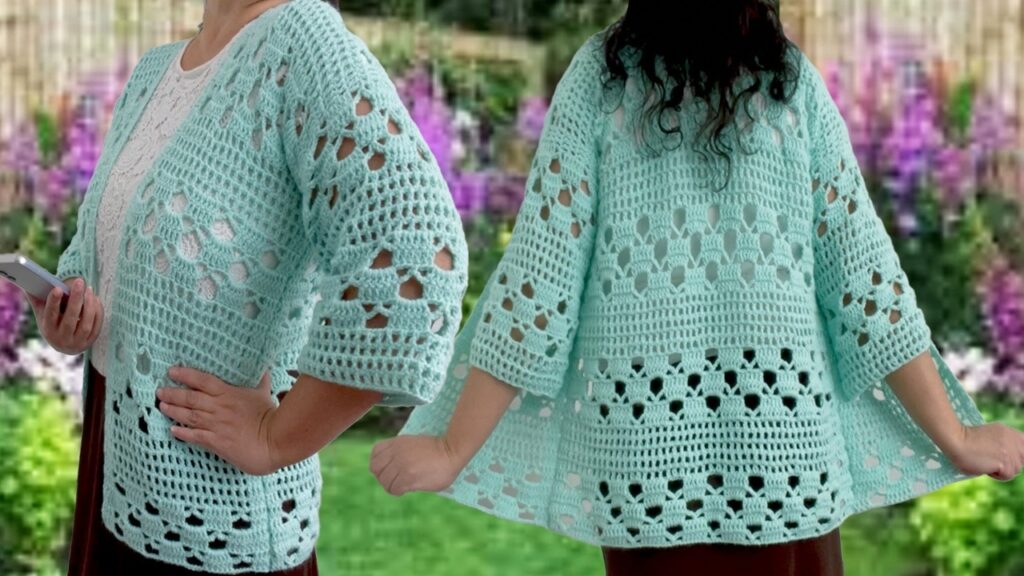
Crocheting your own blouse is a satisfying project that combines creativity, practicality, and personal style. A one-piece crochet blouse is especially appealing because it eliminates the need for sewing separate panels together, reducing finishing time and ensuring a cleaner silhouette. Whether you want a breezy summer top or a stylish layering piece, this guide will walk you through the process.
Why Make a One-Piece Crochet Blouse?
- Fewer seams: More comfort and less bulk.
- Simple construction: Ideal for beginners or those looking for a fast project.
- Customizable: Adjust size, length, neckline, and stitch pattern.
- Great for layering: Works well with different yarn weights for all seasons.
🧶 One-Piece Crochet Blouse – Step-by-Step Instructions
✅ Skill Level: Beginner to Easy
🧵 Construction: One large rectangle folded in half and seamed on the sides
🪡 No sewing separate pieces — it’s all crocheted in one!
🧰 Materials Needed:
- Yarn: Lightweight yarn (Category 3 or DK) – ~800–1000 yards depending on your size
- Cotton, bamboo, or cotton-blends work great
- Hook: 4.0 mm to 5.0 mm (check your yarn label)
- Scissors
- Tapestry needle (for weaving in ends)
- Measuring tape
📏 Step 1: Take Your Measurements
You need:
- Width = your bust measurement × 2 + 4″ for ease
- Length = from top of your shoulder to the hem (typically 20–26″ depending on preference)
Example:
Bust = 36″
Width = 36″ × 2 + 4″ = 76″
Length = 24″
🔁 Step 2: Crochet the Body (The Big Rectangle)
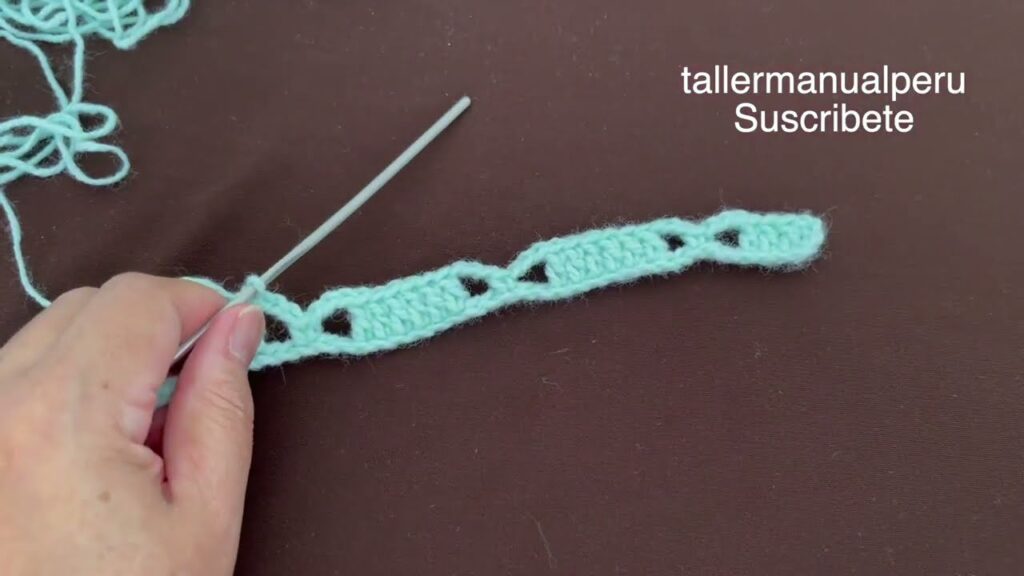
1. Make the Foundation Chain
- Chain enough stitches to match the length of the blouse (shoulder to hem).
- Example: If your desired length is 24″, and your gauge is 4 dc per inch → chain 96
- Add 3 extra chains for turning (for double crochet).
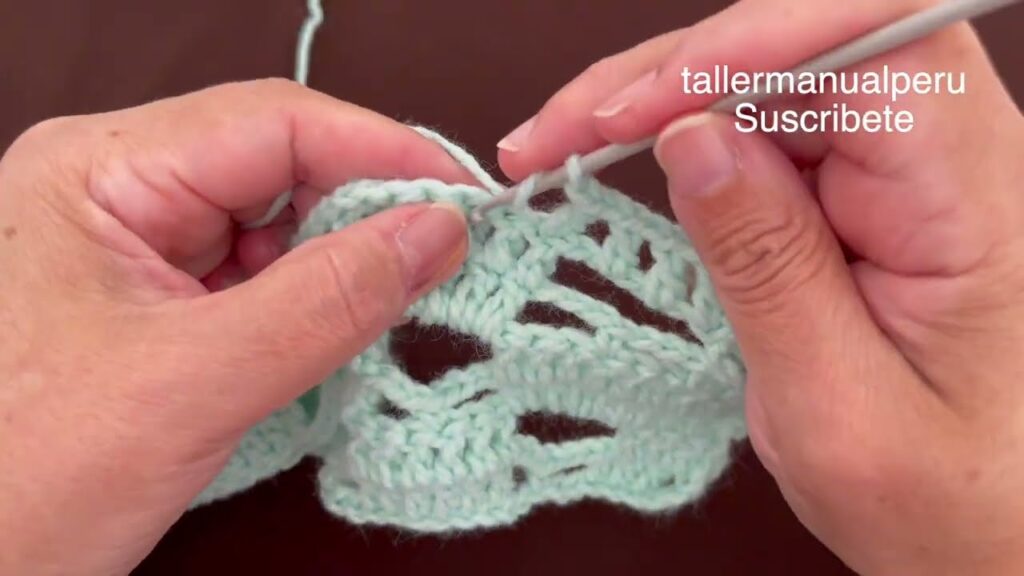
2. Work the Rows
- Row 1: Double crochet (DC) into 4th chain from the hook and each stitch across.
- Turn.
- Row 2+: Chain 3 (counts as first DC), then DC into each stitch across.
🧶 Continue until the width of your rectangle equals your total width measurement (front + back).
✂️ Step 3: Create Neckline Opening (Optional)
At the center of the rectangle:
- Work half the row, then skip 6–8″ worth of stitches (for neck hole), then finish the rest of the row.
- On the next row, work across only one side to maintain the neckline shape.
- Rejoin yarn to the other side and mirror the rows.
- After a few rows, connect both sides again and continue full rows.
This creates a built-in boat neck or scoop neck.
🧵 Step 4: Fold and Seam the Sides
- Fold your rectangle in half lengthwise (shoulders at the top).
- Use your hook or a yarn needle to seam up both sides, starting from the bottom hem.
- Leave 6–8 inches unseamed at the top for armholes.
🪡 Step 5: Finish the Edges
You can stop here or add:
- Single crochet border around the neckline
- Short sleeves by working in the round around the armhole (2–5 rows)
- Bottom edge trim (e.g., shell stitch or ribbing)
🎨 Optional Customizations
- Add cap sleeves or longer sleeves
- Create a curved hem by shortening rows at the side
- Add a belt or tie to cinch the waist
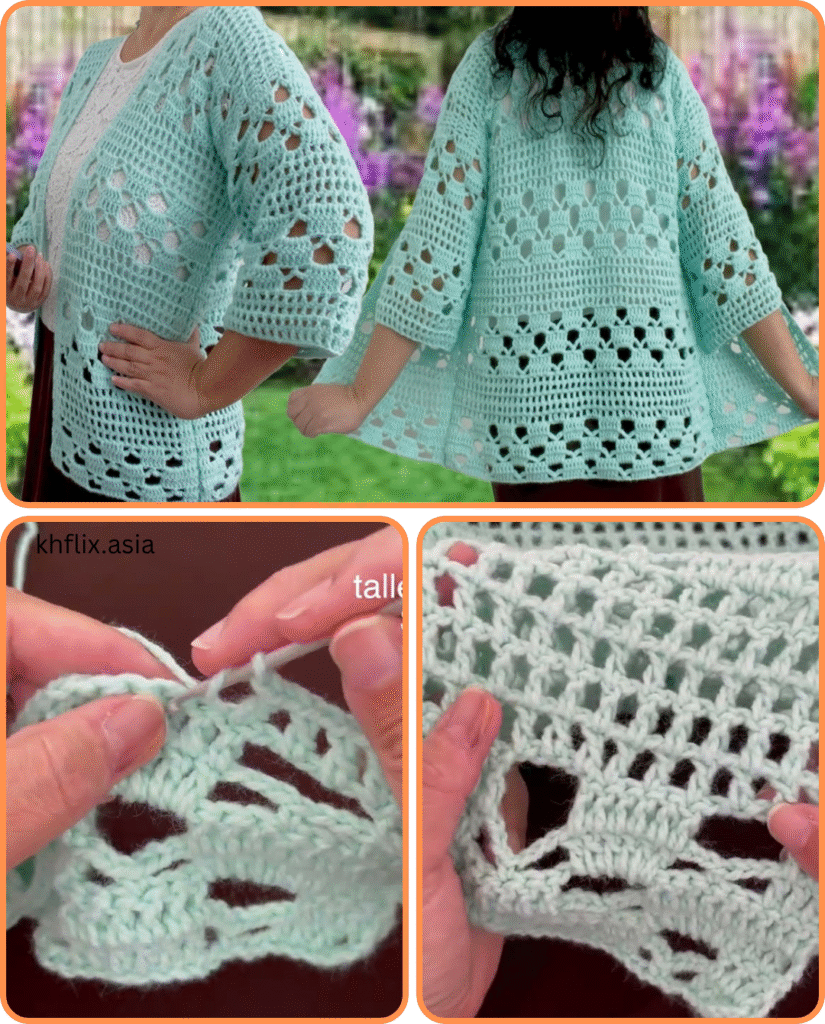
- Use different stitch patterns like mesh or shell stitch for variation
🧼 Final Step: Block Your Blouse
Gently wash and lay flat to dry to block the blouse and help the stitches relax. This improves drape and fit.
✅ Summary: The 5 Steps
- Measure yourself and plan the rectangle.
- Crochet a large rectangle using double crochet stitches.
- Optional neckline can be created with skipped stitches.
- Fold in half and seam the sides, leaving space for armholes.
- Add finishing touches like sleeves or borders.
Styling Ideas
- Boho look: Use lacy stitches and lightweight cotton or bamboo yarn.
- Elegant look: Go with silk blends or fine yarns and a tighter stitch.
- Casual top: Use basic stitches and bright colors.
Tips for Success
- Swatch first to ensure correct sizing.
- Use lightweight yarn for better drape and breathability.
- If working with lace or mesh stitches, block your piece before seaming.
- Customize the neckline—you can leave a wide boat neck, scoop, or even add a button placket.
- Try using gradient or ombré yarn for added visual interest with minimal effort.
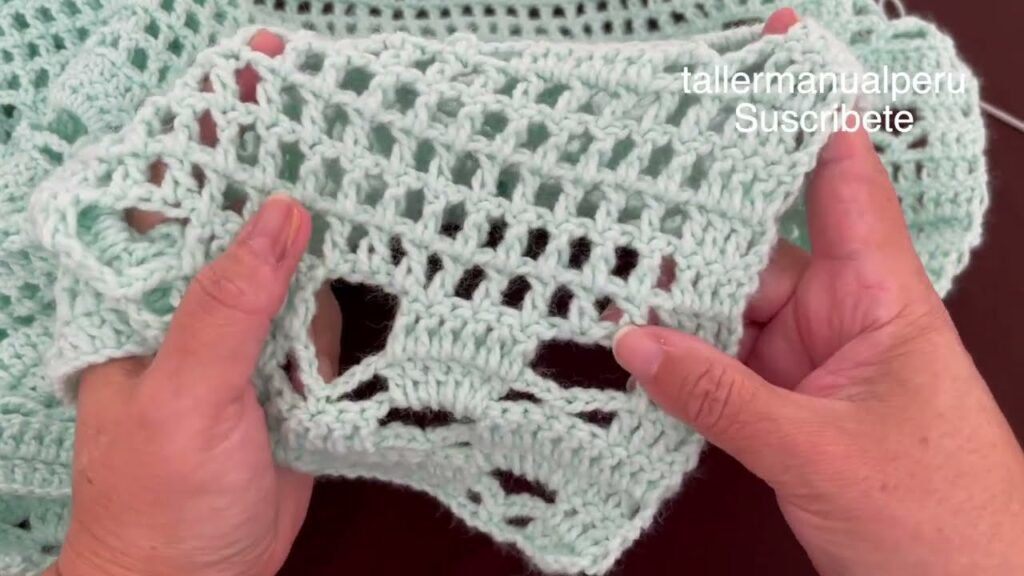
Video tutorial:
Conclusion
Crocheting a one-piece blouse is a fun, approachable project that allows for lots of creativity while being efficient and beginner-friendly. By choosing a stitch pattern you love and tailoring the fit to your measurements, you can create a stylish, comfortable blouse with minimal shaping and no complicated assembly. Once you’ve mastered this, you can modify the design with sleeves, borders, or shaping for endless variations.


