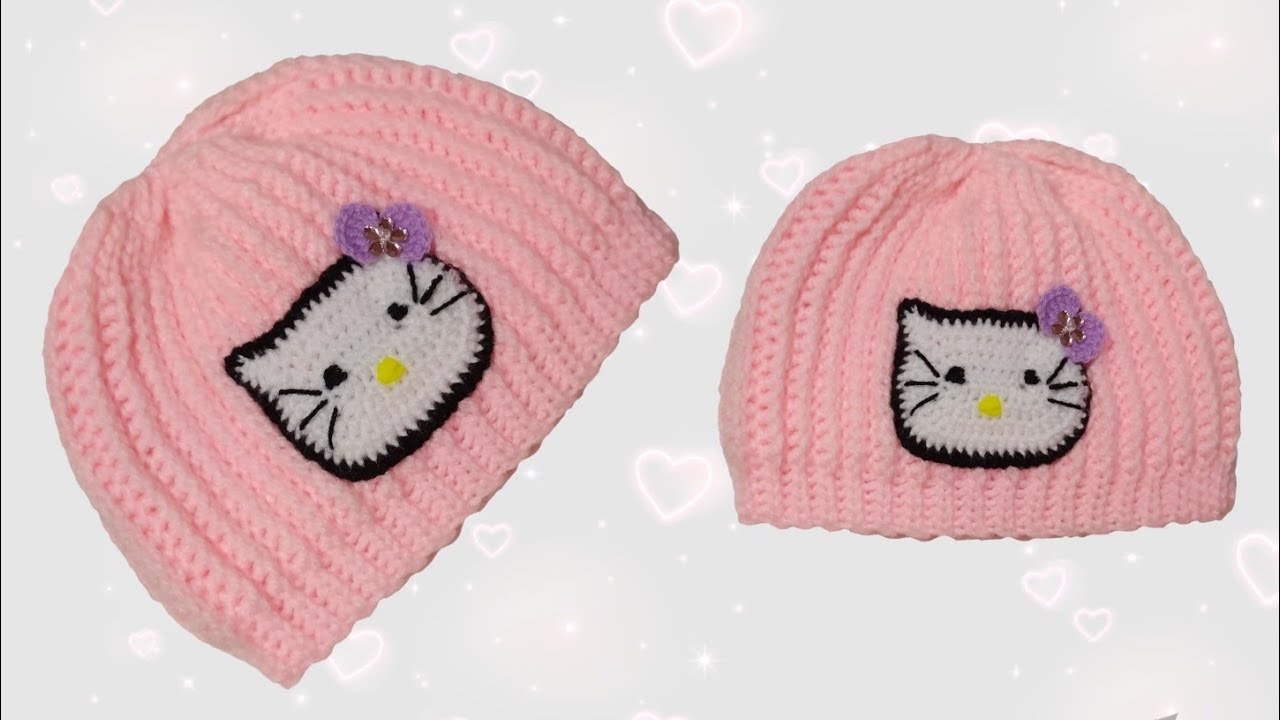
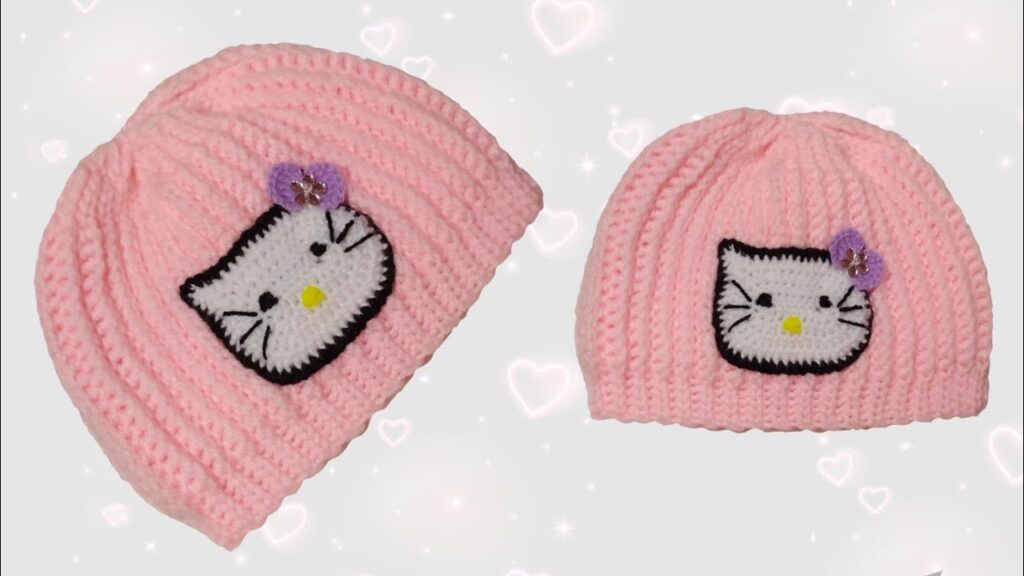
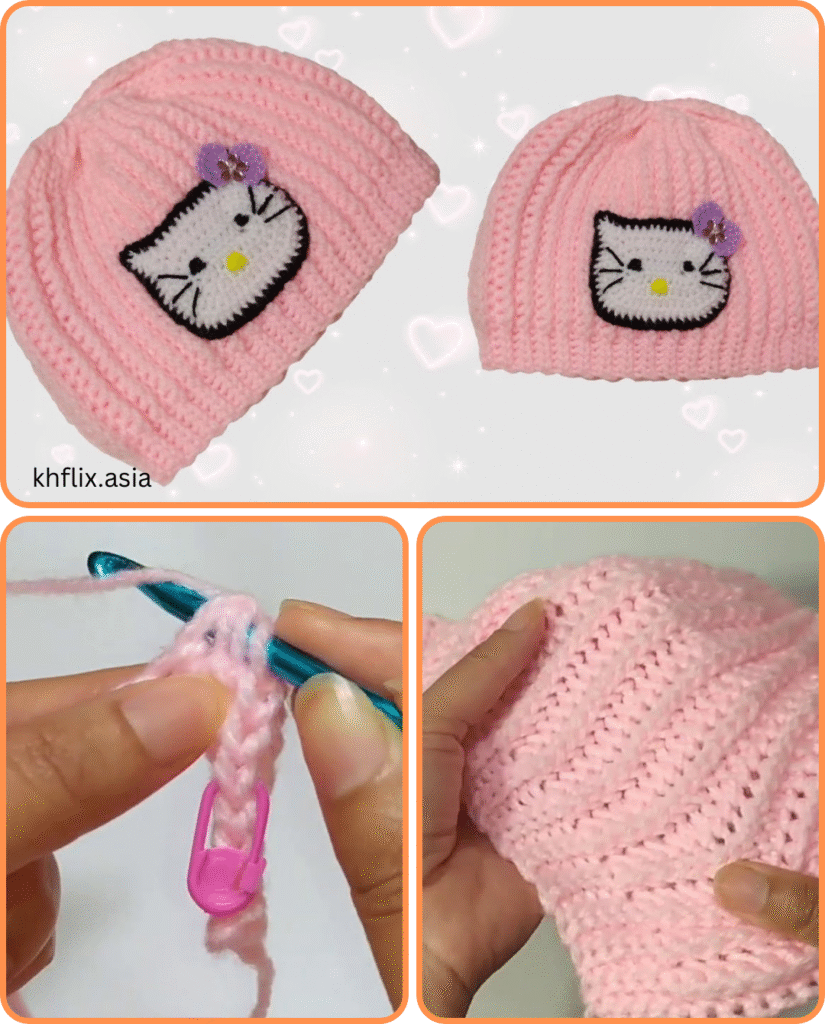
If you’re looking for a cute and quick crochet project, this Crochet Woven Cap made from just a rectangle is the perfect choice. With its clever construction and added Hello Kitty face details, it’s an ideal project for beginners, kids’ gifts, or themed accessories. Best of all, there’s no complex shaping—just crochet a rectangle, fold, stitch, and embellish!
✨ Why You’ll Love This Project
- Beginner-friendly: Only basic stitches needed
- Quick make: One evening project
- Adorable design: Hello Kitty’s face is timeless and beloved
- Customizable: Change colors, size, or character elements
🧵 Materials Needed
- Worsted weight yarn (Category 4) in:
- White (main color for Hello Kitty)
- Pink (for bow)
- Yellow (for nose)
- Black (for eyes, whiskers)
- Crochet hook: 5.0 mm (H/8)
- Tapestry needle
- Stitch marker (optional)
- Scissors
- Measuring tape
- Black embroidery floss or thin black yarn (for finer whisker details)
🧶 Stitches & Abbreviations
- Ch – Chain
- Sc – Single Crochet
- Dc – Double Crochet
- Sl st – Slip Stitch
- Rep – Repeat
- St(s) – Stitch(es)
Skill Level: Easy / Beginner
📏 Sizing Guide
| Size | Rectangle Size (W x H) |
|---|---|
| Toddler | 14″ x 7″ |
| Child | 16″ x 8″ |
| Teen/Adult | 18″ x 9″ |
The rectangle is folded in half and seamed to form the cap, with the top gathered.
🧣 Base Cap Pattern: Woven Rectangle
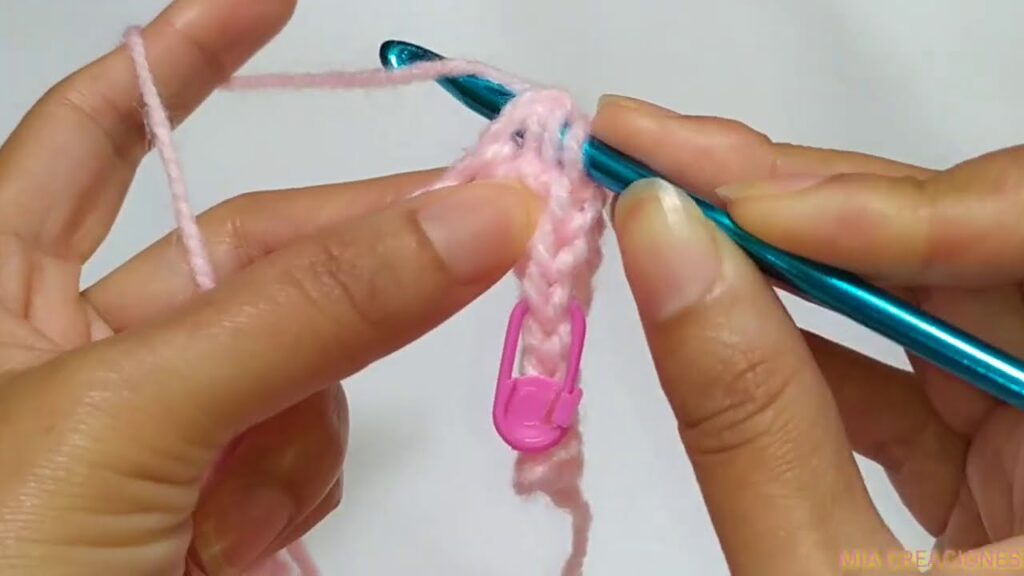
Step 1: Crochet the Rectangle
- Foundation Row:
Ch an even number to reach the desired width (e.g., ch 36 for 18″). - Row 1:
Dc in 3rd ch from hook and in each ch across. Turn. - Row 2:
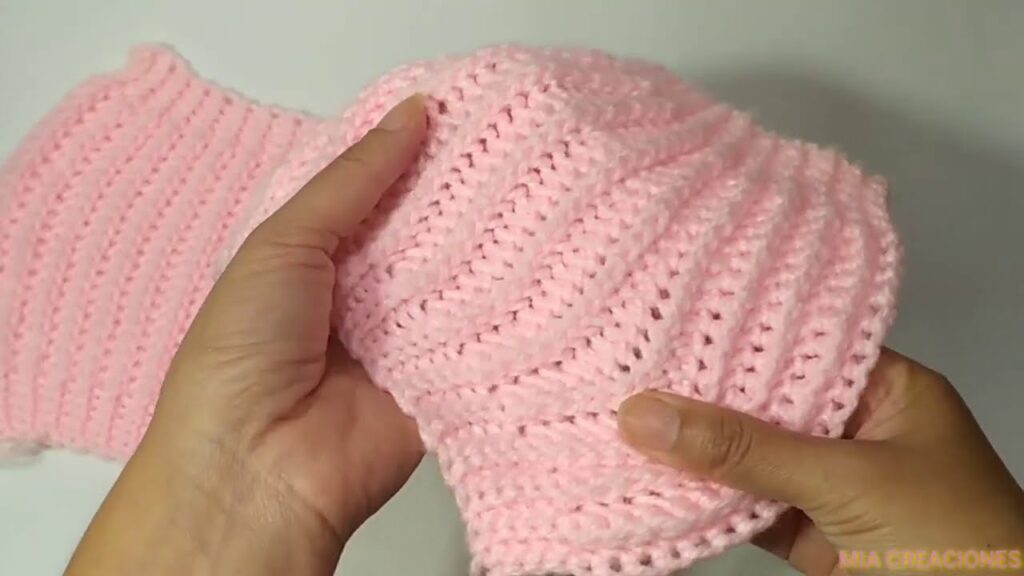
Ch 2, front post double crochet (FPdc), back post double crochet (BPdc) across the row. Turn. - Repeat Row 2 until the rectangle reaches your desired height.
This creates a textured, woven look without complicated stitches.
- Fasten off and weave in ends.
🪡 Assembly Instructions
- Fold the rectangle in half lengthwise to create a tube shape.
- Seam the side edge using a whip stitch or slip stitches to form the body of the hat.
- Gather the top:
- Thread a yarn needle with matching yarn.
- Weave in and out along the top edge of the tube.
- Pull tight like a drawstring to close the top.
- Secure and weave in the end.
Your base hat is now complete!
🐱 Add Hello Kitty Details
1. Eyes (Make 2):
- With black yarn:
- Magic ring, ch 1, 6 sc into ring.
- Sl st to first sc, fasten off, leave a tail for sewing.
2. Nose:
- With yellow yarn:
- Ch 4, sc in second ch from hook and next 2.
- Fasten off and shape into a small oval.
3. Bow (Pink Yarn):
Bow Center:
- Ch 5, sc in 2nd ch from hook and across. (4 sc)
- Work 3–4 rows.
- Wrap yarn tightly around the center and secure.
Or, make a simple magic ring bow:
- Into a magic ring: (ch 3, 3 dc, ch 3, sl st) twice. Pull to tighten. Wrap yarn around the center.
4. Whiskers:
- Use black embroidery thread or yarn to stitch 3 whiskers on each side of the face.
🧵 Face Assembly
- Position the facial elements on the front of the hat.
- Sew or glue the eyes, nose, and bow securely.
- Embroider whiskers with black thread in straight lines.
Optional: Add small white felt ovals under eyes for a cute highlight effect.
🎨 Customization Ideas
- Use red or lavender for the bow to change styles.
- Add a lining with fleece for extra warmth.
- Turn the base pattern into other characters (e.g., bear, bunny, frog) by modifying colors and facial details.
📸 Share Your Work!
Tag your creation on Instagram or TikTok using hashtags like #HelloKittyHat, #CrochetKittyCap, or #EasyCrochetRectangleCap to show your adorable creation to the world!
Video tutorial:
🧶 Final Thoughts
This Crochet Woven Hello Kitty Cap is proof that even simple patterns can yield charming, head-turning results. Whether you’re making it for a child, teen, or just a Hello Kitty fan, this hat is sure to bring smiles. With just a rectangle and a bit of imagination, you can create a cozy, cute cap that’s both fun and functional.


