
Crocheting bags is a fun and practical craft that allows you to create beautiful, functional accessories while improving your crochet skills. Whether you’re aiming for a casual tote, a structured handbag, or a trendy crossbody, learning how to crochet bags opens up endless possibilities for customization and creativity.
This guide will walk you through the essentials of crocheting your first bag, from tools and stitches to simple patterns and finishing techniques.

🧰 Tools and Materials You’ll Need
Before you start crocheting a bag, gather the following basic materials:
🧵 Yarn
- Cotton yarn is highly recommended for bags because it’s strong, holds shape, and has minimal stretch.
- T-shirt yarn, raffia yarn, or cording are also great choices for sturdy bags.
- Choose Category 4 (worsted) or Category 5 (bulky) for most bag projects.
🪝 Crochet Hook
- Match your hook size to the yarn label (typically 4.0mm to 6.5mm).
- Use a smaller hook if you want a tighter stitch (helps reduce stretching in bags).
Other Essentials:
- Scissors
- Stitch markers
- Tapestry needle
- Bag accessories (optional): zipper, lining fabric, handles, magnetic snaps, wooden rings

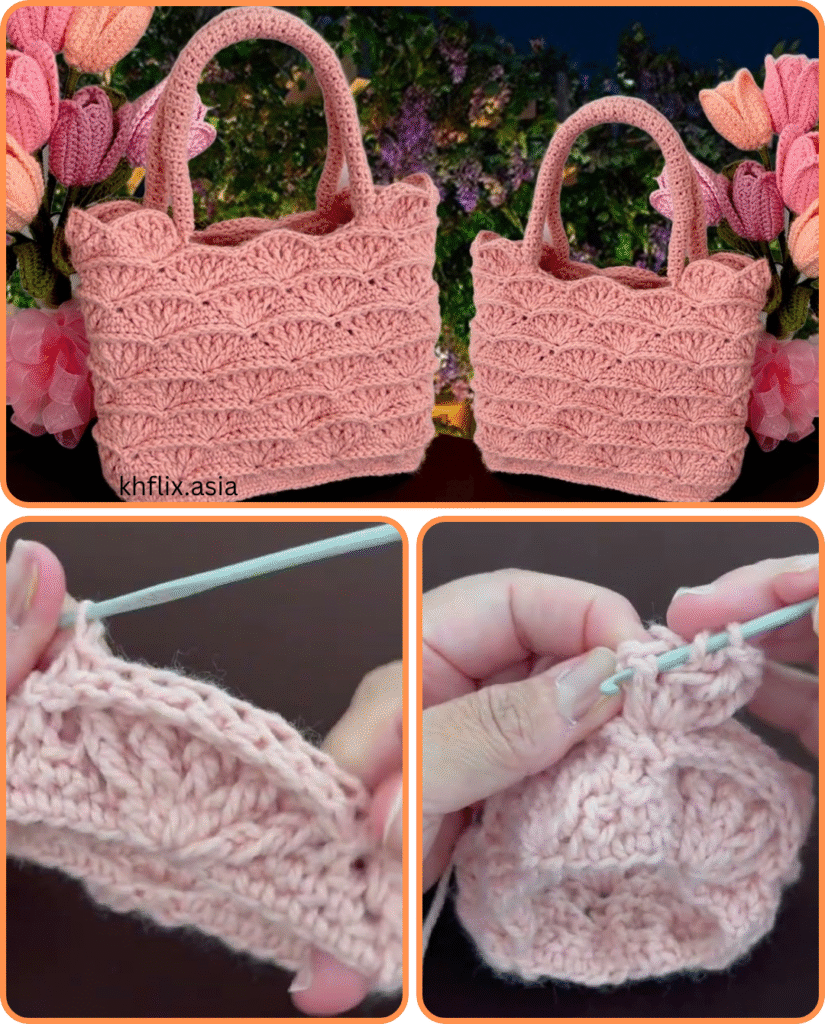
🧶 Step-by-Step: How to Crochet a Simple Bag
Let’s start with a basic rectangular tote bag, great for beginners.
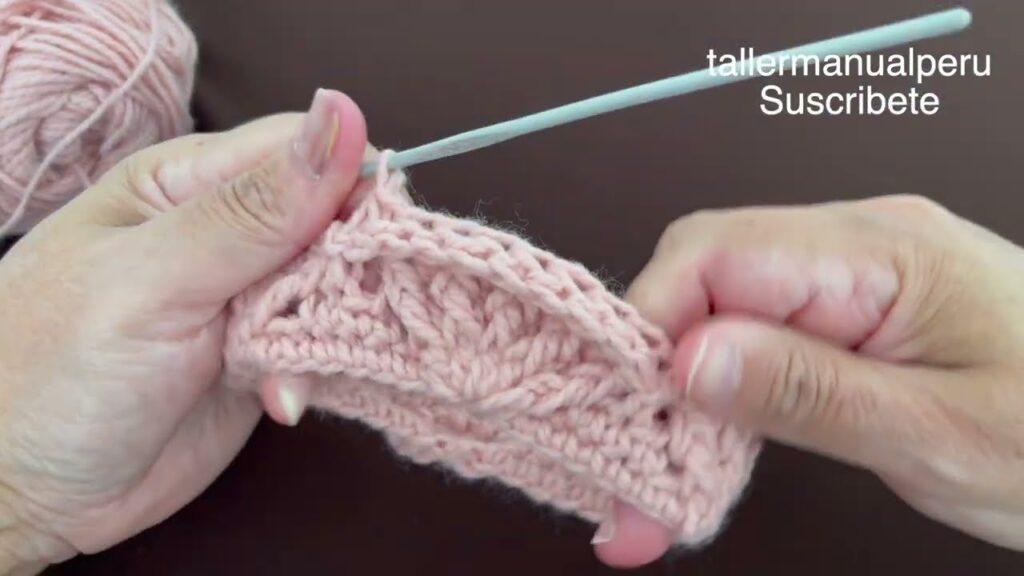
✏️ Step 1: Choose a Stitch Pattern
Here are some beginner-friendly stitches for bags:
- Single Crochet (SC) – tight, sturdy, and perfect for structured bags
- Half Double Crochet (HDC) – slightly taller, gives a nice texture
- Waistcoat Stitch – very dense, looks knit-like
- Moss/Granite Stitch – beautiful woven look
For a simple bag, start with single crochet for durability.
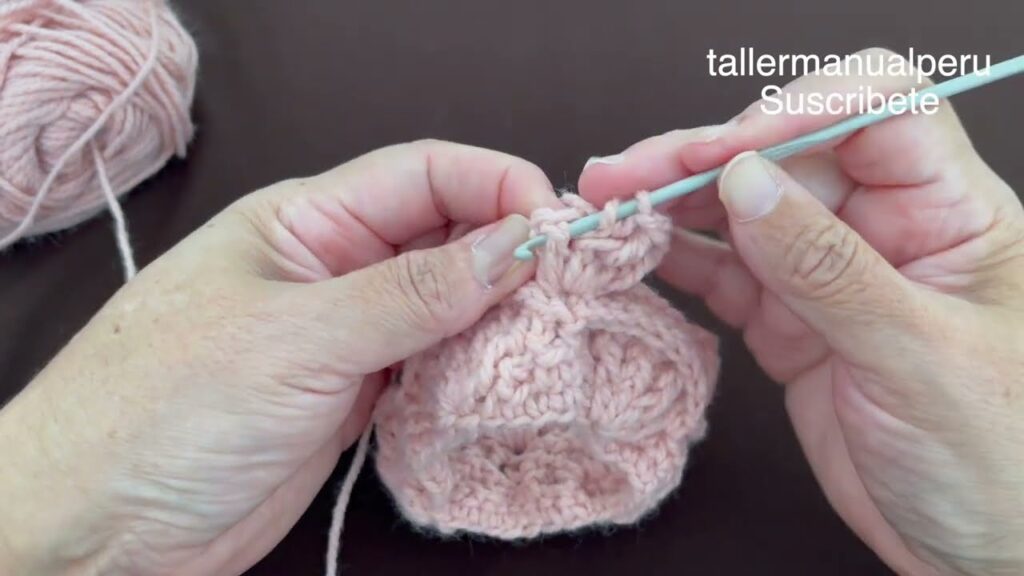
📏 Step 2: Make the Bag Base
You can choose to make:
- A flat rectangle (basic tote)
- An oval base (bucket-style bag)
Flat Base:
- Chain the desired width of your bag (e.g., 35 chains for 12”).
- Single crochet in the second chain from the hook and across.
- Chain 1, turn. Continue in rows until you reach the desired height for the base (e.g., 10 rows).
🧺 Step 3: Build the Sides
Once the base is done:
- Do not fasten off.
- Work single crochet evenly around all four edges of the rectangle.
- When you reach the corners, place 3 stitches to keep it flat.
- Continue working in continuous rounds to build up the sides (no turning).
- Keep going until the bag is the desired height.
Tip: Use a stitch marker to mark the beginning of each round.
🪝 Step 4: Add Handles
There are several ways to make handles:
Option 1: Crocheted Handles
- When you’re near the top of the bag:
- Chain 20–25 for the handle, skip the same number of stitches on the body, then continue crocheting.
- Do this on both sides for two handles.
- Reinforce with another round around the handle openings.
Option 2: Attach Ready-Made Handles
- Use leather, bamboo, or metal handles for a polished look.
- Sew or crochet them into the top edge of your bag.
🧵 Step 5: Finishing Touches
- Fasten off your yarn and weave in all ends using a tapestry needle.
- Optional: Line your bag with fabric to prevent stretching and add pockets.
- Add closures like zippers, buttons, or snaps for functionality.
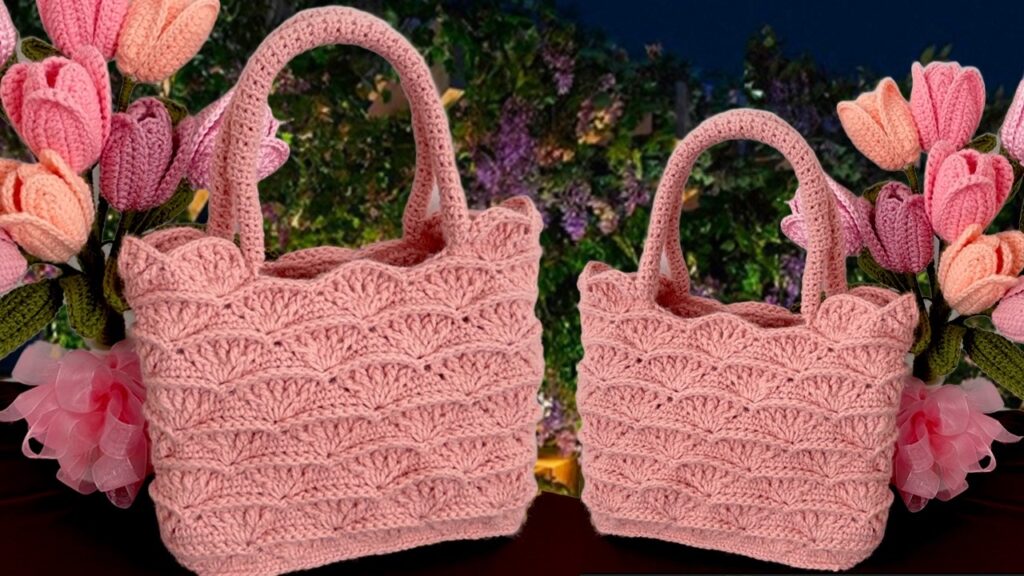
🎨 Design Ideas and Styles
Here are some styles you can explore after your first bag:
| Style | Description |
|---|---|
| Tote Bag | Simple open-top, rectangular or square, shoulder straps. |
| Crossbody Bag | Long strap, great for daily use. Use tapestry crochet for patterns. |
| Drawstring Bag | Round or rectangular base with a pull-string closure. |
| Bucket Bag | Oval base, deep body, often cinched at the top. |
| Clutch/Pouch | Small, flat, and often zippered. Great for learning new stitches. |
🪡 Tips for Success
- Use tight stitches for a sturdier bag (loose stitches will sag under weight).
- Consider adding a lining for structure and protection.
- Use durable yarn (avoid delicate or fuzzy yarns unless for aesthetics only).
- Reinforce stress points like handles with extra stitching.
- Block your bag to shape it properly after finishing.
🧵 Free & Easy Bag Pattern for Beginners (Simple Tote)
Yarn: Worsted weight cotton
Hook: 5.0 mm

1. Chain 36
2. Row 1: SC in 2nd ch from hook, SC across. (35 SC)
3. Rows 2–10: Ch 1, turn, SC across. (35 SC)
4. Round 1 (Sides): SC evenly around the entire rectangle, 3 SC in each corner.
5. Continue in rounds: SC around until the bag is 10" tall.
6. Handle Round:
   - SC 6, Ch 25 (skip next 10 sts), SC 9, Ch 25 (skip 10), SC to end.
7. Final Round: SC around, including SC into each chain of the handles.
8. Fasten off and weave in ends.
Video tutorial:
✅ Summary
Crocheting bags is a rewarding and accessible way to practice your skills while creating stylish, functional pieces. With just yarn, a hook, and a few basic stitches, you can make anything from market totes to elegant purses. As your skills grow, you can try advanced techniques like tapestry crochet, granny squares, and even felted wool bags.


