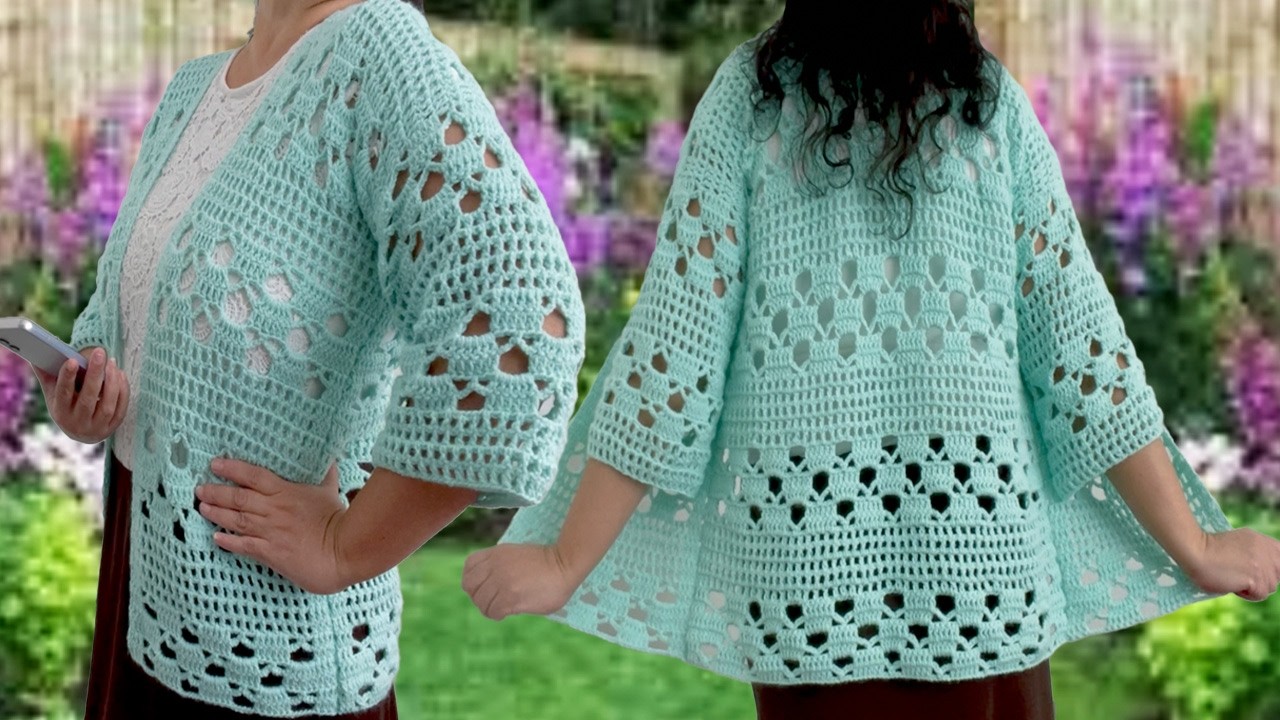
Sure! Here’s a detailed step-by-step guide on how to crochet a one-piece blouse jacket cardigan sweater – an easy tutorial especially suited for beginners who want to create a beautiful, seamless garment using basic crochet skills.
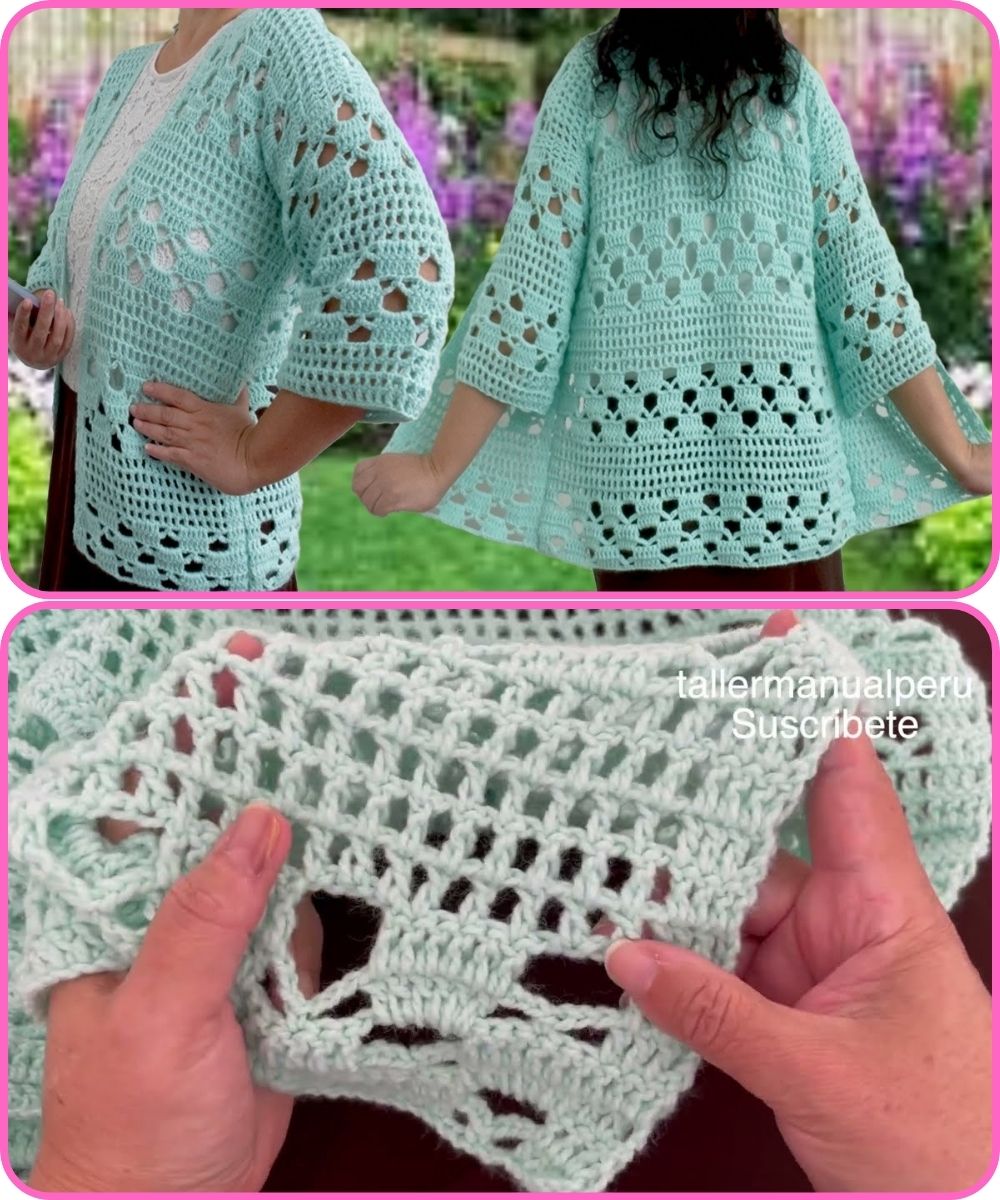
How to Make a ONE-PIECE BLOUSE JACKET CARDIGAN SWEATER (Very Easy Crochet Tutorial)
Skill Level:
Beginner to Intermediate
Estimated Time:
4–8 hours (depending on size and speed)
Materials Needed:
- Worsted weight yarn (size 4) or cotton yarn
- Approx. 800–1200 meters (varies by size)
- Crochet hook (typically 5.0 mm / H-8)
- Scissors
- Yarn needle for weaving in ends
- Stitch markers (optional)
- Measuring tape
Design Features:
- Made in one continuous piece (no seaming or attaching sleeves)
- Can be made short-sleeved or long-sleeved
- Fits loosely like a cardigan or shrug
- Customizable length and width
Sizing:
This one-piece pattern is very adjustable. You’ll crochet a large rectangle and fold it in a specific way to create sleeves and the body. Here’s how to adjust it:
| Size | Width of Rectangle | Length of Rectangle |
|---|---|---|
| S | 36 in / 91 cm | 26 in / 66 cm |
| M | 40 in / 102 cm | 28 in / 71 cm |
| L | 44 in / 112 cm | 30 in / 76 cm |
| XL | 48 in / 122 cm | 32 in / 81 cm |
Step-by-Step Instructions:
Step 1: Create a Foundation Chain
- Chain enough stitches to reach the width you want for your rectangle (see sizing table above).
- Example: For a medium size, chain ~100–110 stitches (based on your tension and yarn).
Step 2: Crochet the Body (the Rectangle)
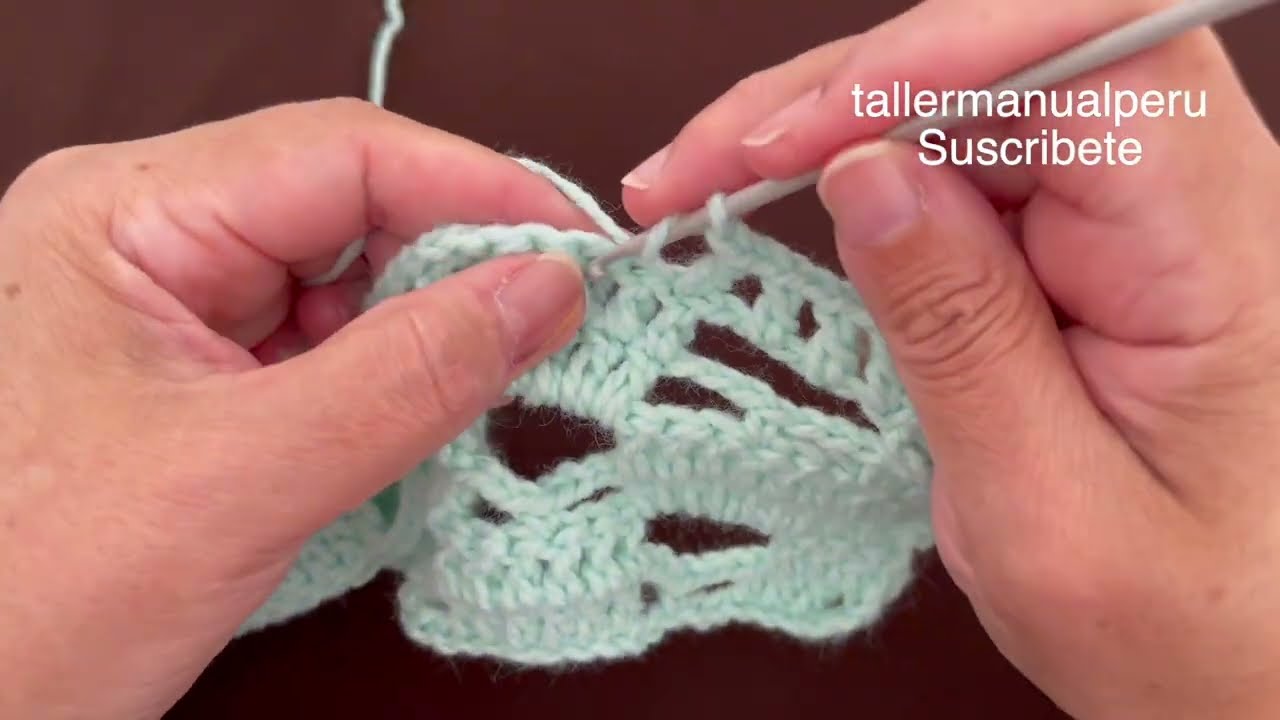
- Use any simple stitch pattern (like half-double crochet (hdc) or double crochet (dc)).
- Turn and continue working in rows until the rectangle measures the desired length.
Example Pattern (using hdc):
Row 1: Hdc in 2nd chain from hook and across, ch 1, turn.
Row 2–X: Hdc across, ch 1, turn.
Repeat Row 2 until your piece is the desired length.
You can also alternate rows with decorative stitches (e.g., mesh stitch, V-stitch) for texture.
Step 3: Fold to Create Sleeves
- Lay your finished rectangle horizontally (wider side on top/bottom).
- Fold both left and right ends toward the center, like folding a letter.
- Leave a gap in the center for the body/neck opening (about 8–12 inches depending on size).
- Seam the top edges of each folded side (about 6–8 inches inward) to create sleeves.
You can use:
- Slip stitch with hook
- Whip stitch with yarn needle
Step 4: (Optional) Add a Border
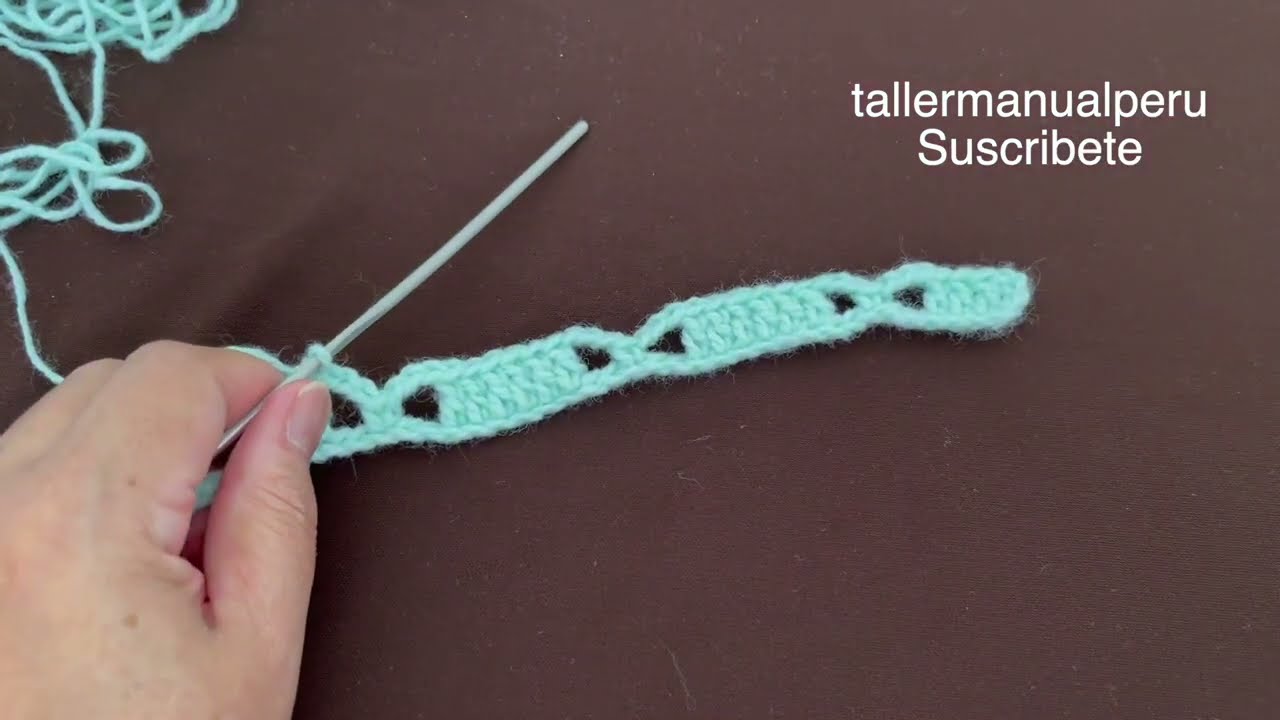
- For a finished look, add a sc or shell stitch border around:
- The sleeves
- The bottom edge
- The front opening and neck
Example border:
Round: Sc evenly around the opening, placing 2 sc in corners, join with sl st, ch 1, repeat for 2–3 rounds.
Step 5: (Optional) Add Length, Collar, or Sleeves
- Add extra rows to the bottom edge to make it longer.
- Add ribbing or a collar around the neck.
- For long sleeves: Attach yarn at armhole and crochet in the round to desired sleeve length.
Customization Ideas:
- Use gradient or ombre yarn for a beautiful fade.
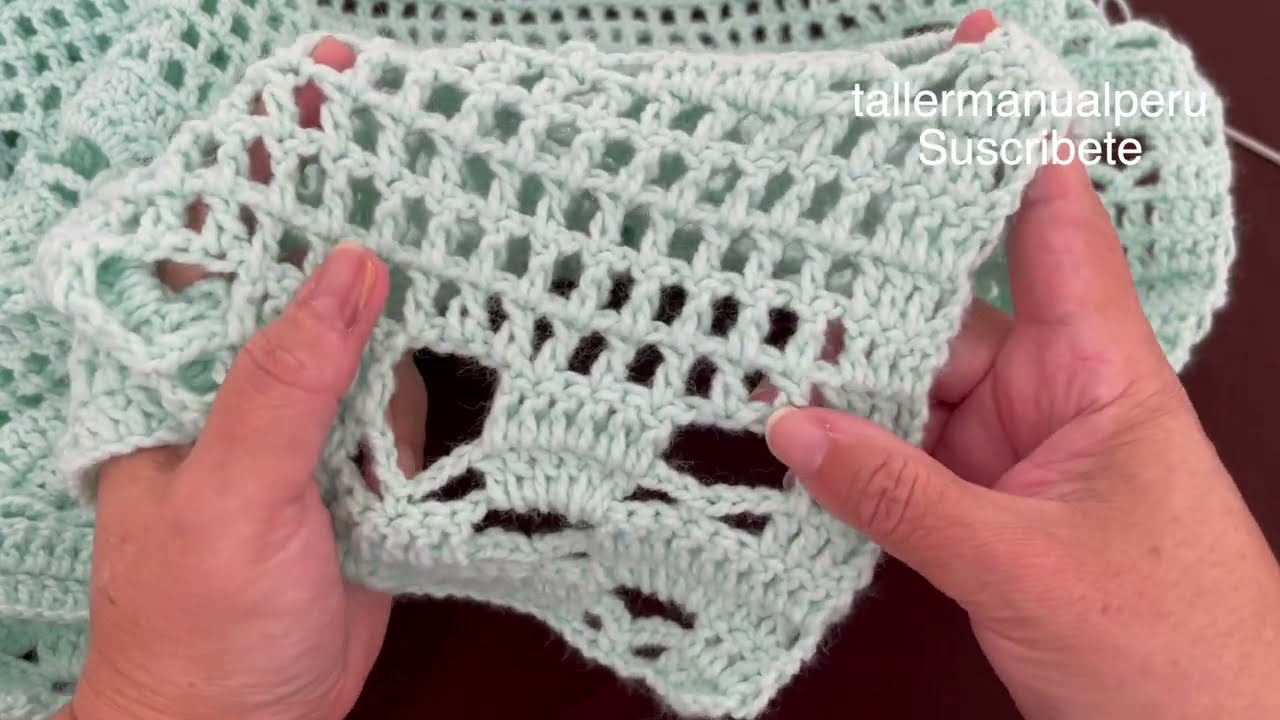
- Use lacy stitch patterns for a summer blouse.
- Add buttons or a belt for a fitted look.
- Combine different textures for a boho effect.
Video Recommendation (if needed)
If you’d like a visual tutorial, I can help you find a beginner-friendly YouTube video. Just let me know!
Watch tutorial: