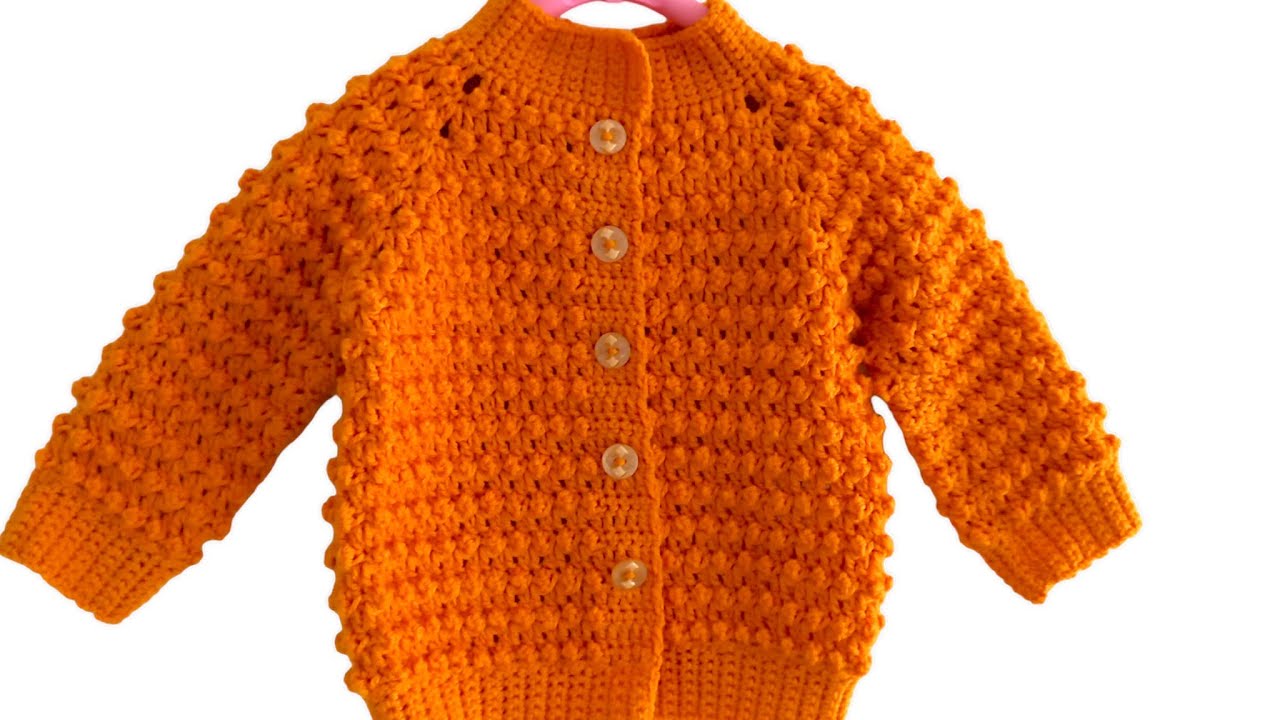
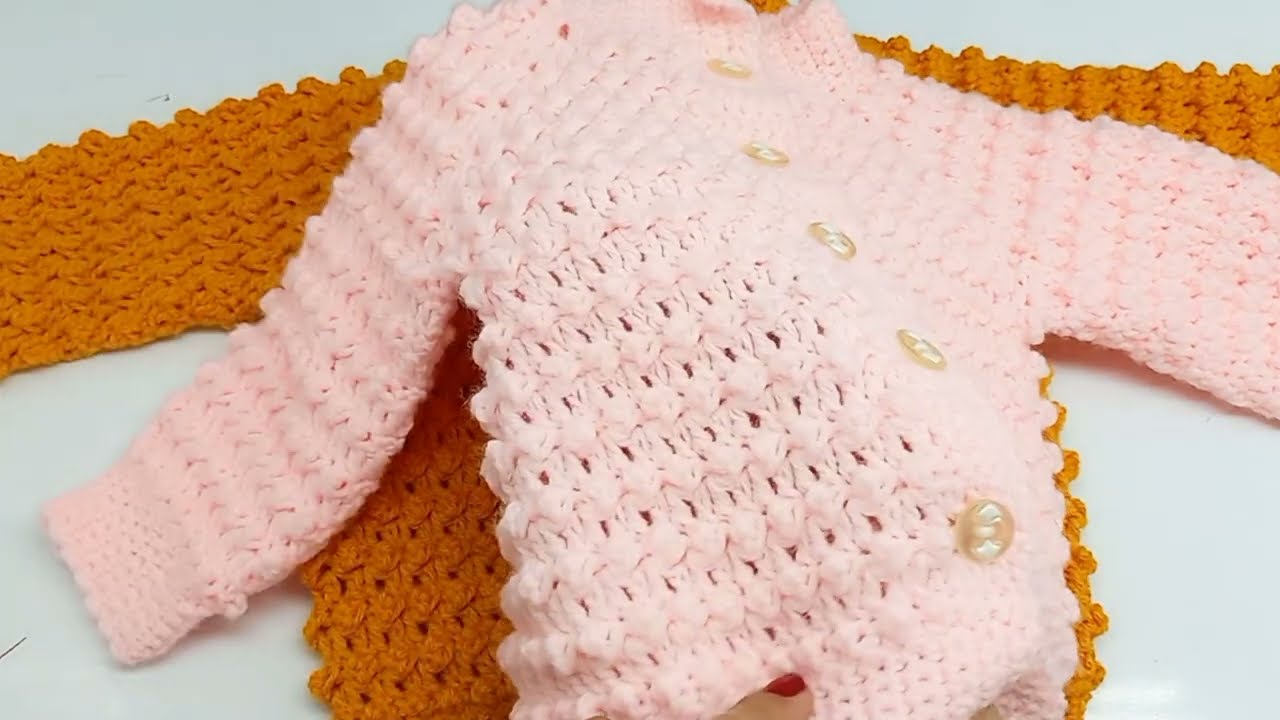
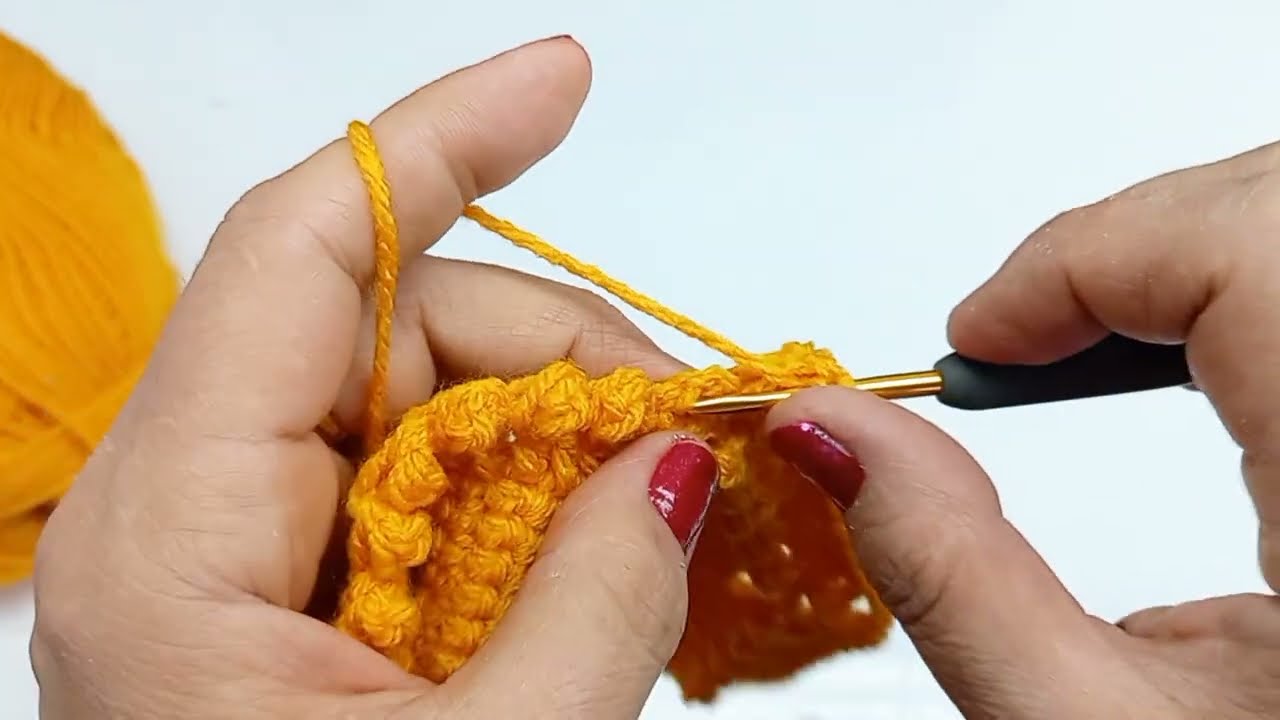
Here’s a detailed guide on how to make a crochet baby vest/cardigan/jacket model, suitable for beginners to intermediate crocheters. This model is designed for a baby aged 0-6 months, but I’ll also note how to adjust the size.
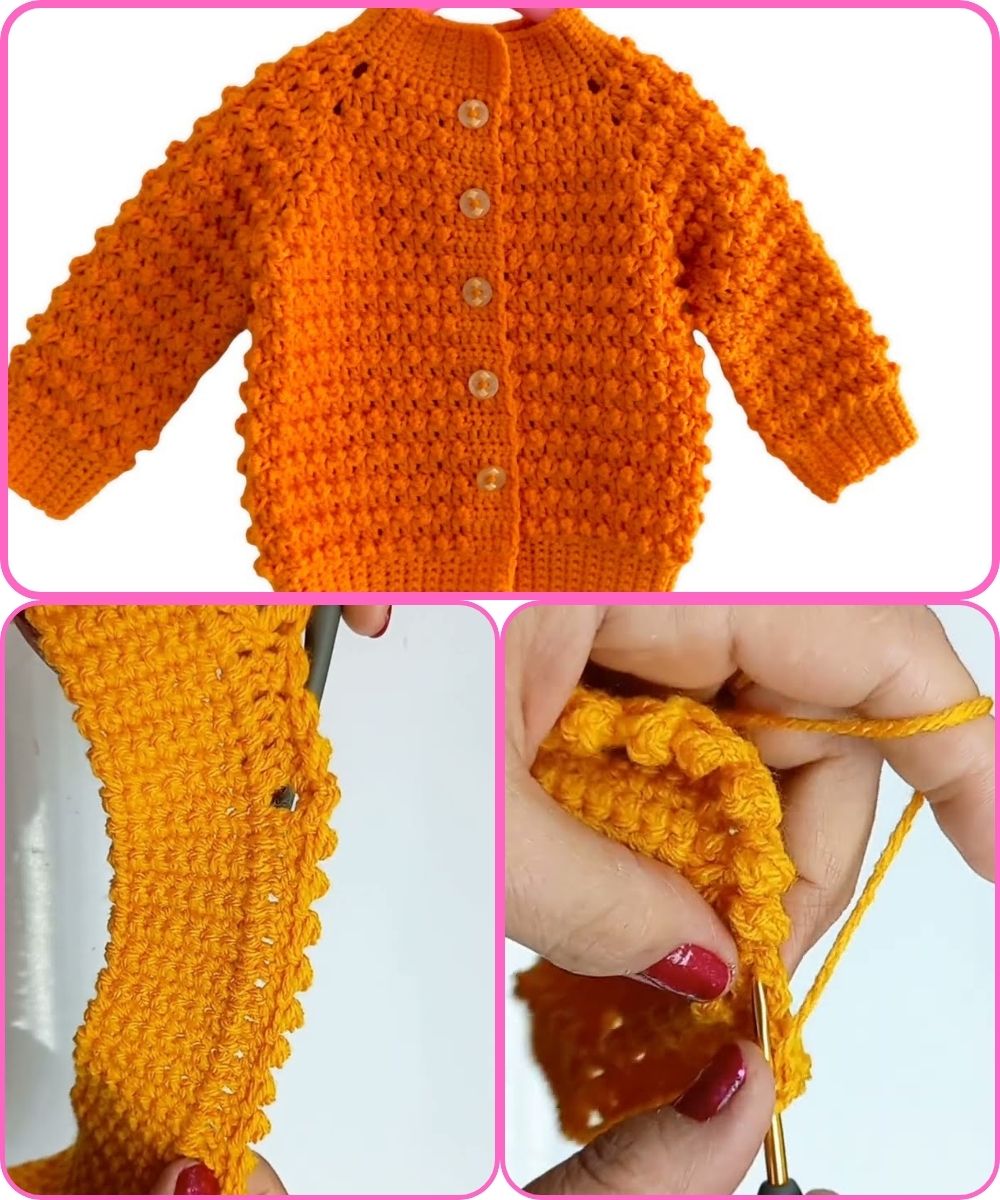
How to Crochet a Baby Vest/Cardigan/Jacket (0–6 Months)
Basic Information:
- Skill level: Beginner to Intermediate
- Techniques used: Chain, Double Crochet (US terms), Single Crochet, Slip Stitch
- Time required: ~4–6 hours depending on experience
Materials Needed:
| Item | Description |
|---|---|
| Yarn | Baby-soft yarn (e.g. acrylic or cotton blend) – DK or light worsted weight |
| Hook | 4.0 mm (US G/6) crochet hook |
| Notions | Yarn needle, scissors, 2-4 buttons (optional), stitch markers |
| Gauge (optional) | 16 dc x 8 rows = 4×4 inches (10×10 cm) |
Step-by-Step Instructions
PART 1: YOKE (Top part, worked flat)
Foundation Chain:
- Chain 56 (for 0–6 months)
Row 1 (Right Side):
- Dc in 4th chain from hook and across (54 dc)
- Ch 2, turn.
Row 2:
- Dc in first 7 stitches (front panel)
- Place stitch marker.
- Dc in next 8 stitches (sleeve)
- Place marker.
- Dc in next 14 stitches (back panel)
- Place marker.
- Dc in next 8 stitches (sleeve)
- Place marker.
- Dc in last 7 stitches (front panel)
- Ch 2, turn.
Row 3 to 9 (or desired yoke height):
- Continue increasing at each stitch marker.
- At each marked stitch, make: dc, ch 1, dc (this creates raglan increases).
- Continue to ch 2 and turn at the end of each row.
You will now have a yoke shaped like a T with defined sleeve increases.
PART 2: BODY
Separate for sleeves:
- Dc across the first front panel.
- Skip all sleeve stitches and connect to the back panel with dc.
- Dc across the back.
- Skip the second sleeve and dc across the second front panel.
You can chain 3-5 stitches under each armhole when skipping the sleeves (optional for roomier fit).
Continue Body Rows:
- Dc across the body.
- Continue for 10–12 more rows, or until desired length.
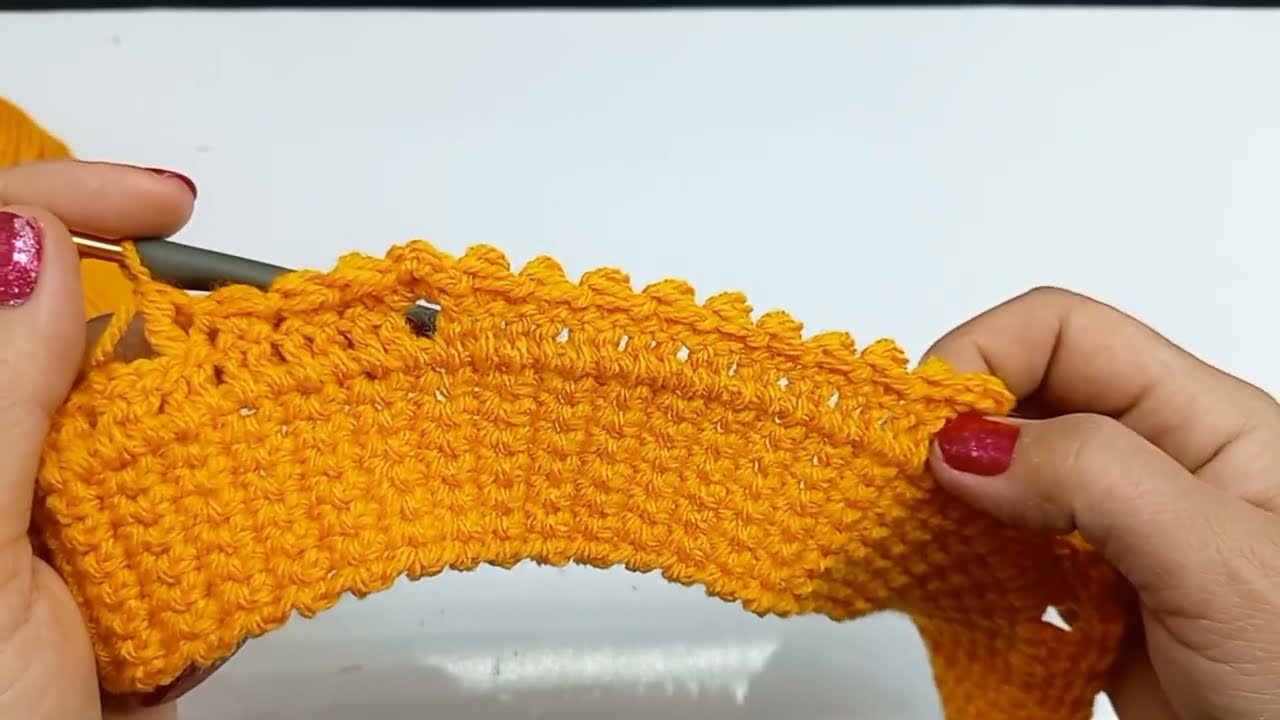
You can add a decorative row using shell stitch, picot, or front/back post stitches at the bottom.
PART 3: SLEEVES
Join yarn to sleeve opening:
- Work in rounds using dc stitches around the sleeve opening.
- Make 8–10 rounds depending on desired sleeve length.
- Optional: taper sleeves by doing a decrease every 2-3 rounds near the wrist.
You can finish sleeves with a ribbed edge or shell stitch for style.
PART 4: COLLAR & BUTTON BAND
Collar:
- Attach yarn at the neckline.
- Sc evenly around the neck.
- Work 2–4 rows of sc for a simple collar, or use ribbed/fan stitch for style.
Button Band:
- Down the front edge, sc evenly along the edge.
- Work 3–5 rows.
- On one side (usually right side for girls, left for boys), make buttonholes: ch 2, skip 2 stitches where buttons go.
- On the opposite side, no holes needed.
Sew on buttons to match.
Sizing Adjustments:
| Size | Starting Chain | Yoke Rows | Body Rows |
|---|---|---|---|
| 0–3 mo | 52 | 7–8 | 10 |
| 6–9 mo | 60 | 9 | 12 |
| 12 mo | 64 | 10 | 14 |
Adjust hook size and yarn weight if needed.
Finishing Touches
- Weave in all ends with yarn needle.
- Lightly block the cardigan to shape it.
- Add decorative touches like appliqués, bows, or edging if desired.
Tips
- Use stitch markers generously during the yoke phase.
- Make swatches to test your tension.
- Cotton yarn is breathable for summer; acrylic is warmer for winter.
Watch tutorial:


