Sure! Below is a detailed step-by-step guide on how to make a crocheted beautiful patterned knitted salopet (overall) dress. This project is suitable for intermediate crocheters or knitters who are familiar with basic techniques and want to create a stylish, handmade garment.
How to Make a Crocheted Beautiful Patterned Knitted Salopet Dress
Overview
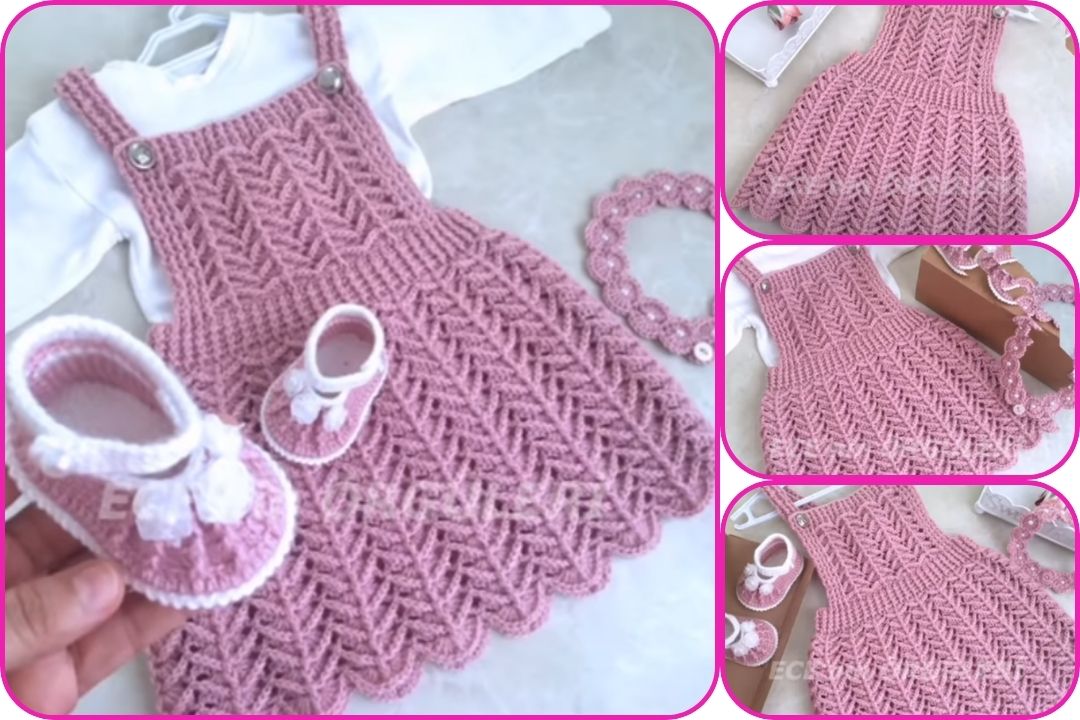
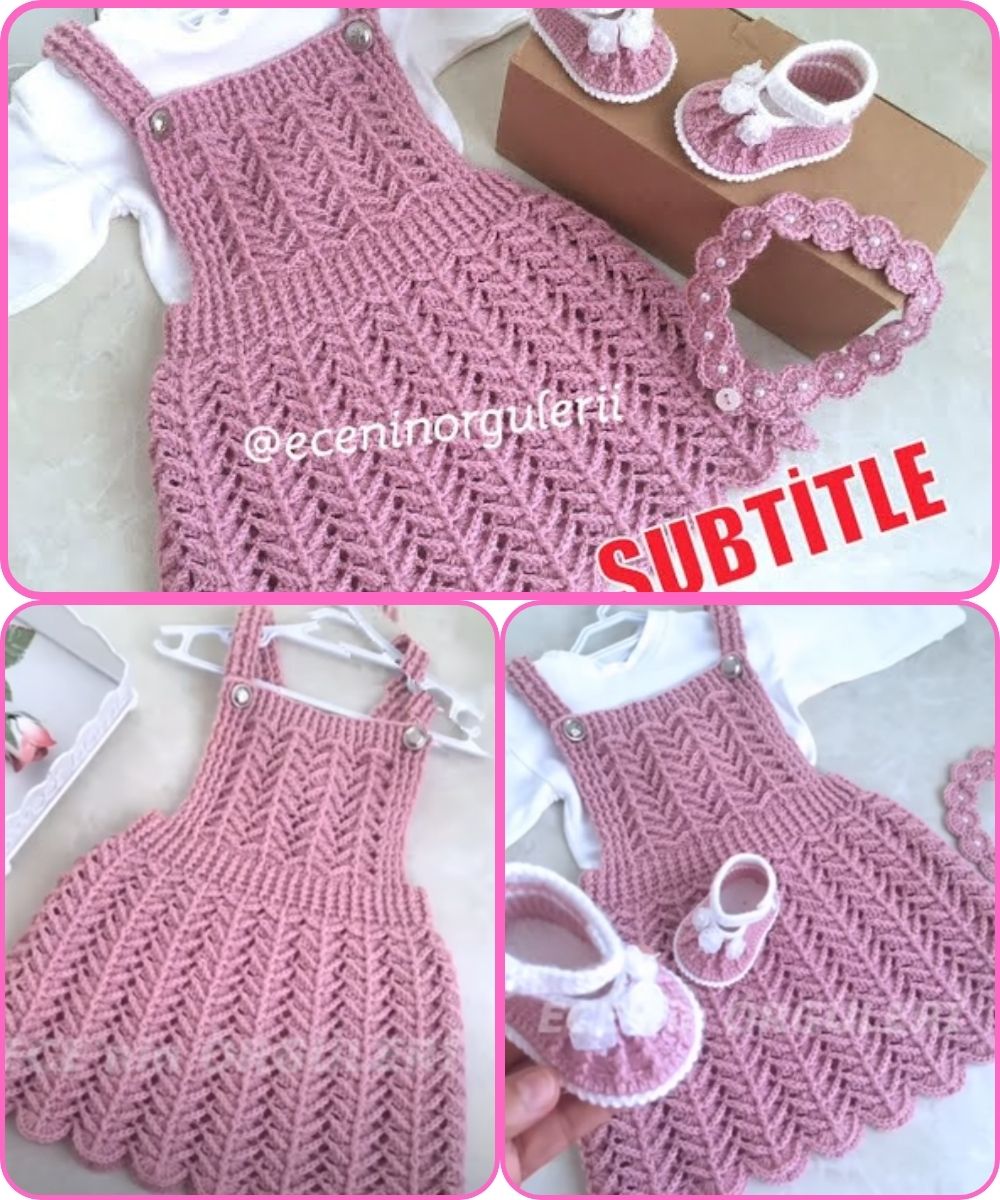
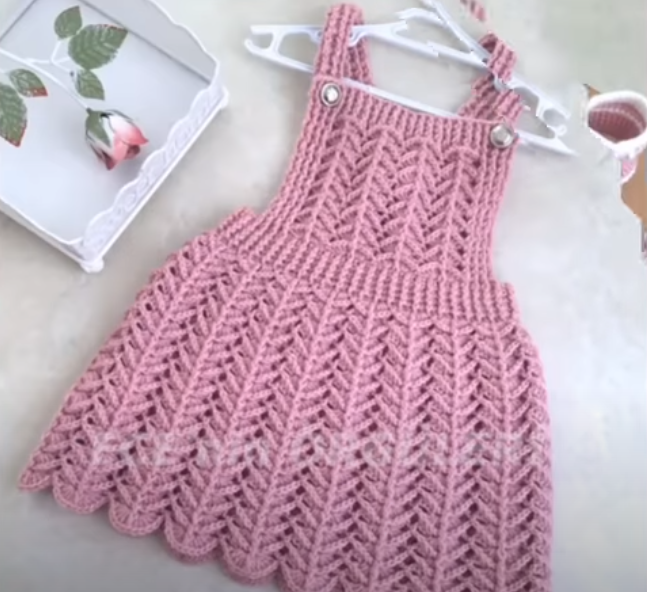
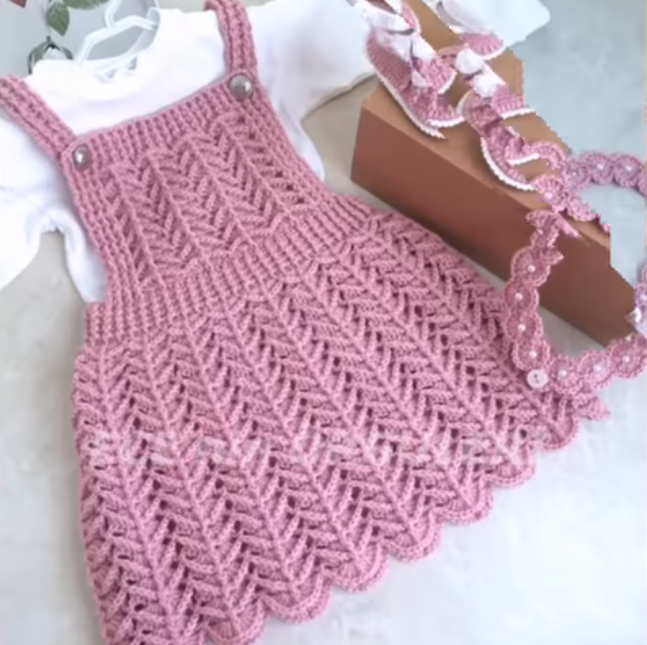
A salopet dress (or overall dress) is a sleeveless dress with straps (like overalls) worn over a shirt or blouse. In this version, we combine crochet for decorative patterns and knit fabric for structure, offering both beauty and comfort.
Materials Needed
- Yarn: DK (Double Knitting) or worsted weight cotton/acrylic blend yarn (300–500g depending on size)
- Crochet Hook: 4.0 mm (G) or as needed for your tension
- Knitting Needles: Circular needles (4.0 mm) or straight needles
- Buttons: 2–4 large buttons for straps
- Scissors
- Tapestry needle
- Stitch markers
- Measuring tape
- Pattern chart (optional) for a decorative crochet motif (like shells, fans, or lace)
Skills Required
- Basic crochet stitches: chain, single crochet, double crochet
- Basic knitting: cast on, knit, purl, increase/decrease
- Joining crochet motifs
- Seaming and shaping
Step-by-Step Instructions
1. Take Measurements
Measure the following:
- Bust
- Waist
- Hips
- Length from waist to hem
- Length from top of chest to desired hem (for the full salopet)
- Strap length
2. Plan Your Design
Decide:
- Top panel: Knitted or crocheted?
- Skirt portion: Knitted for drape
- Decorative inserts: Crochet lace, granny squares, or shell stitch panels
- Straps: Usually crocheted for strength
Sketch a rough idea or follow a pattern if available.
3. Start with the Skirt (Knitted)
Option A: Knit in the round
- Cast on the number of stitches based on your waist circumference.
- Join in the round and work in ribbing (1×1 or 2×2) for 1–2 inches for a snug waist.
- Switch to stockinette stitch (knit all rounds) and increase gradually to the hip.
- Continue until you reach the desired length.
Option B: Knit flat (front and back panels)
- Cast on and knit the front and back separately.
- Add increases after the waistband for an A-line shape.
4. Create the Bib/Top Part (Crochet or Knit)
- Crochet a rectangular panel to cover the chest area (approx. 6–8 inches long and the width of the bust).
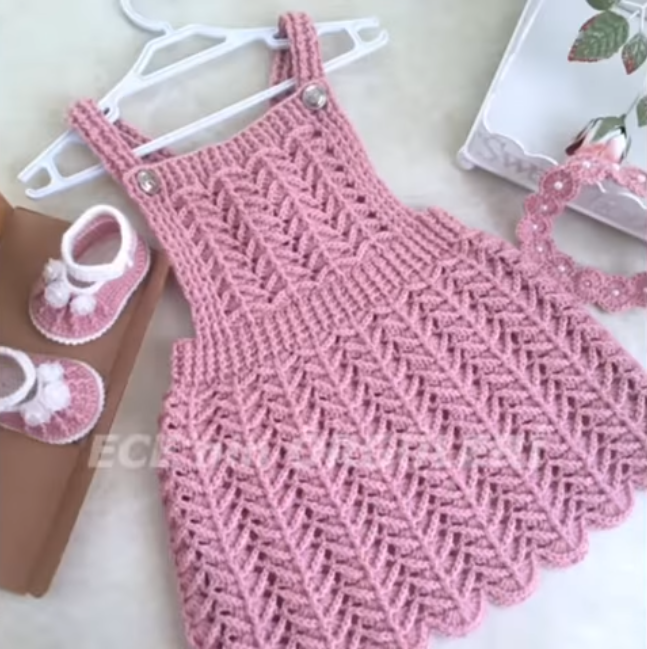
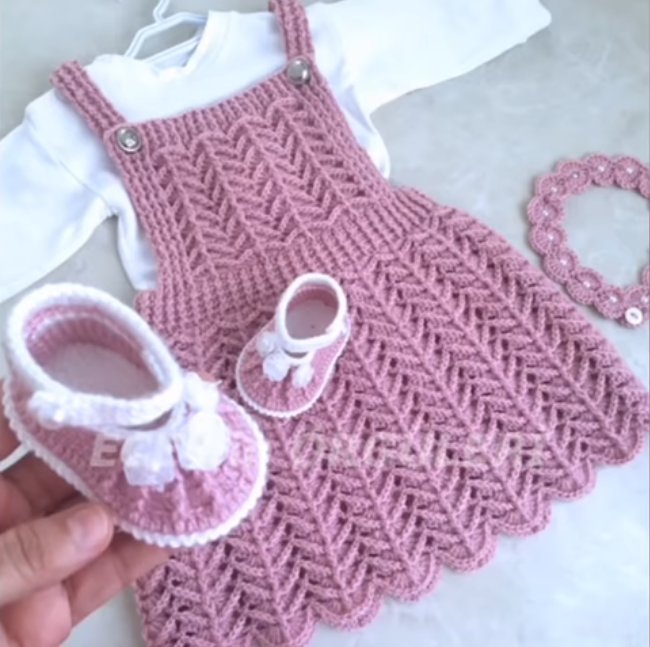
- Use a decorative crochet stitch (e.g., shell stitch, fan stitch, lace clusters).
- Alternatively, use knit stockinette with a lace crochet edging.
5. Crochet the Straps
- Make 2 straps using a tight stitch like single crochet for sturdiness.
- Strap length: Usually 10–14 inches (adjust based on wearer).
- Attach buttons to the front bib; sew buttonholes at strap ends.
6. Add Decorative Crochet Panels (Optional)
- Insert granny square or lace motifs between the bib and skirt.
- You can also edge the hem or bib with a shell stitch or picot crochet for a feminine touch.
7. Assemble the Dress
- Seam the skirt sides if knit flat.
- Attach the bib to the front waistline.
- Attach the straps to the back waistline or top edge of the back panel.
- Add button closures.
8. Finishing Touches
- Block the entire garment for smoothness and correct sizing.
- Weave in all loose ends.
- Add lining (optional) if you want extra comfort or modesty.
Pattern Ideas for Crochet Inserts
| Pattern Name | Where to Use | Difficulty |
|---|---|---|
| Shell Stitch | Hemline or bib edging | Easy |
| Granny Squares | Waist insert or full bib | Medium |
| Pineapple Lace | Side panels or hem | Advanced |
| Fan Stitch | Entire top bib or straps | Medium |
Watch tutorial:


