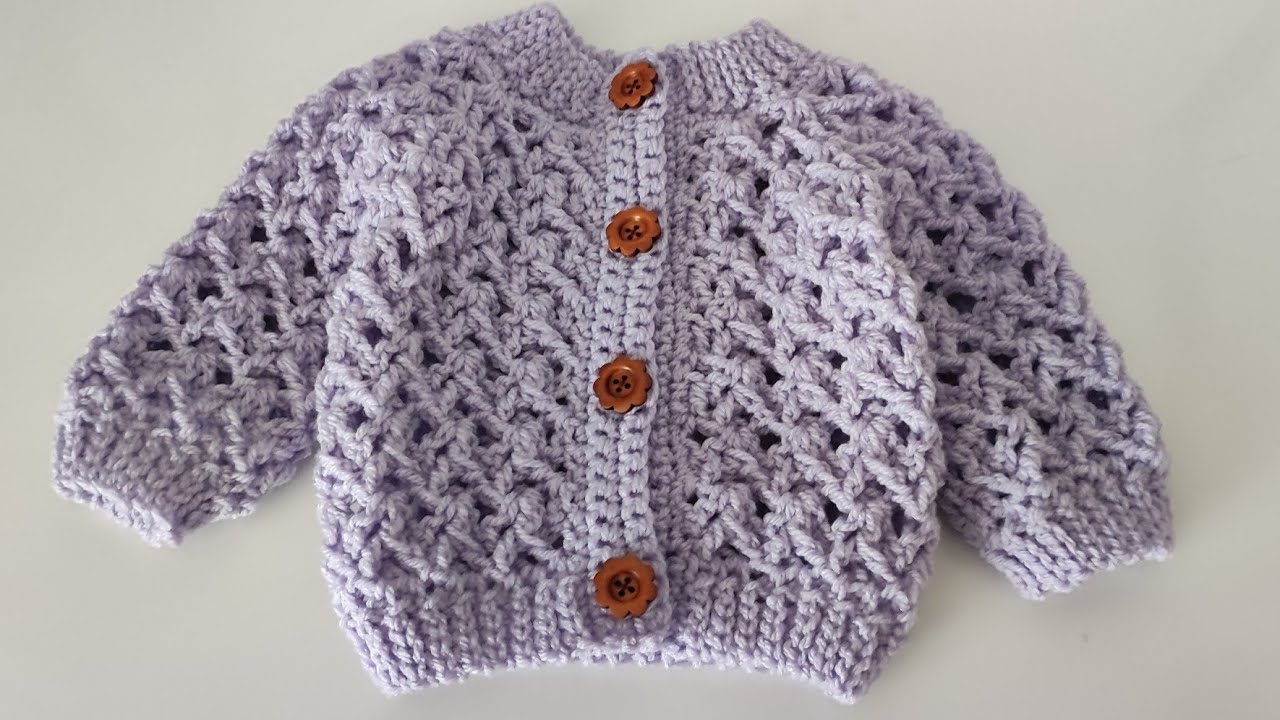
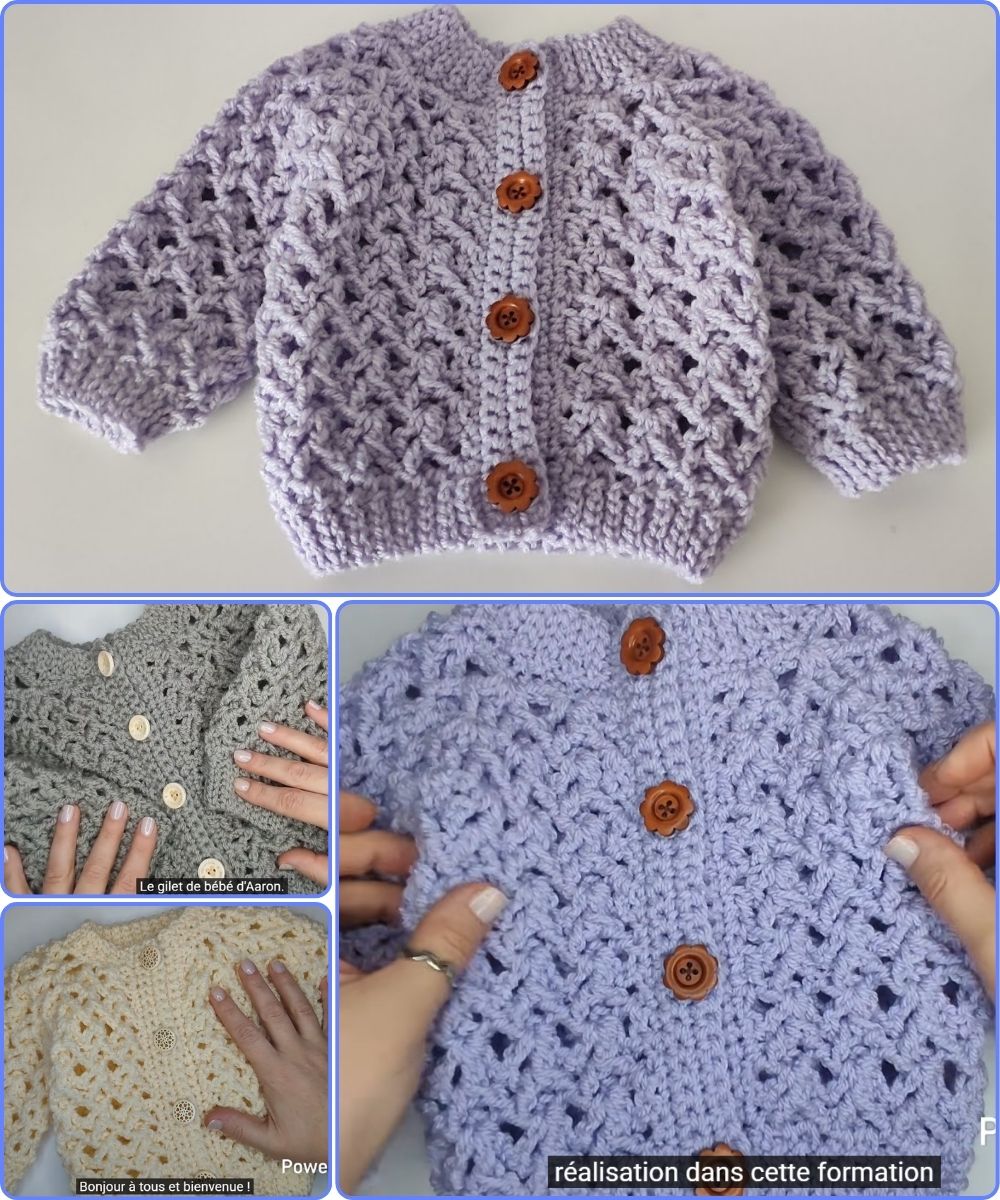
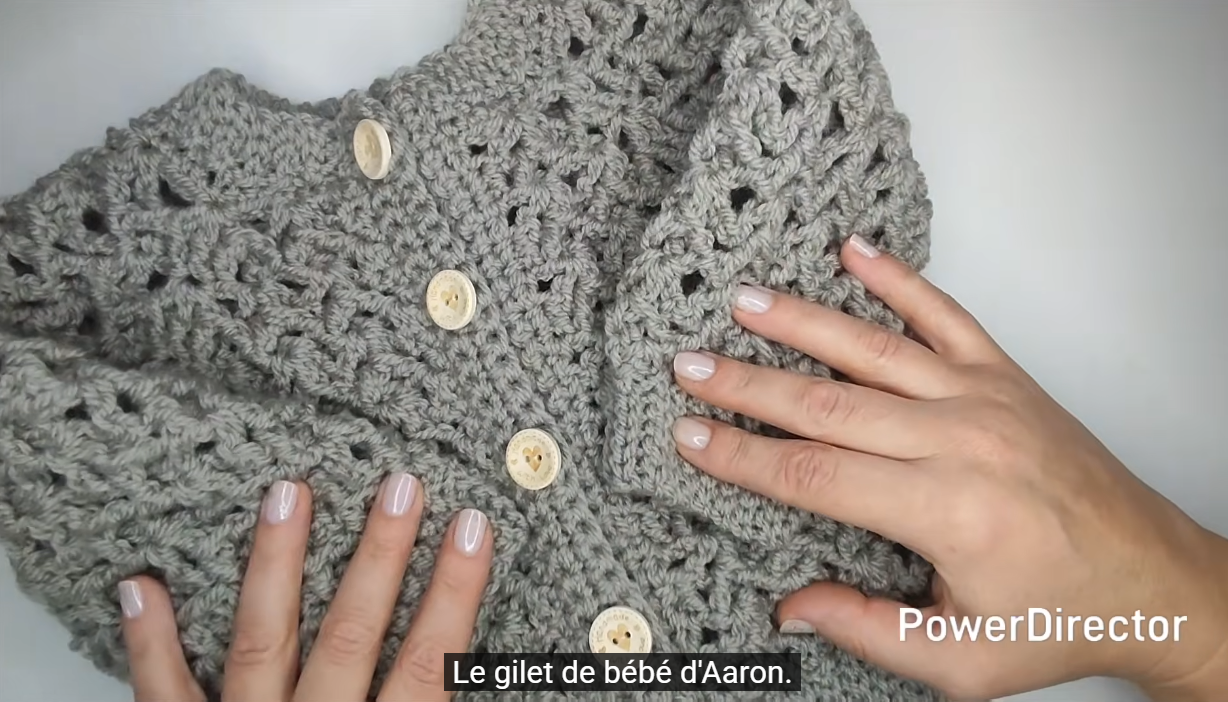
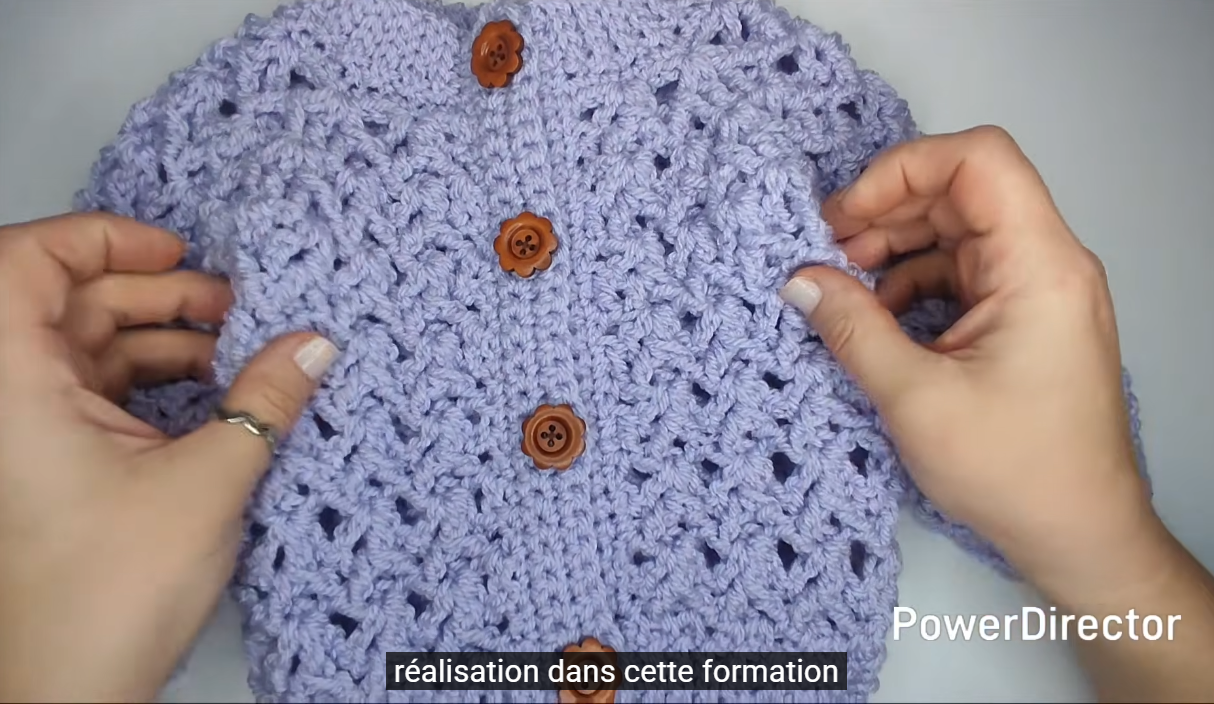
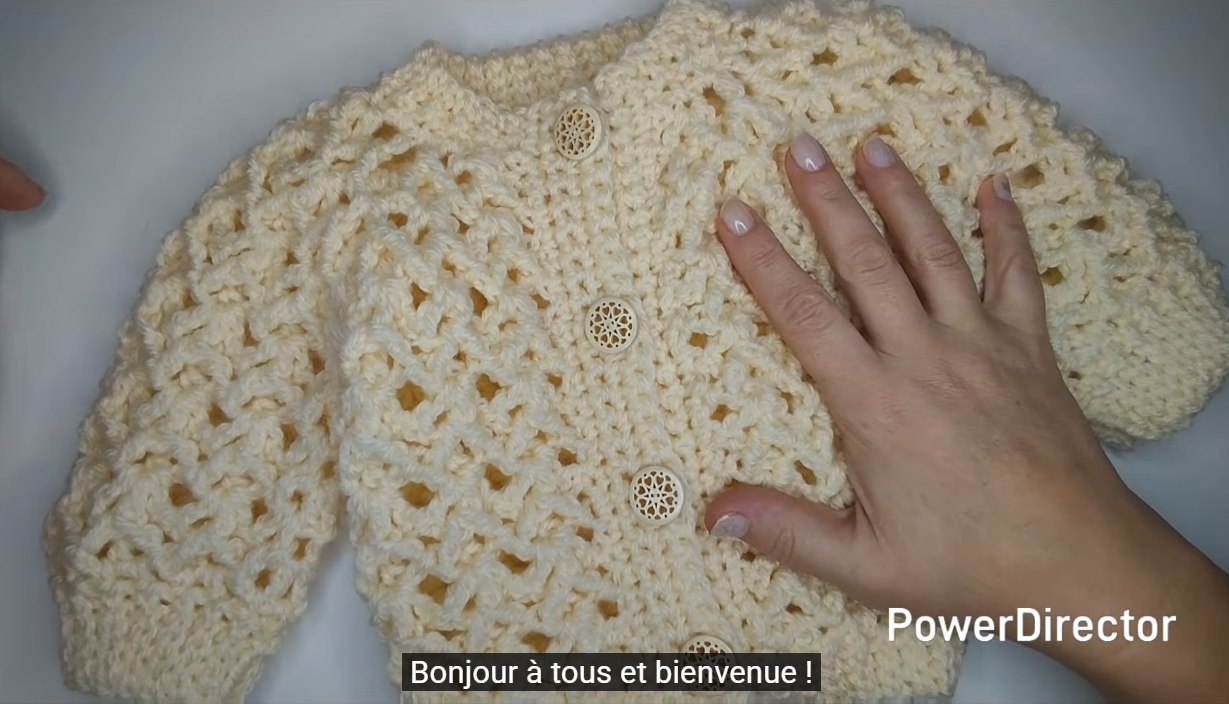
Here’s a detailed, step-by-step guide to making a textured Aran baby sweater. Aran sweaters are known for rich texture—cables, bobbles, moss stitch, and braided patterns—traditionally inspired by Irish knitwear. When crocheted, we recreate that beautiful depth using front/back post stitches and textured techniques.
How to Crochet a Textured Aran Baby Sweater
Materials
- Yarn: Aran (worsted) weight yarn (100% wool or soft acrylic for babies)
Approx. 400–600 yards depending on size - Hook: 5.0 mm (H/8) or size needed for gauge
- Stitch markers
- Yarn needle
- Scissors
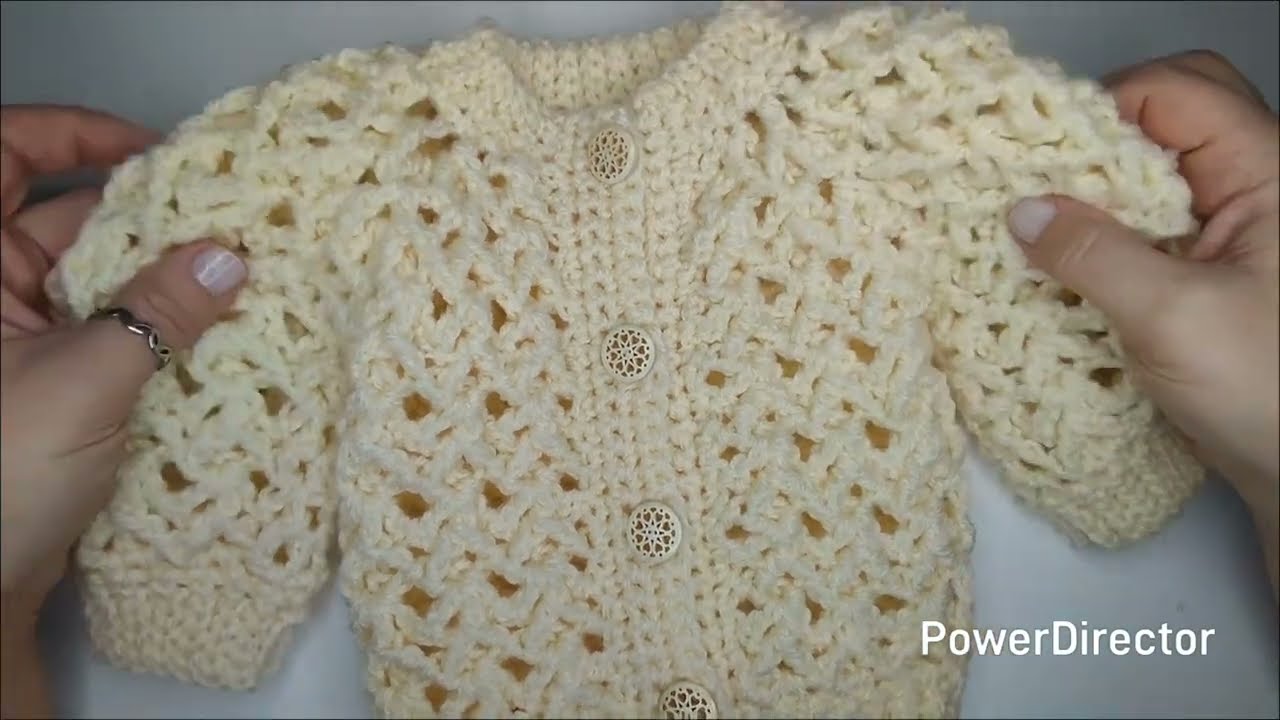
- 3–5 small buttons (optional, for cardigan version)
Sizes (Example Guide)
- 0–3 months
- 3–6 months
- 6–12 months
Adjust stitch counts based on chest measurement.
Example chest size for 3–6 months: ~18–20 inches.
Common Stitches Used
To achieve that classic Aran texture, you’ll use:
- Chain (ch)
- Slip stitch (sl st)
- Single crochet (sc)
- Half double crochet (hdc)
- Double crochet (dc)
- Front post double crochet (FPdc)
- Back post double crochet (BPdc)
- Cable stitch (crossed FPdc)
- Moss stitch (sc, ch 1 repeat)
Front and back post stitches create the raised cable look typical in Aran garments.
Step 1: Create the Back Panel
- Foundation Chain:
Chain enough stitches to match baby chest width (e.g., 32–40 chains). - Ribbing (Bottom Band):
- Row 1: hdc in 2nd chain from hook, across.
- Row 2+: Work in back loop only (BLO) for 6–8 rows to create stretchy ribbing.
- Body Pattern:
Switch to textured Aran stitch pattern:Example pattern repeat:- 4 dc
- 2 FPdc (cable start)
- 2 BPdc
- 2 FPdc (cross over previous FPdc for cable effect)
- 4 dc
- Continue until piece measures from waist to underarm.
- Armholes:
Decrease 2 stitches at beginning of next 2 rows.
Continue straight until shoulder height. - Fasten off.
Step 2: Front Panels (Make 2)
If making a pullover, make one full front panel.
If making a cardigan, make two half-width panels.
Repeat same ribbing and body pattern as back.
For cardigan:
- Add 2–3 extra stitches along inner edge for button band.
- Keep edge straight (no cable too close to button edge).
Shape armholes same as back.
For neckline:
- When reaching neck height, decrease gradually at inner edge.
- Continue until shoulder matches back panel.
Step 3: Sleeves
- Chain for sleeve cuff (20–24 stitches typical).
- Work ribbing in BLO for 5–7 rows.
- Join to work in rows or rounds.
- Increase 1 stitch every 3–4 rows to widen sleeve.
- Continue until desired sleeve length.
- Fasten off.
Make two.
Step 4: Assembly
- Block pieces lightly (optional but recommended).
- Sew shoulders together.
- Attach sleeves to armholes.
- Sew side seams and sleeve seams.
Use mattress stitch for neat seams.
Step 5: Neckline Ribbing
- Attach yarn at neck edge.
- Work sc evenly around neckline.
- Switch to FPdc/BPdc ribbing for 3–5 rounds.
- Fasten off.
Step 6: Button Band (Optional)
For cardigan:
- Attach yarn to front edge.
- Work sc evenly down edge.
- On one side, create buttonholes:
- ch 1, skip 1 stitch, continue pattern.
- Sew buttons to opposite side.
Tips for Beautiful Aran Texture
- Keep tension even—cables show best with consistent stitches.
- Use stitch markers to track cable sections.
- Soft wool blends show texture beautifully.
- Light blocking enhances cable definition.
- Avoid overly bulky yarn for babies—comfort is key.
Simple Cable Stitch (Crochet Version)
To create a 4-stitch cable:
Row 1: FPdc around next 4 stitches
Row 2: Skip 2 stitches, FPdc around next 2 stitches, then go back and FPdc around skipped stitches (crossing effect)
Repeat every 4–6 rows for defined cables.
Customization Ideas
- Add bobbles between cables
- Use moss stitch panels for contrast
- Add hood instead of collar
- Make matching booties and hat
- Add wooden buttons for classic Aran look
Watch tutorial:


