Crocheting is a beautiful and relaxing craft that allows you to create stylish and practical items with just a hook and some yarn. One of the most popular and easy projects for beginners is a crochet phone bag—a small, trendy, and functional accessory that helps you keep your phone close while freeing up your hands.
Whether you’re brand new to crochet or just looking for a fun afternoon project, this easy crochet phone bag tutorial will walk you through each step, from choosing materials to adding the final touches.

🧶 Why Make a Crochet Phone Bag?
A crochet phone bag is:
- Beginner-friendly: Uses basic stitches and simple construction.
- Practical: Perfect for carrying your phone, keys, or small essentials.
- Customizable: Adjust the size, color, or add embellishments.
- Eco-friendly: A reusable and sustainable alternative to synthetic pouches.
- Fashionable: Great for casual outings, festivals, or travel.
🧵 Materials You’ll Need
Before you begin, gather the following supplies:
| Item | Recommendation |
|---|---|
| Yarn | Medium weight (Worsted/Category 4) cotton or acrylic yarn |
| Crochet Hook | 4.0 mm – 5.0 mm (US G/6 to H/8), depending on your yarn |
| Scissors | Any sharp pair |
| Tapestry Needle | For weaving in ends and sewing if needed |
| Stitch Markers | Optional, but helpful for tracking rounds |
| Button or Snap | Optional closure for the flap or top |
| Strap Material | You can crochet a strap or use leather, cord, or a chain |
📏 Finished Size
This tutorial will guide you to make a phone bag that fits most standard smartphones (approx. 6.5” height x 3.5” width), but it can easily be adjusted by changing the starting chain length and number of rounds.
🔤 Abbreviations (US Terms)
| Abbreviation | Meaning |
|---|---|
| ch | chain |
| sc | single crochet |
| hdc | half double crochet |
| sl st | slip stitch |
| st(s) | stitch(es) |
| rnd(s) | round(s) |
🧰 Basic Skills Required
If you’re new to crochet, here are the skills you’ll be using:
- How to chain (ch)
- How to single crochet (sc)
- How to half double crochet (hdc)
- Working in the round
- How to increase (2 stitches in one stitch)
- How to seam (optional)
🪡 Easy Crochet Phone Bag – Step-by-Step Instructions
✅ Step 1: Create the Base
We’ll start by crocheting the bottom base in an oval shape.
- Foundation Chain:
Chain 11 (or adjust to the width of your phone + a little extra). - Round 1:
- In 2nd ch from hook, sc 1.
- Sc in each of next 8 ch.
- 3 sc in last ch (this curves around the end).
- Now continue on the other side of the chain: sc in next 8 ch.
- 2 sc in last ch (same one you started with).
- Join with sl st to first sc. (Total: 22 sc)
- Round 2:
- Ch 1, sc in same st.
- Sc in next 8 sts, 2 sc in next 3 sts (the curved end).
- Sc in next 8 sts, 2 sc in last 2 sts.
- Sl st to join. (Total: 28 sc)
You can make more rounds here if you want a wider base.
✅ Step 2: Crochet the Body
We’ll now work upward in rounds to create the walls of the bag.
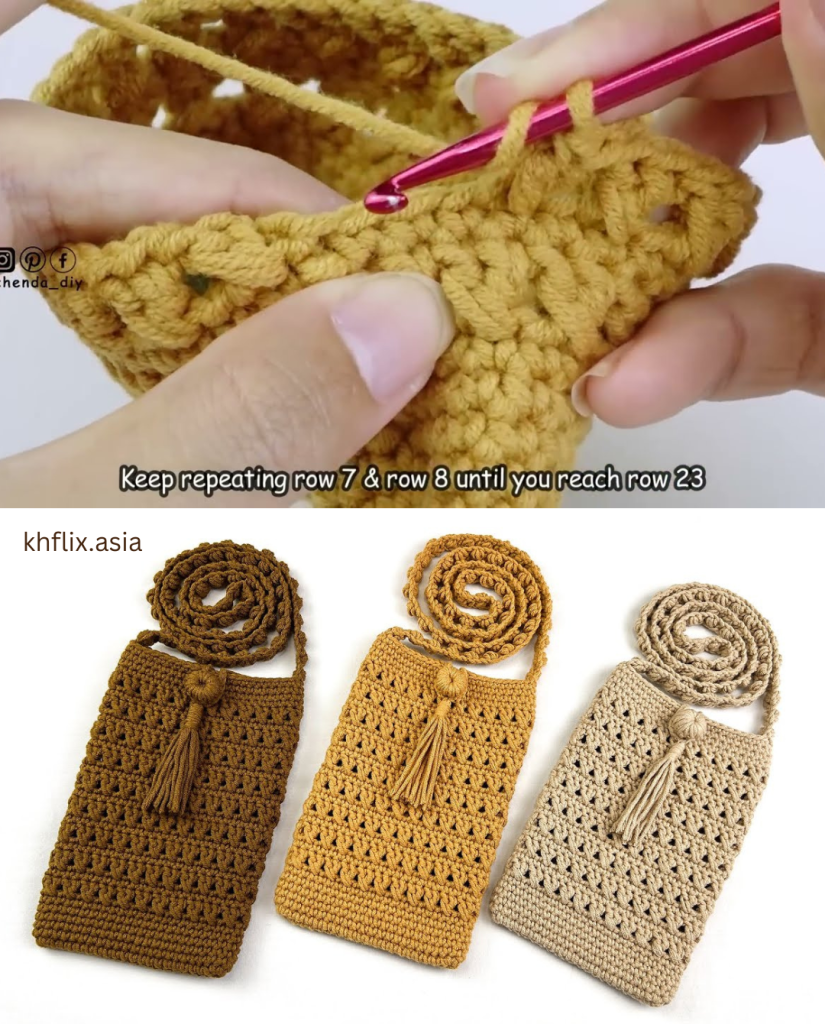
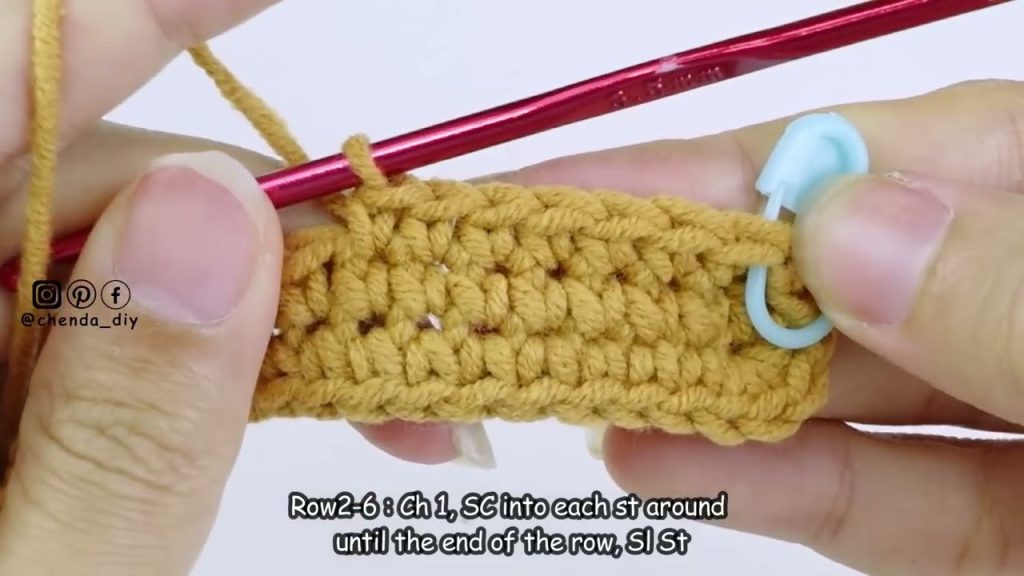
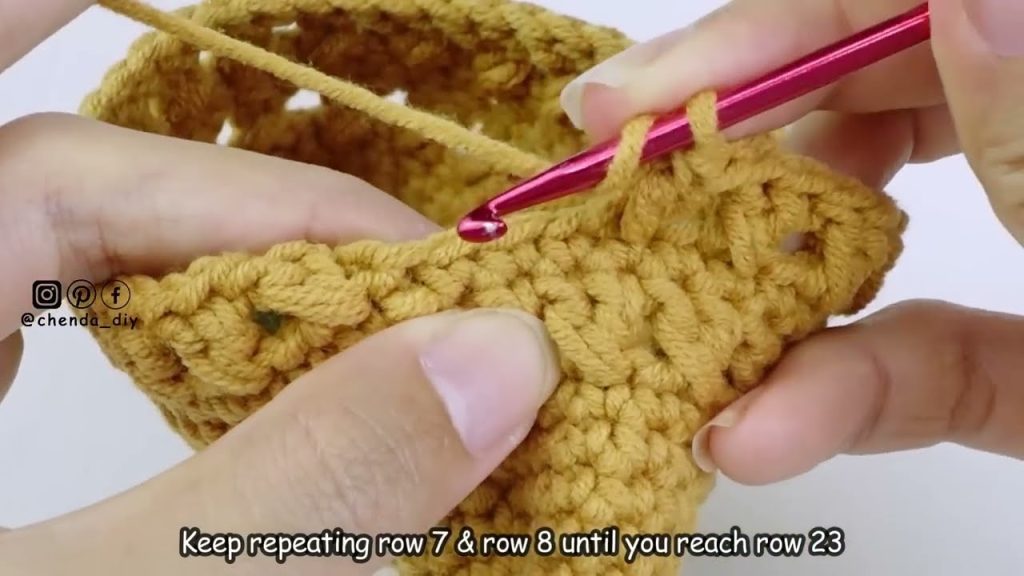
- Round 3 and Onward:
- Ch 1, sc in each stitch around.
- Sl st to join.
- Repeat this round until your bag reaches desired height (about 6.5” for most phones).
💡 TIP: Want a more textured look? Alternate rows with hdc or try working in back loops only (BLO).
✅ Step 3: Optional Flap
If you want to add a flap closure:
- After finishing the last round of the bag, do not fasten off.
- Ch 1, turn.
- Sc across the back half (or a little more than half) of the top stitches (about 14 stitches).
- Turn, ch 1, sc across.
- Repeat until the flap is about 2.5–3 inches.
- To taper the flap, decrease 1 stitch at each end for the last few rows.
You can now add a buttonhole by chaining and skipping stitches in the second-to-last row.
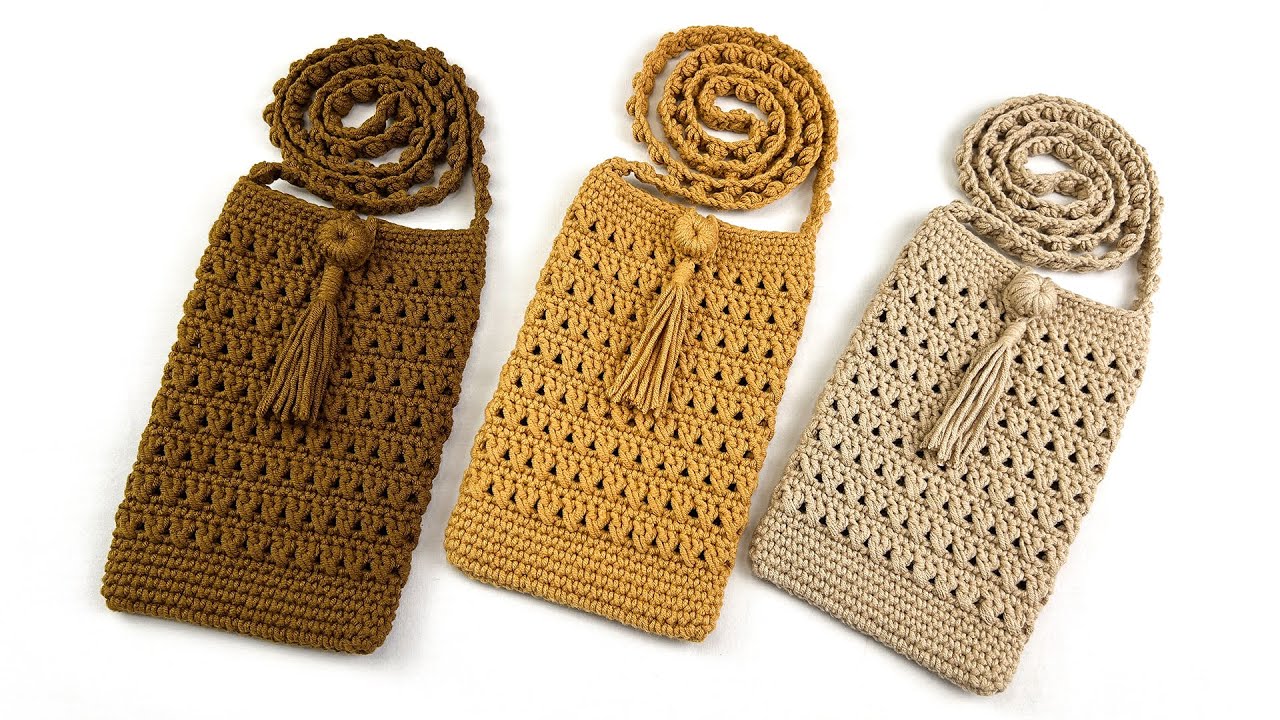
✅ Step 4: Crochet or Attach a Strap
You can choose from a few strap options:
- Crochet a Strap:
- Chain to your desired length (typically 40–50 inches).
- Sc or hdc back across the chain.
- Attach ends securely to each side of the bag.
- Use Store-bought Strap:
- Sew D-rings to each side of the bag and clip a leather or chain strap.
✅ Step 5: Add Closure (Optional)
- Sew a button onto the front of the bag to line up with the buttonhole on the flap.
- You can also use snaps, Velcro, or magnetic clasps for a modern closure.
✅ Step 6: Finish Up
- Fasten off your yarn.
- Use a tapestry needle to weave in all ends securely.
- Block your bag if needed (especially with cotton yarn).
🌟 Customization Ideas
Make your phone bag unique with these fun additions:
- Color Changes: Try stripes, ombre yarn, or color-blocking.
- Granny Squares: Use 2 squares sewn together instead of working in the round.
- Tassels or Fringe: Add flair to the flap or bottom.
- Embellishments: Sew on beads, patches, or embroidery.

📷 Perfect for Gifting or Selling
These cute bags make perfect handmade gifts and are also great for selling at craft fairs, Etsy, or as part of your small crochet business. They require little yarn and time, but offer high appeal and functionality.
🧼 Care Tips
- Hand wash gently in cold water.
- Lay flat to dry.
- Avoid stretching or wringing.
✅ Final Thoughts
This easy crochet phone bag project is the perfect introduction to making functional crochet accessories. With a basic understanding of crochet stitches and a little time, you’ll have a trendy, handmade phone pouch that you’ll be proud to use or give away.

Whether you’re heading to a market, going on a walk, or just want to travel light, this minimalist phone bag will become your favorite companion.