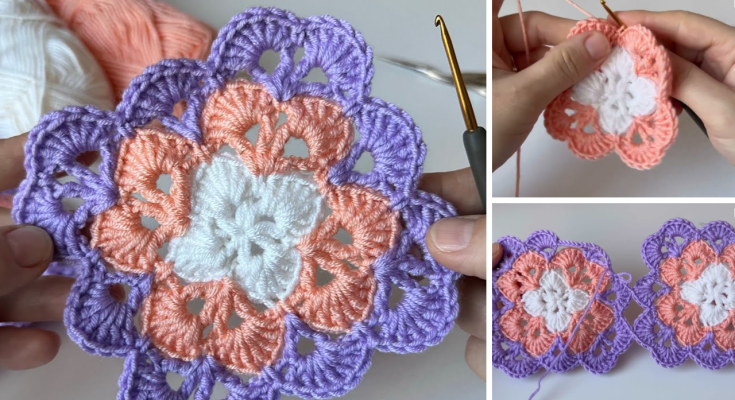
Crocheting a granny square is a classic and beloved technique in the world of crochet. Whether you’re a beginner just picking up a hook or a seasoned crocheter looking to add a traditional touch to your projects, learning how to crochet a granny square motif is a must. These versatile motifs can be turned into blankets, scarves, bags, garments, and so much more.
This guide walks you through every step of creating a basic granny square motif, from gathering supplies to joining squares and adding creative flair.
🧶 What Is a Granny Square?
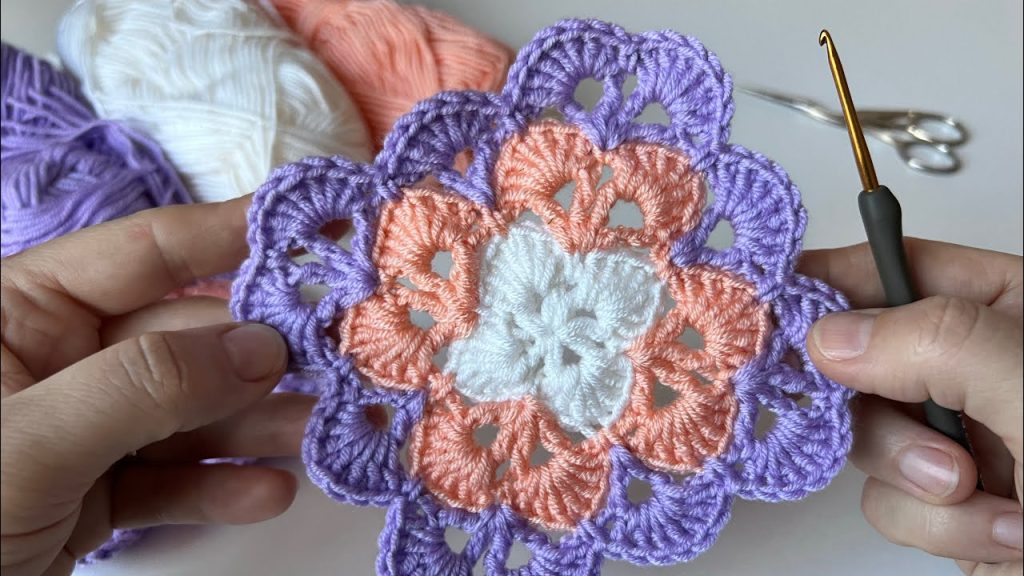
A granny square is a small, square-shaped motif traditionally made with double crochet stitches (U.S. terms) that start in the center and work outward in rounds. While the most iconic granny squares use colorful yarns and classic patterns, there are countless variations including solid squares, flower centers, lacy designs, and more.
🧰 Supplies You’ll Need
Before you begin crocheting, make sure you have the following tools:
Materials:
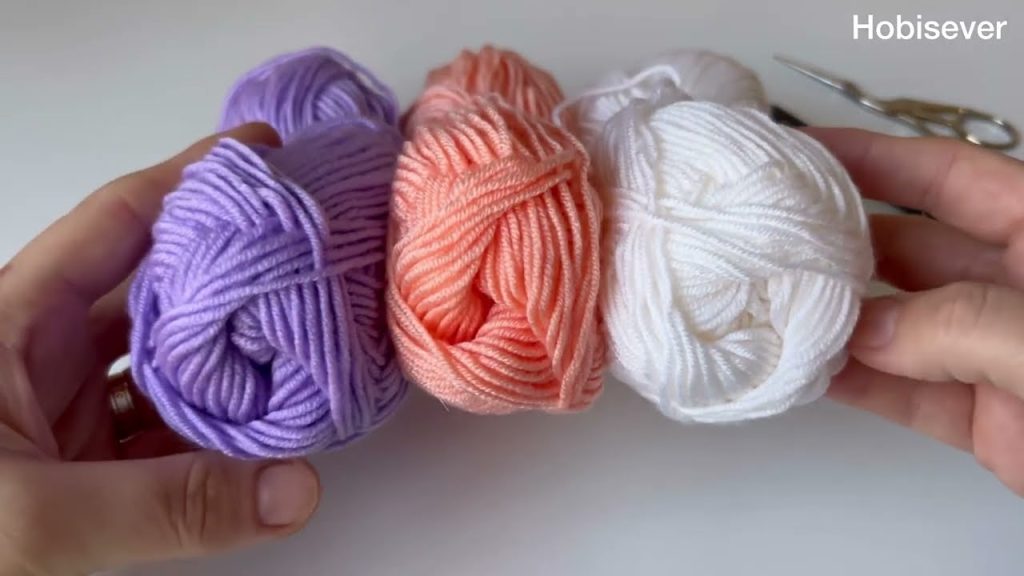
- Yarn: Medium-weight (Category 4) yarn like acrylic or cotton is ideal for beginners.
- Crochet hook: Usually a 5.0 mm (H/8) hook for worsted-weight yarn.
- Scissors
- Yarn needle: For weaving in ends.
- Stitch markers (optional): Useful to mark the beginning of rounds.
Recommended Yarn Types:
- Acrylic yarn: Easy to handle and budget-friendly.
- Cotton yarn: Great for dishcloths or garments.
- Wool yarn: Adds warmth and softness for blankets.
🧵 Understanding the Basic Stitches
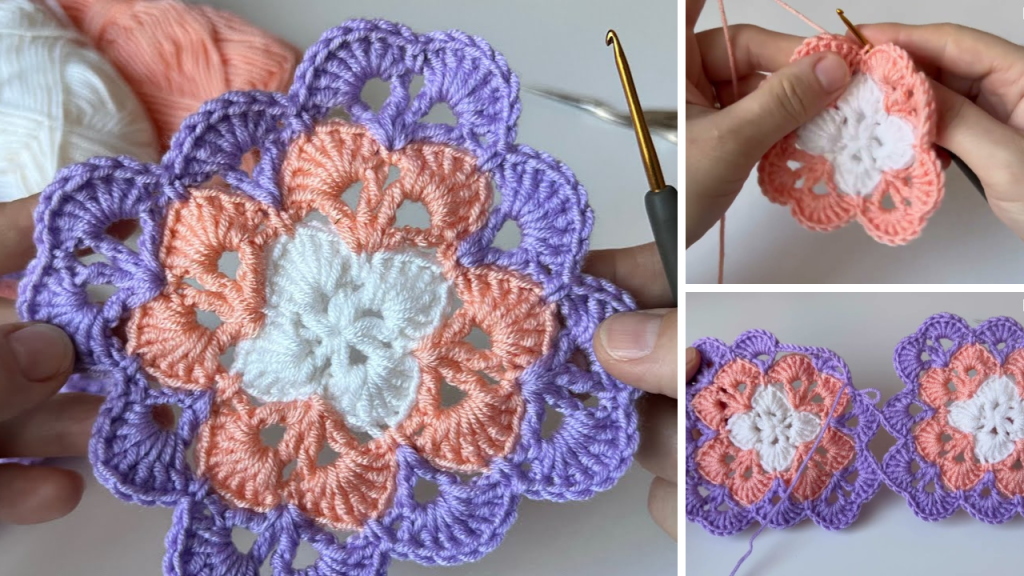
If you’re new to crochet, here are the primary stitches used in the classic granny square:
- Chain (ch): The most basic stitch, used to create loops.
- Slip stitch (sl st): Used to join rounds or move your yarn to a new position.
- Double crochet (dc): The main stitch used in most granny square patterns.
- Chain space (ch-sp): Refers to the space created by chains in previous rounds.
Note: This article uses U.S. crochet terminology.
📚 Step-by-Step Instructions: Classic Granny Square Motif
Let’s walk through how to make a basic 3-round granny square.
🌟 Round 1: Start the Center
- Make a magic ring (or chain 4 and join with a slip stitch to form a ring).
- Chain 3 (counts as your first dc).
- Work 2 dc into the ring.
- Chain 2 (this forms a corner).
- Work 3 dc into the ring, chain 2 — repeat 3 more times for a total of 4 sets of 3 dc clusters.
- Join with a slip stitch to the top of the beginning chain-3.
You should have a small square with four corners, each separated by a ch-2 space.
🌟 Round 2: Build Out the Corners
- Slip stitch into the next 2 dc and into the first ch-2 corner space.
- Chain 3 (counts as 1 dc), then work 2 dc into the same ch-2 space.
- Chain 2 (corner), work 3 more dc into the same corner space.
- In the next ch-2 space: 3 dc, ch 2, 3 dc — repeat for each corner.
- Join with a slip stitch to the top of the beginning chain-3.
You now have a larger square with more prominent corners.
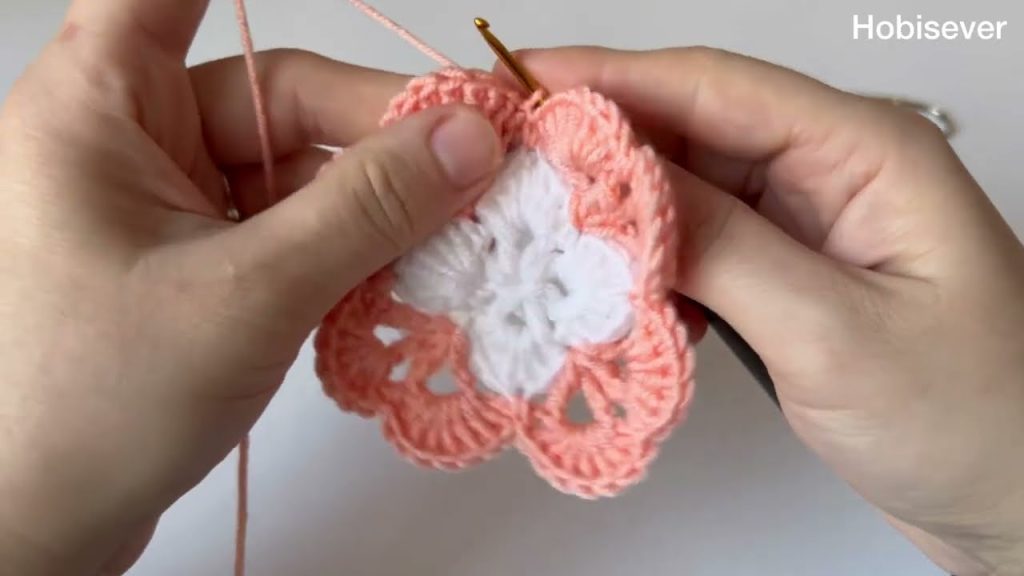
🌟 Round 3: Add Side Spaces
- Slip stitch to the next ch-2 space as before.
- In each corner ch-2 space: (3 dc, ch 2, 3 dc)
- In each side space (between two clusters from previous round): (3 dc)
- Continue around, joining with a slip stitch at the end.
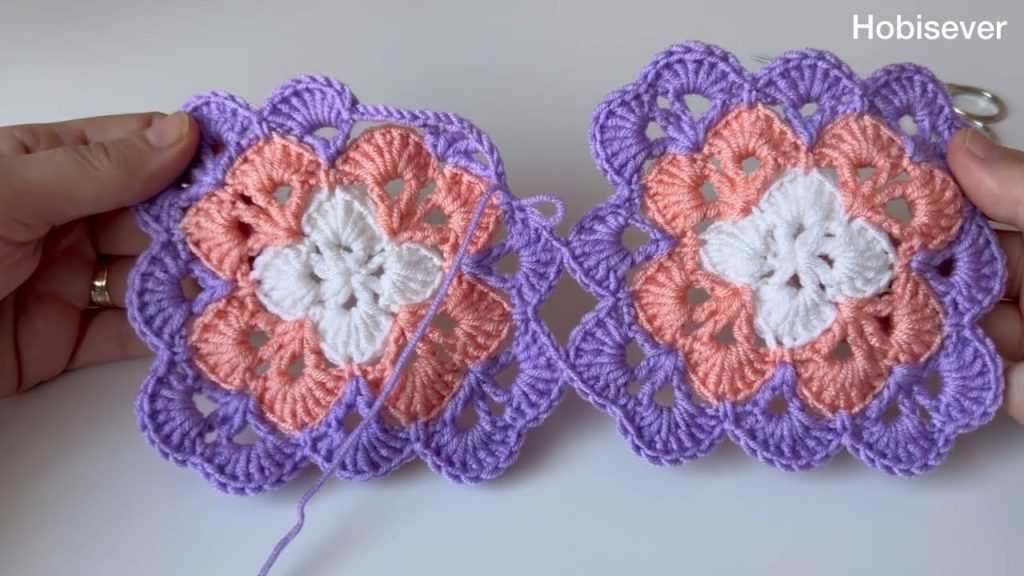
✨ Optional: Continue Rounds
To make a larger square:
- In every new round, work (3 dc, ch 2, 3 dc) in each corner.
- Along each side, work 3 dc clusters in the chain spaces between the clusters of the previous round.
- Always chain 1 between side clusters (optional, based on pattern preference).
🔗 Joining Granny Squares
Once you’ve made multiple granny squares, you can join them to make larger items like blankets or bags. Here are a few methods:
1. Whip Stitch (Sewing)
- Use a yarn needle and whip stitch squares together on the back side.
2. Slip Stitch Join
- Place squares with right sides together and use slip stitch along the edge.
3. Join-As-You-Go
- Attach new squares directly to existing ones during the last round.
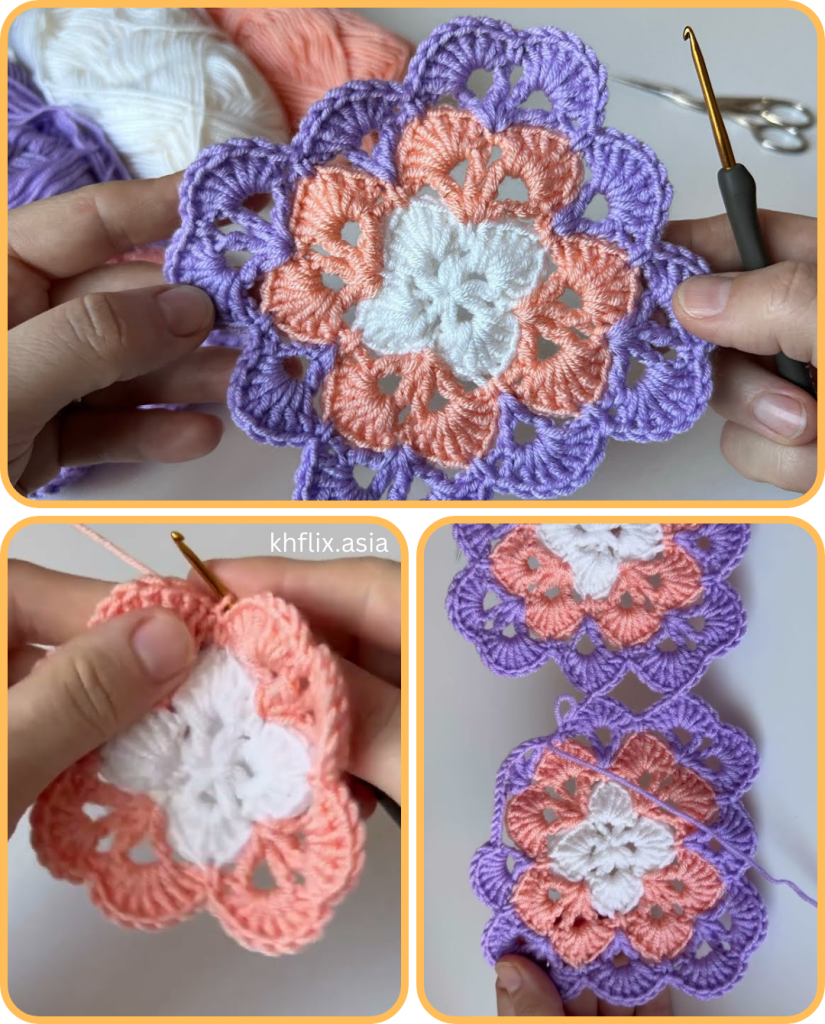
🎨 Customization Ideas
Granny squares are a canvas for creativity. Here are some ideas to personalize your motifs:
Color Changes:
- Change yarn color each round for a traditional look.
- Use a gradient or ombré effect.
- Make solid color squares for a modern aesthetic.
Square Variations:
- Flower center granny square
- Solid granny square (no gaps)
- Circle-to-square granny
- Starburst or sunburst granny square
Edging Options:
- Shell stitch
- Picot edging
- Scallop border
- Single crochet clean border
🧩 Projects You Can Make with Granny Squares
Granny squares can be used in countless creative ways. Here are some project ideas:
- Blankets and throws
- Cushion covers
- Tote bags
- Vests, cardigans, and sweaters
- Scarves and shawls
- Table runners and placemats
- Wall hangings
🧠 Tips for Success
- Count your stitches: Each round should be symmetrical.
- Weave in ends as you go: Avoid being overwhelmed at the end.
- Block your squares: Lightly steam or pin squares to shape them evenly.
- Experiment: Once you’re comfortable with the basic pattern, play with shapes, sizes, and textures.

🔚 Conclusion
The granny square motif is an iconic piece of crochet history that remains incredibly popular and relevant today. Its beauty lies in its simplicity, versatility, and endless creative potential. Once you master the basics, the possibilities are endless. Whether you want to make a cozy afghan, a stylish bag, or a wearable masterpiece, granny squares offer the perfect starting point.
So grab your hook and yarn, and let your creativity unfold—one square at a time!
Video tutorial:
