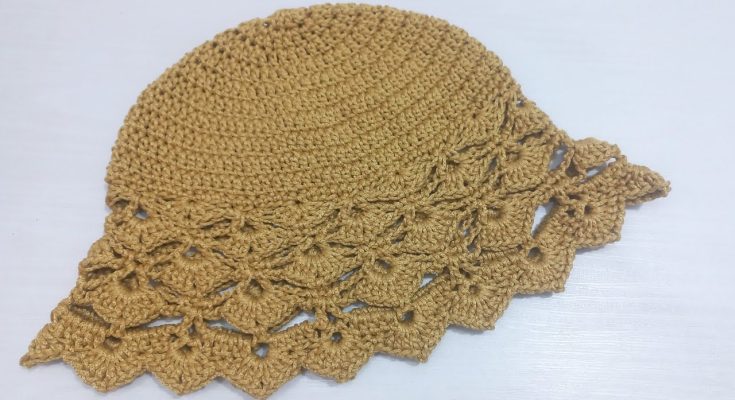
The bucket hat is a fashion staple that has made a major comeback, and a handmade version is the perfect way to add a personal touch to your style. The “Summer Breeze” Fan Stitch Bucket Hat is a perfect project for any crocheter, featuring a lovely, lacy fan stitch that is both stylish and incredibly versatile. This detailed tutorial will guide you through creating a sturdy, stylish, and fun bucket hat that is perfect for sunny days and expressing your unique style.
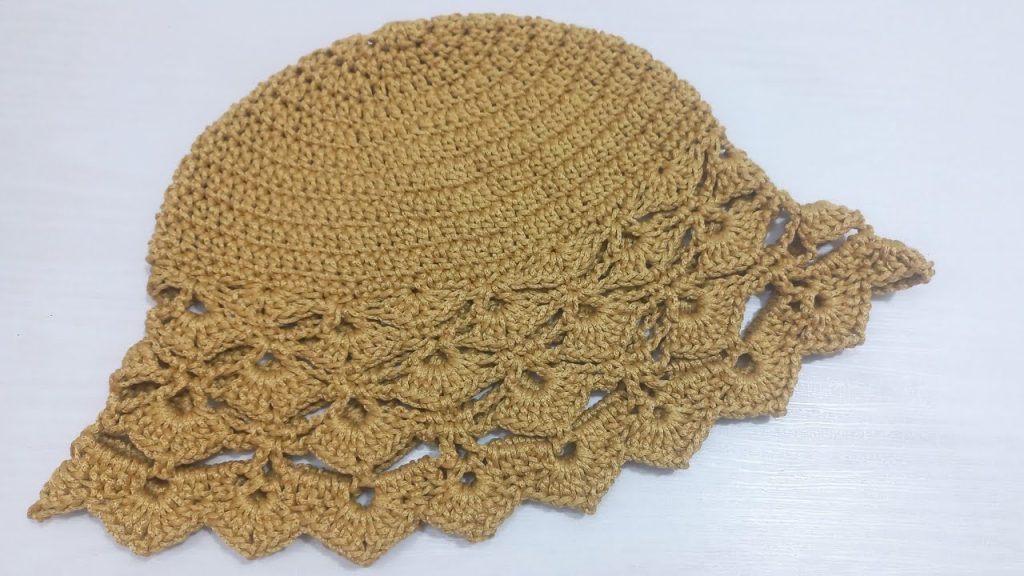
This project is an excellent choice for a beginner looking to create a beautiful, practical garment or for an experienced crocheter wanting a fast and fun project. The hat is worked from the top down, which makes it a seamless project that is easy to try on as you go.
Why Crochet the Summer Breeze Bucket Hat?
- Lacy & Lightweight: The fan stitch creates a beautiful, open fabric that is perfect for a warm-weather hat.
- Sturdy & Stylish: The combination of stitches creates a fabric that is sturdy enough to hold its shape while still being comfortable and airy.
- Skill Building: You’ll master the art of working a new, beautiful stitch pattern and learn how to create a top-down, seamless hat.
- Customizable: Easily change the size, colors, and number of stitches to create a hat that is a perfect fit for you.
- Unique & Fun: A handmade bucket hat is a statement piece that is both fashionable and personal.
1. Planning Your Hat: Size & Materials
- Sizing: The pattern is designed for a versatile one-size-fits-most adult head (approx. 22-23 inches / 56-58 cm). You can easily adjust the size by changing your hook size or the number of increase rounds.
- Yarn Choice: Choose a yarn that is durable and holds its shape well.
- Fiber: A sturdy, medium-weight yarn like Worsted Weight (#4) in Cotton or a Cotton Blend is a great choice.
- Color: A single, solid color will best highlight the fan stitch, but a variegated yarn could also create a beautiful effect.
- Quantity: You will need approximately 150-200 yards (137-183 meters) of yarn in total. The exact amount will depend on the size of your squares and the number you need.
2. Materials You’ll Need
- Yarn: Your chosen quantity of Worsted Weight (#4) yarn.
- Crochet Hook: 4.0 mm (G-6 US) or a size that gives you a dense but flexible fabric with your yarn.
- Scissors: For cutting yarn.
- Yarn Needle (Tapestry Needle): For weaving in ends.
- Stitch Markers (Optional): To mark the beginning of rounds.
3. Essential Crochet Stitches & Techniques
- Slip Knot
- Chain (ch)
- Slip Stitch (sl st): For joining and neatening.
- Single Crochet (sc)
- Double Crochet (dc)
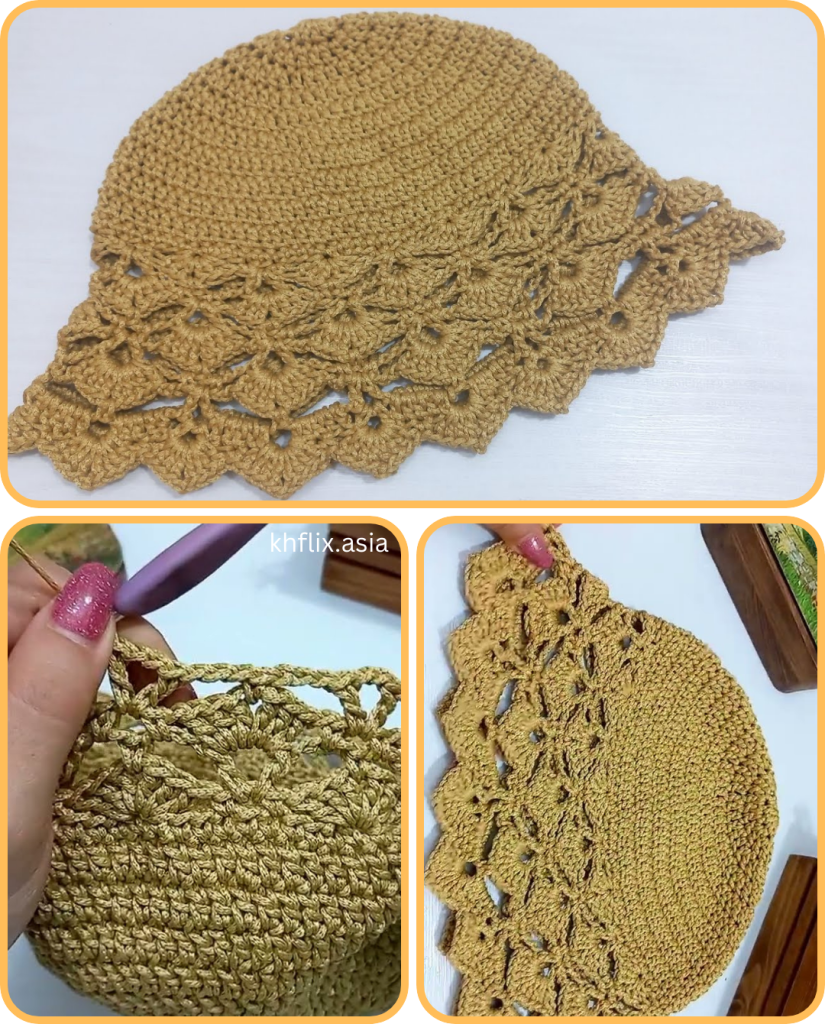
- Fan Stitch: A group of dc stitches worked into the same stitch to create a fan shape.
- Working in the Round: The hat is worked in continuous rounds from the top down.
4. Let’s Crochet the Summer Breeze Bucket Hat!
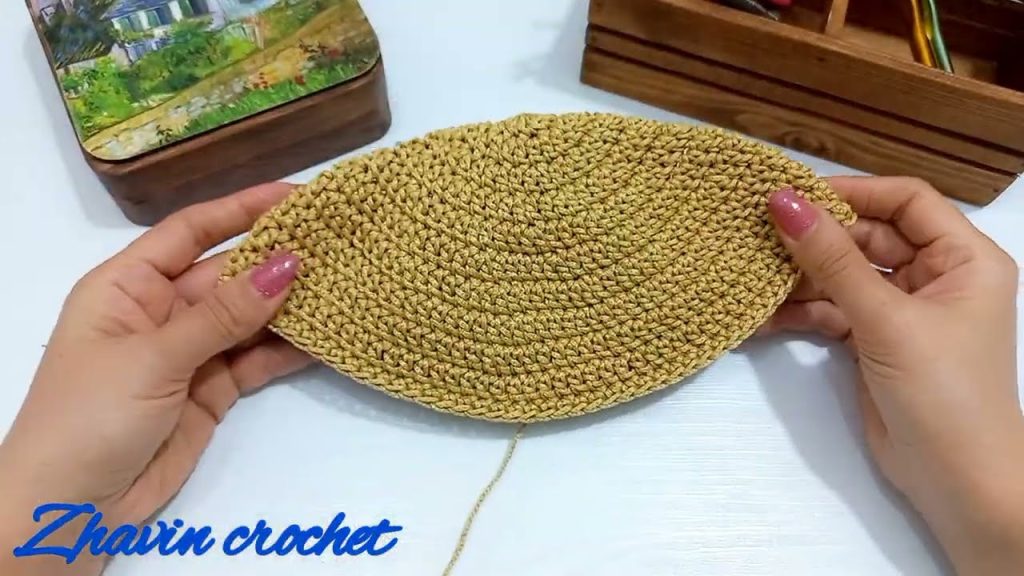
The hat is worked from the top down, starting with the crown, then working the body and the brim.
Part 1: The Crown (Worked in Rounds)
This creates the flat, top part of the hat.
- Start with a Magic Ring (or Ch 4, sl st to first ch to form a ring).
- Round 1: Ch 1 (does not count as a stitch). Work 10 hdc into the magic ring. Join with a sl st to the first hdc.
- Round 2: Ch 1. Work 2 hdc in each stitch around. Join with a sl st to the first hdc.
- [20 hdc]
- Round 3: Ch 1. Work 1 hdc in the first stitch, 2 hdc in the next stitch. Repeat from * to * around. Join with a sl st to the first hdc.
- [30 hdc]
- Round 4: Ch 1. Work 1 hdc in the next 2 stitches, 2 hdc in the next stitch. Repeat from * to * around. Join with a sl st.
- [40 hdc]
- Round 5: Ch 1. Work 1 hdc in the next 3 stitches, 2 hdc in the next stitch. Repeat from * to * around. Join with a sl st.
- [50 hdc]
- Continue increasing in this manner until the crown of the hat is large enough to fit the top of your head (approximately 6-7 inches in diameter).
Part 2: The Body (Worked in Rounds)
This is where you’ll create the height and the beautiful fan pattern.
- Round 1 (Fan Stitch Start): Ch 1. Sc in the first stitch. Skip 2 stitches, work a Fan Cluster (5 dc) in the next stitch. Skip 2 stitches, sc in the next stitch. Repeat from * to * around.
- Round 2: Ch 1. Work a Fan Cluster (5 dc) in the center sc of the next fan. Sc in the center dc of the next fan. Repeat from * to * around.
- Repeat Round 2: Continue repeating this round until the hat reaches your desired height (for this pattern, about 10-12 rounds total for the body).
- Keep your tension consistent to ensure the texture is uniform.
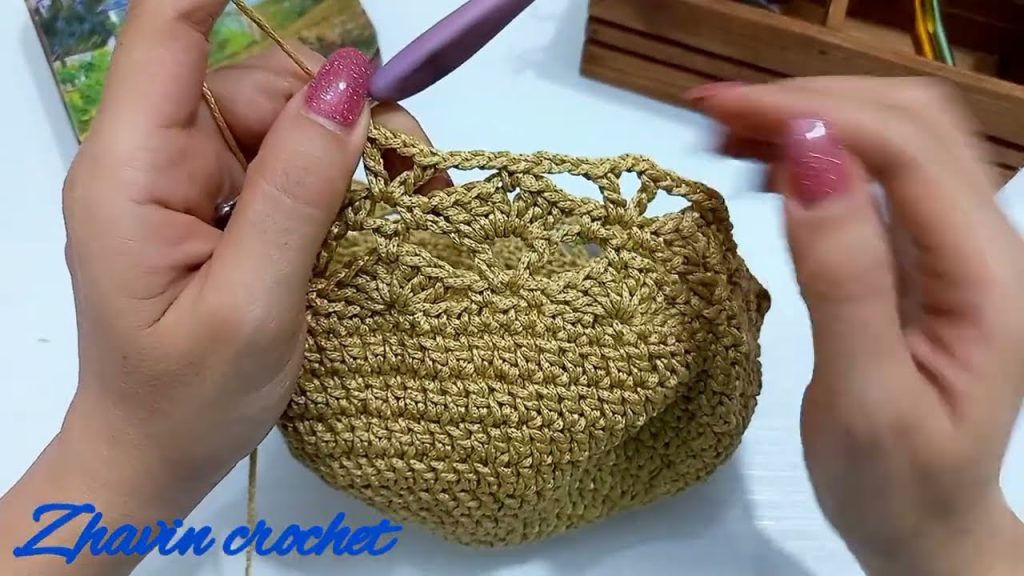
Part 3: The Brim
This step gives the hat its classic bucket hat shape.
- Round 1: Ch 1. Sc in each stitch around. Join with a sl st.
- Round 2 (Increase Round): Ch 1. Sc in the next 2 stitches, 2 sc in the next stitch. Repeat from * to * around. Join with a sl st.
- Round 3: Ch 1. Sc in each stitch around. Join with a sl st.
- Round 4 (Increase Round): Ch 1. Sc in the next 3 stitches, 2 sc in the next stitch. Repeat from * to * around. Join with a sl st.
- Round 5: Ch 1. Sc in each stitch around. Join with a sl st.
- Continue alternating increase rounds and regular sc rounds until the brim reaches your desired length.
- Final Touches: Work a round of slip stitches around the very edge for a clean, finished look. Fasten off and weave in all ends.
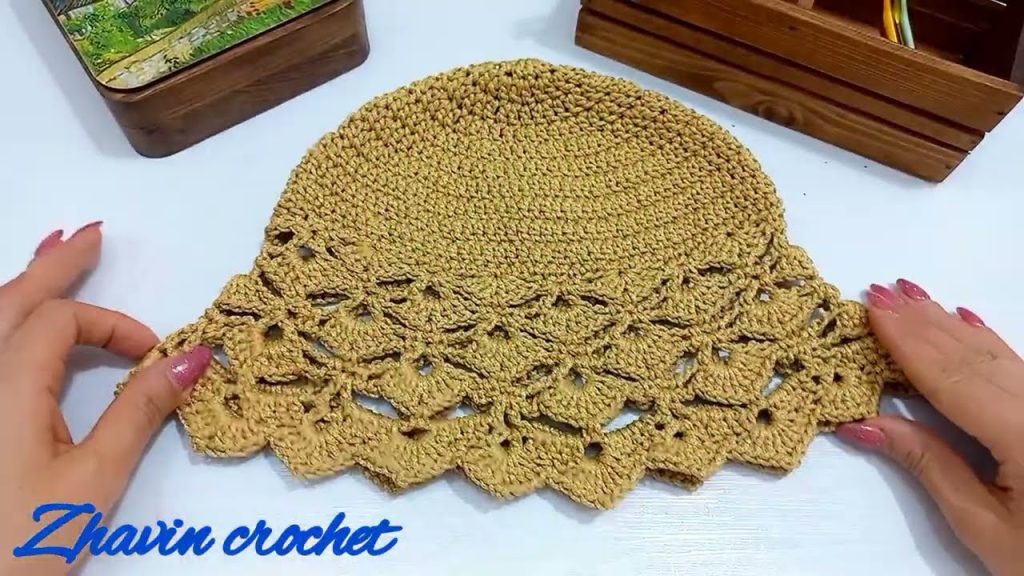
Enjoy your beautiful, handmade “Summer Breeze” Fan Stitch Bucket Hat. It’s a labor of love that is a perfect addition to your warm-weather wardrobe!
Video tutorial:
