
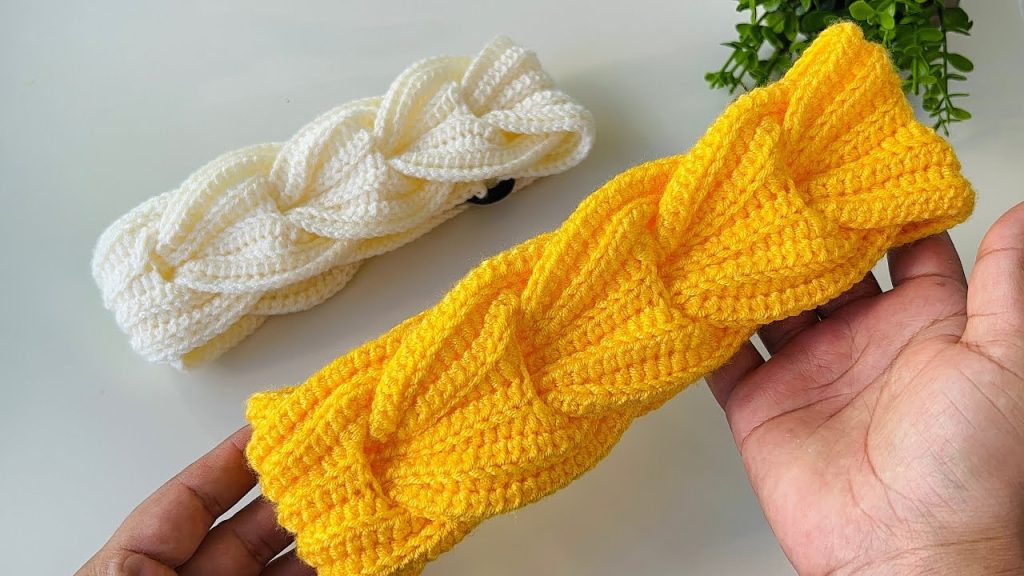
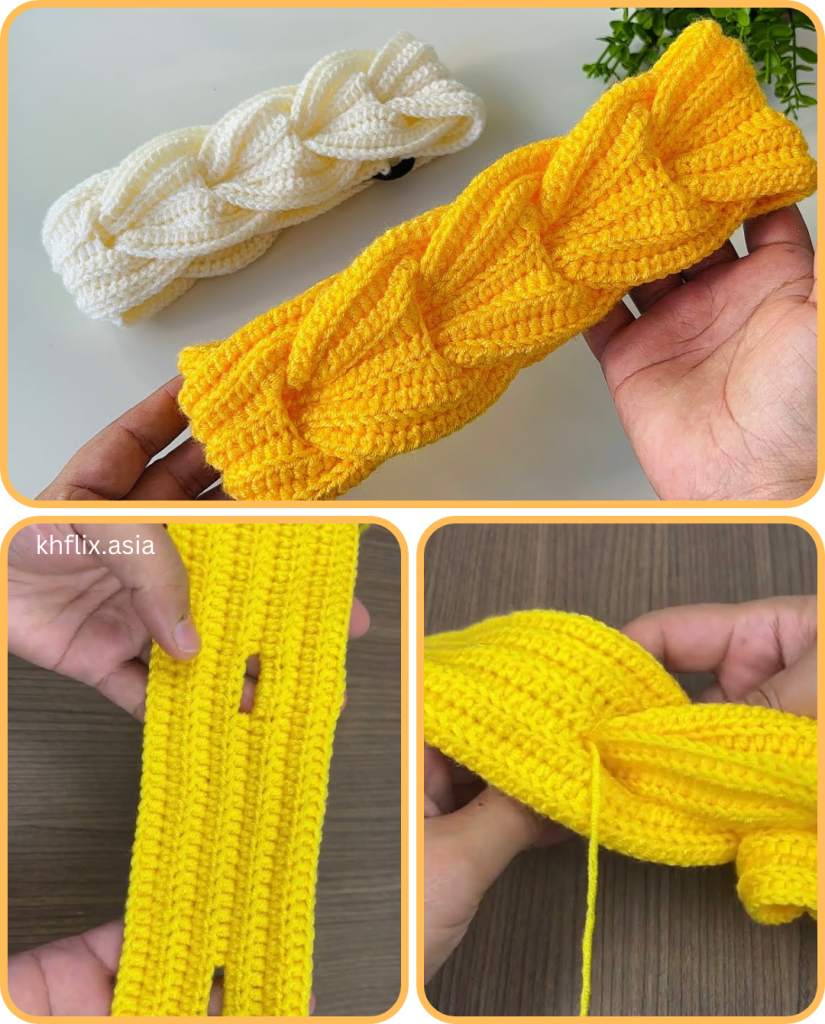
Crocheting your own hair band (or headband) is one of the quickest and most satisfying projects you can make. Not only are crochet hair bands cute and practical, but they also make great gifts, can be styled for all seasons, and are an excellent way to use up scrap yarn.
In this tutorial, we’ll guide you through everything you need to know to create a custom crochet hair band from scratch — with no stress, no complicated stitches, and lots of room to get creative!
✨ Why Make a Crochet Hair Band?
- Quick and easy – perfect for beginners or a weekend craft.
- Stylish and functional – keeps hair back or warms ears in winter.
- Customizable – choose any size, color, or stitch.
- Eco-friendly – reusable, washable, and handmade.
🧵 Materials You’ll Need
| Item | Description |
|---|---|
| Yarn | Worsted weight or cotton yarn recommended (approx. 50g) |
| Hook | 4.0 mm – 5.5 mm crochet hook (depending on yarn used) |
| Yarn needle | For weaving in ends and sewing pieces together |
| Scissors | To cut the yarn |
| Measuring tape | For sizing your band |
| Stitch marker | Optional, to keep track of rounds or stitches |
💡 Cotton yarn is a great choice for summer bands. Use acrylic or wool blends for a warmer, stretchier headband.
📏 Sizing Guide
Measure around your head where the band will sit, usually about 20–22 inches (50–56 cm) for an adult. Subtract about 1–2 inches (2.5–5 cm) for stretch.
| Age/Size | Head Circumference | Band Length (before stretch) |
|---|---|---|
| Toddler | 17–18 inches | 15–16 inches |
| Child | 18–20 inches | 16–18 inches |
| Teen/Adult S | 21–22 inches | 19–21 inches |
| Adult M/L | 22–24 inches | 20–22 inches |
🔤 Easy Stitch Options
Here are a few beginner stitches perfect for a hair band:
- Single Crochet (SC) – tight and sturdy.
- Half Double Crochet (HDC) – soft and stretchy.
- Double Crochet (DC) – open and lacy.
- Puff Stitch or Shell Stitch – adds texture and style.
For this tutorial, we’ll use Half Double Crochet (HDC) — it’s easy, stretchy, and looks neat.
🪡 Step-by-Step: Basic Crochet Hair Band (HDC Pattern)
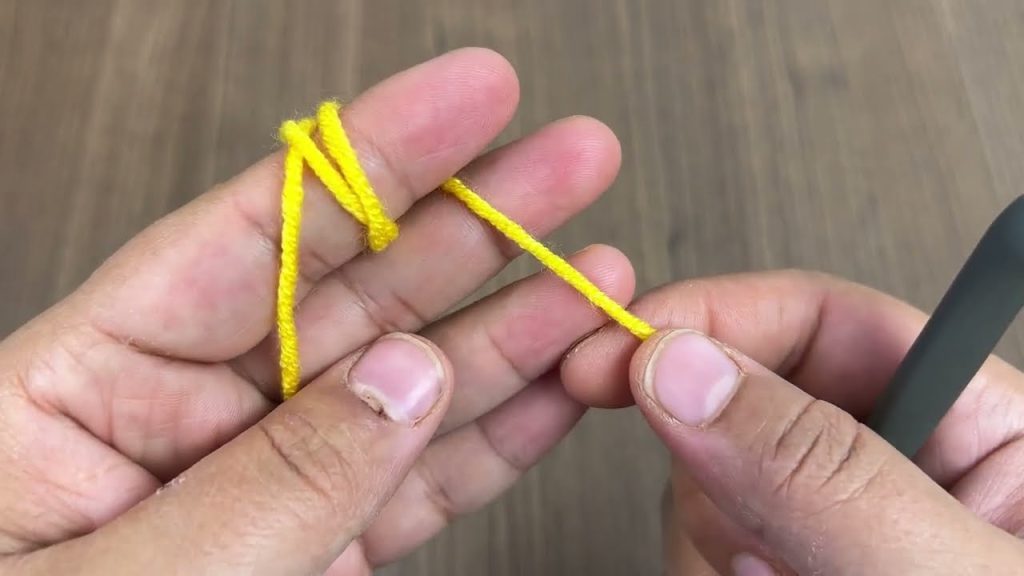
🧶 Step 1: Foundation Chain
- Chain as many stitches as you need for the height of the band.
- For a narrow band, chain 8–10.
- For a wider band, chain 15–25.
- Example: CH 12 for a medium-width band.
- Add 1 extra chain for turning.
🧶 Step 2: Crochet Rows
- Row 1:
HDC in the 2nd chain from the hook and across. Turn. - Row 2:
CH 1, HDC in each stitch across. Turn. - Repeat Row 2 until your band reaches the desired length (based on the sizing chart).
✨ Pro tip: Stop occasionally and stretch your band to check fit.
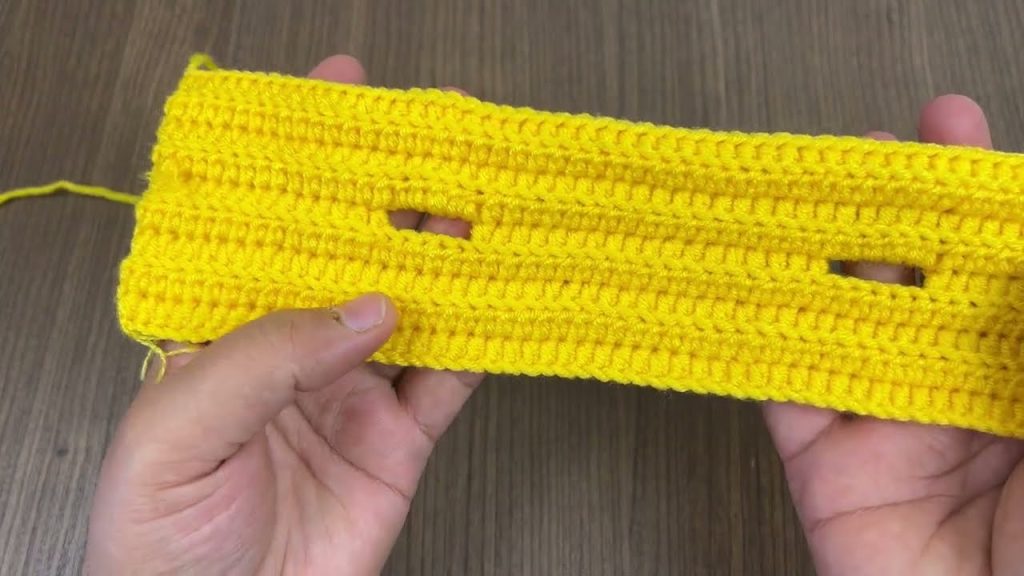
🧶 Step 3: Join the Ends
When your band is long enough:
- Fold the band so the short ends meet.
- Slip stitch or whip stitch the two ends together with your yarn needle or hook.
- Fasten off and weave in the ends.
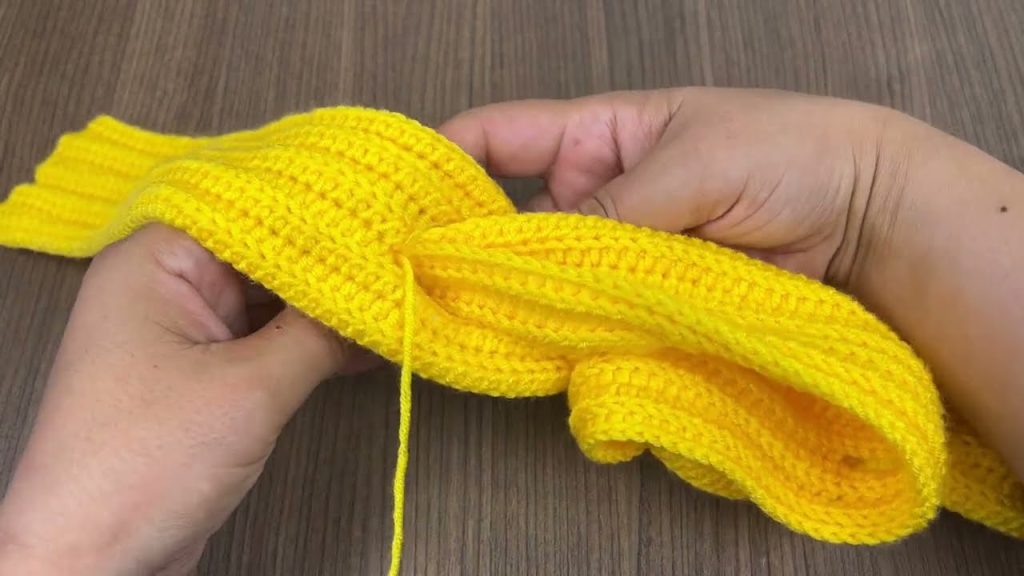
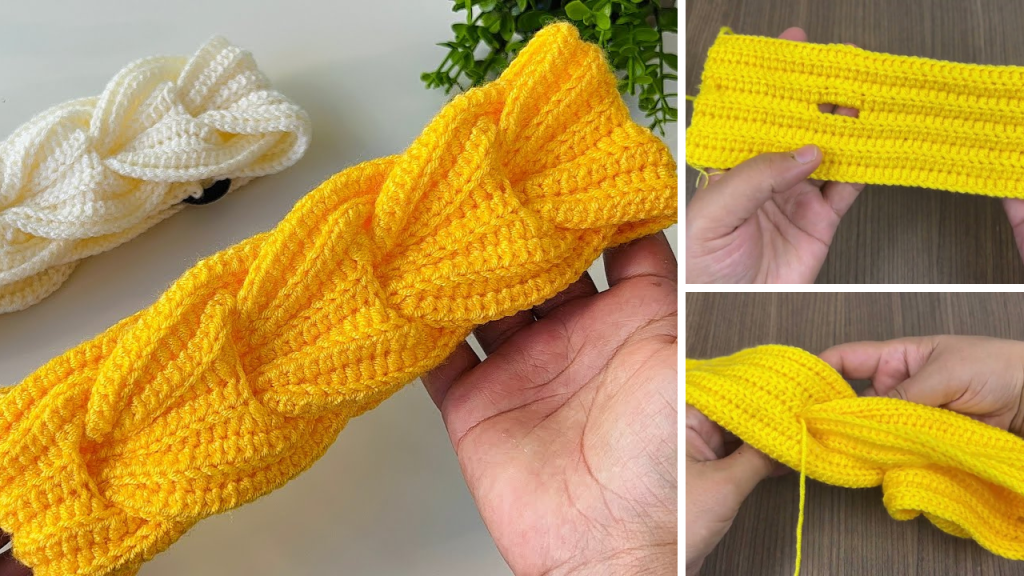
🎀 Optional: Add a Twist (Turban Style)
For a stylish twist in the center:
- Fold both short ends in half lengthwise.
- Interlock the folds like a sandwich:
- One side folds like a “C”, the other like a reversed “C”.
- Sew through all four layers with a yarn needle.
- Flip the band inside out to hide the seam — you’ll see a neat twisted knot in the middle!
🎨 Customization Ideas
Once you’ve mastered the basic hair band, the possibilities are endless! Try these variations:
| Feature | How to Do It |
|---|---|
| Add a Bow | Crochet a rectangle, pinch the center, and sew on. |
| Decorative Edge | Use a shell stitch border or picot edge around the band. |
| Color Change | Alternate colors every few rows for stripes. |
| Use Velvet Yarn | Soft and elegant for winter styles. |
| Add Buttons | Sew decorative or functional buttons on one end. |
| Flower Applique | Crochet a small flower and stitch it on. |
🧶 Beginner Crochet Glossary
| Term | Definition |
|---|---|
| CH | Chain – base stitches to begin your project |
| HDC | Half Double Crochet – yarn over, insert, yarn over, pull through, yarn over, pull through all 3 loops |
| ST | Stitch |
| SL ST | Slip Stitch – used to join or move across stitches |
| FO | Fasten Off – cut yarn and secure the end |
✅ Quick Summary
| Step | What to Do |
|---|---|
| 1 | Chain for band height |
| 2 | HDC rows until correct length |
| 3 | Join ends together |
| 4 | Add twist or embellishment (optional) |
| 5 | Weave in ends and enjoy! |
❤️ Why You’ll Love Making Hair Bands
- Super quick – most take under an hour!
- Great for gifting or selling at markets.
- Easy way to practice new stitches.
- Stylish and wearable year-round.
🌼 Final Thoughts
Crocheting a hair band is one of the most satisfying projects for beginners and pros alike. You get to see results quickly, play with colors and textures, and create something truly wearable and useful.
Once you’ve tried the basic version, experiment with wider styles, twisted knots, decorative stitches, and even matching scrunchies or scarves.
Video tutorial:


