Crocheting is more than a hobby—it’s a form of practical artistry. Among the many items you can create, bags remain one of the most functional and fashionable projects. A well-crafted crochet bag isn’t just beautiful; it can also be highly practical, especially when designed with thoughtful features like a secure inner pocket and a unique, durable stitch. In this article, we’ll explore the process of creating a practical crochet bag using a new stitch technique and how to incorporate a functional inner pocket. Whether you’re an intermediate crocheter or a seasoned yarn artist, this guide offers inspiration and practical tips for crafting a one-of-a-kind accessory.

Why Crochet Your Own Bag?
Crocheting a bag offers many advantages:
- Customization: Choose your own size, color, shape, and texture.
- Durability: A well-stitched crochet bag can be sturdier than many store-bought options.
- Sustainability: Use eco-friendly or upcycled yarn to create an environmentally conscious accessory.
- Functionality: Add features like zippers, pockets, and lining to suit your lifestyle.
Creating a practical crochet bag is about combining form with function—something unique and beautiful that also works for everyday life.
Introducing the New Stitch: The Diamond Waffle Stitch
One of the most exciting aspects of this project is the introduction of a new stitch that elevates both the aesthetic and structure of your bag. We’ll be using the Diamond Waffle Stitch, a textured pattern that mimics the look of quilted fabric with a geometric twist. This stitch offers:
- Thick texture for structure and durability
- Eye-catching detail that adds interest to a simple shape
- Minimal stretch, making it ideal for a bag that holds its shape
How to Crochet the Diamond Waffle Stitch (Simplified Overview)
This stitch is based on post stitches and uses front post double crochet (FPdc) to create the raised diamond texture.
Abbreviations:
- ch – chain
- dc – double crochet
- FPdc – front post double crochet
- sk – skip
- st – stitch
Pattern Repeat (multiple of 4 + 2):
- Foundation Row: Ch desired length (multiple of 4 + 2).
- Row 1: Dc in 3rd ch from hook and across. Turn.
- Row 2: Ch 2 (counts as dc), FPdc in next st, dc in next 3, repeat across. Turn.
- Row 3: Ch 2, dc in next, FPdc around FPdc from previous row, dc in next 2, repeat. Turn.
- Row 4: Begin to alternate FPdc positioning to form a diamond shape.
Repeat Rows 2–4, alternating post stitch placements every few rows to form a “diamond” look.
💡 Tip: Practice the stitch on a swatch before beginning the full bag.
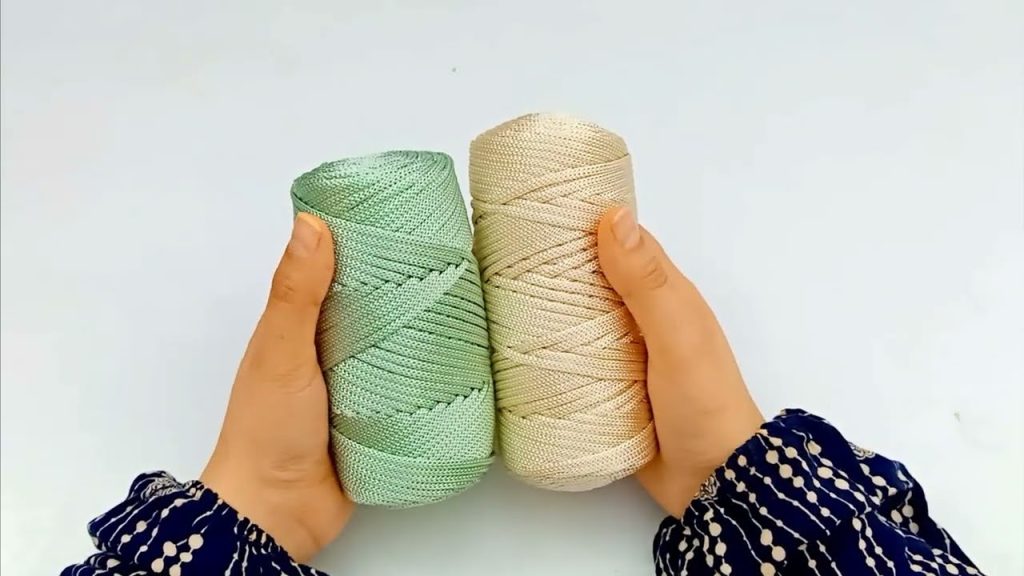
Materials Needed
- Yarn: Medium-weight cotton yarn (Category 4) for durability and structure
- Hook: Size H (5.0mm) or size needed to obtain gauge
- Tapestry needle
- Stitch markers
- Fabric for inner lining and pocket (optional but recommended)
- Magnetic clasp or zipper (optional)
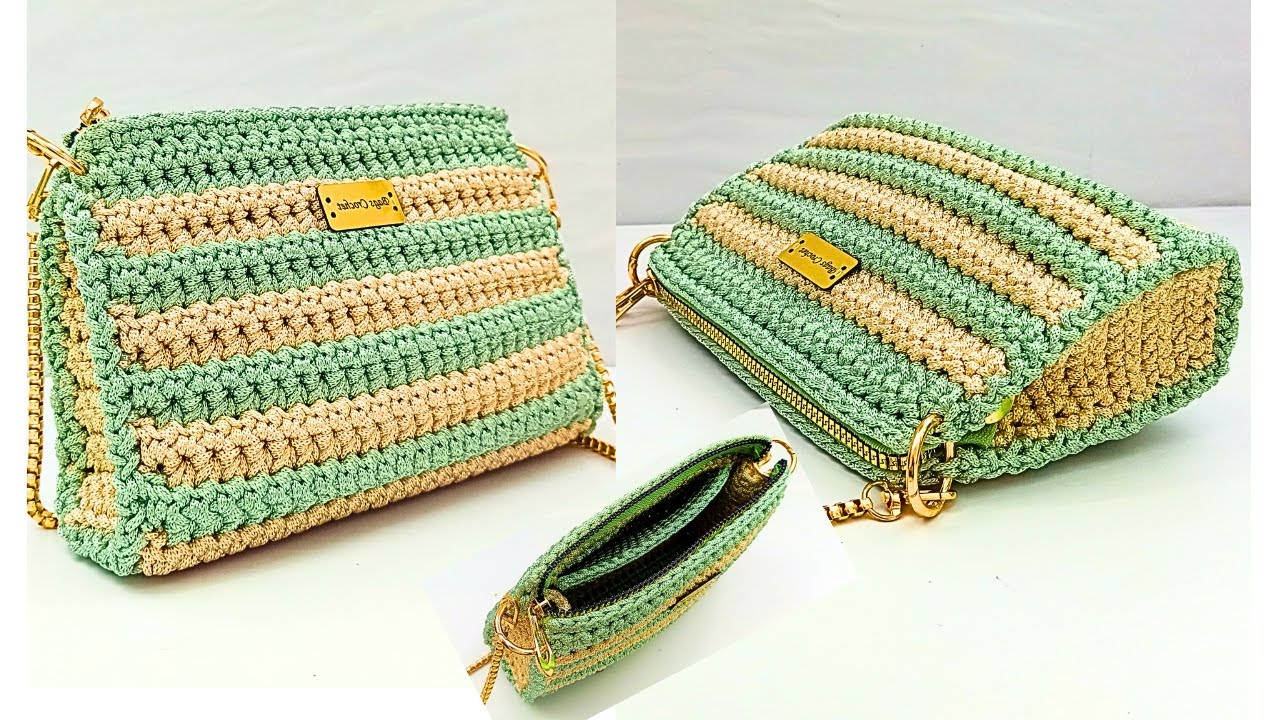
Bag Dimensions and Construction
Finished Dimensions: Approximately 12″ wide x 10″ tall x 3″ deep
Construction Style: Rectangular panels joined together with gusset and strap
Step-by-Step Bag Instructions
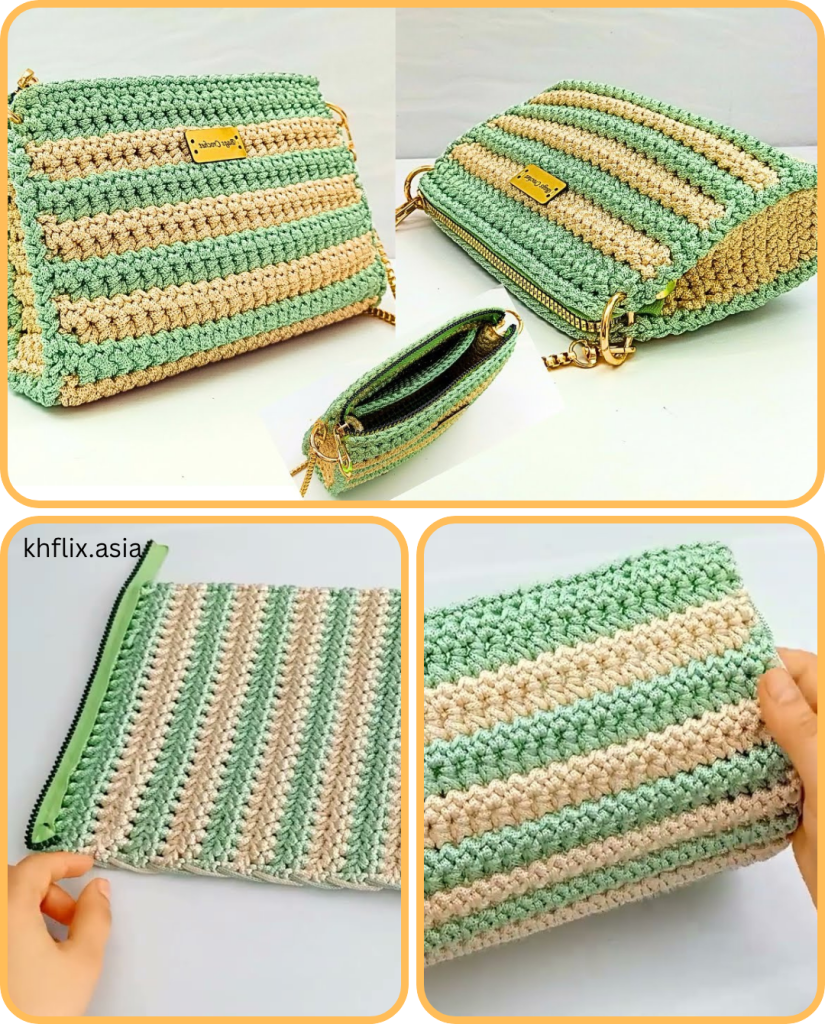
1. Create Front and Back Panels
Use the Diamond Waffle Stitch for both panels.
- Chain 50 (or a multiple of 4 + 2 to get your desired width).
- Work in pattern until piece measures 10 inches high.
- Fasten off, weave in ends.
Repeat to create a second identical panel.
2. Create Side Gusset and Base Panel
These panels form the sides and base of the bag, giving it depth.
- Chain 12
- Work in regular dc or sc rows (or continue with the waffle stitch for uniformity) until it matches the perimeter of the two main panels (approx. 26 inches total length if using as one continuous piece).
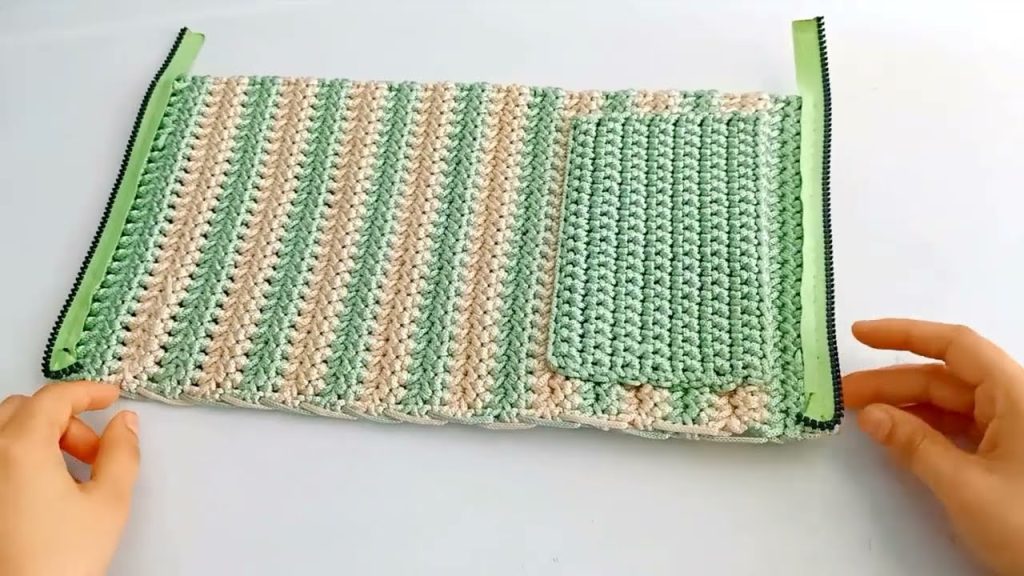
3. Sew Panels Together
Using a whip stitch or mattress stitch:
- Attach the base/sides strip to the front and back panels to create a 3D bag shape.
- Use stitch markers to align corners before sewing for even edges.
4. Add Inner Pocket
An inner pocket adds functionality and security for small items like keys or lip balm.
Sewn Fabric Pocket Option:
- Cut a rectangle of fabric approx. 6″ x 8″.
- Fold in and hem all sides.
- Sew to the inside of the fabric lining (if using a full lining).
Crochet Pocket Option:
- Chain 25 and work 15 rows in single crochet.
- Sew directly to the inside of the front or back panel before final assembly.
- Optional: Add a button closure or zipper.
5. Optional: Add Full Lining
Lining strengthens the bag and prevents stretch. To add a lining:
- Cut fabric panels to match bag dimensions + 0.5″ seam allowance.
- Sew panels together with right sides facing.
- Insert lining inside the bag and whip stitch or top-stitch in place near the opening.
6. Crochet the Strap
- Chain to desired length (e.g., 90–100 chains for a shoulder strap).
- Work 3–5 rows of sc or hdc for strength.
- Optional: Add a braided or twisted strap with D-rings or clips for a removable option.
Attach strap securely to the inside or outside top edge of the bag with reinforced stitching.
7. Closure Options
Choose one of the following for security:
- Magnetic snap
- Zipper sewn into lining
- Toggle or loop button closure
Styling and Practical Uses
Your crochet bag can be used as:
- An everyday shoulder bag
- A lightweight market tote
- A beach or travel bag
- A project bag for yarn and hooks
Customize the yarn color, stitch patterns, or embellishments like tassels, beads, or appliqués to suit your personal style.
Tips for Success
- Gauge Matters: Use a firm tension to ensure the bag holds its shape.
- Reinforce Stress Points: Secure the strap and gusset seams with extra stitching.
- Washability: Choose machine-washable yarn for easier care.
- Avoid Overstretching: Line the bag or double up yarn if needed for added support.
Conclusion
A practical crochet bag made with a new stitch and a thoughtfully designed inner pocket is both a fulfilling project and a stylish, useful item. Whether you’re making it for yourself or as a gift, this bag showcases creativity, functionality, and craftsmanship. The addition of the Diamond Waffle Stitch brings texture and strength, while the inner pocket adds real-world practicality.
So gather your hooks and yarn, and get ready to create a bag that’s as beautiful as it is functional—because the best handmade pieces are the ones you reach for every day.
Video tutorial:


