
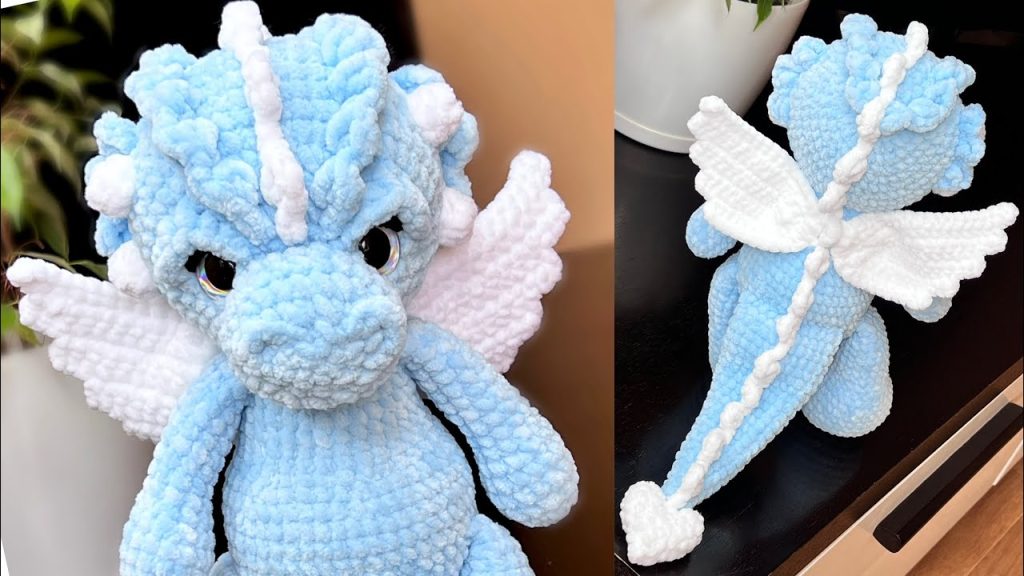
In a world brimming with creativity and craft, few things capture the imagination quite like crochet dragons. These intricate, charming creatures blend the timeless art of crochet with the mythical allure of dragons, resulting in a hobby that is both meditative and magical. Whether you’re a seasoned crocheter or a curious beginner, the world of crochet dragons invites you into a whimsical realm where yarn transforms into fire-breathing beasts, wise protectors, or gentle companions.
1. Introduction to Crochet Dragons
Crochet dragons are more than just plush toys—they are miniature works of art, expressions of storytelling, and often personal symbols of strength, wonder, or whimsy. Rooted in the Japanese art of amigurumi (the craft of knitting or crocheting small stuffed creatures), crochet dragons have gained immense popularity in recent years thanks to fantasy literature, role-playing games, and creative social media communities.
2. The Mythology Behind the Magic
Dragons are iconic figures in mythology across cultures—Eastern dragons are revered as wise and benevolent, while Western dragons are often depicted as powerful, fire-breathing creatures. This rich diversity allows crocheters to draw from a vast palette of design inspiration: serpentine Asian dragons, classic European wyrms, or even playful hybrid creatures inspired by modern fantasy.
Each crochet dragon can tell a story—an ancient guardian of a hidden treasure, a forest protector, or a companion to a young wizard. The possibilities are as endless as your imagination.
3. Why Crochet Dragons?
So, why dragons? Here are some reasons crafters love them:
- Creative Freedom: From color palettes to wing types, horns, and scales, dragons offer unmatched opportunities for customization.
- Skill Growth: Making a dragon pushes your crochet skills beyond basic shapes and into complex, three-dimensional artistry.
- Collectibility: Many crocheters find joy in building a collection of dragons, each with a unique personality and name.
- Gift Potential: Dragons make thoughtful gifts for children, fantasy lovers, or anyone who appreciates handcrafted art.
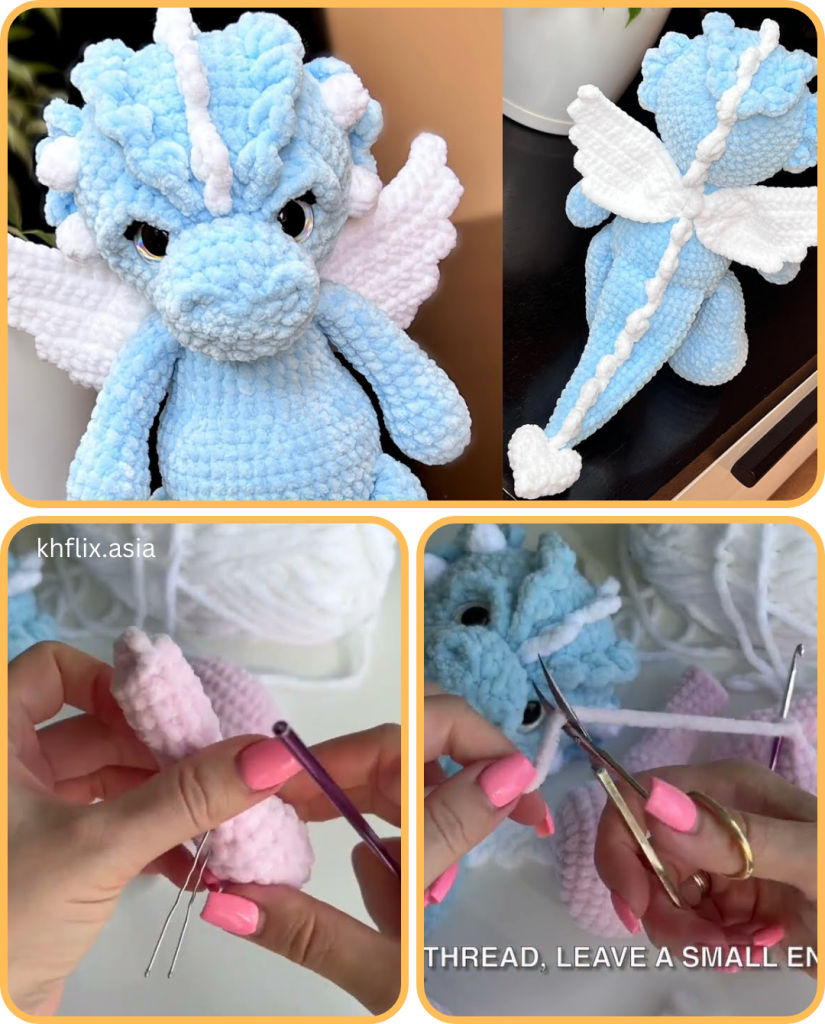
🐉 How to Make a Crochet Dragon – Step-by-Step
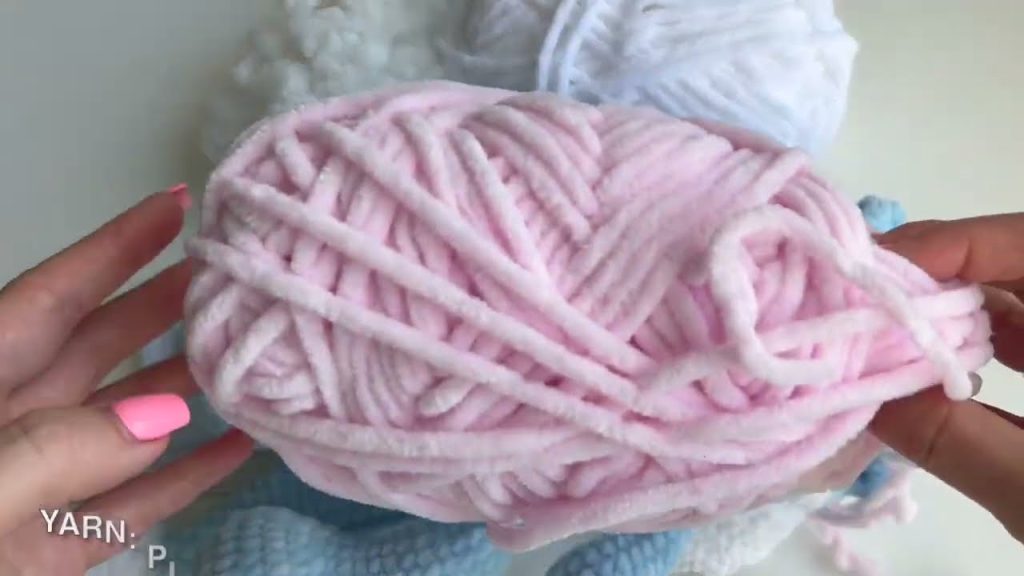
🧶 What You’ll Need:
Materials:
- Worsted weight yarn (medium weight #4) – multiple colors (e.g., body, wings, details)
- Crochet hook (usually 3.5mm or 4.0mm)
- Polyester fiberfill stuffing
- Safety eyes (6–10mm), or embroidery floss if stitching the eyes
- Yarn needle (blunt tapestry needle)
- Stitch markers
- Scissors
- Optional: Wire (for poseable wings or tail), felt, or fabric glue for extra details
🧵 Basic Skills You Need:
- Magic Ring (to start in the round)
- Single Crochet (sc)
- Increase (inc): 2 sc in one stitch
- Decrease (dec): 2 sc stitched together
- Slip Stitch (sl st)
- Chain (ch)
🐣 Step-by-Step: Make a Simple Crochet Dragon
We’ll break it down into 5 main parts:
- Head & Body (made in one piece)
- Arms & Legs
- Tail
- Wings
- Assembly & Details
🧠 Part 1: Head & Body (worked in the round)
Using body color yarn:
Rnd 1: Make a magic ring, 6 sc into ring (6)
Rnd 2: inc in each st around (12)
Rnd 3: (sc, inc) x6 (18)
Rnd 4: (2 sc, inc) x6 (24)
Rnd 5: (3 sc, inc) x6 (30)
Rnd 6–10: sc in each st around (30)

Insert safety eyes between Rnd 8 and 9, about 7 stitches apart.

Rnd 11: (3 sc, dec) x6 (24)
Rnd 12: (2 sc, dec) x6 (18)
Rnd 13: (sc, dec) x6 (12)
Rnd 14: sc in each st around (12)

Stuff the head firmly here.

Rnd 15: (sc, inc) x6 (18)
Rnd 16: (2 sc, inc) x6 (24)
Rnd 17–22: sc in each st around (24)
Rnd 23: (2 sc, dec) x6 (18)
Rnd 24: (sc, dec) x6 (12)

Stuff the body.

Rnd 25: dec x6 (6)

Fasten off, weave in end.
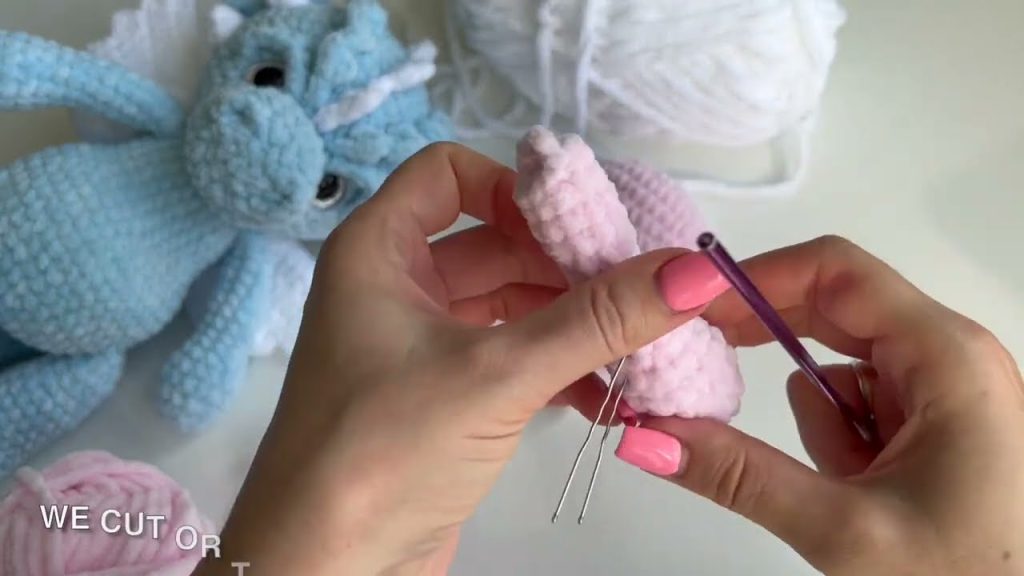
🦴 Part 2: Arms & Legs (make 4)
Rnd 1: Magic ring, 6 sc (6)
Rnd 2: (sc, inc) x3 (9)
Rnd 3–6: sc in each st around (9)
Stuff lightly.
Rnd 7: dec x3 (3)

Fasten off, leave long tail for sewing.
🐉 Part 3: Tail
Rnd 1: Magic ring, 4 sc (4)
Rnd 2: (sc, inc) x2 (6)
Rnd 3–10: sc in each st around (6)

Stuff lightly as you go. Fasten off and leave a tail for sewing.
🪽 Part 4: Wings (make 2 – simple triangle shape)
Row 1: ch 6, turn
Row 2: sc in each ch (5)
Row 3: dec, sc x1, dec (3)
Row 4: dec, sc (2)
Row 5: dec (1)

Fasten off, leave long tail.
You can also edge the wing with contrasting yarn or sew in wire to make it poseable.
🧩 Part 5: Assembly & Finishing Touches
- Sew arms to the upper sides of the body.
- Attach legs to the bottom, helping the dragon sit.
- Sew tail to the back center.
- Attach wings on the back, level with or just below the arms.
- Embroider nostrils, mouth, or horns if you want more details.
- Optional: Add tiny spikes, frills, or a belly patch using felt or extra yarn.
🎨 Tips for Customizing Your Dragon
- Use variegated yarn for magical gradients.
- Add small beads or felt pieces for eyes if you don’t have safety eyes.
- Try using the crocodile stitch for a textured scale effect on the back or tail.
- Add a tiny crown, cape, or satchel for a royal or adventuring dragon.
Conclusion: Your Magical Journey Begins
Crocheting dragons is more than just making toys—it’s about bringing imagination to life. Each stitch is a step into a magical world where you are the creator of mythical beings. Whether your dragons are cute or fierce, tiny or towering, they reflect your skill, passion, and creativity.
So pick up your hook, choose your yarn, and let the magic begin. The world of crochet dragons awaits—and it’s nothing short of enchanting.
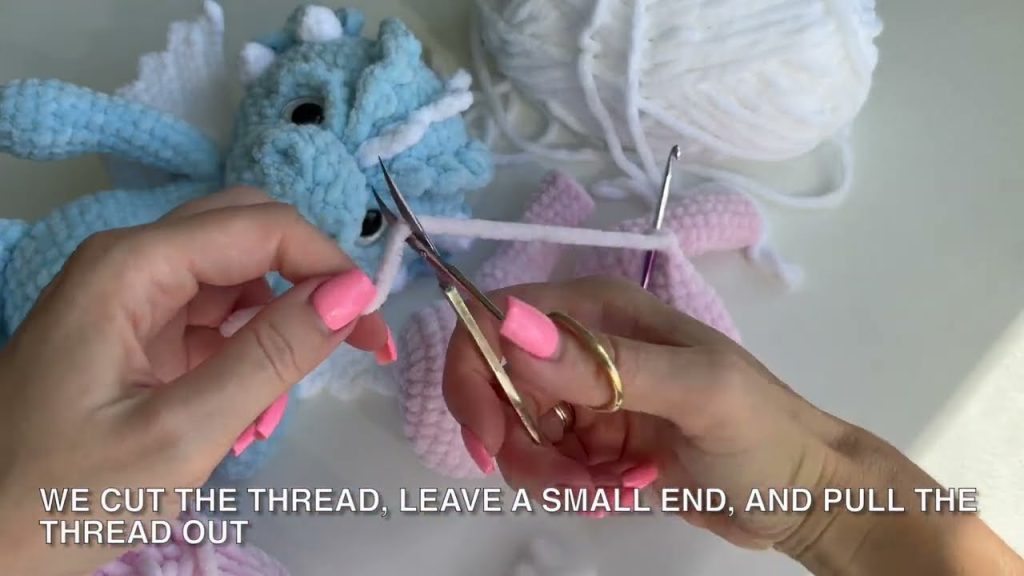
Video tutorial:


