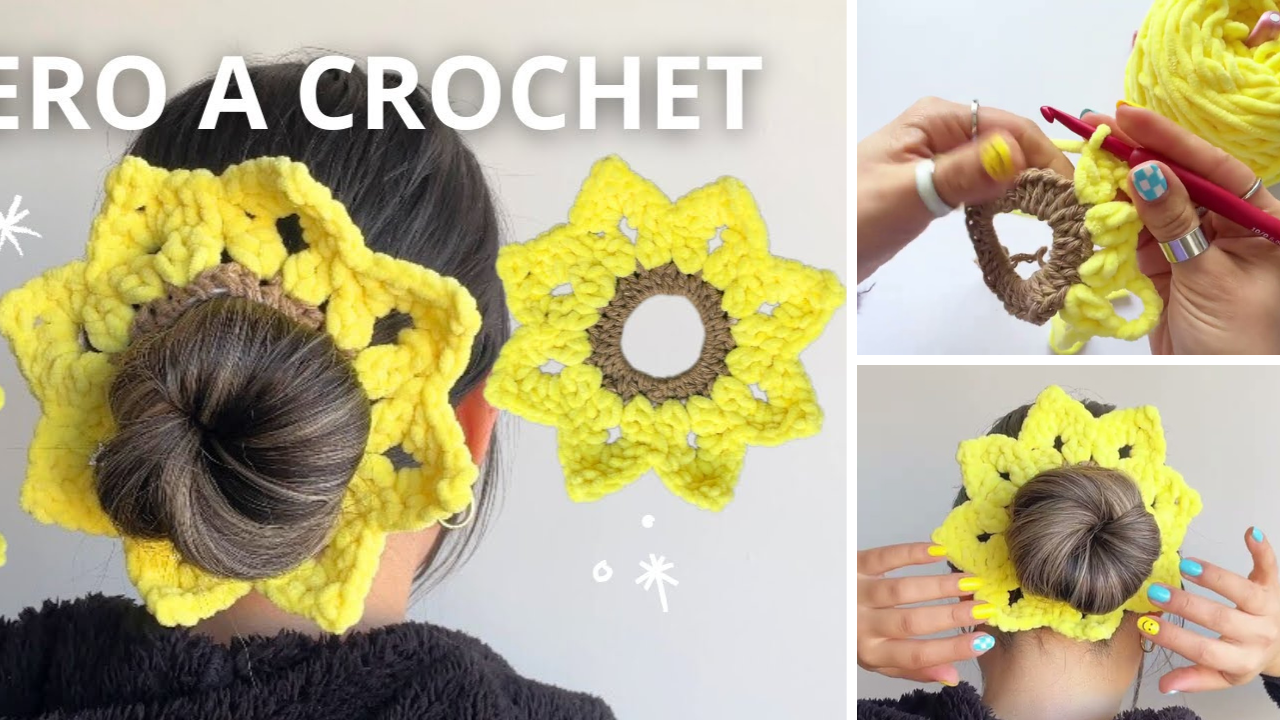
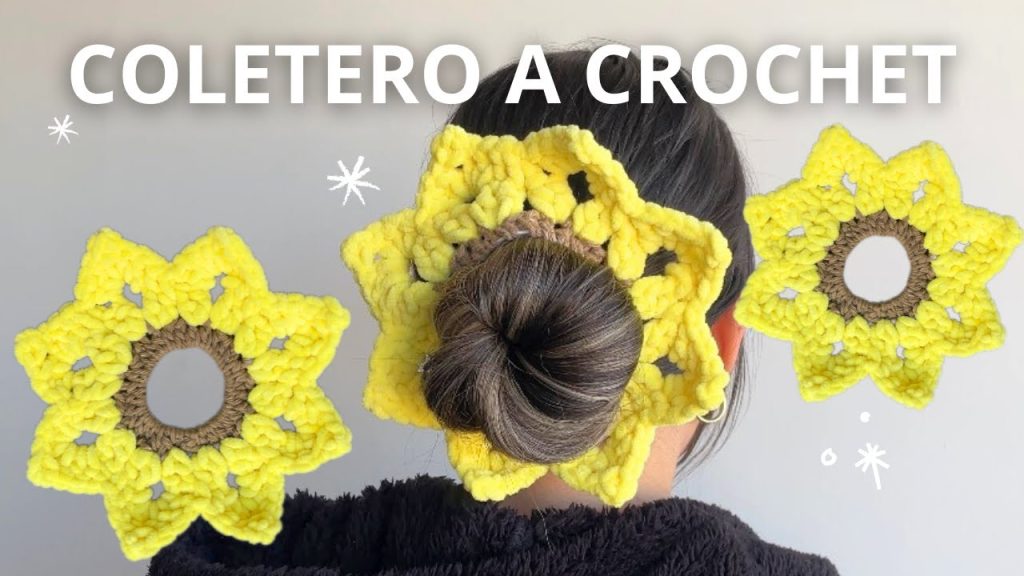
Sunflowers represent happiness, warmth, and a touch of rustic charm. Combine that with the cozy vibe of knitting, and you’ve got yourself the ultimate handmade accessory: the Dreamy Sunflower Scrunchie. Whether you’re a beginner or a seasoned knitter looking for a cute, quick project, this sunflower-themed scrunchie is the perfect way to add handmade beauty to your wardrobe or gift someone a little sunshine.
In this article, we’ll walk through how to knit a sunflower scrunchie — step-by-step — including tips on materials, construction, and customization.
🌼 Why Make a Sunflower Scrunchie?
Sunflower scrunchies are not just adorable—they’re:
- Reusable and eco-friendly compared to store-bought elastics
- Gentle on hair, reducing breakage and creasing
- Customizable with your favorite colors and textures
- Quick to knit, often finished in a few hours
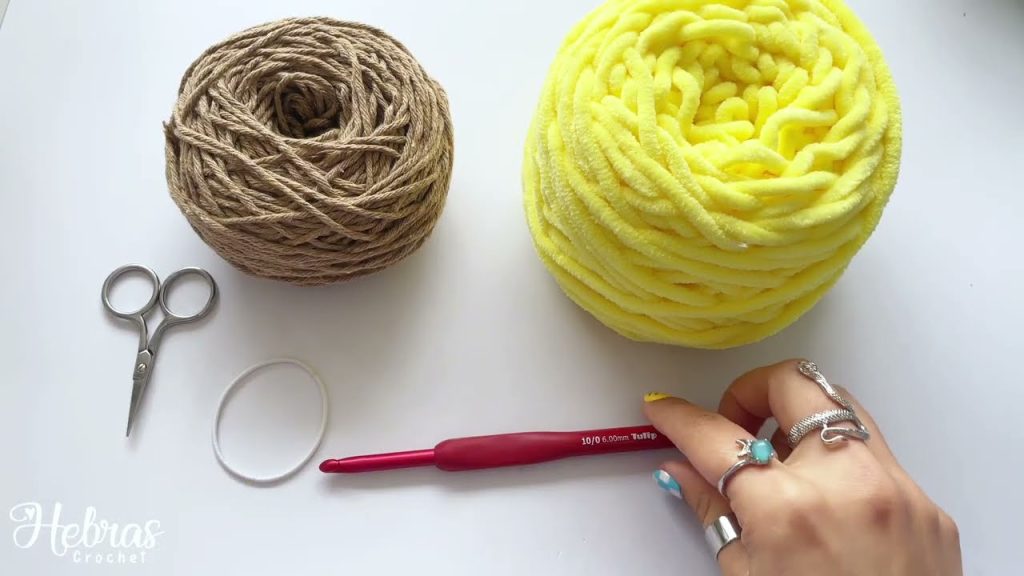
🧶 Materials You’ll Need
To create a dreamy sunflower scrunchie, you’ll need two main colors to mimic the sunflower: one for the center (usually brown or black) and one for the petals (typically yellow or gold).
✂️ Supplies:
| Item | Description |
|---|---|
| Yarn | Worsted weight (Category 4) cotton or acrylic yarn in yellow and brown |
| Knitting needles | US size 6 or 7 (4.0–4.5 mm), straight or circular |
| Elastic hair tie | A thick, sturdy elastic band (no metal parts) |
| Tapestry needle | For sewing in ends and attaching petals |
| Scissors | For trimming yarn |
| Stitch marker (optional) | To mark the beginning of the round |
✅ Tip: Cotton yarn holds its shape better and absorbs less moisture—great for scrunchies!
🧵 Knitting Skills You’ll Use
Don’t worry if you’re not a knitting expert! You only need a few basic stitches:
- Cast on (CO)
- Knit stitch (k)
- Purl stitch (p)
- Bind off (BO)
- Sewing pieces together
You’ll be knitting a base tube around an elastic band and then attaching knitted petals around the outer edge.

🌻 Step-by-Step Pattern: Dreamy Sunflower Scrunchie
🧶 Part 1: Knit the Center (Brown Tube)
This forms the stretchy band around the hair tie.
1. Cast On:
- Cast on 48 stitches using the brown yarn.
- If you’re using circular needles, join in the round (optional for seamless finish), or knit flat and sew it later.
2. Knit the Tube:
- Work in stockinette stitch (knit one row, purl one row) for about 2 inches.
- You can also do garter stitch (knit every row) if you prefer a textured look.
3. Insert the Hair Tie:
- Slide the elastic tie inside the tube before binding off.
- Fold the tube in half lengthwise (like a taco) around the elastic.
4. Bind Off and Sew:
- Bind off all stitches.
- Use a tapestry needle to whipstitch the side edges together, enclosing the hair tie and creating a stretchy circle.
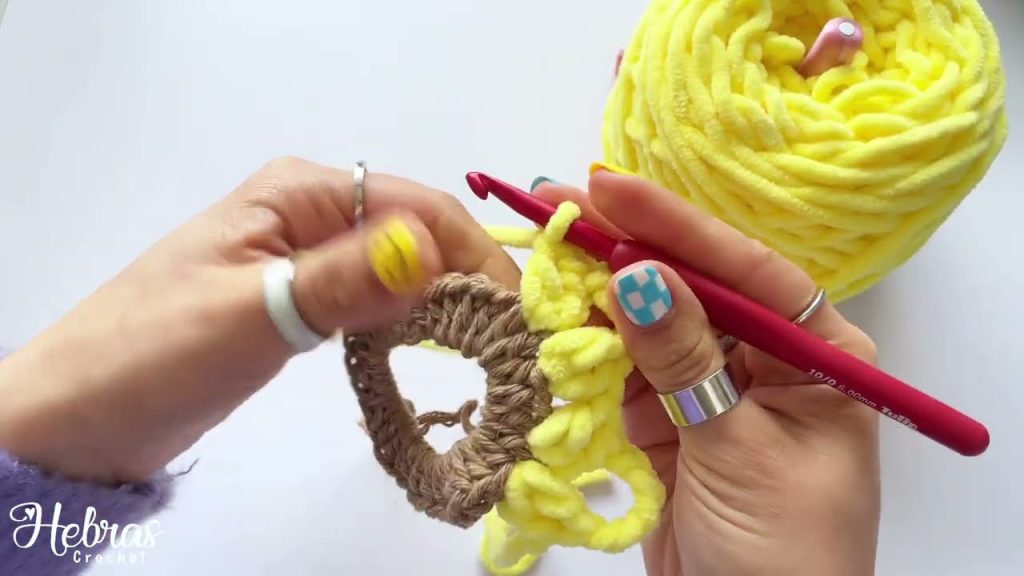
🌼 Part 2: Knit the Petals (Yellow)
You’ll knit individual petals and sew them around the brown base.
1. Petal Pattern (Make 10–12):
Use yellow yarn. Cast on 4 stitches.
Work in garter stitch for 4 rows.
Then:
- Row 5: k2tog, k2
- Row 6: k2tog, k1
- Row 7: k2tog
- Cut yarn, leaving a tail to sew
This makes a small pointed petal.
✨ Want fuller petals? Try casting on 6 stitches instead and knit a couple more rows before shaping.
2. Attach Petals:
- Evenly space the petals around the seam of the brown tube.
- Use your tapestry needle and yellow yarn tails to sew each petal onto the brown scrunchie base.
- Slightly overlap petals for a full bloom effect.
🎨 Customization Ideas
Want to make your sunflower scrunchie even dreamier?
| Customization | How to Do It |
|---|---|
| Add beads or sequins | Sew small beads to the center for sparkle |
| Use velvet yarn | Swap regular yarn with velvet for a plush feel |
| Add a leaf | Knit a green leaf and attach next to petals |
| Make mini versions | Use thinner yarn and fewer stitches |
🧺 Care Instructions
- Hand wash in cold water
- Lay flat to dry
- Avoid heavy pulling or hot washing (can distort shape)
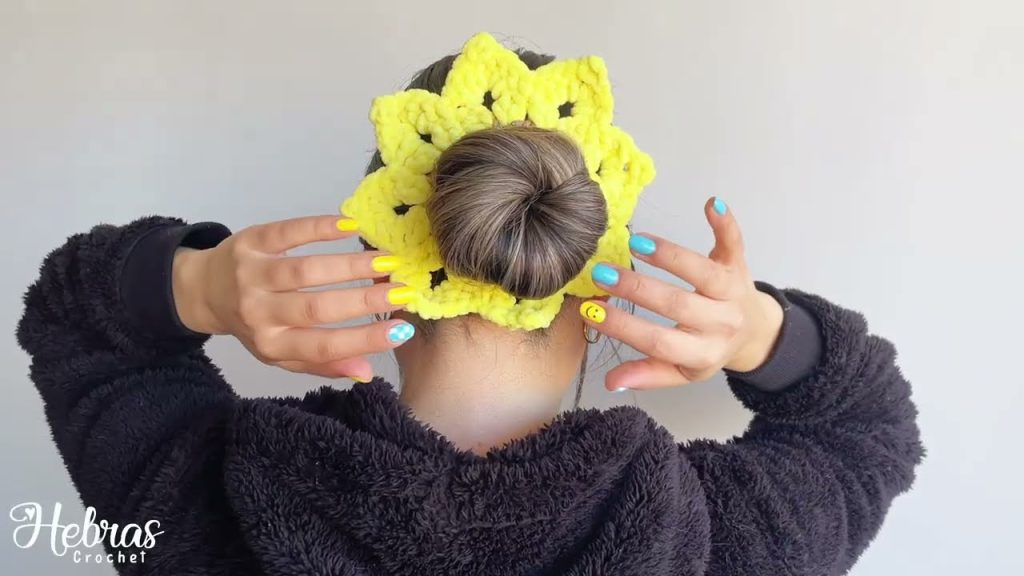
💛 Final Thoughts
The Dreamy Sunflower Scrunchie is a delightful project that combines the cozy charm of knitting with the cheerful energy of sunflowers. Whether you’re wearing it in your hair or around your wrist, it’s a vibrant reminder of handmade love.
In just a few hours, using beginner-friendly stitches and some colorful yarn, you can create an accessory that brightens your day — and others’, too.
Video tutorial: